15 Small Kitchen Halloween Decor Ideas That Fit Tight Spaces
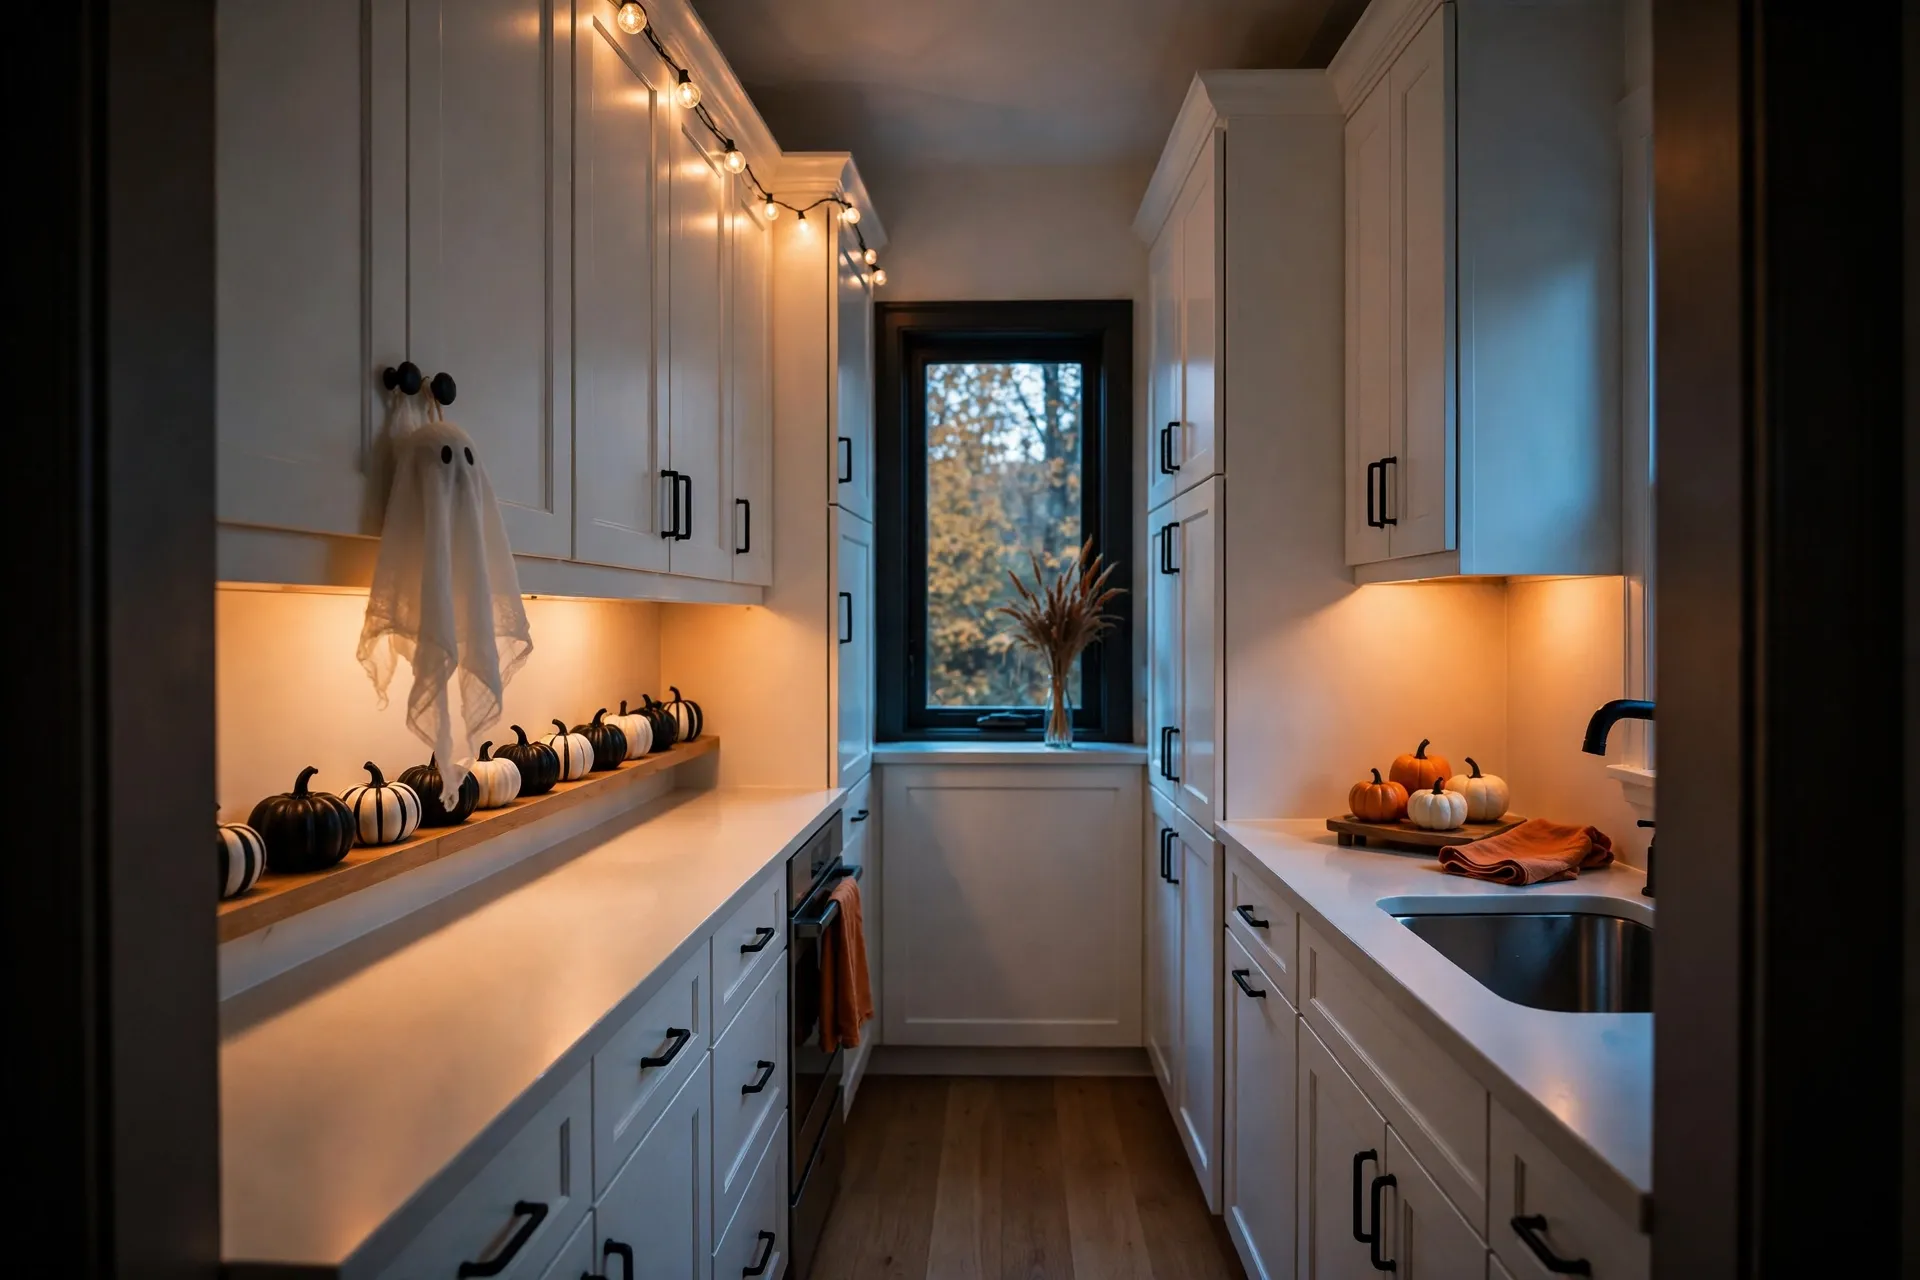
Your kitchen is maybe eight feet wide. Two people can’t stand at the counter at the same time without someone turning sideways. And every October, the same problem shows up: every Halloween kitchen idea online seems to assume you have an island, a breakfast nook, and three feet of open counter just sitting there waiting for a pumpkin display.
You don’t have that. What you have is one narrow strip of counter you actually need for cutting boards and coffee mugs, a fridge door that’s already covered in magnets, and maybe one small window over the sink.
That’s not a limitation — it’s a different set of tools. Small kitchens have something big kitchens don’t: walls, cabinet fronts, shelf edges, and window space that never get used for decor at all. This list works with what your kitchen already gives you, so nothing here eats into the counter space you need for actual cooking.
Table of Contents
15 Small Kitchen Halloween Decor Ideas That Fit Tight Spaces
Line a Single Open Shelf With a Mini Pumpkin Row
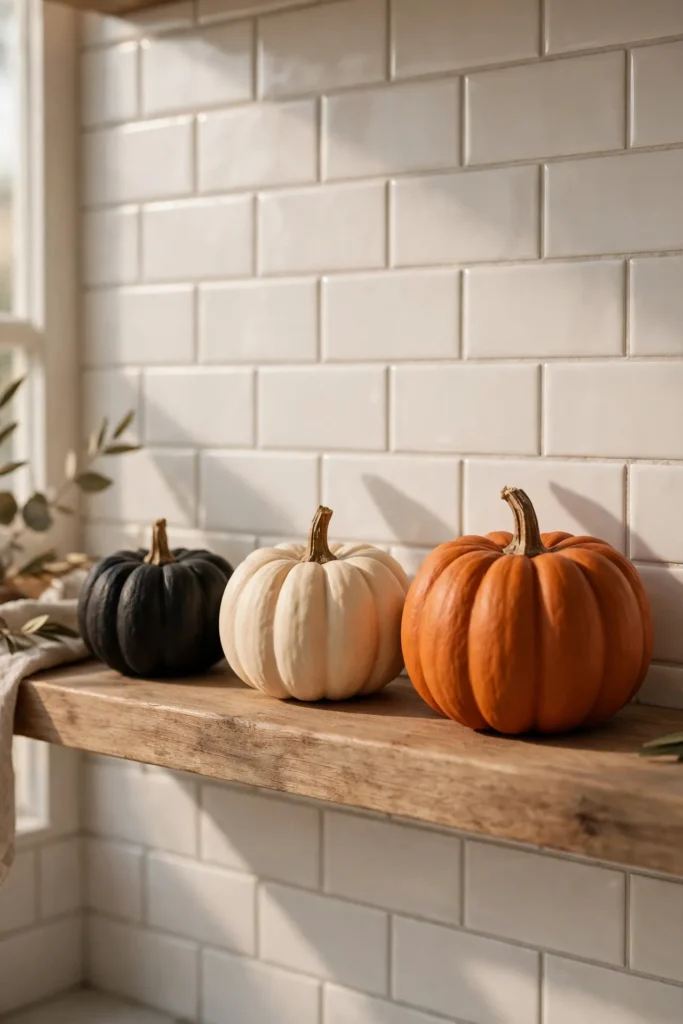
If you have even one open shelf, this is your easiest win. Set three to five mini pumpkins — a mix of matte black, cream, and true orange — in a single straight line instead of clustering them, since a row reads intentional while a pile reads cluttered in a small sightline. Keep the pumpkins graduated by size, tallest in back, so the shelf edge stays visible and the display doesn’t look like it’s about to tip forward. This works on a spice shelf, a plate rail, or the top of open cabinetry, and it takes about two minutes to style. Because it uses depth you’re not otherwise using, it adds zero footprint to your actual counter.
Hang a Cheesecloth Ghost From a Cabinet Knob
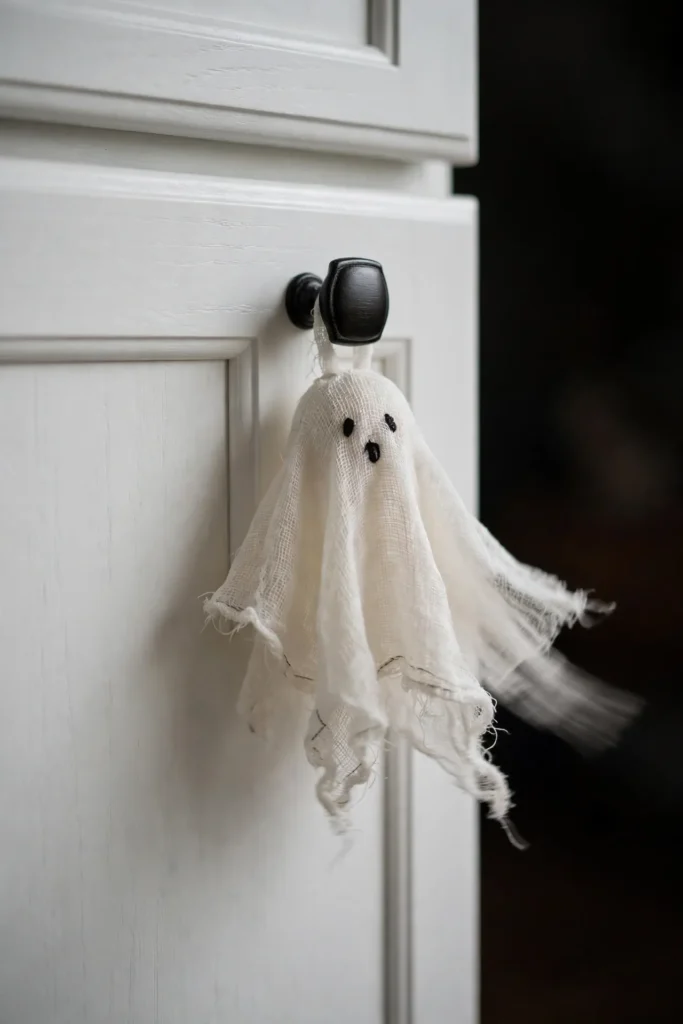
A single hanging ghost made from cheesecloth stiffened with fabric starch and tied at the “neck” with black thread costs almost nothing and needs no floor or counter space at all. Hang it from an upper cabinet knob near eye level so it’s the first thing people notice when they walk in, not something they have to search for. Because it’s fabric, it moves slightly with kitchen air currents, which reads as genuinely eerie rather than static. This is one of the few Halloween decor ideas that scales down perfectly — one ghost on one knob is enough for a small kitchen, where three or four would start to feel like clutter. It also comes down in seconds and stores flat in a drawer.
Swap Your Everyday Dish Towel for a Halloween Print
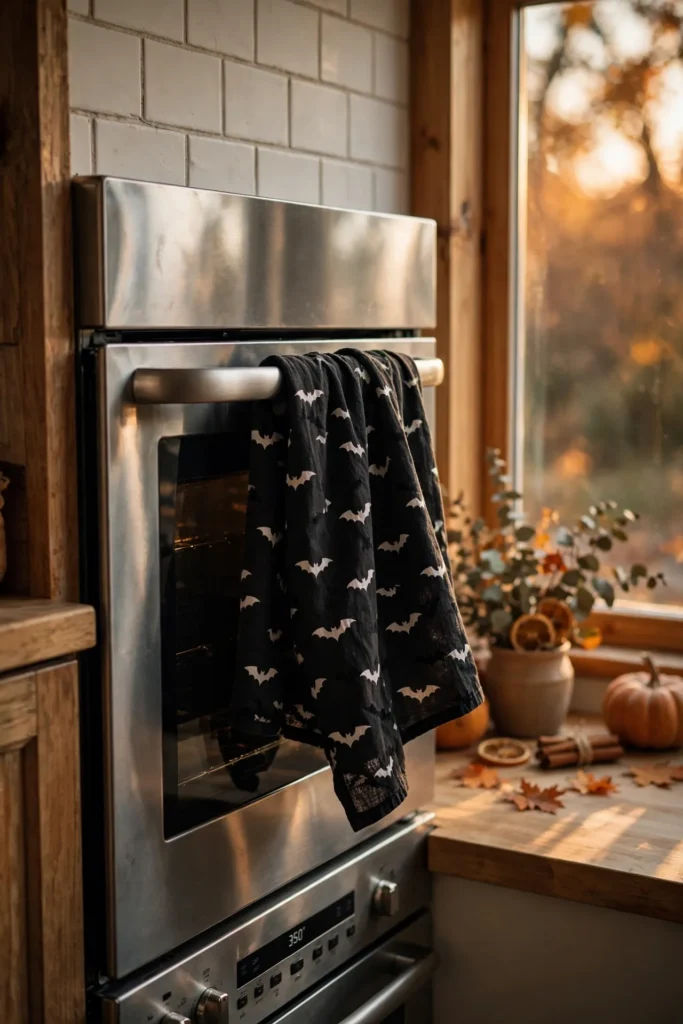
This is the lowest-effort, highest-visibility idea on this list, because a dish towel sits in constant use and constant view — draped on the oven handle, folded on the counter edge, or hanging from a drawer pull. Choose one with a small, graphic print like black bats or a single jack-o’-lantern rather than a busy all-over pattern, since a tiny kitchen reads better with one strong motif than several competing ones. Rotate two towels so one is always in the wash, keeping the display looking fresh through the whole season. It’s functional decor, meaning it earns its place even in a kitchen with zero room for anything purely decorative. Pair it with a matching oven mitt if you want a two-piece set without adding a new surface for either item.
Related: 23 Stylish Small Apartment Christmas Decor Ideas That Save Space That Make Every Inch Count
Build a Coffee-Corner Vignette on a Single Tray

If your kitchen has even eight inches of dedicated coffee-maker space, corral it onto a small round tray and add two or three seasonal touches — a mini cauldron mug, a jar of candy corn, or a tiny witch hat sitting beside the sugar bowl. The tray does the real work here: it visually contains the display so it reads as “styled corner” instead of “stuff on the counter.” Keep everything you already use daily inside the tray boundary so the vignette doesn’t add extra items you have to move to make coffee. This idea is popular because it turns a spot you already look at every morning into a small daily dose of the season. Choose a black or dark wood tray so the display has a defined edge even against a busy backsplash.
Use Peel-and-Stick Bat Decals on the Backsplash
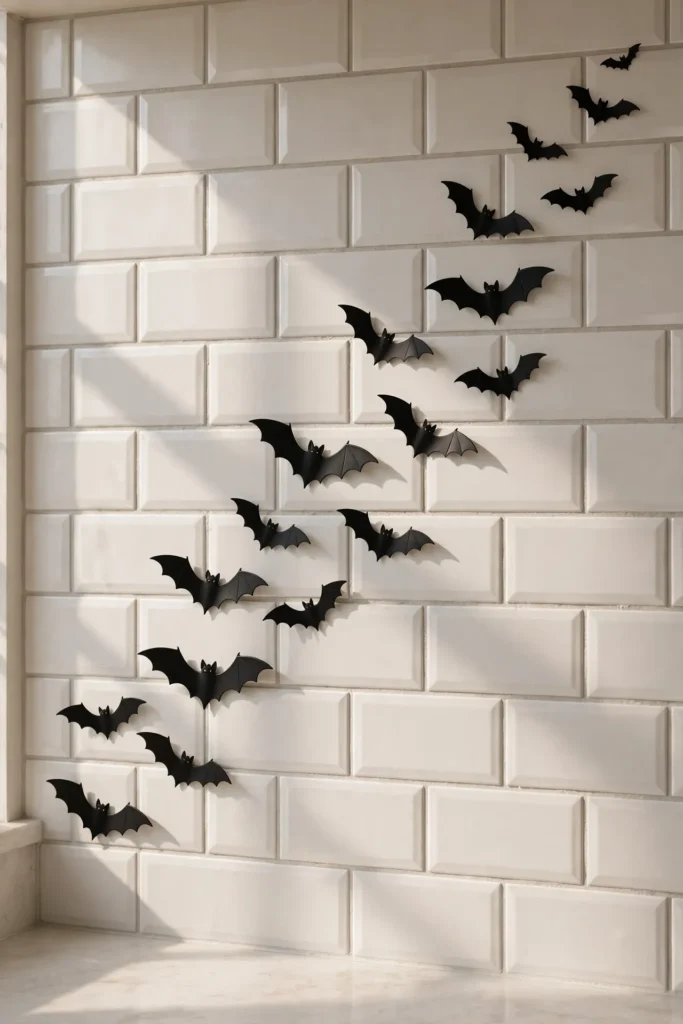
Removable vinyl bat decals apply directly to tile or painted backsplash and take up literally zero physical space, which makes them one of the most efficient small-kitchen Halloween ideas available. Arrange them in a loose diagonal flight path rather than a tidy grid, since an organic scatter reads more like real bats mid-flight and less like wallpaper. Stick to one size and one matte black finish so the effect stays graphic and clean instead of busy, which matters more in a small kitchen where every surface is close to your eye. These decals remove without residue when applied to a sealed or painted surface, making them safe for rental kitchens. Limit the flight path to one wall section — usually behind the stove or sink — so the rest of the kitchen keeps visual breathing room.
Add a Battery Tea Light Under Open Shelving
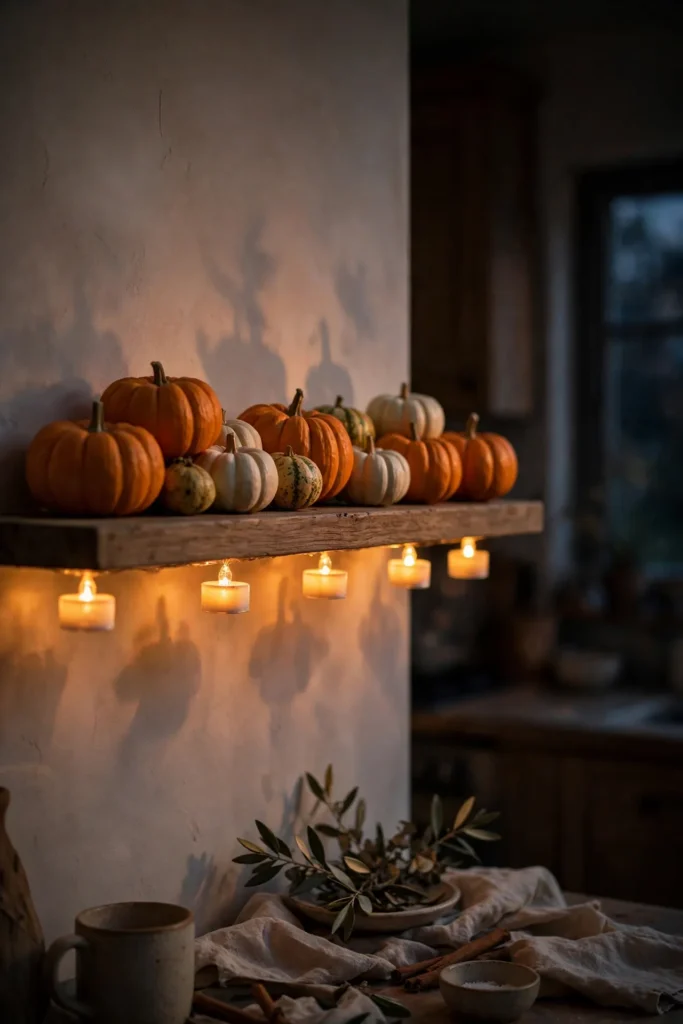
Tuck two or three flameless LED tea lights along the underside or back edge of an open shelf to give your existing pumpkins or jars a soft glow after dark, without needing a plug-in fixture or any additional counter footprint. Battery tea lights are the safer choice near a stove or in a kitchen where flammable items sit close together, since there’s no open flame or hot wax involved. Warm-white bulbs read cozy, while the rarer amber-orange bulbs push the mood more overtly toward Halloween — pick based on whether you want subtle or spooky. This idea works especially well layered under Idea 1’s pumpkin row, since the light catches the pumpkin shapes and casts small shadows on the wall behind them. Most battery tea lights run 100+ hours on a single set of batteries, so they’ll easily last the whole season.
Hang a Small Window Garland Instead of a Wreath
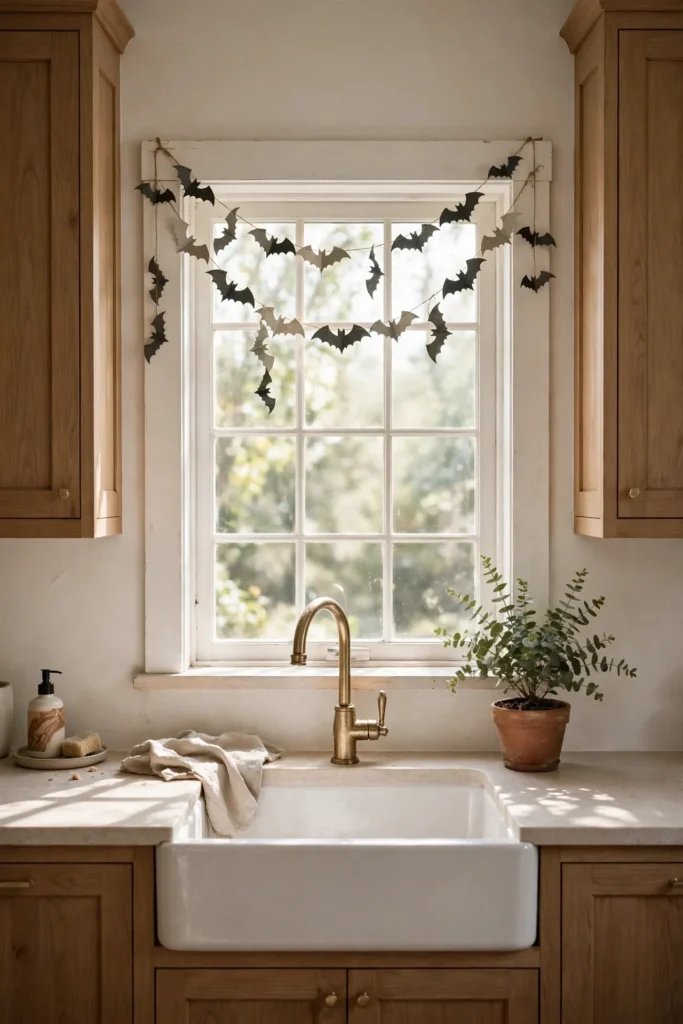
A kitchen window over the sink is often the one spot in a small kitchen that isn’t already claimed by appliances or storage, which makes it prime real estate for a lightweight paper bat or mini pumpkin garland strung across the top of the frame with removable hooks. Choose a garland with small-scale elements rather than large ones, since oversized pieces will overwhelm a narrow window and block natural light you likely rely on while doing dishes. Let it hang loosely rather than pulling it taut, so it catches a gentle curve and casts a soft silhouette when backlit by daylight. This is one of the few ideas on this list that adds seasonal color at eye level without touching a single inch of counter or cabinet space. Remove it easily each November using the same removable hooks it went up with.
Fill One Apothecary Jar Instead of Several Small Ones
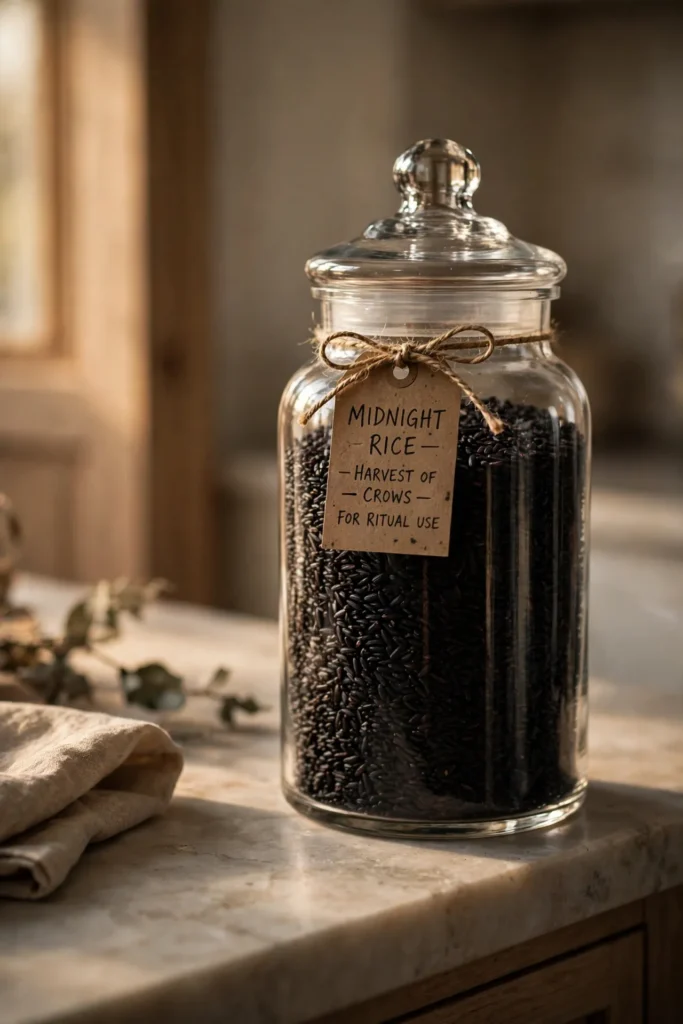
Rather than scattering five or six small Halloween jars across your limited counter, consolidate the idea into one taller apothecary jar filled with a single striking element — black-dyed rice, candy corn, or wrapped candy in Halloween colors. One larger jar takes up less total footprint than several small ones and reads as more intentional, almost like a single design object rather than clutter. Add a simple kraft paper label with a spooky ingredient name, like “Bat Wings” or “Witch’s Brew,” using a thin strip of twine, which adds personality without adding size. Place it at the end of your counter near the wall, where it’s visually anchored rather than sitting in your prep zone. This idea also doubles as an actual candy dish if you’re expecting guests or trick-or-treaters at the door.
Use a Magnetic Knife Strip for Mini Halloween Art
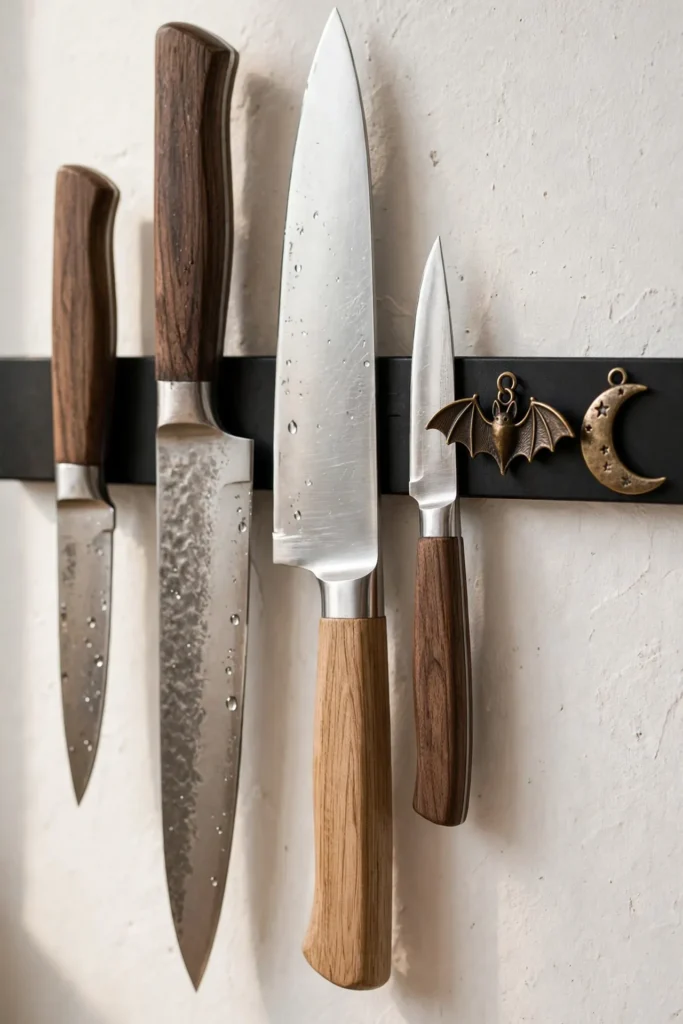
If your kitchen has a magnetic strip mounted on the wall — common in small kitchens as a knife-storage space saver — repurpose four inches of it for two or three small magnetic Halloween prints or metal charms, like a tiny bat or moon shape. This adds visual interest at eye level using hardware you already installed for another purpose, meaning it requires no new holes, hooks, or surface space whatsoever. Keep the prints small, under three inches, so they don’t compete with the knives still doing their actual job on the same strip. This idea works especially well in Scandinavian or minimalist small kitchens, where a single graphic element reads more sophisticated than a full display. Swap the magnetic art out again in November using the same strip for a different seasonal set.
Layer a Tiered Stand With Halloween-Colored Treats
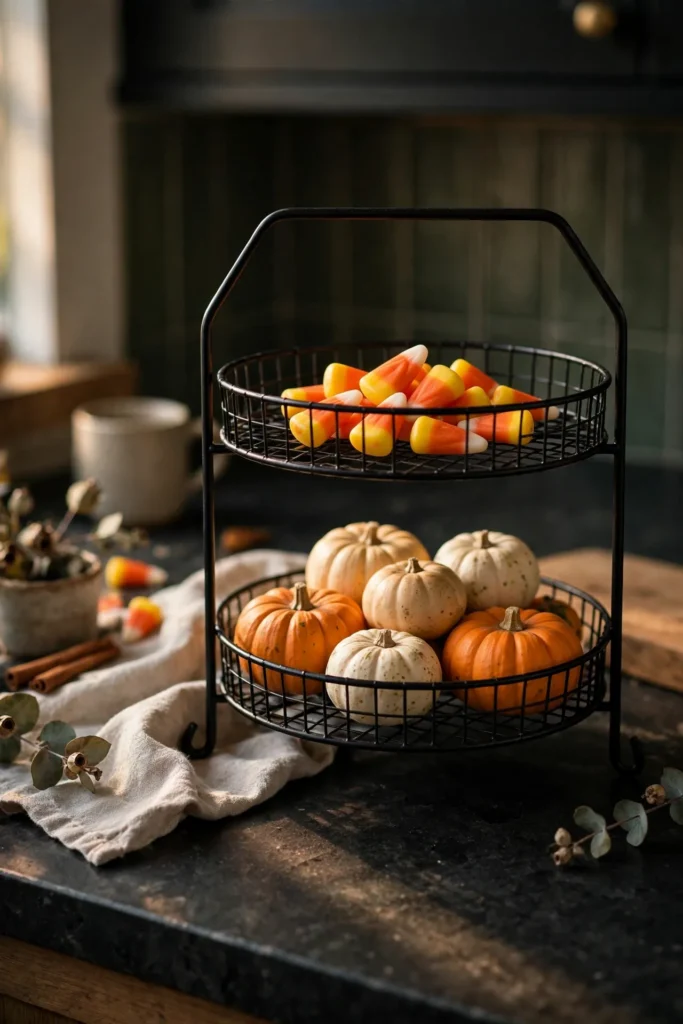
A two-tier stand, the kind many small kitchens already own for fruit or cupcakes, is one of the most space-efficient decor tools available because it multiplies your display surface vertically instead of horizontally. Fill the top tier with candy corn or orange and black wrapped candies, and use the bottom tier for two or three mini pumpkins, so the whole piece reads as one cohesive object rather than scattered items. Because it’s vertical, it takes up the same counter footprint as a single fruit bowl while displaying twice the seasonal detail. This idea works especially well near an entryway or the edge of a small kitchen island, where it also functions as a real snack station for guests. Choose a black wire or dark wood stand so the Halloween palette carries through the stand itself, not just what’s on it.
Related: 21 Clever Christmas Buffet Table Styling Ideas for Your Kitchen Island
Add a Single Statement Piece to the Fridge Door
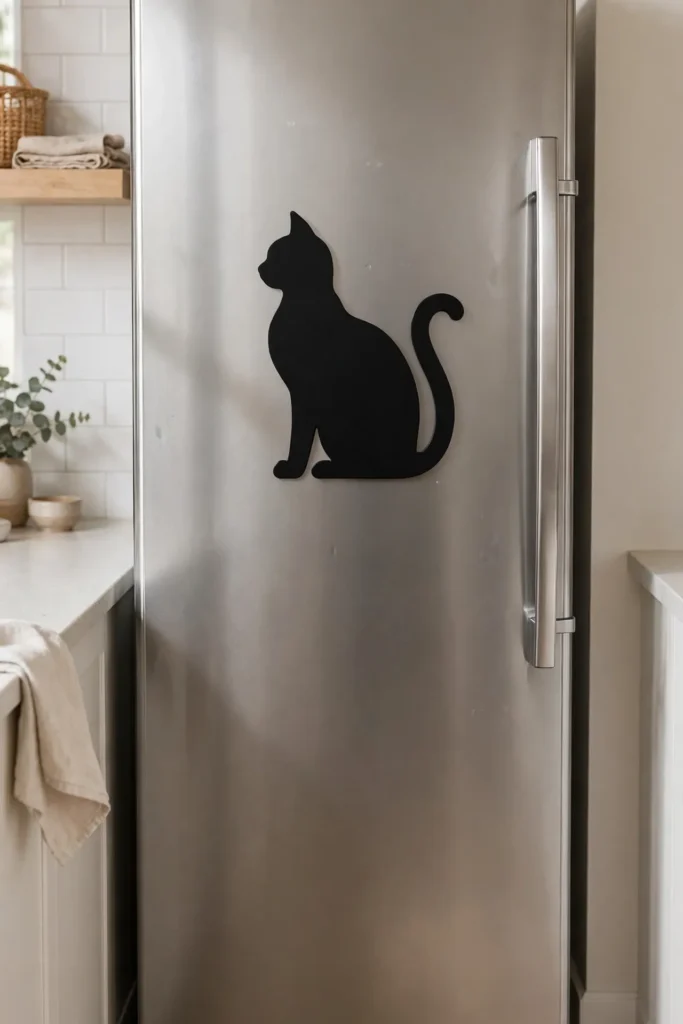
Your fridge door is one of the largest unused vertical surfaces in any small kitchen, and it’s already built for magnets, which makes it a natural spot for one statement piece rather than a cluttered collage. A large flat magnetic silhouette — a black cat, a witch on a broom, or a full moon — reads as art when it’s alone, but turns busy fast if you add five or six smaller magnets around it. Position it at eye level, centered, the way you would hang a piece of wall art, rather than tucking it in a corner with your grocery list magnets. This idea gives your kitchen a strong seasonal focal point without touching counters, shelves, or windows at all. Because fridges are magnetic on nearly every model, this works in almost any small kitchen regardless of layout.
Style a Narrow Windowsill With Three Small Pumpkins
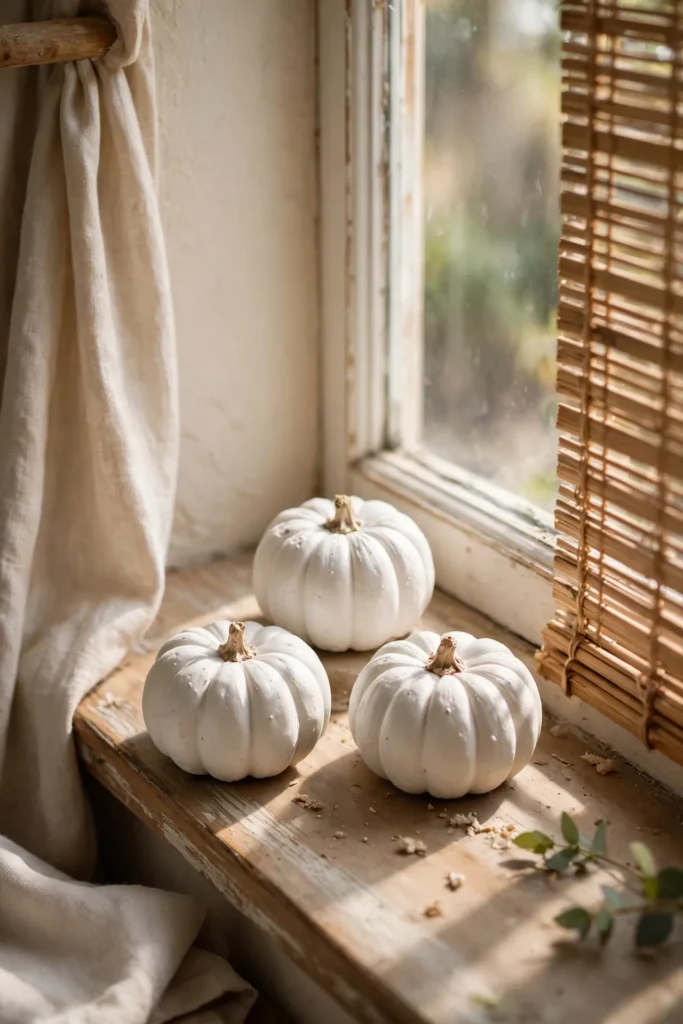
Even the narrowest kitchen windowsill can usually hold three small pumpkins if you choose ones under four inches wide, arranged with the tallest in the center and shorter ones flanking it in a simple triangle. This mimics classic tablescape styling in miniature, which is why it reads as polished even at a tiny scale. Real mini pumpkins work well here since they’ll get natural light through the window and can be composted after the season, but faux ceramic versions last for years if you’d rather reuse them annually. Keep the arrangement to one color story — all white, all orange, or a mixed black-and-orange pair — so it doesn’t visually compete with whatever’s happening on your counter below. This is a strong option for kitchens where the sill is the only spare surface in the entire room.
Turn Your Existing Mugs Into a Themed Display
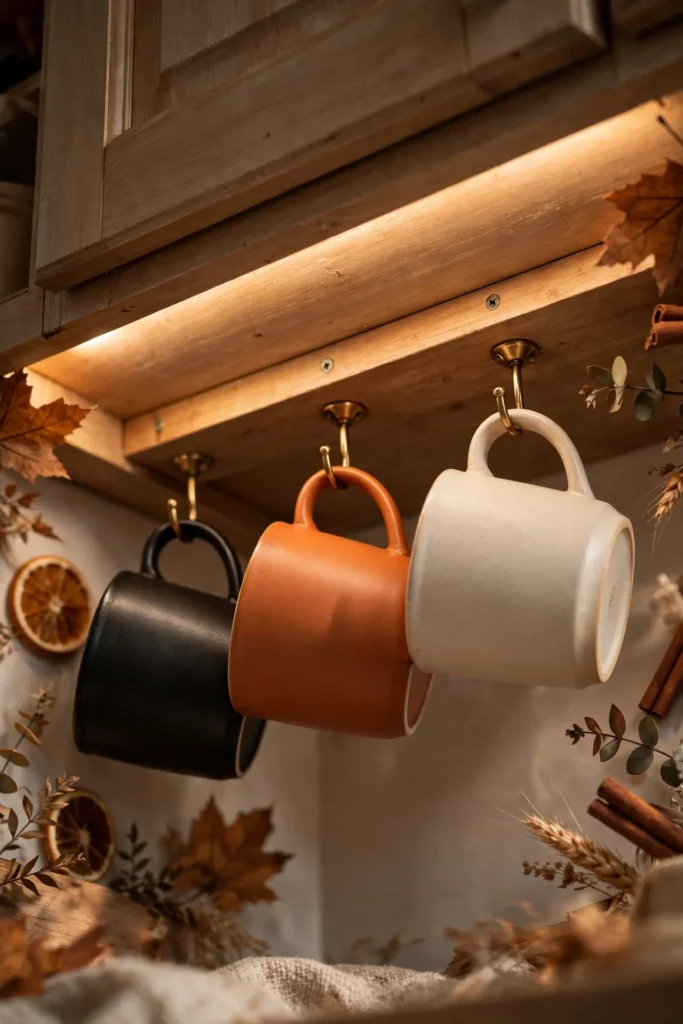
Instead of buying new Halloween mugs to store all year, hang two or three mugs you already own on cup hooks under a cabinet, choosing ones that happen to be black, orange, or cream to fit the seasonal palette without any new purchase. If you own even one genuinely Halloween-themed mug, hang it in the center as the anchor piece and let the neutral-colored mugs support it on either side. Cup hooks mount directly to the underside of a cabinet, meaning this idea uses space that was previously doing nothing at all. It also solves a real storage problem in small kitchens, since mugs on hooks free up cabinet shelf space you can use elsewhere. This works particularly well positioned directly above your coffee corner from Idea 4, tying two ideas into one cohesive zone.
Drape a Single Faux Cobweb in One Corner Only
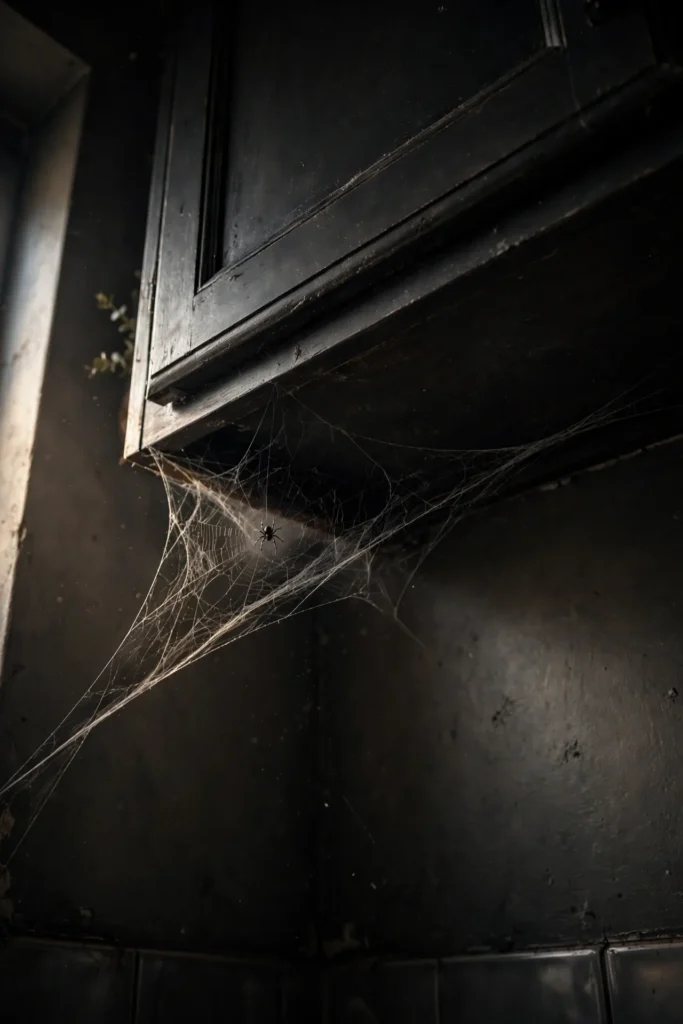
One stretched cobweb tucked into a single upper corner, ideally above a cabinet or in the gap between the fridge and the wall, delivers the classic Halloween mood without spreading across multiple surfaces. Pull the fibers thin and uneven rather than leaving it in its packaged clump, since a thin, stretched web looks more like a real spider built it and less like store-bought polyester. Add one small plastic spider near the center for scale and focal interest, but resist the urge to add more than one, since extra spiders quickly tip a small kitchen from “spooky” into “messy.” Corners are ideal in tight kitchens because they’re dead space that nothing else uses, so this idea adds atmosphere without displacing anything functional. Keep it away from any spot near the stove or a heat source for safety.
Finish With a Small Wooden Sign on a Shelf Ledge
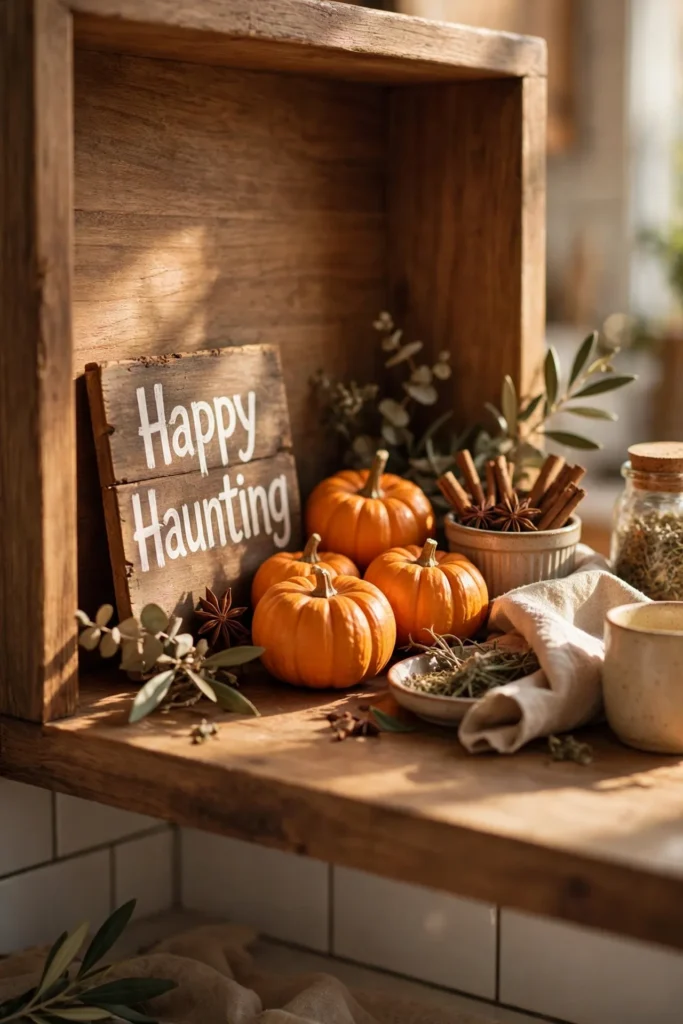
A compact wooden sign, no bigger than a paperback book, leaning against the back of an open shelf or propped on a windowsill ledge, gives your whole display a finishing line without needing its own dedicated surface. Choose short, warm phrasing like “Happy Haunting” or “Pumpkin Season” rather than a long quote, since a small kitchen sign needs to read clearly at a glance from across the room. Lean it rather than standing it flat, angled slightly against a wall or the back of a shelf, so it takes up almost no depth. This works as the final layer on top of nearly every other idea on this list — the pumpkin row, the coffee corner, or the windowsill trio — pulling the individual pieces together into one styled moment. Because it’s small and flat, it stores easily in a drawer for the rest of the year.
Styling Tips
Stick to one dominant color and one accent color for the whole kitchen — most small spaces read best with black as the anchor and either orange or cream as the single accent, rather than mixing all three everywhere. Group items in odd numbers (three pumpkins, not four) since asymmetry photographs better and feels less staged in a tight sightline. Use height variation even in small vignettes: one tall item, one medium, one low, so the eye has somewhere to travel instead of hitting a flat row. Leave visible negative space around every grouping — a cluttered inch of counter reads as messy in a small kitchen far faster than it would in a large one, so restraint is actually your best design tool here.
Practical Implementation Ideas
Start with the vertical surfaces first — cabinet fronts, the fridge, the window — before you touch the counter at all, since that’s where small kitchens have the most untapped space. Do a five-minute “clear counter” pass before you decorate so you know exactly how much real surface you’re working with; most small kitchens have more spare space than it feels like once the daily clutter is cleared. Photograph your kitchen from the doorway before and after adding each idea, since that’s the angle guests actually see, and it will show you quickly which additions are earning their spot and which are getting lost. Add ideas one at a time over a few days rather than all at once, so you can course-correct before the space feels overdone.
Common Mistakes to Avoid
The biggest mistake in a small kitchen is treating it like a big kitchen and trying to fit in a full tablescape, a wreath, a garland, and a floor display all at once — pick three or four ideas from this list, not all fifteen. Placing anything near a stovetop that’s flammable, including paper garlands, dried stems, or fabric ghosts, is a real safety issue, not just a styling one, so keep those items at least a few feet from any burner. Blocking your only window with a heavy garland or a large silhouette cuts natural light you probably rely on daily, so keep window decor lightweight and low-profile. Buying decor before measuring your actual spare surfaces means you’ll likely end up storing items you can’t use, so measure your shelf, sill, and counter-end space first.
Related: 27 Cozy Christmas Kitchen Decor Ideas That Make Every Morning Feel Festive
Small-Space Alternatives
If you have zero open shelving, move Idea 1’s pumpkin row to the top of your fridge instead, which works the same way and uses a surface most kitchens have completely free. If you don’t have a magnetic knife strip for Idea 9, a single small corkboard or a strip of washi tape can hold the same mini prints just as well. No windowsill deep enough for pumpkins? Set a single flat paper pumpkin garland along the window’s top edge instead, which uses height rather than depth. If cabinet knobs aren’t accessible for hanging a ghost, a suction hook on the window glass holds the same weight and removes without any residue.
Budget-Friendly Alternatives
Real mini pumpkins from a grocery store or farm stand usually cost less than faux versions and can be composted afterward, making Ideas 1 and 12 nearly free if you already plan to buy pumpkins for the season. Make your own cheesecloth ghost for Idea 2 using a cotton square you already own instead of buying cheesecloth specifically — an old white pillowcase works just as well. Skip store-bought garlands for Idea 7 and cut simple bat shapes from black cardstock instead, stringing them on plain kitchen twine. A jar you already have in your pantry works for Idea 8’s apothecary display — you don’t need to buy a specialty jar to get the same visual effect.
Pro Styling Recommendations
Layer warm light sources, even small battery tea lights, into at least one display, since lighting does more to set mood in a small kitchen than any single object can. Repeat one shape — a bat, a moon, or a pumpkin silhouette — across two or three different ideas on this list so the whole kitchen feels connected rather than like a collection of unrelated Halloween items. Keep everything at or above counter height; floor decor is the one category that rarely works in a genuinely small kitchen, since it interferes with foot traffic in a space that’s already tight. If you’re decorating for guests specifically, prioritize the ideas visible from the kitchen entrance — the fridge door, the window, and the nearest open shelf — since that’s the view people actually register first.
FAQs
Conclusion
A small kitchen was never actually the obstacle here — the assumption that Halloween decor needs a big surface was. Once you start looking at your kitchen as walls, shelves, a window, and a fridge door instead of just counter inches, there’s more available space than it first seemed. Pick three or four ideas from this list, layer in a little warm light, and let the rest of the kitchen stay exactly as functional as it needs to be for the next month of actual cooking.