22 Rustic Farmhouse Christmas Tree Decor Ideas
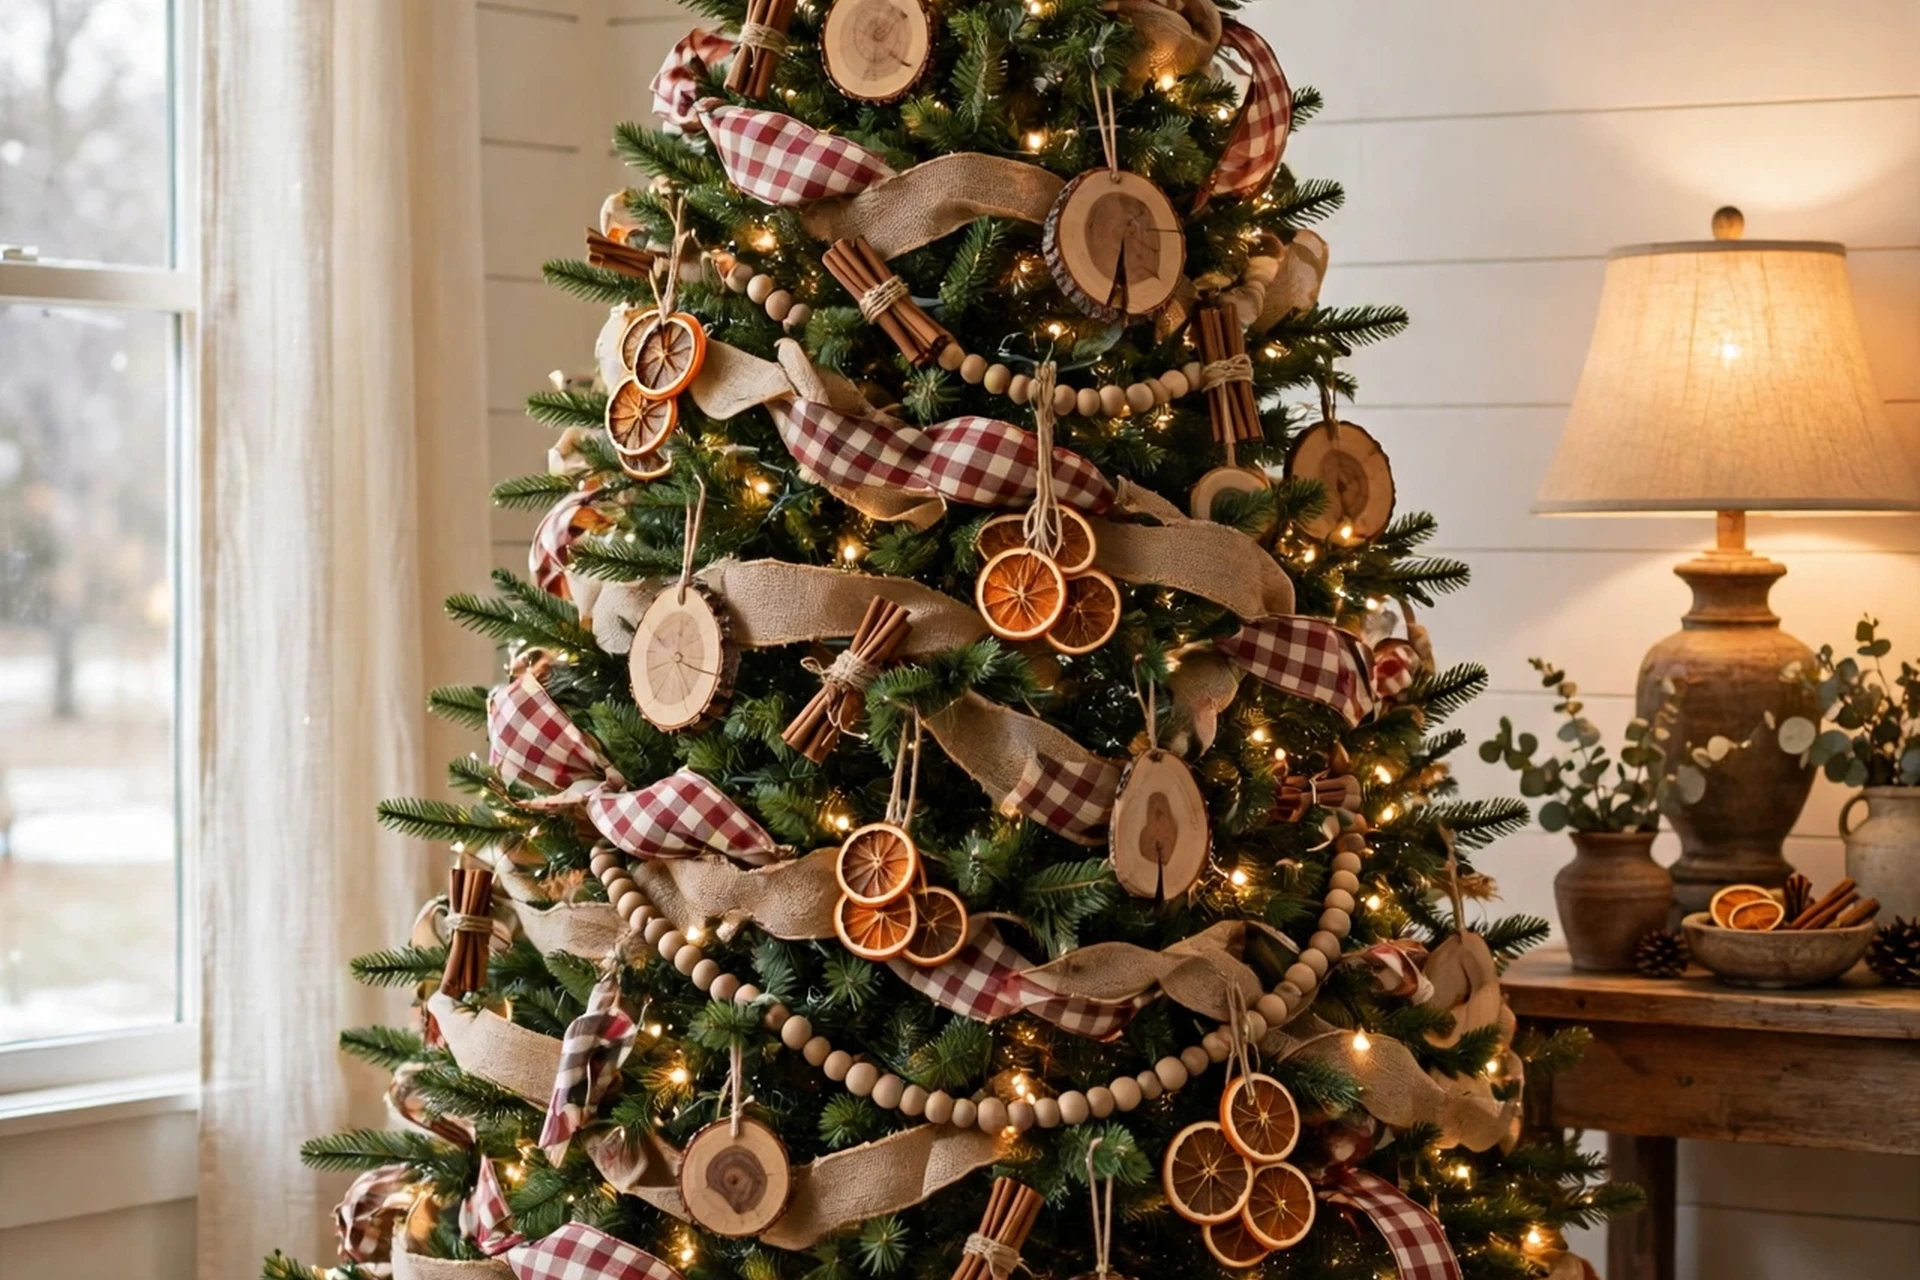
A farmhouse Christmas tree doesn’t try to sparkle the loudest in the room. It doesn’t need to. Burlap has a texture that catches soft light instead of throwing it back. A wooden bead garland looks like it’s been strung by hand, even when it hasn’t. The whole thing feels less like decoration and more like something that’s always belonged in the corner of a cozy living room.
If you’ve been scrolling Pinterest for a tree that feels warm, lived-in, and a little imperfect on purpose, this guide is for you. Below are 22 rustic farmhouse Christmas tree decor ideas, pulling from the materials and techniques real farmhouse stylists reach for — burlap and buffalo check ribbon, natural garland made from pinecones and dried citrus, wood and tin ornaments, and alternate tree bases like a wooden crate collar. Every idea includes the styling logic behind it and a matching image so you can see exactly how it comes together.
Table of Contents
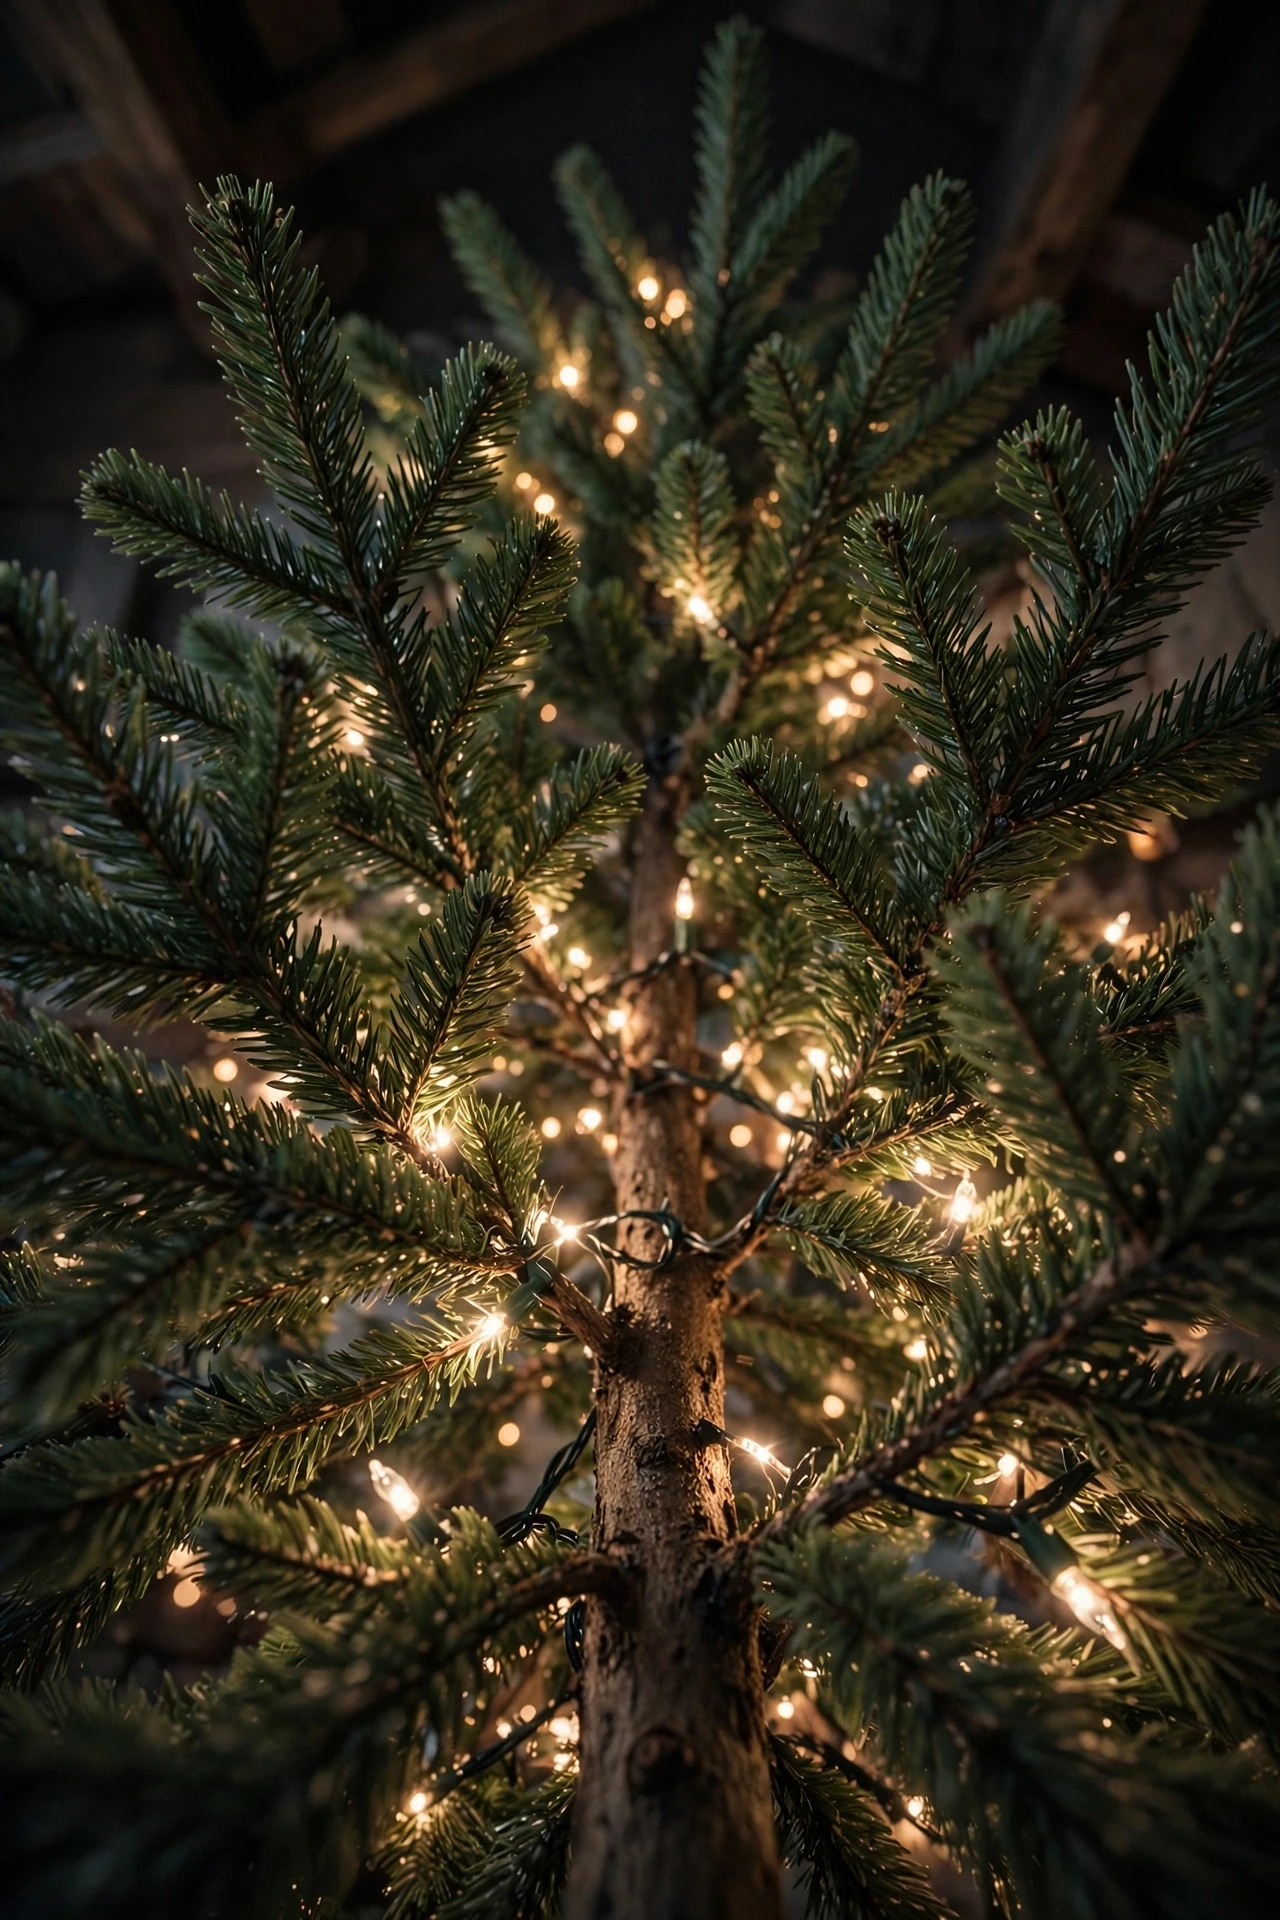
Warm White Lights Woven Deep for a Soft Farmhouse Glow
String warm white lights starting near the trunk and work outward in a back-and-forth weave, tucking a portion of each strand deep into the inner branches rather than draping everything across the outer surface. Cool blue-toned lights read as too modern and sharp for a farmhouse look, so warm white is the standard choice for the soft, peaceful glow this style depends on. Spread the lights evenly from top to bottom rather than concentrating them near the center, so the whole tree glows consistently instead of having bright and dim patches. Placing some strands further back into the branches creates a layered, glowing effect that makes the tree feel lit from within rather than wrapped in a single surface layer. This step has to happen before any ribbon, garland, or ornaments go on, since it’s the foundation every other rustic layer gets built around.
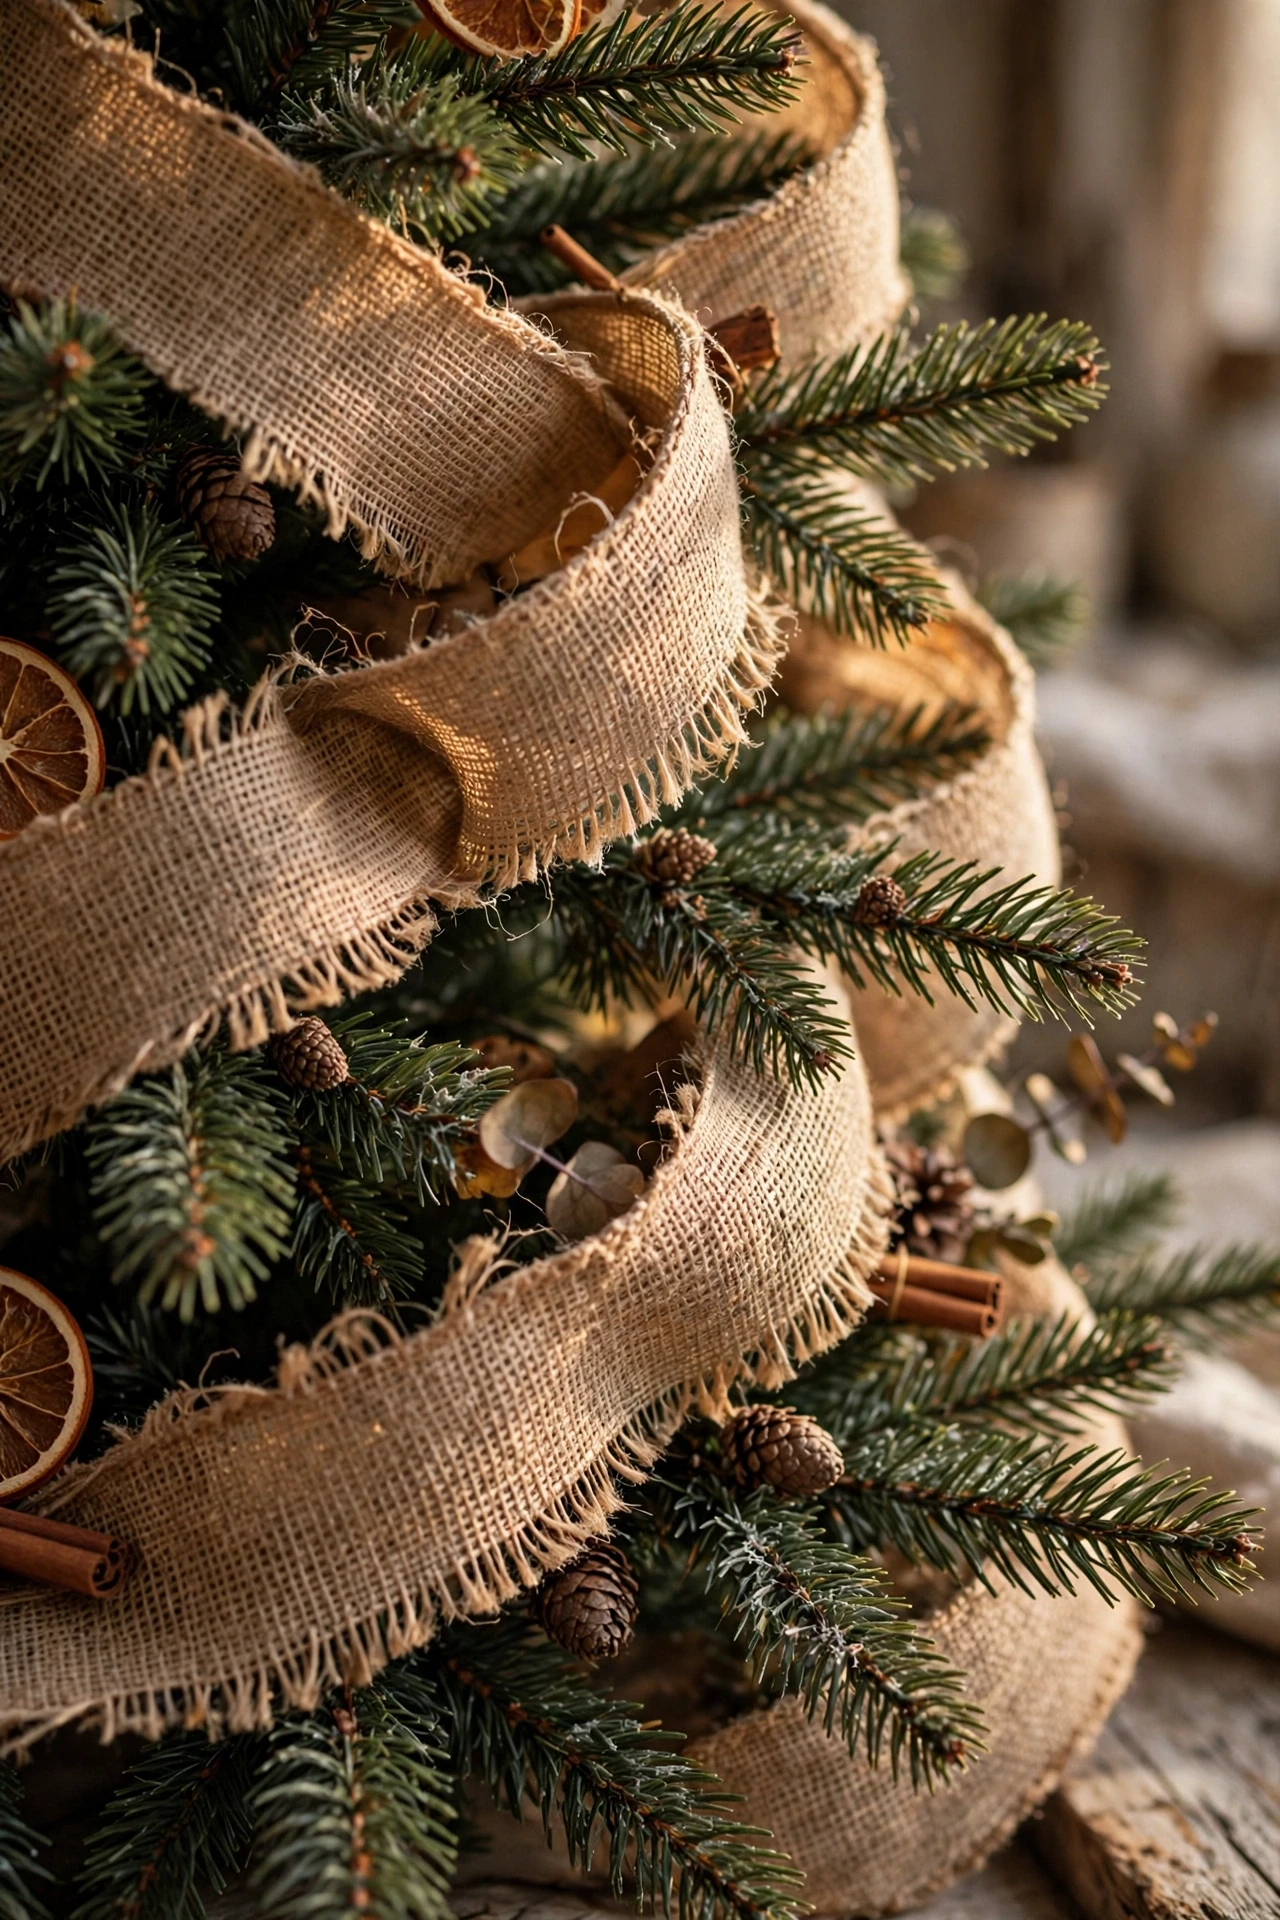
Burlap Ribbon Woven Through the Branches
Weave wide burlap ribbon loosely through the branches from top to bottom, letting the natural, slightly frayed edges show rather than concealing them, since that raw texture is exactly what signals “farmhouse” at a glance. Burlap has a coarse, woven texture that behaves differently from satin or velvet ribbon, absorbing light instead of reflecting it, which gives the tree a matte, grounded warmth. Tuck sections of the ribbon in and out of the branches rather than laying it flat on top, so it reads as part of the tree’s structure instead of an accessory added at the end. Pair natural tan burlap with a touch of cream or soft red nearby to keep the overall look from feeling monochrome. This is one of the most defining materials in farmhouse tree styling, and it’s often the very first thing that makes a tree read as “country” rather than simply “neutral.”
Buffalo Check Ribbon & Bow Clusters
Add red and black (or black and white) buffalo check ribbon in long woven strands or tied into individual bows, tucked into the branches at varying heights for a bold graphic contrast against the greenery. Buffalo check has remained one of the defining patterns of farmhouse Christmas decorating for years, and its strong, structured plaid reads clearly even from across a room, unlike smaller or busier patterns. Mix a few full-length woven strands with several smaller individual bows rather than choosing only one or the other, since the combination adds both continuous movement and repeated focal points throughout the tree. Balance the bold plaid with plenty of plain greenery and neutral ornaments nearby, since buffalo check is visually loud enough that it doesn’t need much competition to stand out. This pattern pairs especially well with white pom-poms or cream ornaments if you want a slightly softer, less saturated version of the classic red-and-black look.

Hand-Painted Wood Slice Ornaments
Hang simple wood slice ornaments — thin round or oval cuts of natural wood, sanded smooth and finished with a hand-painted design like a family name, a snowflake, or a small script phrase — scattered evenly through the tree. Wood slices carry visible grain and natural imperfections that no printed or plastic ornament can replicate, giving the tree an unmistakably handmade, organic quality. Keep the painted designs simple and consistent in style across the set, whether that’s plain white script or a single snowflake motif, so the ornaments read as a cohesive collection rather than a mismatched assortment. Drill a small hole near the top edge of each slice before finishing, so the ornament hangs flat against the branch rather than spinning or tilting awkwardly. These ornaments are inexpensive and simple enough to make in an afternoon, which makes them one of the most accessible DIY projects on this entire list.

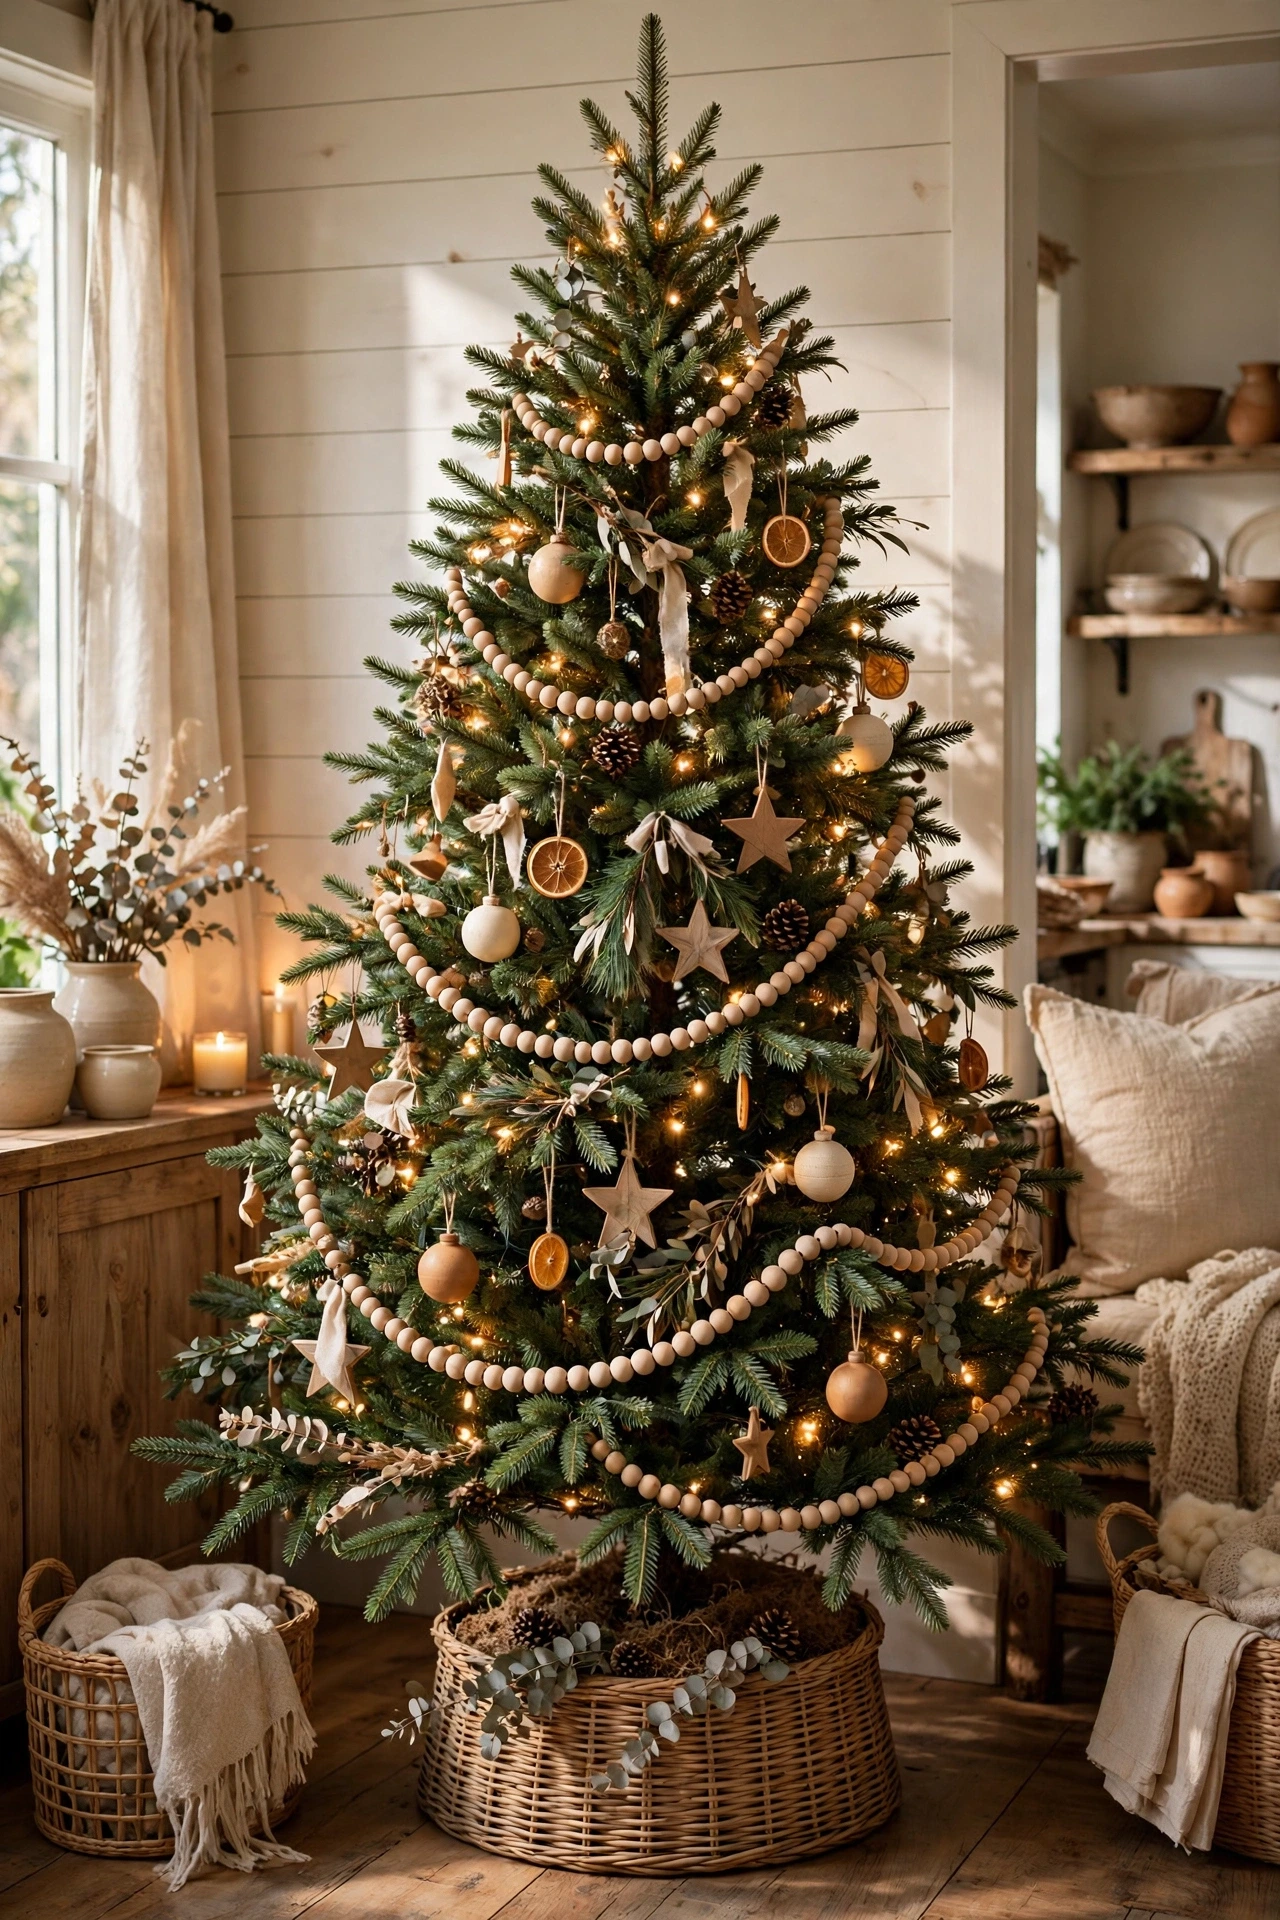
Wooden Bead Garland
Drape a long strand of natural wooden bead garland loosely around the tree in soft arcs, letting it dip gently between sections rather than pulling it tight against the branches. Wooden beads have a warm, matte surface that catches light very differently from glass or plastic, adding a quiet, textural line of interest without competing with brighter ornaments nearby. Choose beads in a mix of natural wood tones, or a combination of natural and whitewashed beads, to add subtle variation along the length of the garland. Layer the wooden bead garland either alongside or underneath a burlap or buffalo check ribbon layer, since garland alone can look thin on a fuller tree. This is one of the simplest ways to add genuine natural texture to a tree without introducing any additional color.
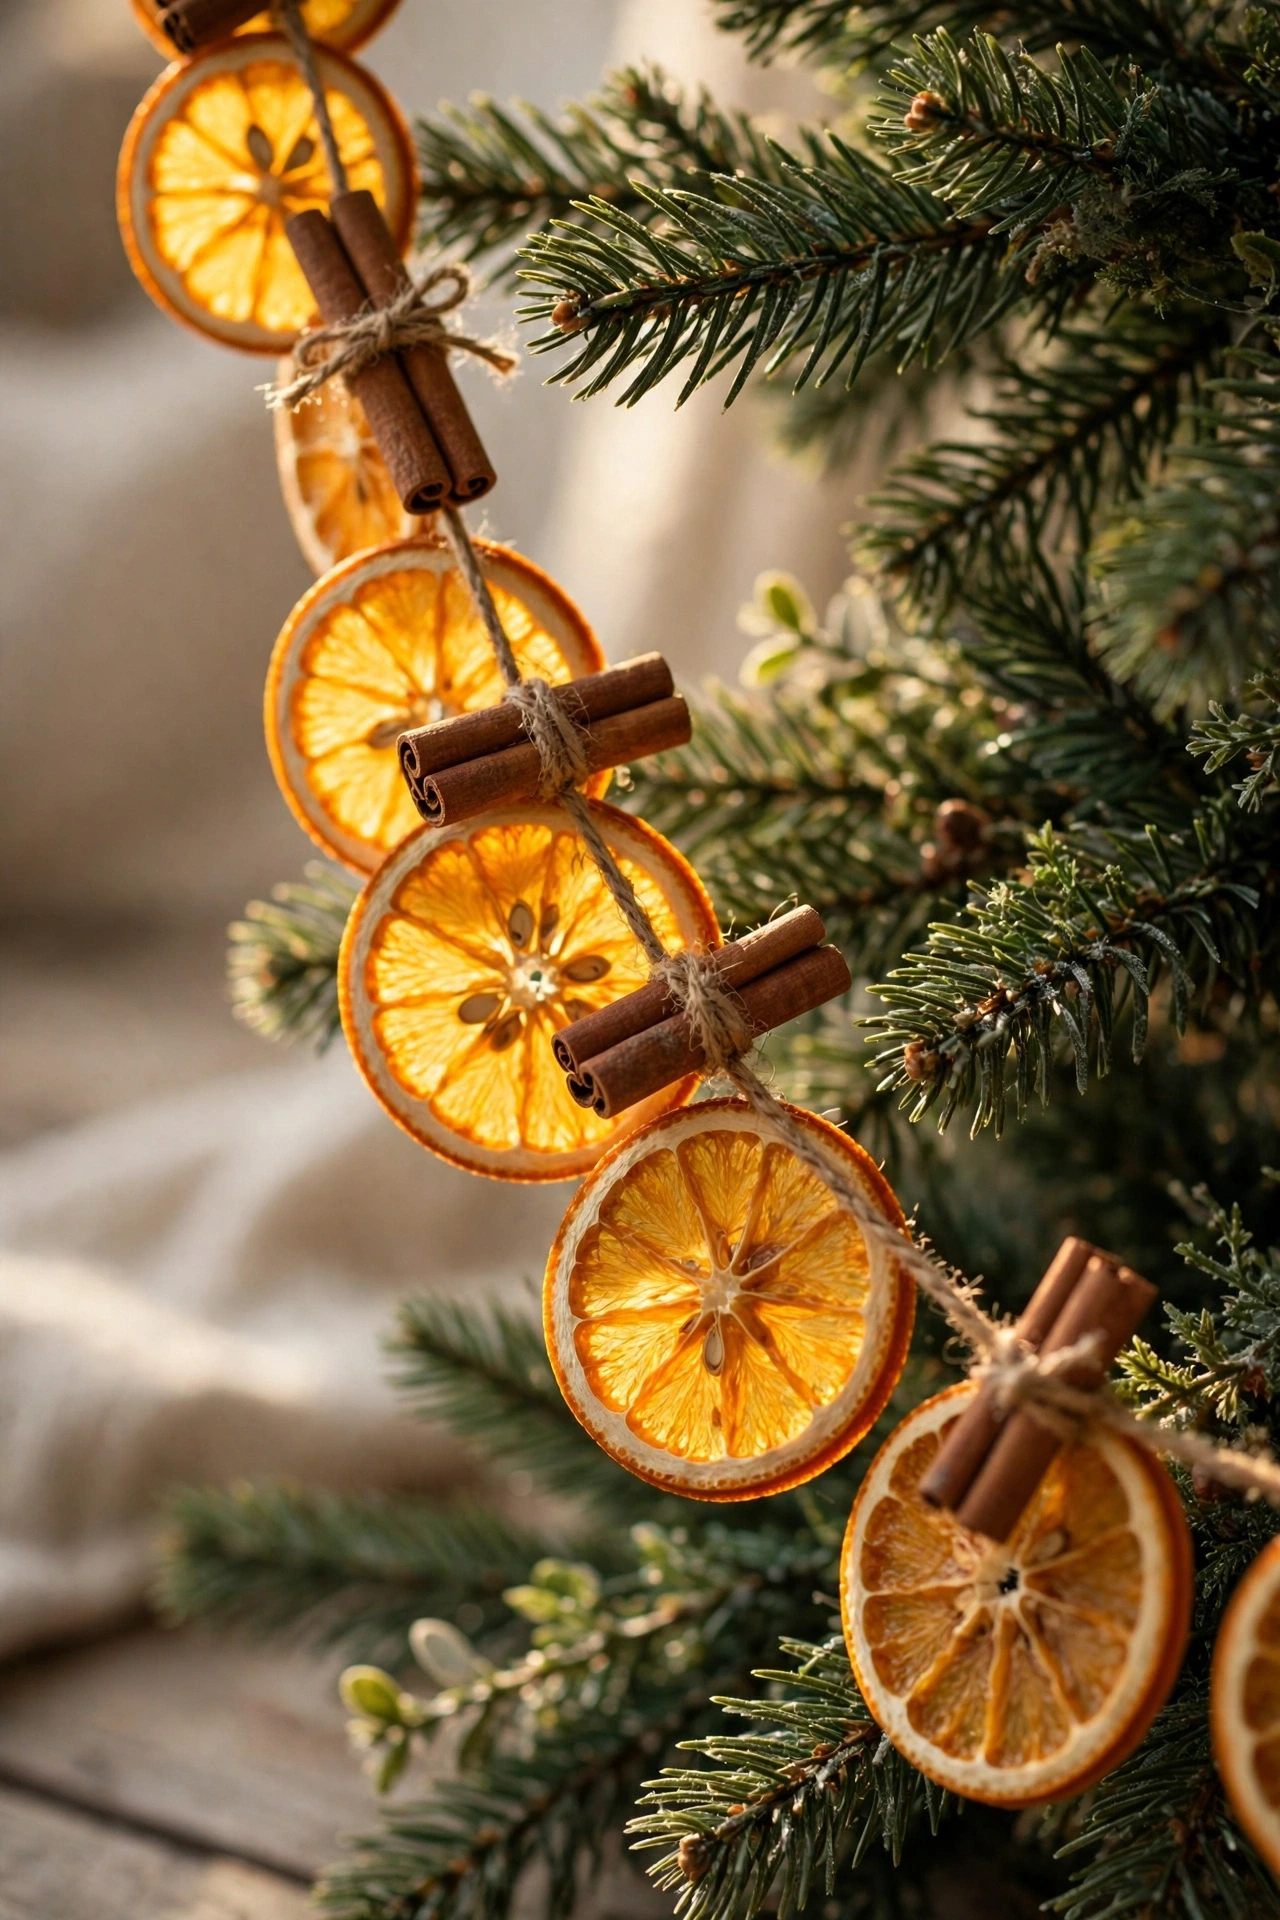
Dried Orange Slice & Cinnamon Stick Garland
String dried orange slices and small bundles of cinnamon sticks onto twine using a large needle, then loop the finished garland loosely through the branches for both a visual and a genuinely fragrant addition to the tree. Dried orange slices bring a warm, translucent amber color that glows beautifully when lit from behind by the tree’s inner lights, and the scent of cinnamon adds a sensory layer most other tree materials can’t offer. Space the orange slices a few inches apart along the garland, tucking a small bundle of two or three cinnamon sticks tied with twine between each one for added texture. Let this garland drape with a bit more slack than a tighter beaded garland, since a slightly loose, natural drape suits the organic materials better than a taut, engineered line. This idea works particularly well on a tree placed near a fireplace or a well-used room, where the citrus and spice scent gets noticed throughout the season.
Hand-Strung Pinecone Garland
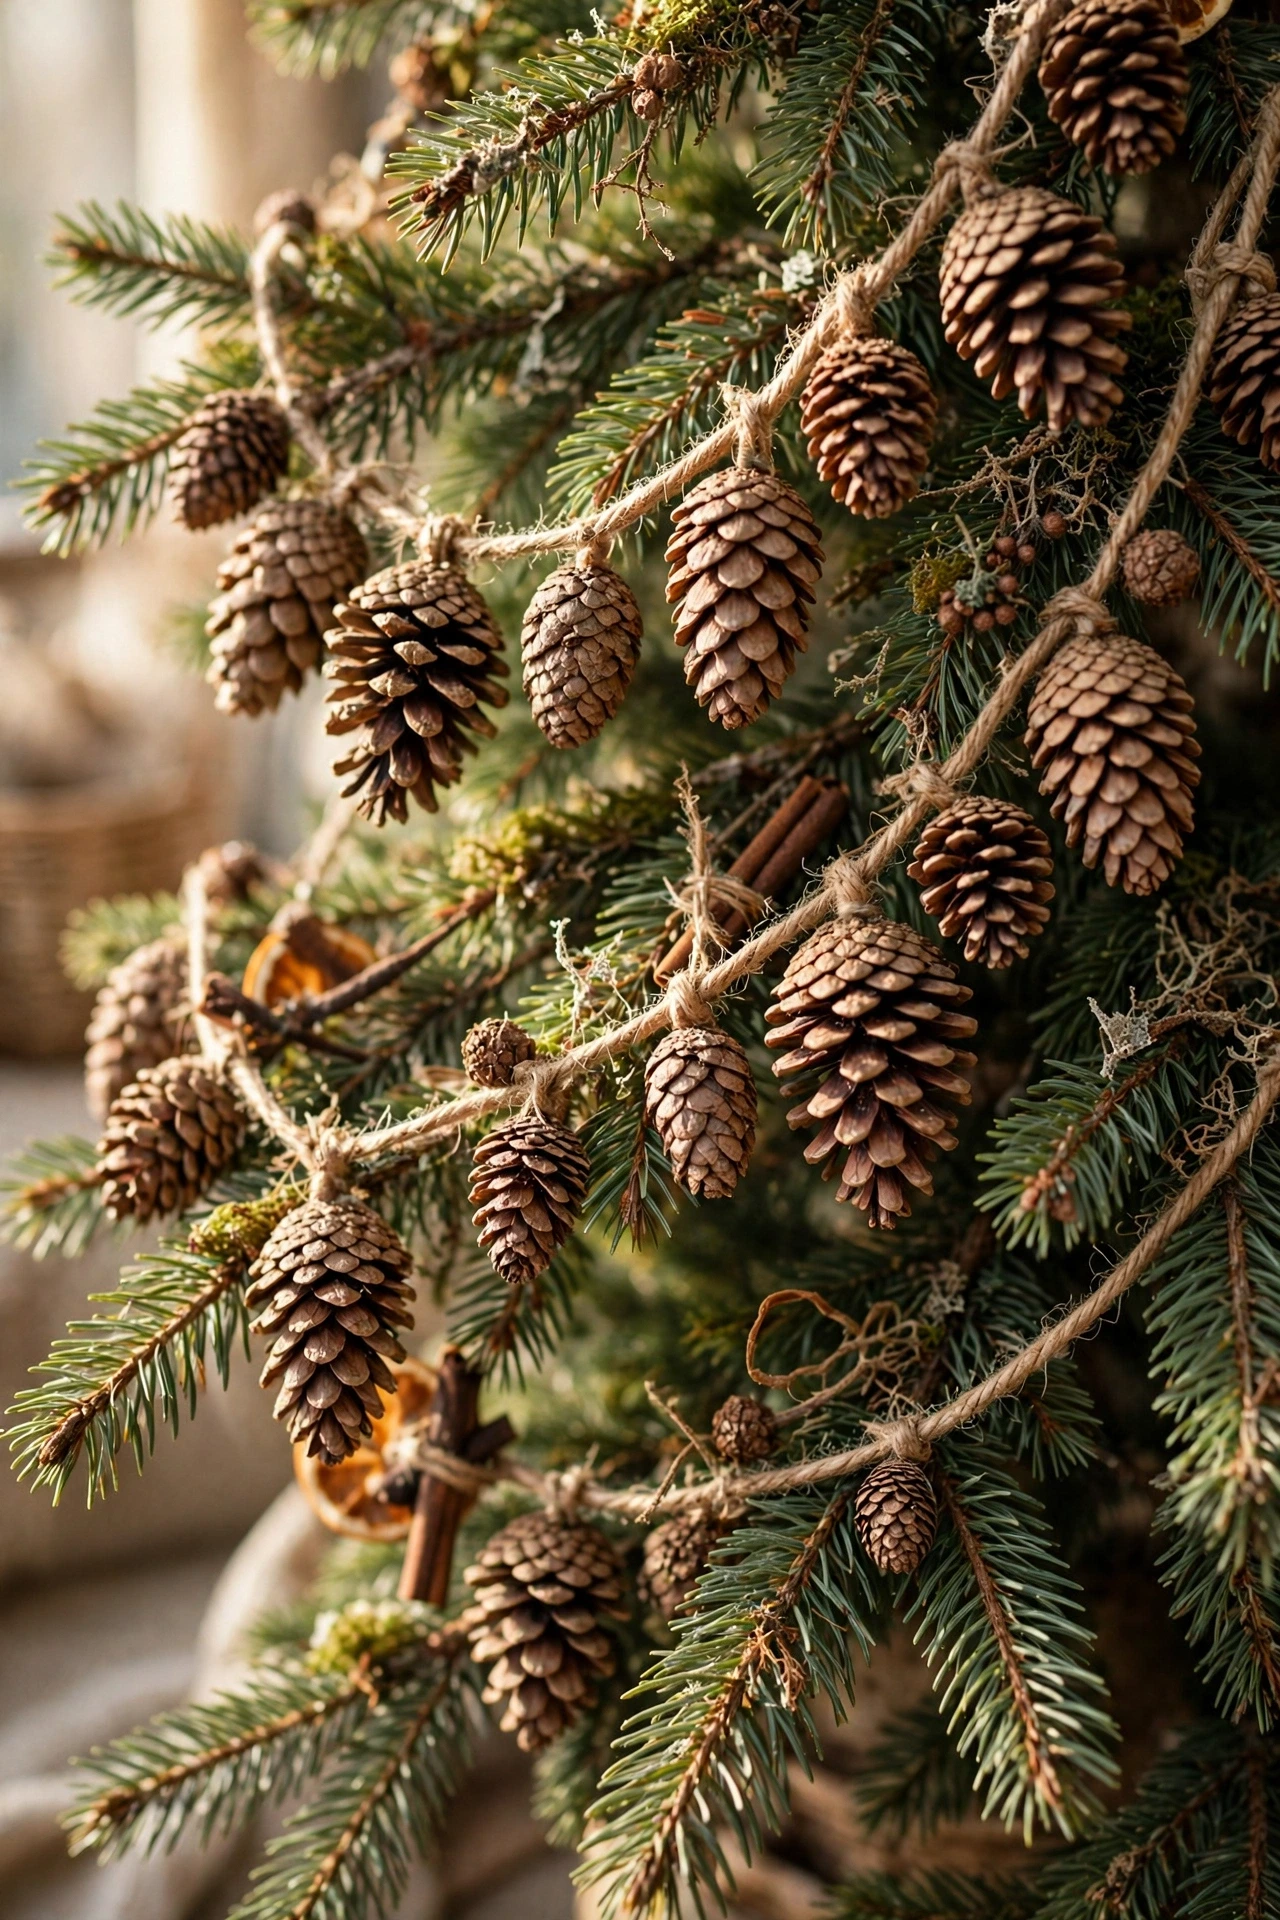
Collect natural pinecones from a walk outside or purchase a bag of small ones, then string them onto sturdy twine through their base and drape the finished garland extensively over and around the branches for an organic, textural display. A hand-strung pinecone garland has a rougher, more dimensional texture than almost any other garland material, and gathering the pinecones yourself adds a genuinely personal, handmade element to the tree. Mix pinecones of slightly different sizes along the garland rather than sorting them by uniform size, since that natural variation is part of what makes the finished piece look gathered rather than manufactured. Let the garland drape with generous slack, looping it loosely enough that individual pinecones can be seen clearly rather than bunching together. This is one of the most budget-friendly ideas on the entire list, since the only real cost is the twine, assuming you’re able to forage the pinecones yourself.
Cotton Boll Stems Tucked Into the Branches
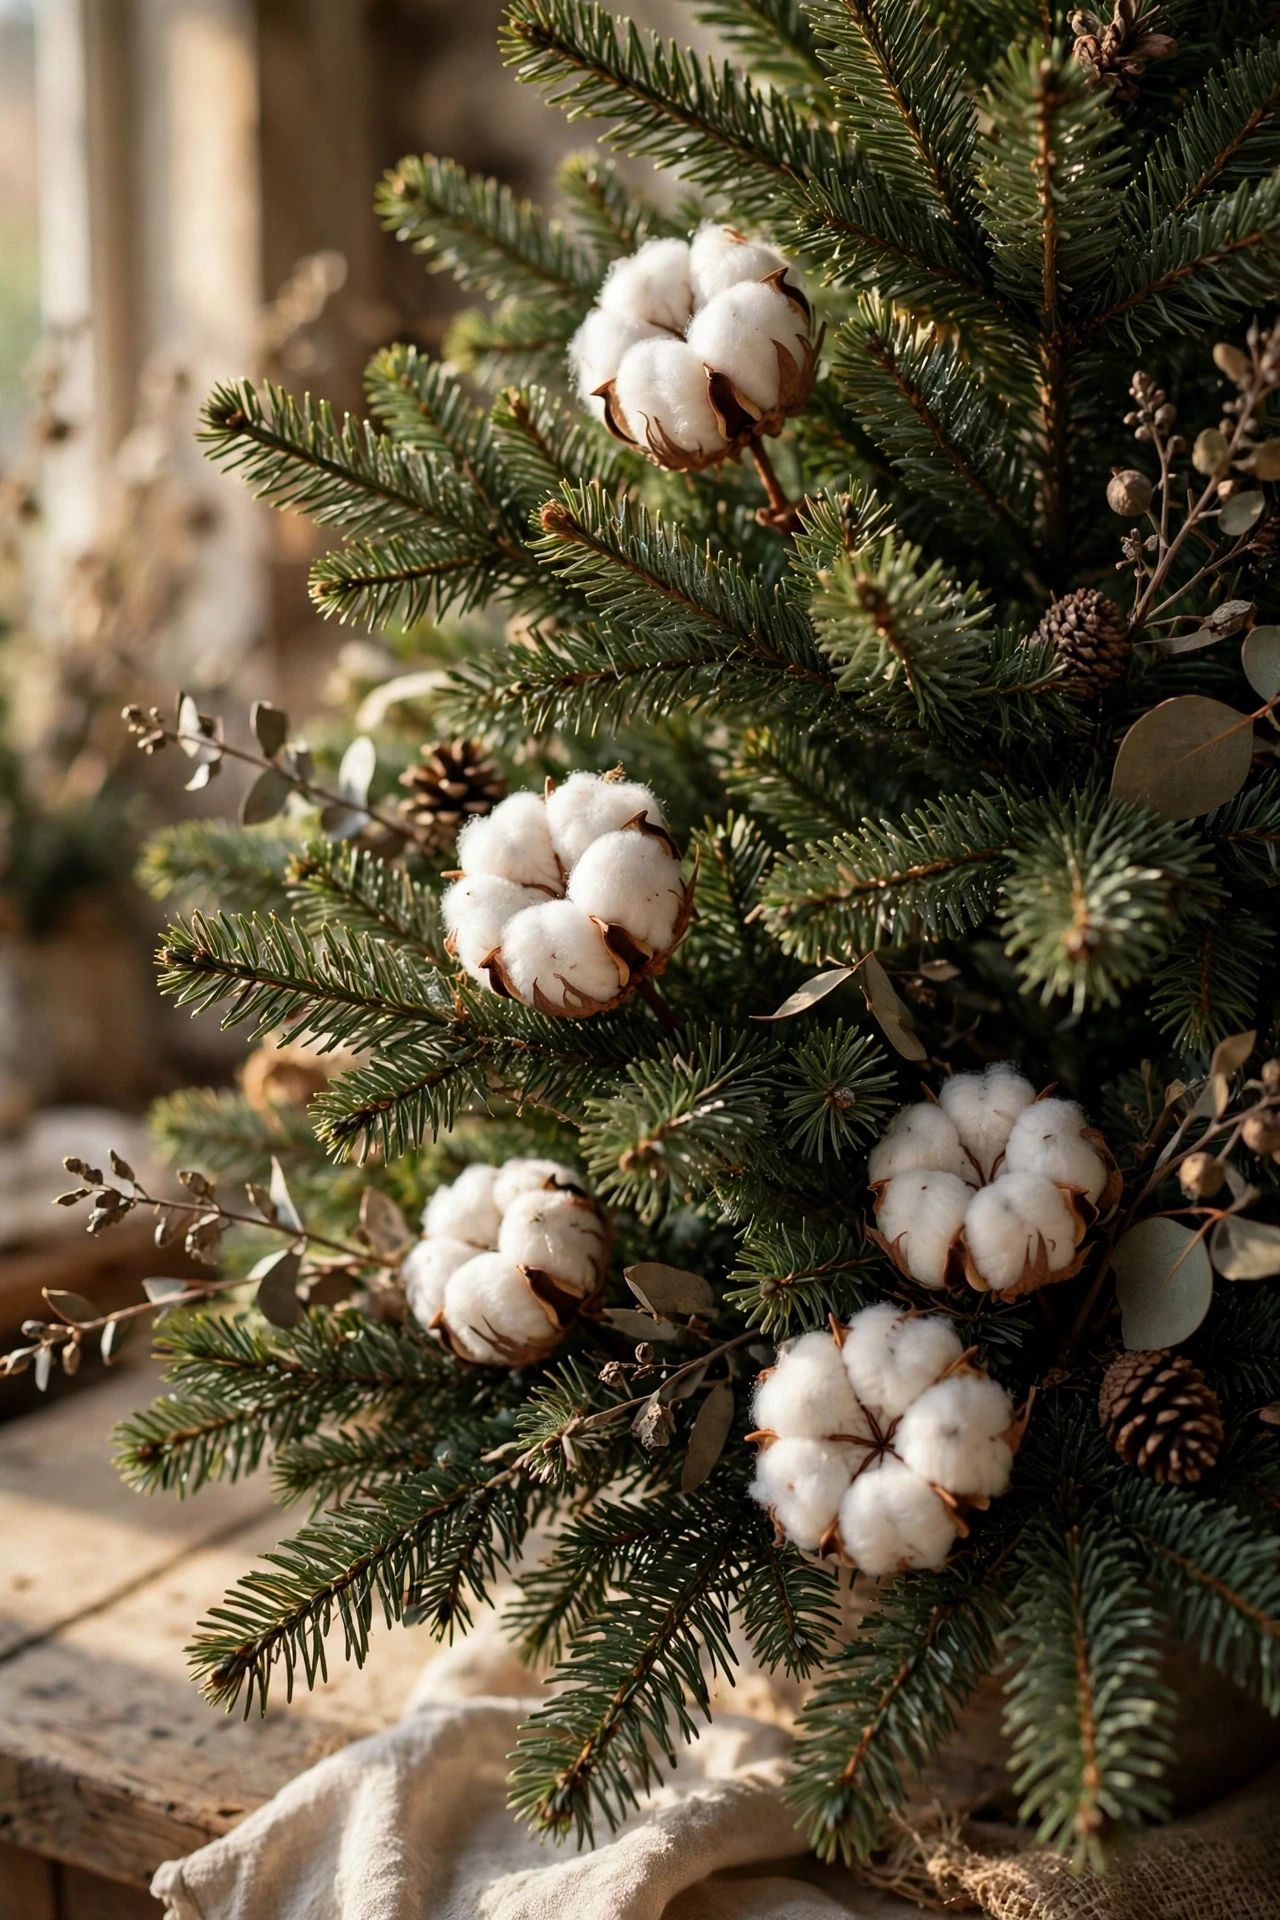
Tuck several cotton boll stems deep into the branches at varying heights, letting the soft white bolls peek out naturally against the green needles rather than clustering them all in one area. The raw, fluffy texture of real cotton bolls contrasts beautifully with the tree’s prickly needles, and this particular material has become a signature farmhouse accent because of its direct tie to the raw, agricultural textures the style draws from. Space the stems with enough gap between each one that they read as an intentional, scattered accent rather than a dense cluster in a single spot. Pair cotton boll stems with simple raw twine bows nearby, since both materials share the same soft, undyed, natural quality. This is a distinctive, less commonly used material compared to burlap or buffalo check, which makes it a good option if you want a farmhouse tree that stands out from a more typical version of the look.
Grain Sack Fabric Ornaments
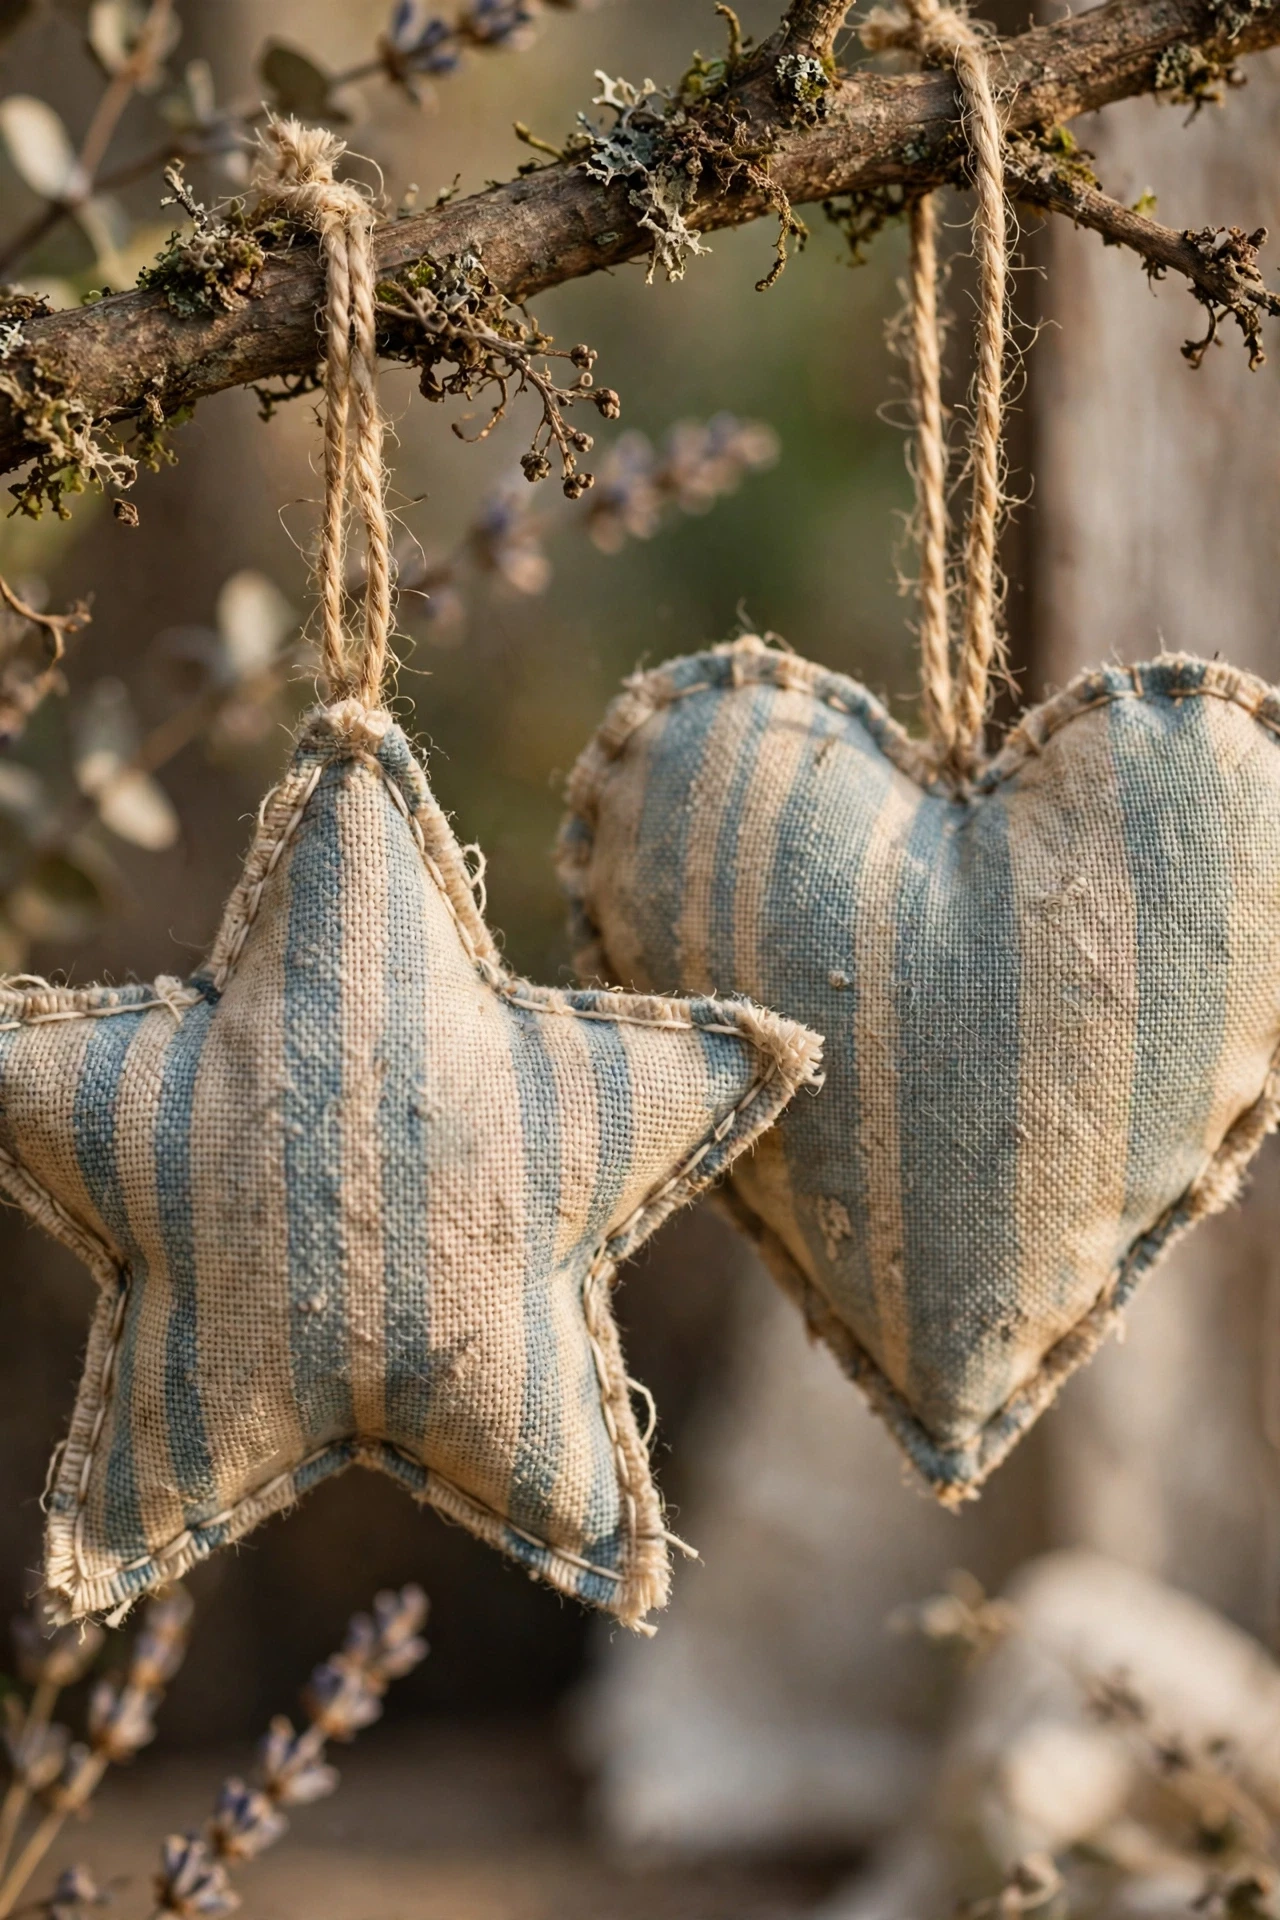
Cut simple ornament shapes — stars, hearts, or plain rectangles — from vintage-style grain sack fabric, with its characteristic faded stripe pattern, and stuff them lightly before hanging them scattered through the tree. Grain sack fabric carries a specific, recognizable striped texture tied directly to old European farmhouse textiles, and it’s one of the more distinctive materials collectors and stylists reach for when they want a farmhouse tree that reads as more authentic than a mass-produced version. Keep the shapes simple, since the fabric’s pattern is already doing the visual work and an overly detailed shape can compete with the stripe rather than complement it. Mix a few grain sack ornaments in with plainer burlap or wood pieces so the striped pattern reads as an accent rather than the entire tree’s theme. This material also works well repurposed into a small tree skirt or a set of matching stockings if you want to extend the look beyond just the tree itself.
Galvanized Tin Ornaments & Bucket Tree Stand
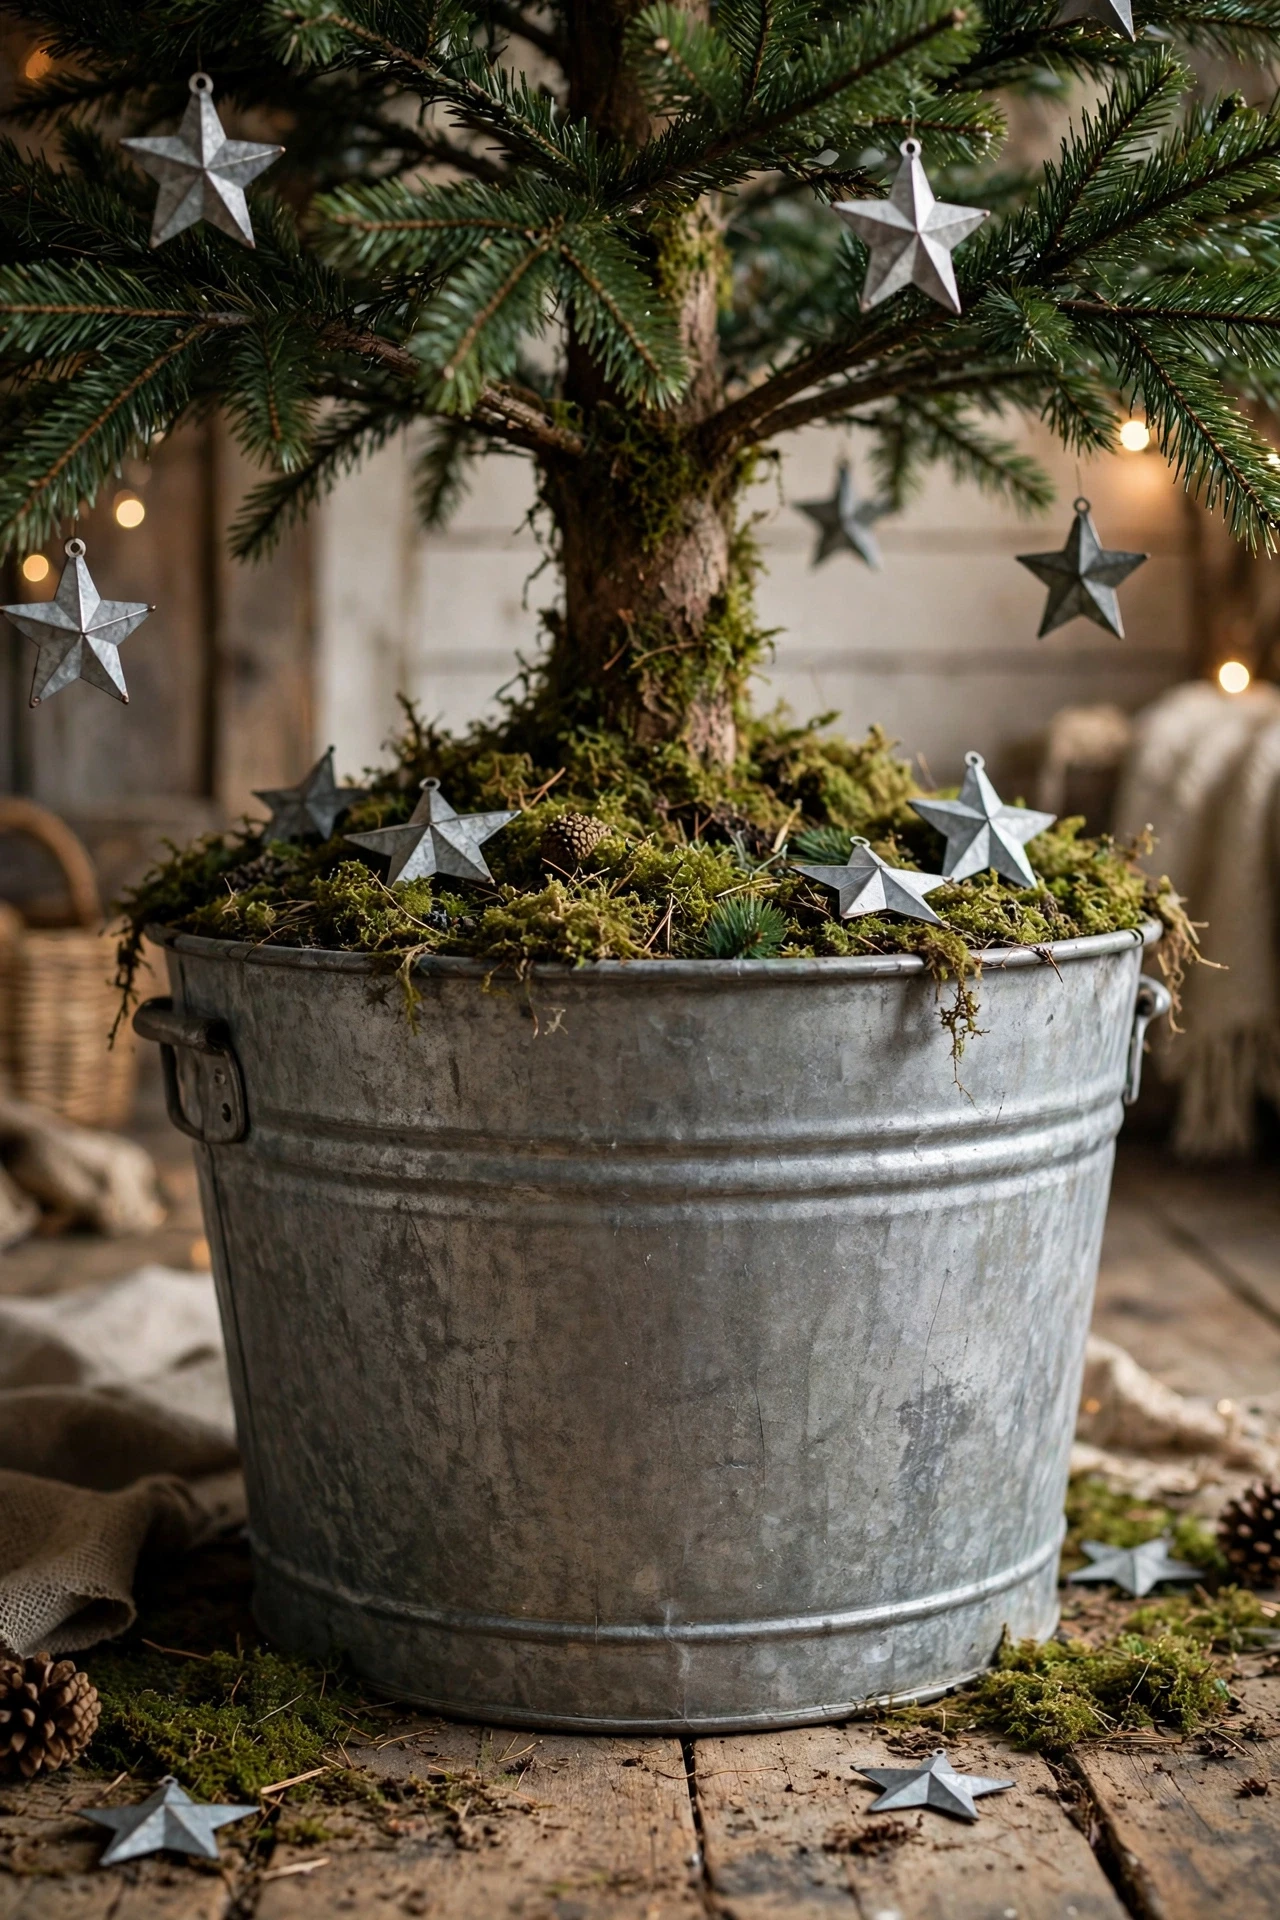
Add a handful of galvanized tin ornaments — small stars, bells, or simple geometric shapes — scattered through the tree, and consider setting the entire tree inside a galvanized metal bucket or tub instead of a standard tree stand skirt. The dull, silvery sheen of galvanized metal reflects light in a soft, muted way that’s completely different from bright glass or glitter, adding an industrial-farmhouse texture that pairs naturally with wood and burlap. Distribute the tin ornaments evenly rather than clustering them, since their subtle shine needs some space around each piece to actually register visually. If using a galvanized bucket as the tree’s base, make sure it’s large and sturdy enough to hold the tree stand securely inside it, and consider filling any gap around the trunk with dried moss or excelsior for a finished look. This combination of tin ornaments and a metal bucket base is one of the clearest ways to bring authentic farmhouse-industrial texture into an otherwise all-natural tree.
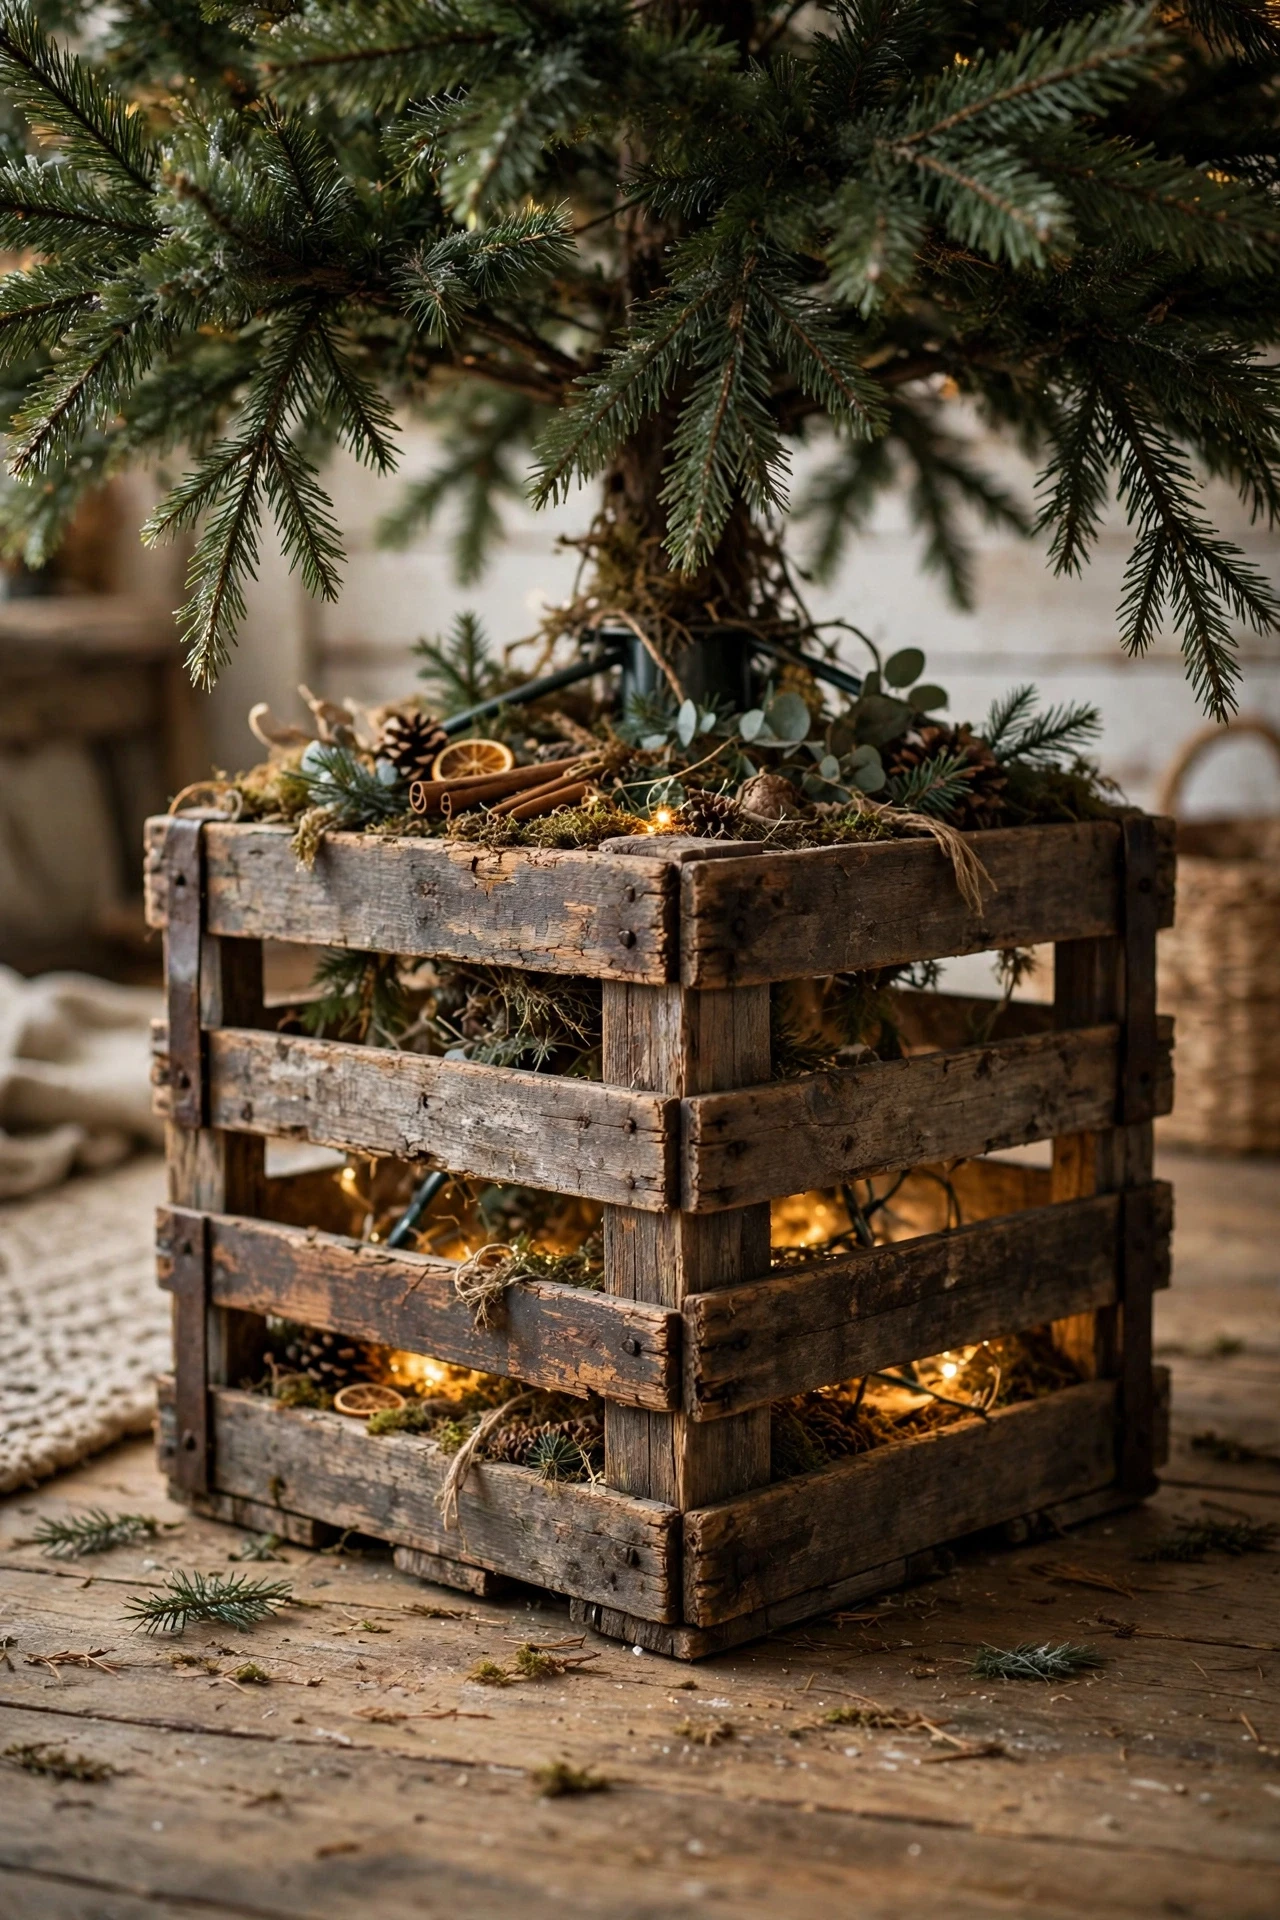
Wooden Crate Tree Collar
Set the tree stand inside an open wooden crate sized to fit around its base, hiding the plastic stand completely and giving the tree a finished, farmhouse-appropriate foundation instead of a plain skirt. A wooden crate collar is one of the most recognizable farmhouse styling details because it swaps a soft fabric base for a solid, textural one that echoes the wood tones used elsewhere in the tree’s ornaments and garland. Choose a crate with visible wood grain and slightly distressed or weathered slats rather than a smooth, new-looking one, since some visible wear reinforces the rustic, well-used farmhouse aesthetic. Measure your tree stand’s footprint before buying or building a crate, leaving enough interior clearance for the stand’s water reservoir and any adjustment mechanisms. This is a sturdier, more permanent-feeling alternative to a fabric tree skirt, and it holds up well in households with pets or young children who might otherwise pull at a soft skirt.
Hand-Stitched Quilt Tree Skirt
Wrap the base of the tree in a hand-stitched or vintage-style quilt instead of a traditional tree skirt, letting it pool loosely around the stand rather than pulling it perfectly flat. A quilt brings a genuinely different texture and visual weight than a standard skirt, with visible stitching and often a patchwork pattern that immediately reads as heirloom and homemade. Choose a quilt in muted, traditional colors — faded reds, creams, soft blues — rather than anything with a glossy or synthetic finish, since the fabric’s texture is what carries the farmhouse feeling. If you don’t own a quilt suited to this purpose, thick unbleached muslin fabric is a simpler, more budget-friendly alternative that still achieves a soft, rustic base layer. Layer a few wrapped gifts in kraft paper and twine on top of the quilt to extend the natural, handmade color story all the way to the floor.

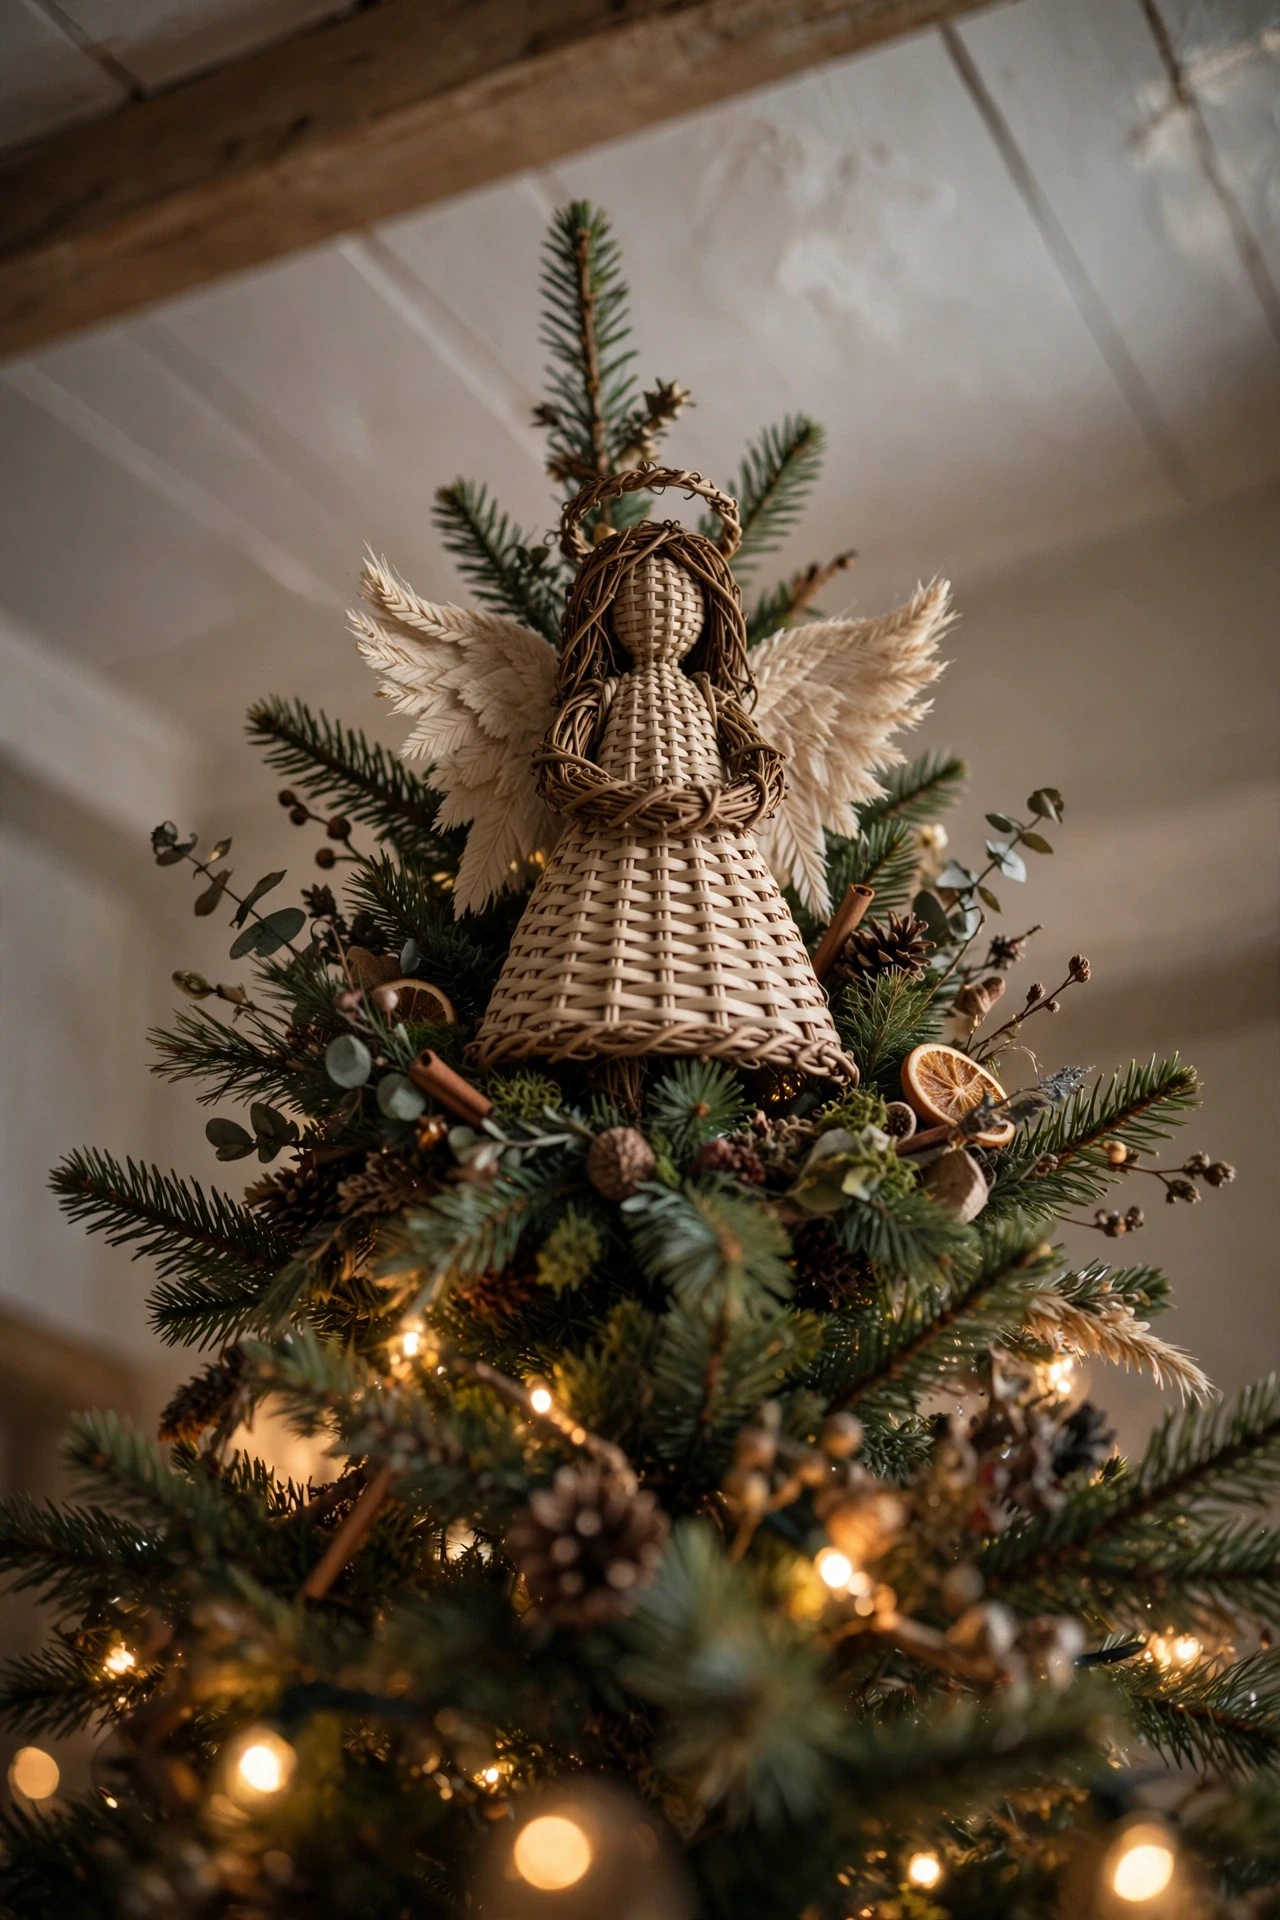
Grapevine Angel Topper
Top the tree with a grapevine angel figure — a topper made from woven natural grapevine rather than fabric or glass — positioned slightly down into the top branches so she settles into the tree rather than perching stiffly above it. Grapevine has an irregular, woven texture that immediately reads as handmade and natural, and it’s a common material found at craft fairs or thrifted from flea markets, which makes it a genuinely accessible option for anyone building a farmhouse tree on a budget. If your grapevine angel arrives in a raw tan color and you want a slightly more finished look, a light coat of white or cream spray paint softens the color without hiding the woven texture underneath. Secure the topper firmly to the central trunk with floral wire, since grapevine pieces are often lighter and can shift more easily than a solid glass or resin topper. This is one of the more distinctive topper choices on this list, and it tends to become a genuinely personal, one-of-a-kind piece since so many grapevine angels are handmade or upcycled rather than mass-produced.
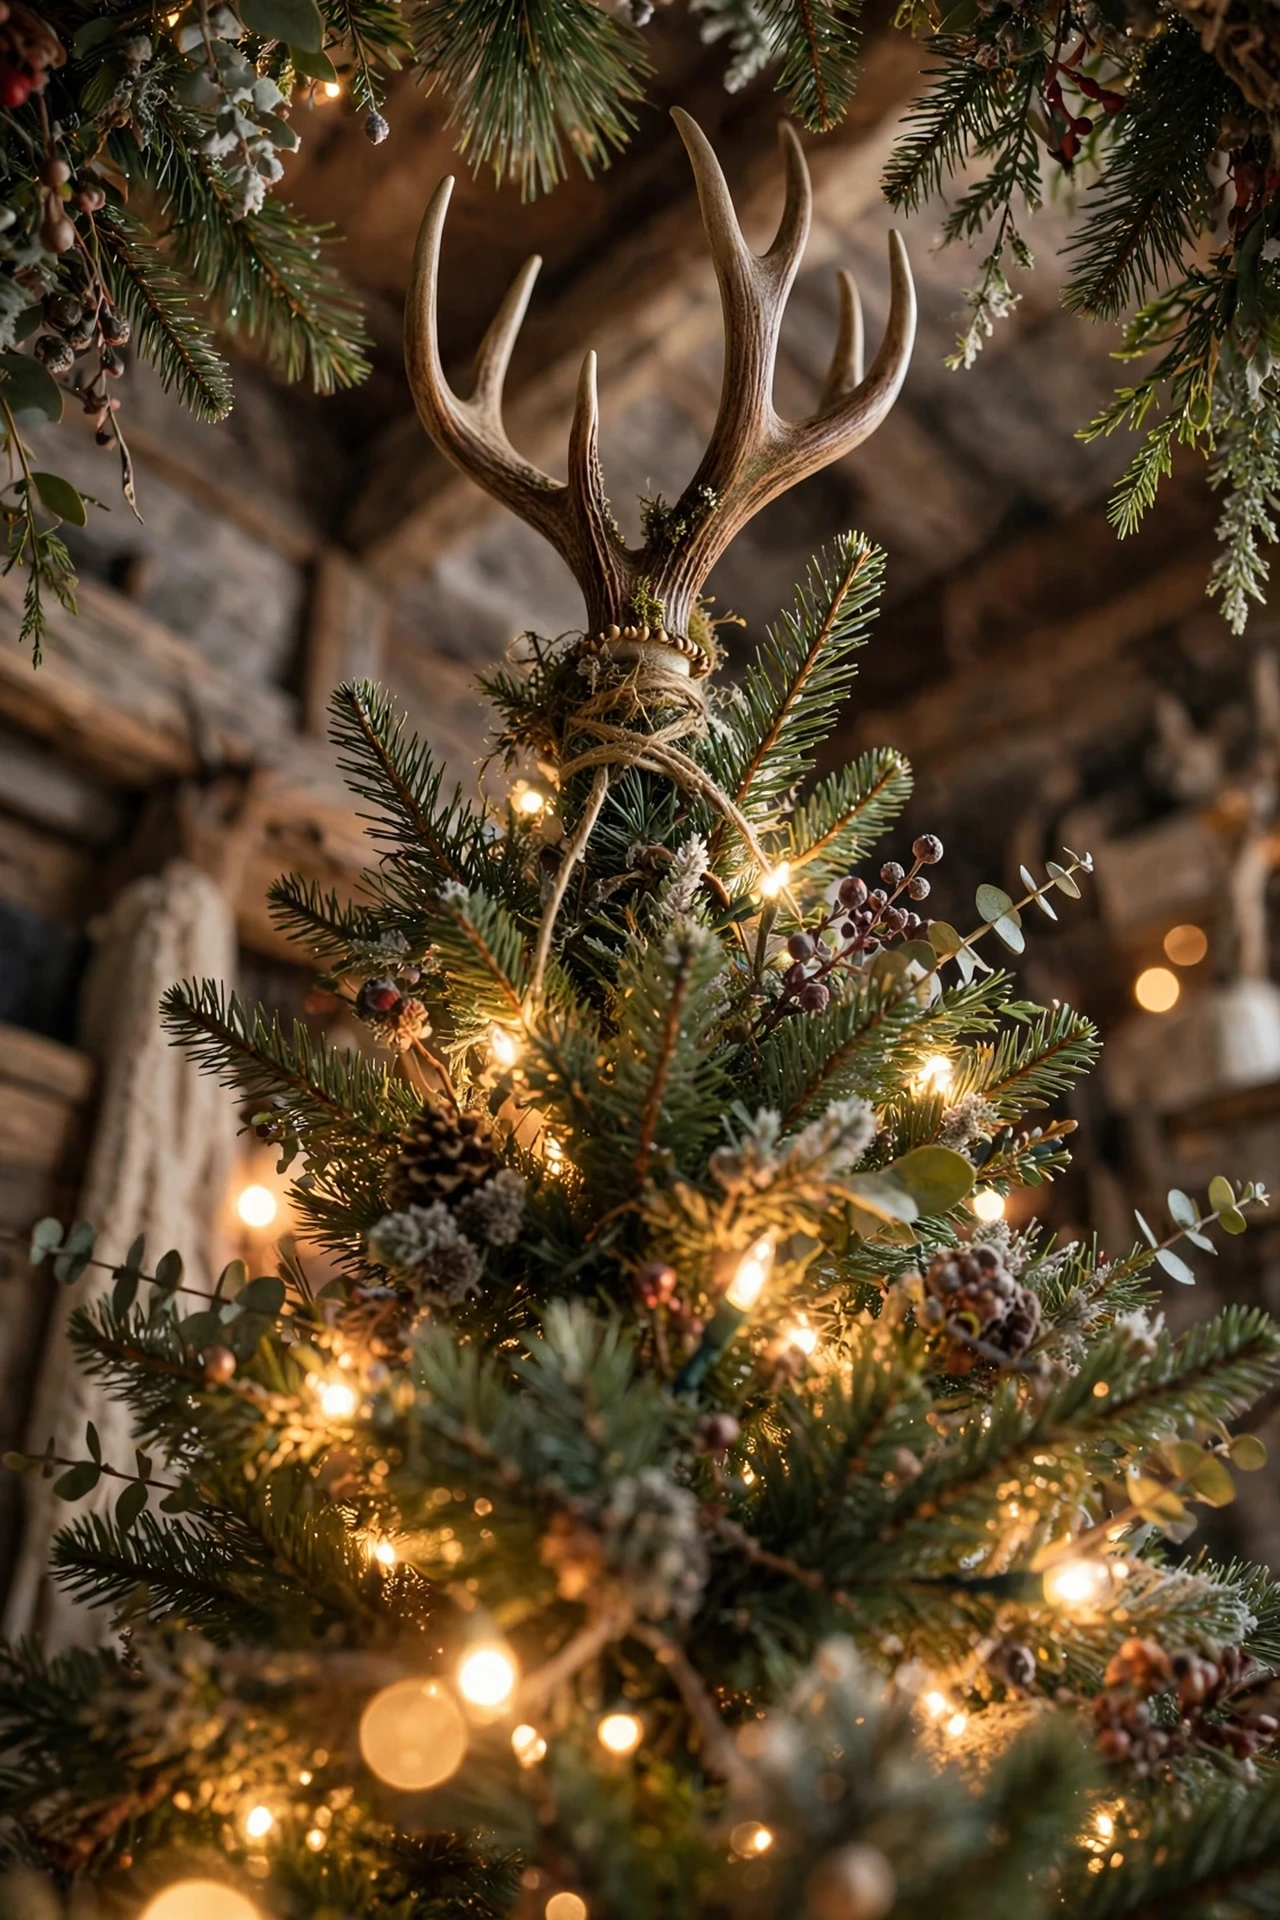
Antler or Carved Wood Star Topper
Choose a natural or faux antler shape, or a simple carved wooden star, as an alternative topper for a more rugged, cabin-inspired take on the farmhouse aesthetic. Antlers carry a strong association with woodland and lodge-style decorating, and using one as a tree topper — either a single shed antler or a small antler-shaped resin piece — gives the tree a distinctly masculine, cabin-in-the-woods quality that differs from a softer angel or star. If sourcing a real antler, local deer processing facilities are often a good, low-cost source, since sheds are frequently discarded and given away for free. A carved wooden star offers a gentler alternative with the same natural material story, cut from a single block or built from thin wood slats in a simple star silhouette. Either topper pairs particularly well with the galvanized tin and wooden crate ideas above, since all three share the same raw, unfinished material language.
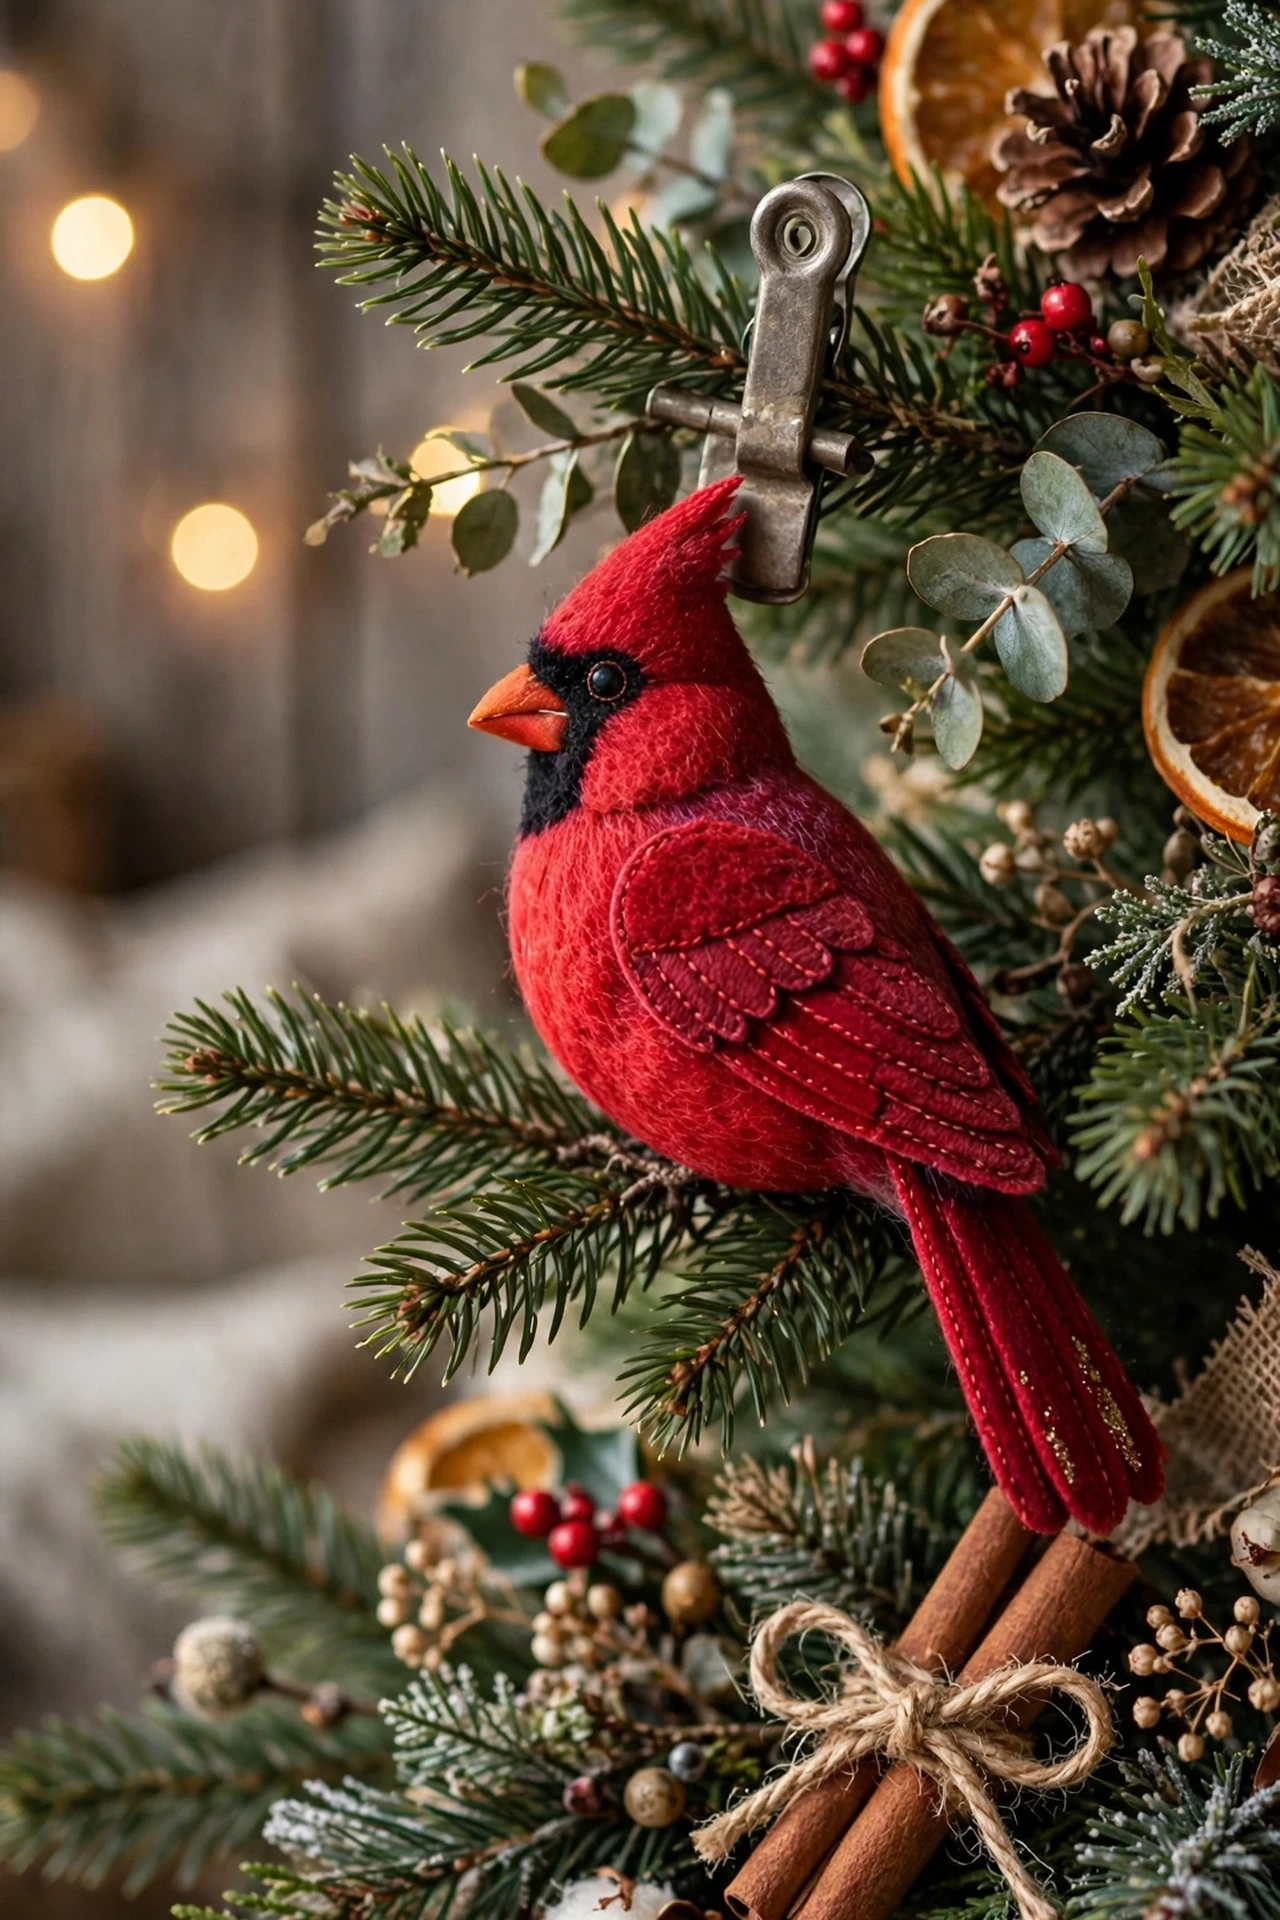
Cardinal Bird Clip-On Accents
Clip a handful of realistic cardinal bird ornaments onto the branches at varying depths, positioning some closer to the trunk and others near the outer tips so they look like they’ve genuinely landed on the tree rather than been hung as flat ornaments. Cardinals are a classic winter and Christmas motif specifically because their bright red color and real-world association with snowy branches translate naturally into farmhouse and woodland tree styling. Choose cardinals with clip-on feet rather than a hanging loop, since the clip mechanism lets you angle each bird naturally along a branch instead of having it dangle straight down like a typical ornament. Space them with a few branches of distance between each bird so they read as scattered wildlife rather than a repeated pattern. This is a small addition that consistently draws attention, since the pop of bright red against the greenery reads clearly even from across the room.
Felted Flannel & Gingham Fabric Ornaments
Add a set of soft fabric ornaments — felted stars, small flannel hearts, or simple gingham shapes — scattered through the tree for a warm, textile-based layer that contrasts nicely against harder materials like wood and tin. Fabric ornaments bring a genuinely soft, tactile quality to a tree that’s otherwise built from wood, metal, and natural fiber, and their slightly imperfect, handmade edges reinforce the farmhouse aesthetic’s overall embrace of simplicity over polish. Cut simple shapes from leftover fabric scraps if you’re making your own, since even a plain, unadorned shape carries the farmhouse look through its material alone. Mix flannel and gingham patterns in a consistent, muted color story — soft reds, warm creams, faded plaids — rather than introducing several unrelated bright colors. This is one of the most approachable DIY ideas on the entire list, since fabric ornaments require only basic sewing or even simple hot-glue construction.

Neutral Muted Palette Ornament Layer
Build a core ornament layer using farmhouse-specific muted tones — cream, ivory, taupe, soft sage green, warm brown, and distressed or matte metallics — instead of the bright, glossy red and gold typical of a traditional tree. This softened, low-saturation palette is one of the clearest identifiers of the modern farmhouse aesthetic, since it trades vibrancy for a calmer, more cohesive overall look. Distribute the muted ornaments evenly across the tree first, establishing the base color story, before adding any bolder accent pieces like buffalo check or cardinals on top. Keep any metallics in this layer matte or distressed rather than high-shine, since a glossy gold ornament will read as more traditional or glam than farmhouse. This neutral base is what lets every other rustic material on this list — burlap, wood, tin — feel like it belongs together instead of clashing.

Yarn Pom-Pom Garland
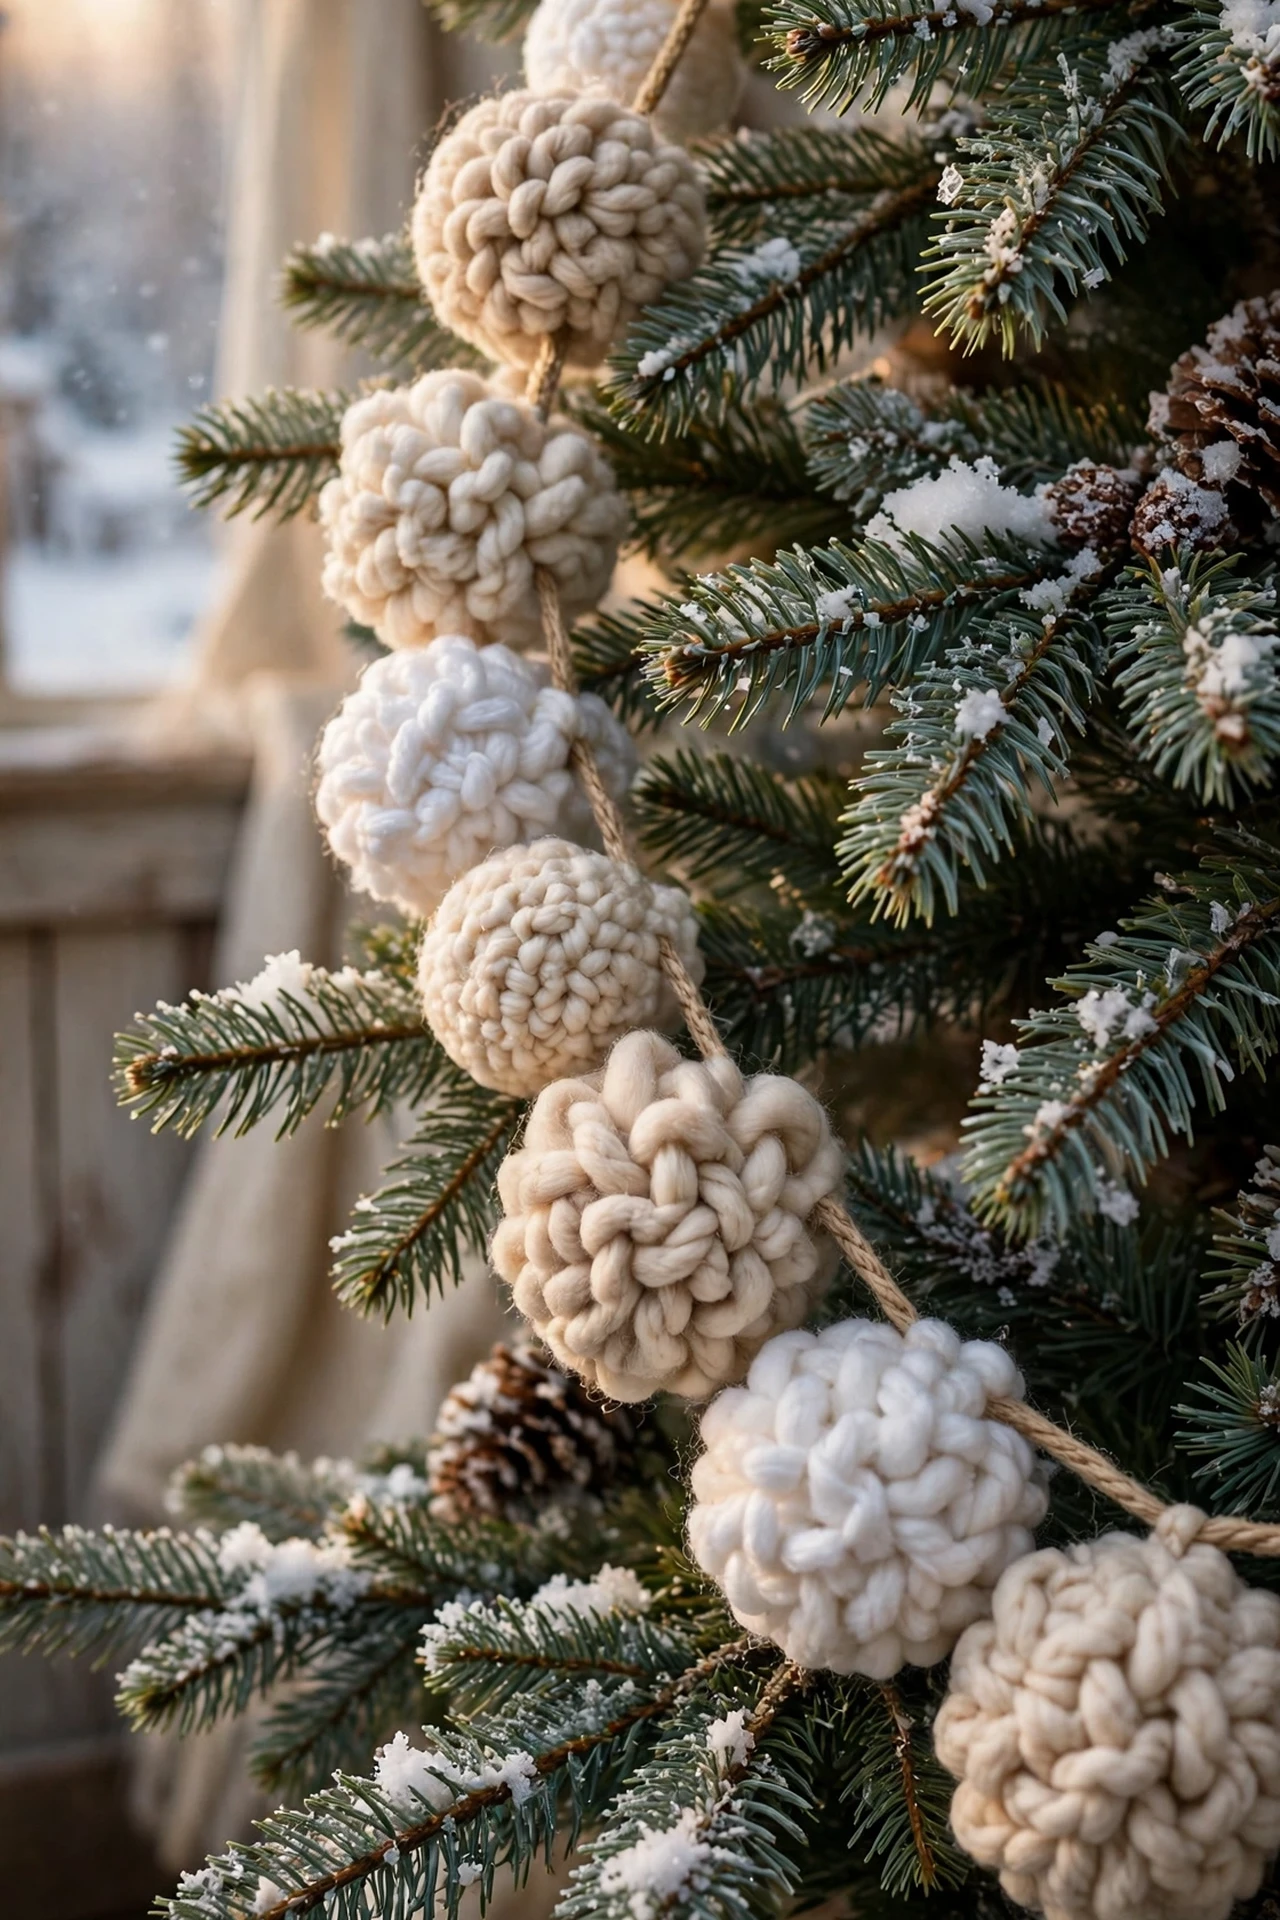
String a long garland of chunky yarn pom-poms in cream, white, and soft gray, and drape it through the branches for a soft, textural accent that mimics the look of fresh snow without any glitter or glass involved. Yarn pom-poms bring a genuinely cozy, tactile quality that photographs beautifully against green needles, and making them yourself from leftover yarn is one of the more budget-friendly projects on this entire list. Wrap yarn repeatedly around a fork or a simple cardboard template to form each pom-pom, then tie off the center tightly and trim into a rounded shape before threading them onto twine. Space the pom-poms with a few inches of visible garland string between each one, rather than packing them tightly, so the finished garland has some visual rhythm rather than reading as one solid mass. This idea pairs particularly well with the neutral ornament layer above, since both rely on soft, low-saturation color rather than pattern or shine.
Mini Wooden Farmhouse Village Tucked in the Branches
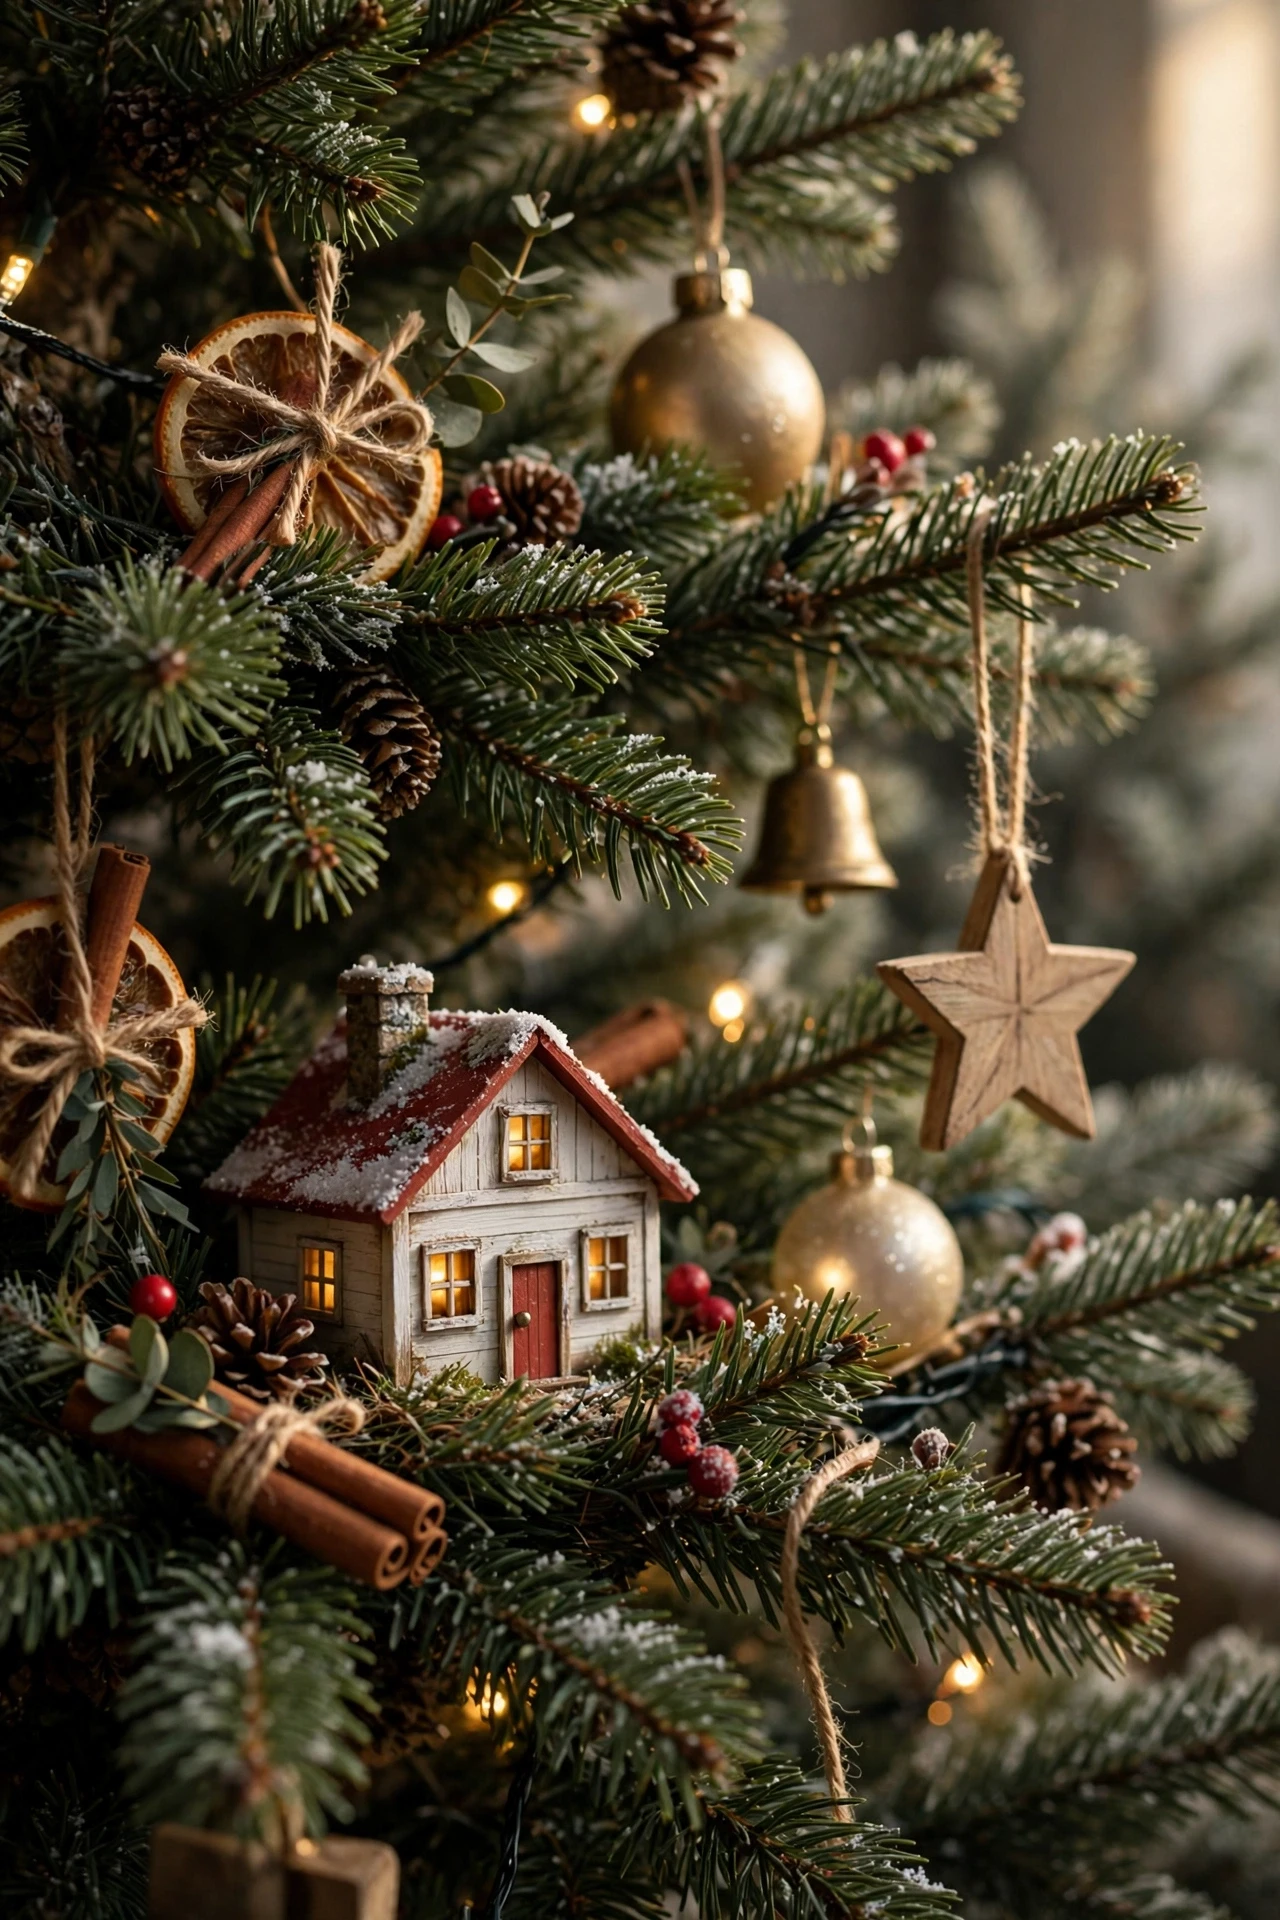
Tuck a few small wooden farmhouse-style buildings — simple painted houses, a barn, a tiny church — directly into the lower and middle branches of the tree, nestled among the ornaments rather than displayed only on a nearby shelf. Small farmhouse village pieces add a storybook, three-dimensional quality to the tree, giving it a scene-like depth that flat ornaments alone can’t achieve. Choose pieces finished in the same muted cream, white, and warm brown tones used elsewhere on the tree, so the little buildings blend into the color story instead of standing out as an unrelated collection. Angle each piece so its front-facing detail, like a painted door or a tiny window, is visible from the tree’s main viewing side. This is a charming detail that consistently draws a second look from anyone seeing the tree for the first time, since it’s a less common addition than most other farmhouse tree materials.
Raw Jute Twine Bows
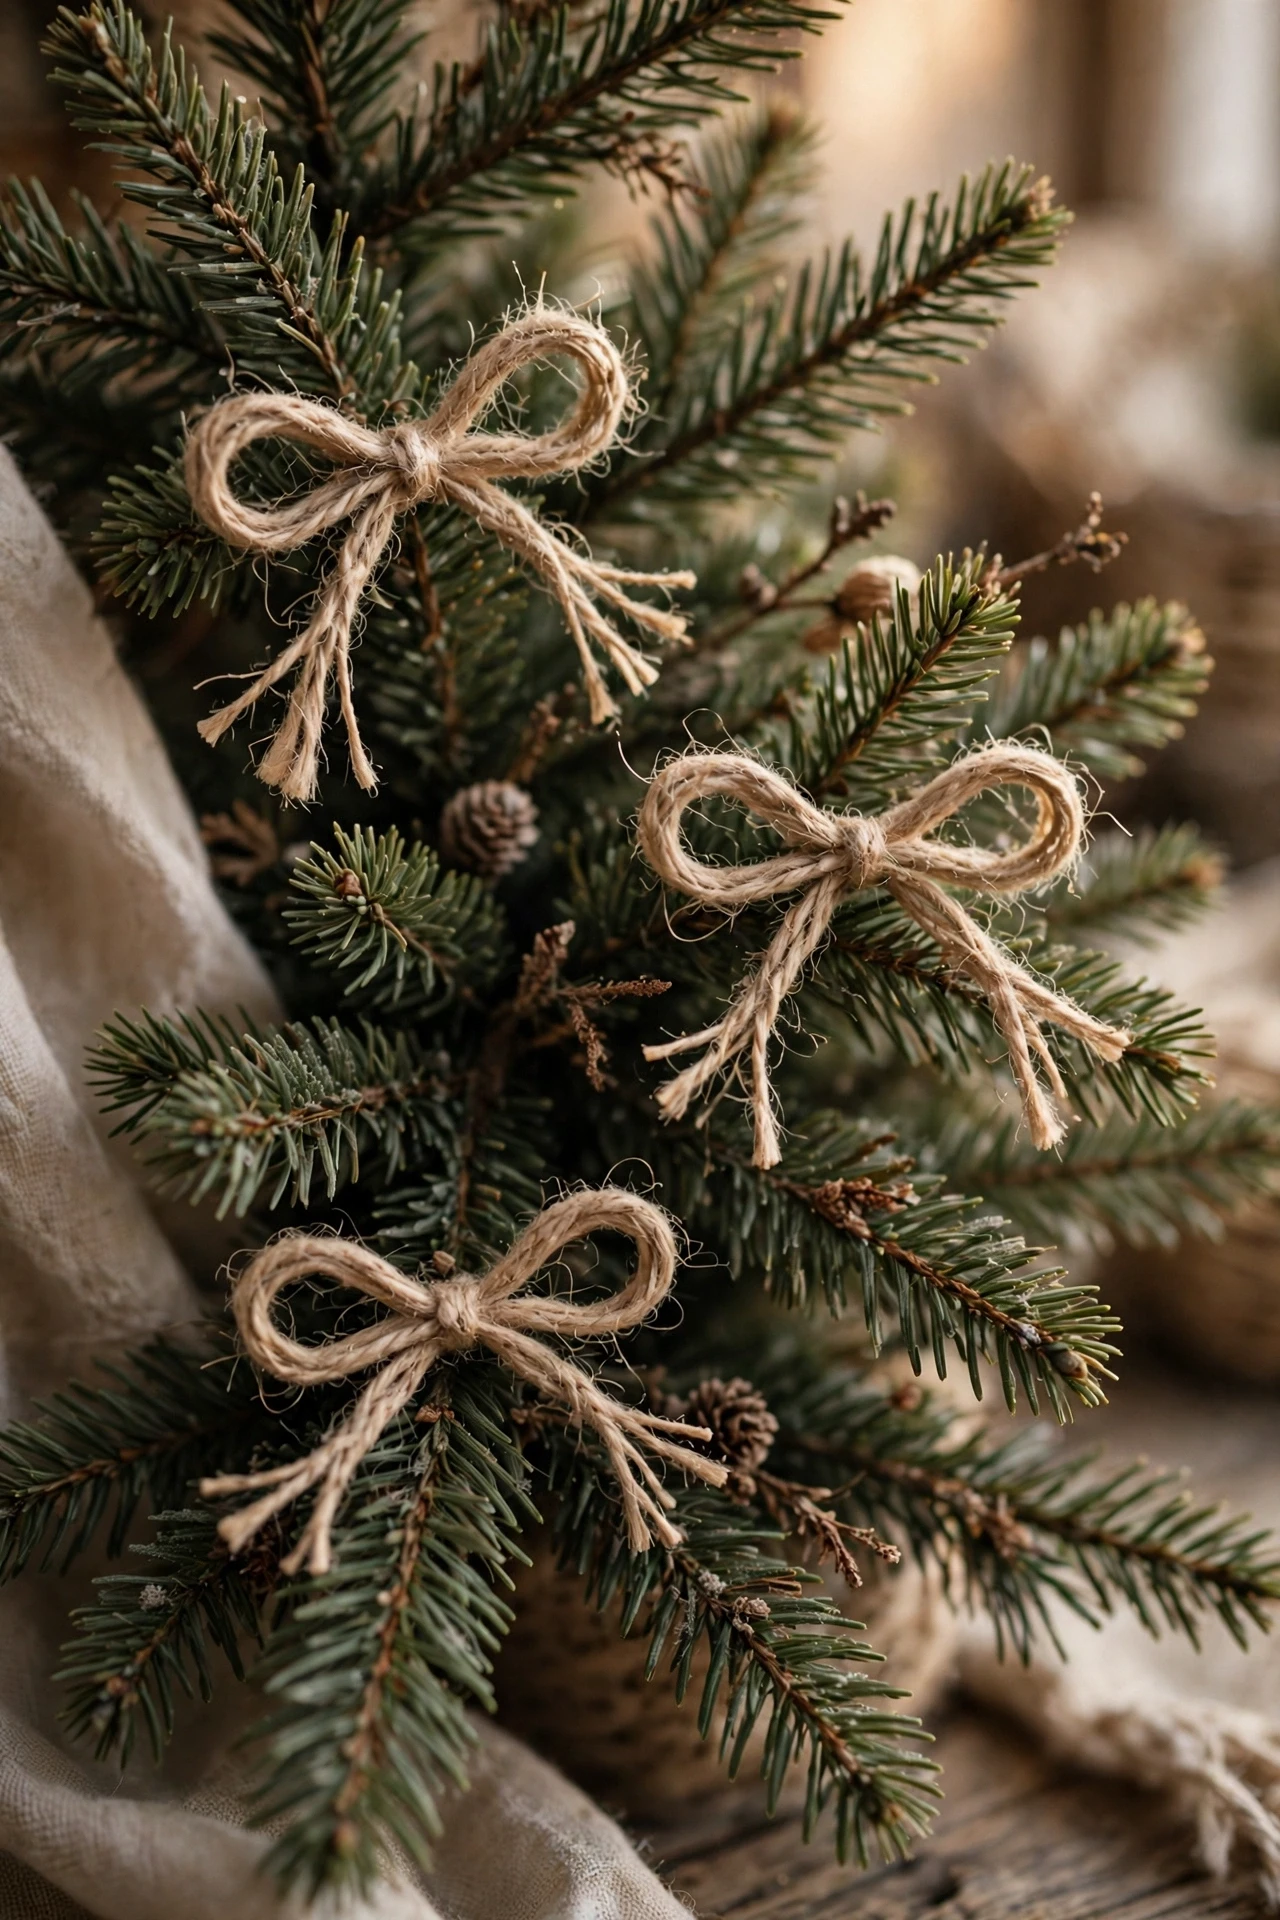
Tie simple bows from raw, undyed jute twine and tuck them into the branches at varying heights, letting the rough, natural fiber texture stand entirely on its own without any additional embellishment. Jute twine is one of the plainest, most affordable materials on this entire list, but its raw, slightly frayed texture carries real farmhouse authenticity precisely because it looks unpolished and utilitarian rather than decorative. Keep the bows small and slightly irregular rather than perfectly shaped, since a too-tidy bow undercuts the raw, handmade quality that makes twine work in the first place. Scatter them unevenly through the tree, concentrating a few more near cotton boll stems or wood slice ornaments so the raw materials read as a connected family of textures. This is a genuinely no-cost or near-no-cost addition if you already have twine on hand, and it’s one of the fastest ways to soften a tree that feels too polished or too glossy.
Vintage Pastel Glass Ornaments Hung Sparingly
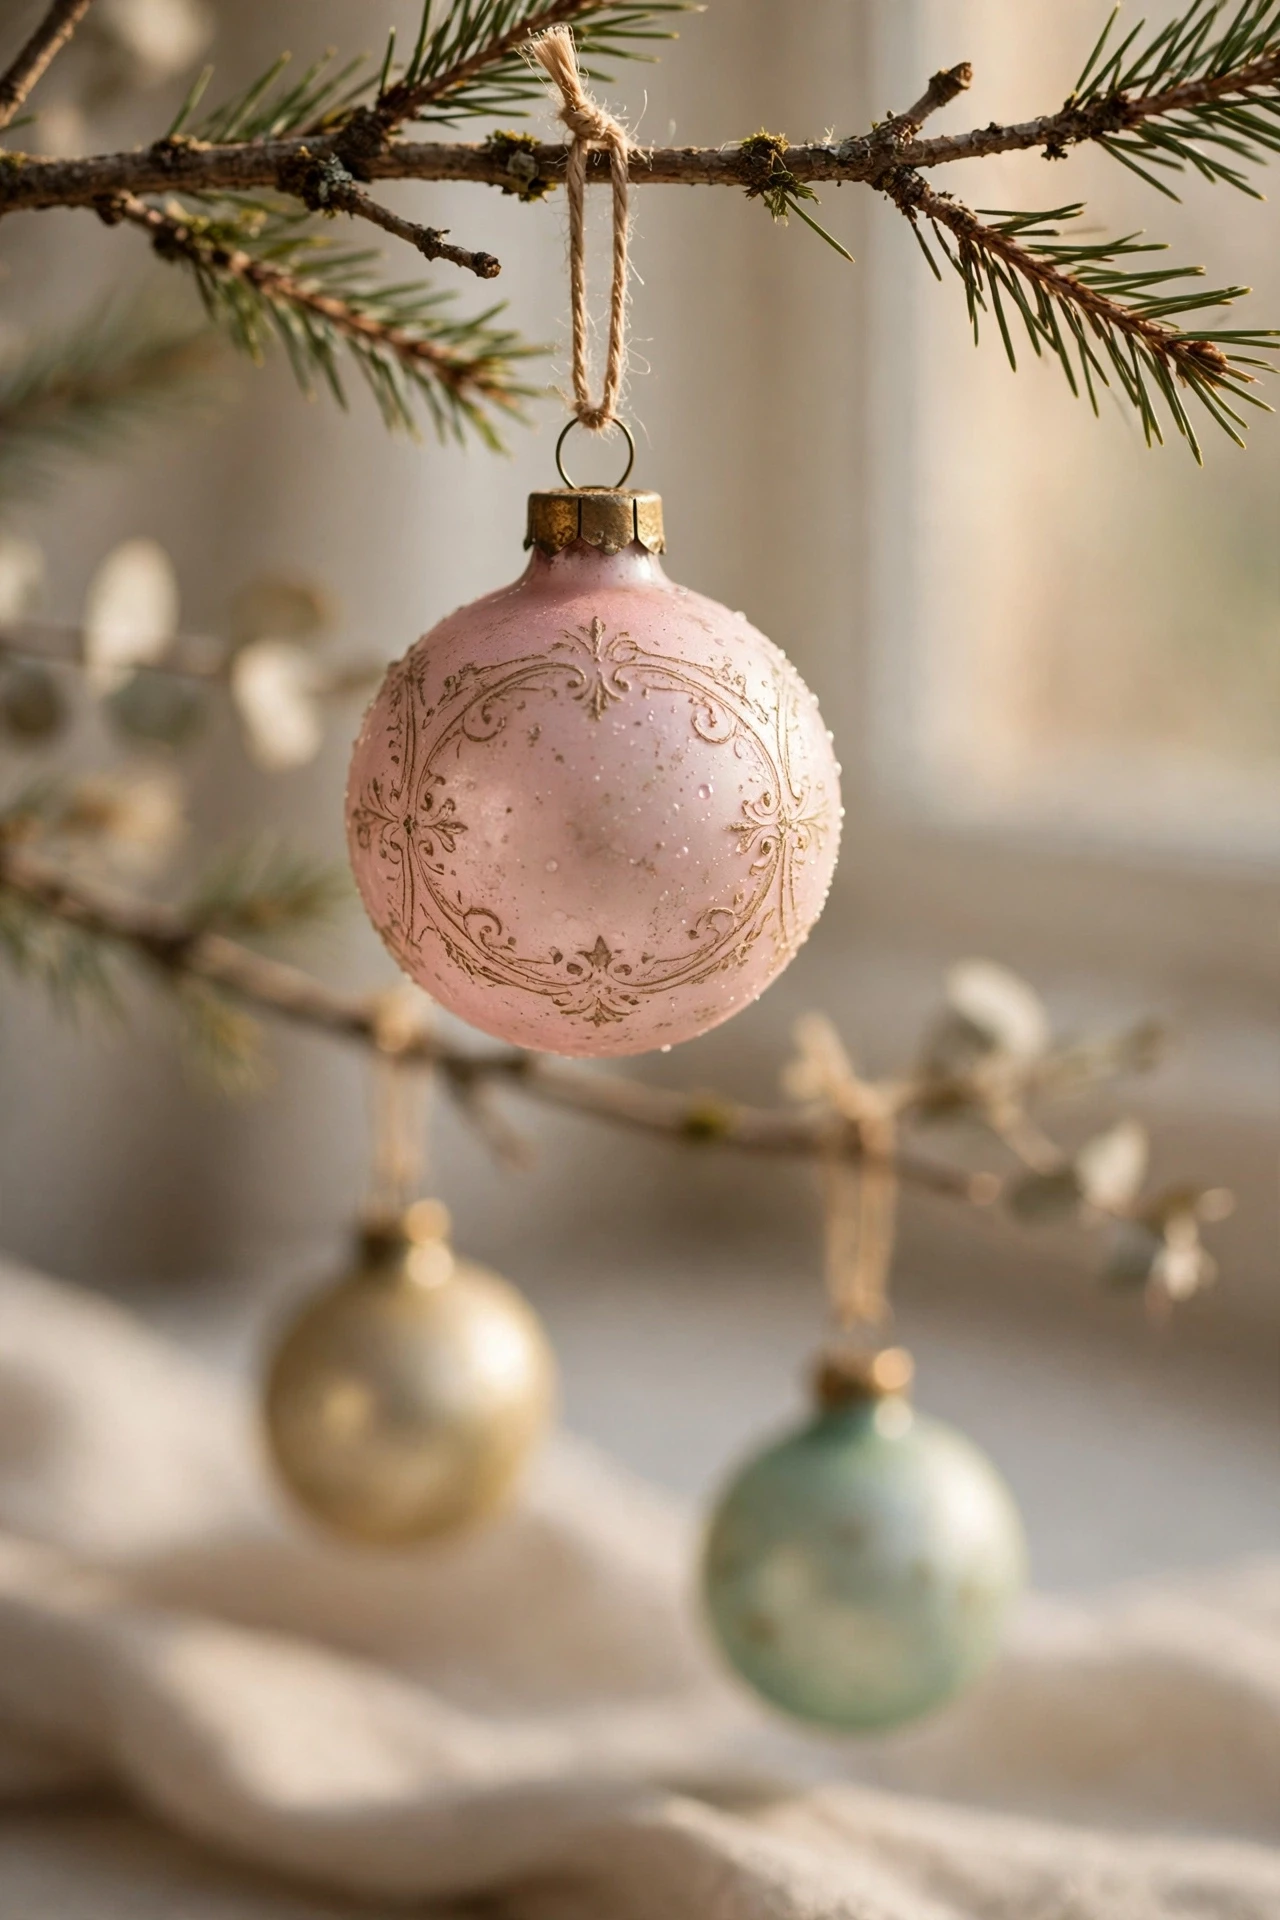
Add a small number of vintage-style glass ornaments in soft, muted pastels — dusty pink, pale mint, faded gold — hung sparingly through the tree so each individual piece has enough space to stand out rather than blending into a crowd of similar ornaments. This softer, nostalgic glass palette brings a touch of yesteryear into an otherwise all-natural farmhouse tree, offering a bit of shine without breaking the overall muted color story. Because these ornaments are meant to be a special accent rather than the base layer, hang no more than eight to twelve pieces total across a full-sized tree, spacing them generously apart. Place each pastel ornament at eye level or slightly forward on the branch, since their softer color needs good visibility to actually register against the greenery. This idea works especially well if you’re incorporating a few real vintage pieces passed down through family, since the sparse placement treats each one as worth noticing rather than burying it among dozens of newer ornaments.
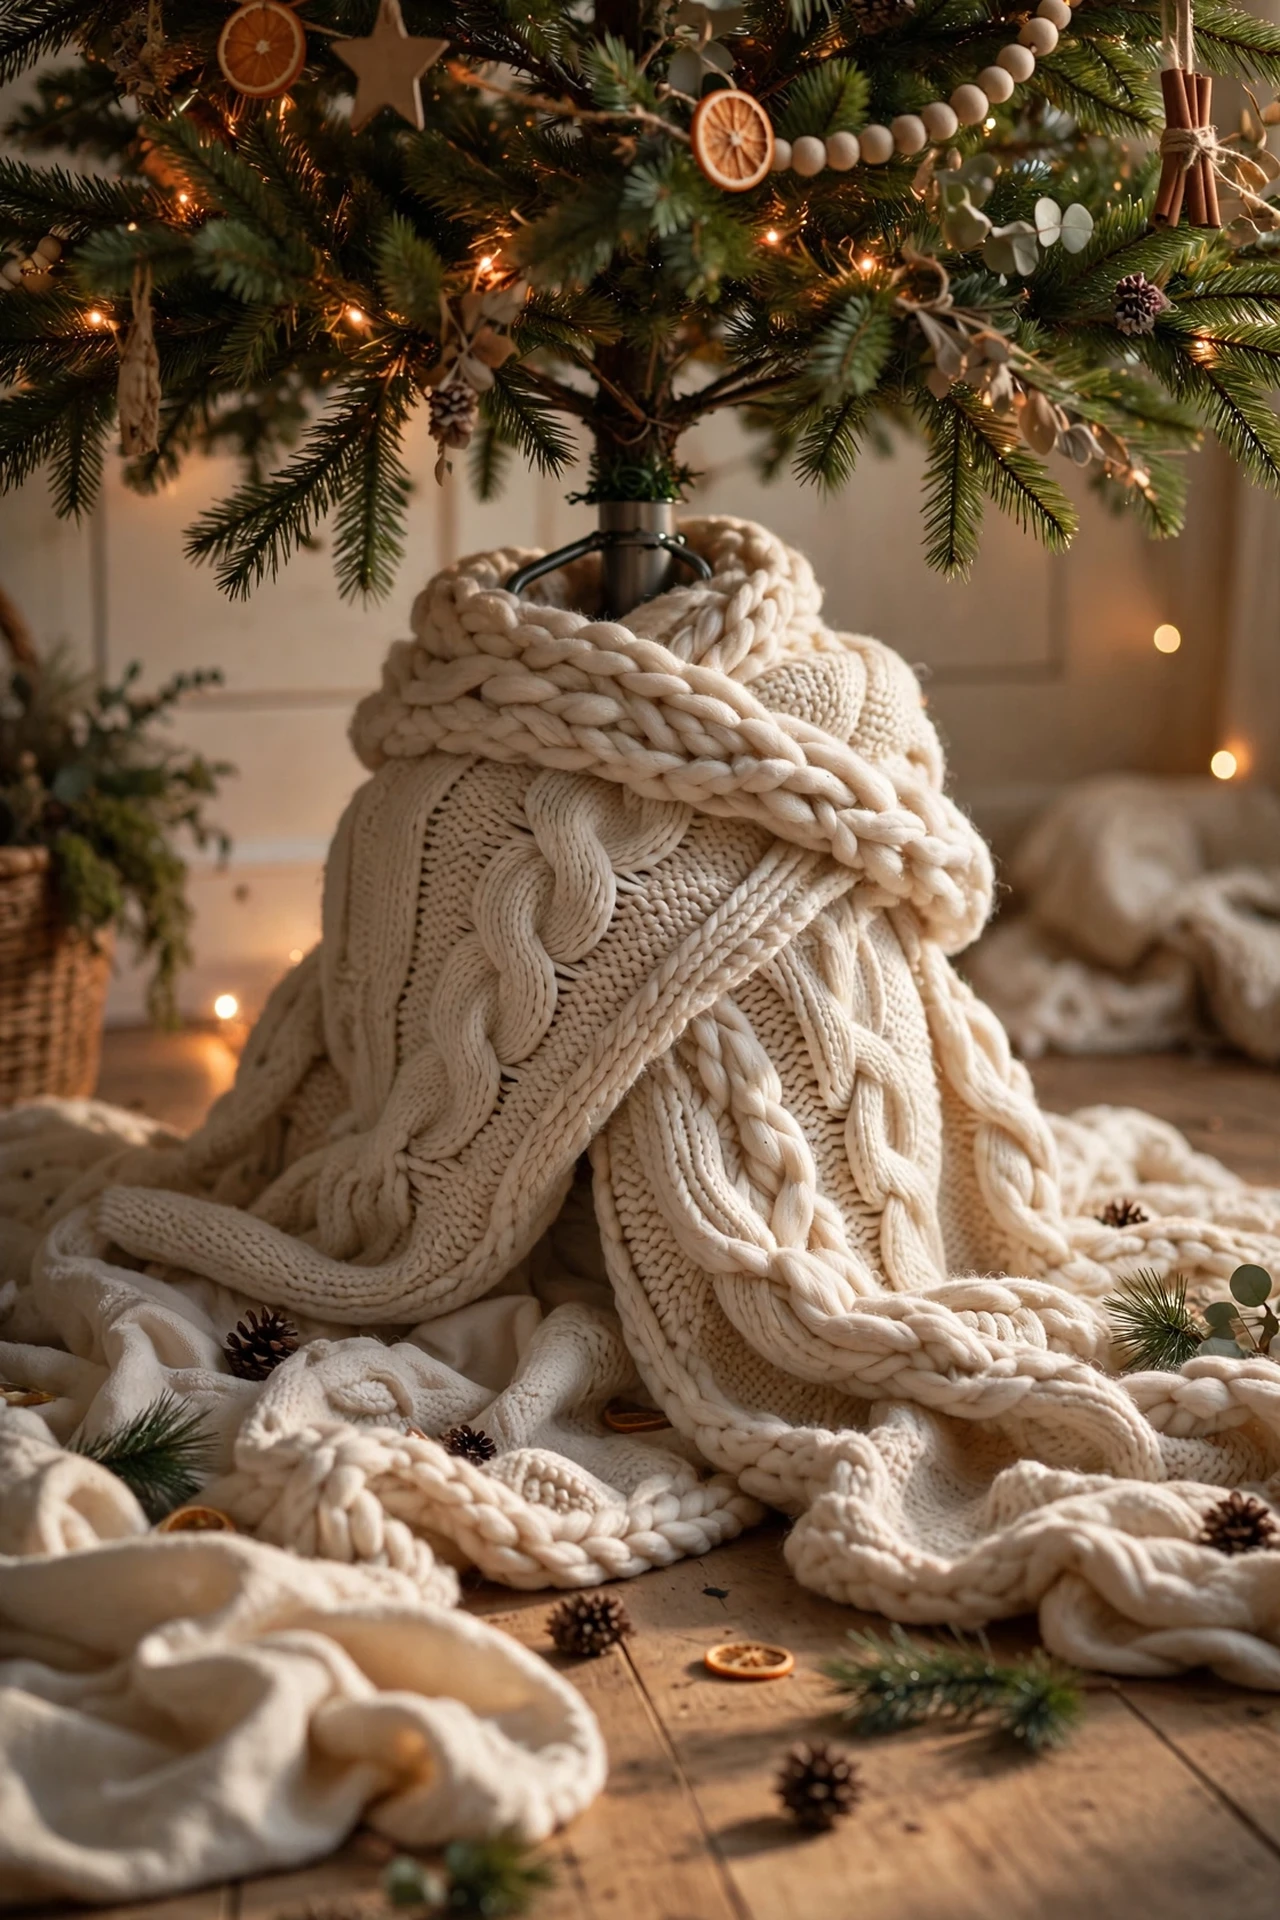
Chunky Knit Blanket Wrapped Base
Skip the tree skirt entirely and wrap the base of the tree in a thick, chunky knit throw blanket instead, tucking the excess fabric loosely around the stand so it looks casually draped rather than perfectly arranged. A chunky knit blanket brings an oversized, cable-knit texture that reads as instantly cozy, and it doubles as an actual usable throw once the season is over, which makes it a more practical investment than a decoration used only once a year. Choose a blanket in cream, oatmeal, or soft gray to match the neutral farmhouse palette, letting a bit of extra length pool onto the floor around the tree’s base. This alternative works particularly well paired with the wooden crate collar idea above — the crate handles the structural base while the blanket adds a layer of texture and softness draped over or around it. This is one of the simplest swaps on the entire list, since it requires no sewing, cutting, or DIY assembly at all, just a blanket you may already own.
Styling Tips
Layer materials in this order for the most natural build: lights first, then ribbon or garland, then ornaments, then the topper, then the base treatment, since each layer is designed to sit around the one placed before it.
Limit yourself to three or four core materials per tree — wood, burlap, tin, and fabric, for example — rather than trying to include every idea on this list at once, since restraint is what keeps a farmhouse tree from looking cluttered.
Step back from the tree periodically and view it from across the room, since the imperfect, handmade details that define this style should still read as intentional and balanced from a normal viewing distance.
Practical Implementation Ideas
Gather natural materials like pinecones and cotton boll stems ahead of time, since these often need a bit of cleaning or drying before they’re ready to use on the tree.
Build DIY elements — wood slice ornaments, fabric shapes, twine bows — over several evenings in the weeks before you plan to decorate, rather than trying to make everything the same day the tree goes up.
Keep a small box of “farmhouse extras” (extra burlap scraps, spare twine, a few backup wood slices) nearby while decorating, since gaps in the branches are easier to fill with raw materials you already have on hand than to run out mid-project for.
Common Mistakes to Avoid
Mixing too many different metallics or fabric patterns at once — buffalo check, gingham, and a bold floral, for example — can make the tree feel busy rather than layered; stick to one or two patterns maximum.
Choosing overly polished, glossy ornaments throughout undercuts the whole point of the style, since farmhouse decorating depends on matte, textured, and slightly imperfect materials rather than shine.
Skipping a proper base treatment (a crate collar, a quilt, or a wrapped blanket) and leaving a plain tree stand and skirt visible is one of the most common ways an otherwise well-decorated tree loses its finished, cohesive look.
Small-Space Alternatives
A slim or tabletop tree can carry the same neutral palette, burlap ribbon, and wood slice ornaments in a much smaller footprint, especially with a simple twine-bow topper instead of a full grapevine angel.
For apartments without room for a wooden crate collar, a smaller woven basket around the tree stand achieves a similar textural effect in far less space.
Focus your effort on just two or three of the ideas above — a burlap and buffalo check ribbon layer plus wood ornaments, for example — rather than trying to fit every material onto a small tree.
Budget-Friendly Alternatives
Hand-strung pinecone garland and raw jute twine bows cost almost nothing if you’re able to forage pinecones and already have twine on hand, making them two of the most affordable ideas on this entire list.
Wood slice ornaments can be cut from a fallen branch with a simple hand saw rather than purchased pre-cut, and fabric ornaments can be made from scrap material instead of new fabric.
A galvanized bucket sourced secondhand or from a hardware store is typically far less expensive than a decorative tree collar sold specifically as holiday decor, while achieving nearly the same look.
Pro Styling Recommendations
Choose one “hero” material to anchor the tree’s identity — burlap and buffalo check for a bolder look, or wood and neutral tones for a quieter one — and let the rest of the materials support that choice rather than competing with several equally bold ideas at once.
Vary the depth at which ornaments and accents sit in the branches, pushing some further back toward the trunk, since uniform surface-level placement flattens the natural, layered look farmhouse styling depends on.
Treat the base of the tree (crate, quilt, or blanket) as seriously as the branches themselves, since an unfinished base is one of the fastest ways to undercut an otherwise carefully styled tree.
FAQs
Conclusion
A rustic farmhouse Christmas tree isn’t about buying an entirely new set of decorations — it’s about choosing a handful of natural, textured materials (wood, burlap, tin, twine) and layering them the way they’d actually be gathered over time. Start with the base color palette, build outward one material at a time, and let a few handmade or natural pieces do the emotional work instead of relying on anything glossy or mass-produced. That’s how a tree stops looking store-bought and starts looking like it’s always belonged in a warm, welcoming home.