21 Clever Christmas Buffet Table Styling Ideas for Your Kitchen Island
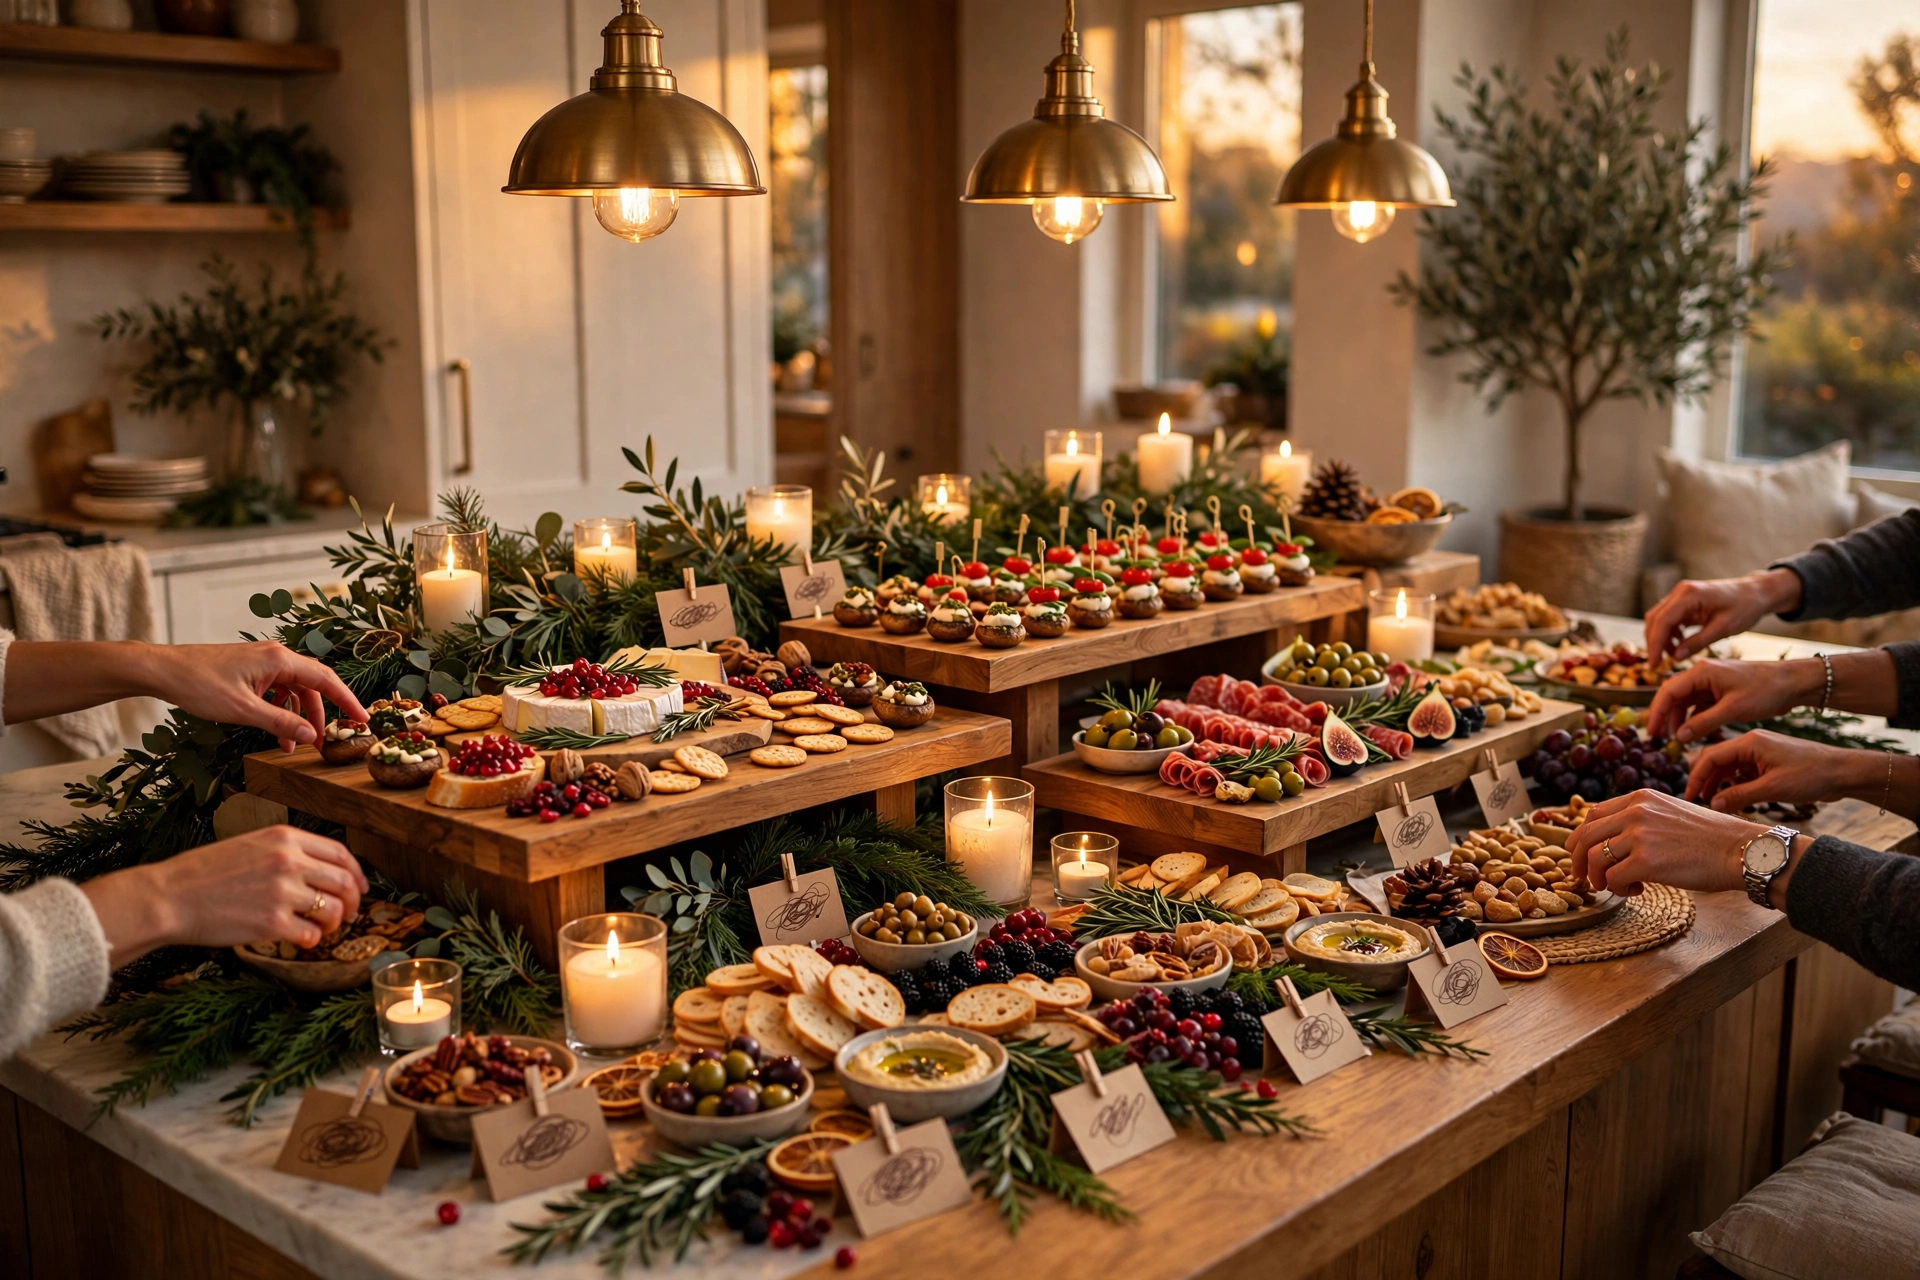
A kitchen island makes a genuinely great buffet table — it’s central, it’s sturdy, and everyone already gravitates toward it anyway.
But it’s also a different animal than a dining room sideboard, and most decorating guides don’t seem to notice. An island gets approached from every side, not just the front. It usually sits a few feet from the stove and the sink, which means cords, hot pans, and foot traffic are all fighting for the same small stretch of counter. And there’s no wall behind it to lean a sign against or hang a garland from.
So this list covers both halves of the job: how to make a kitchen island buffet look genuinely festive, and how to set it up so twelve people can actually serve themselves without a pileup at the mashed potatoes.
Here are 21 ideas to style your kitchen island for a Christmas buffet that looks as good as it functions.
Table of Contents
1. Layer Heights Like a Buffet Line, Not Just a Centerpiece
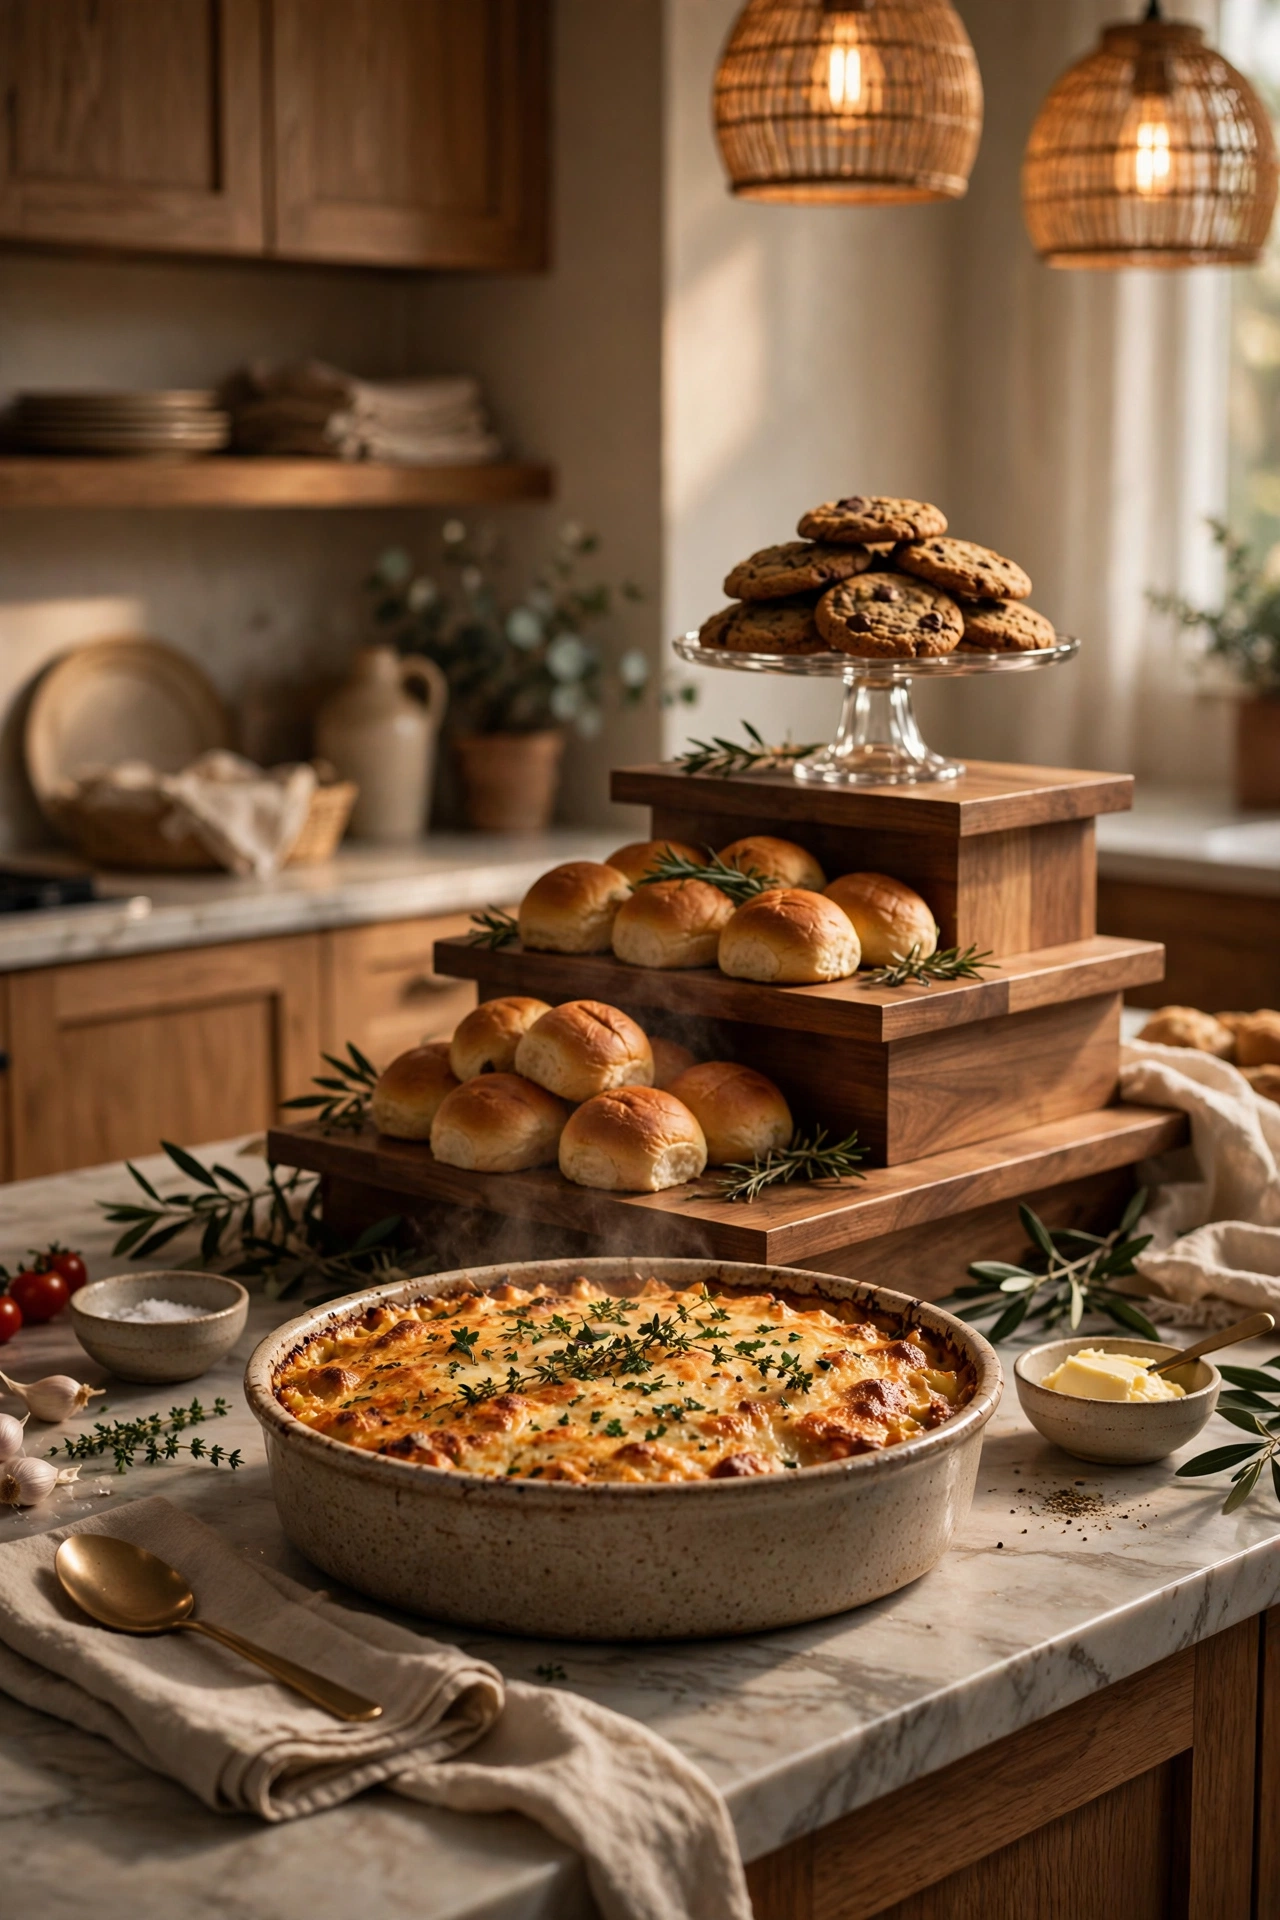
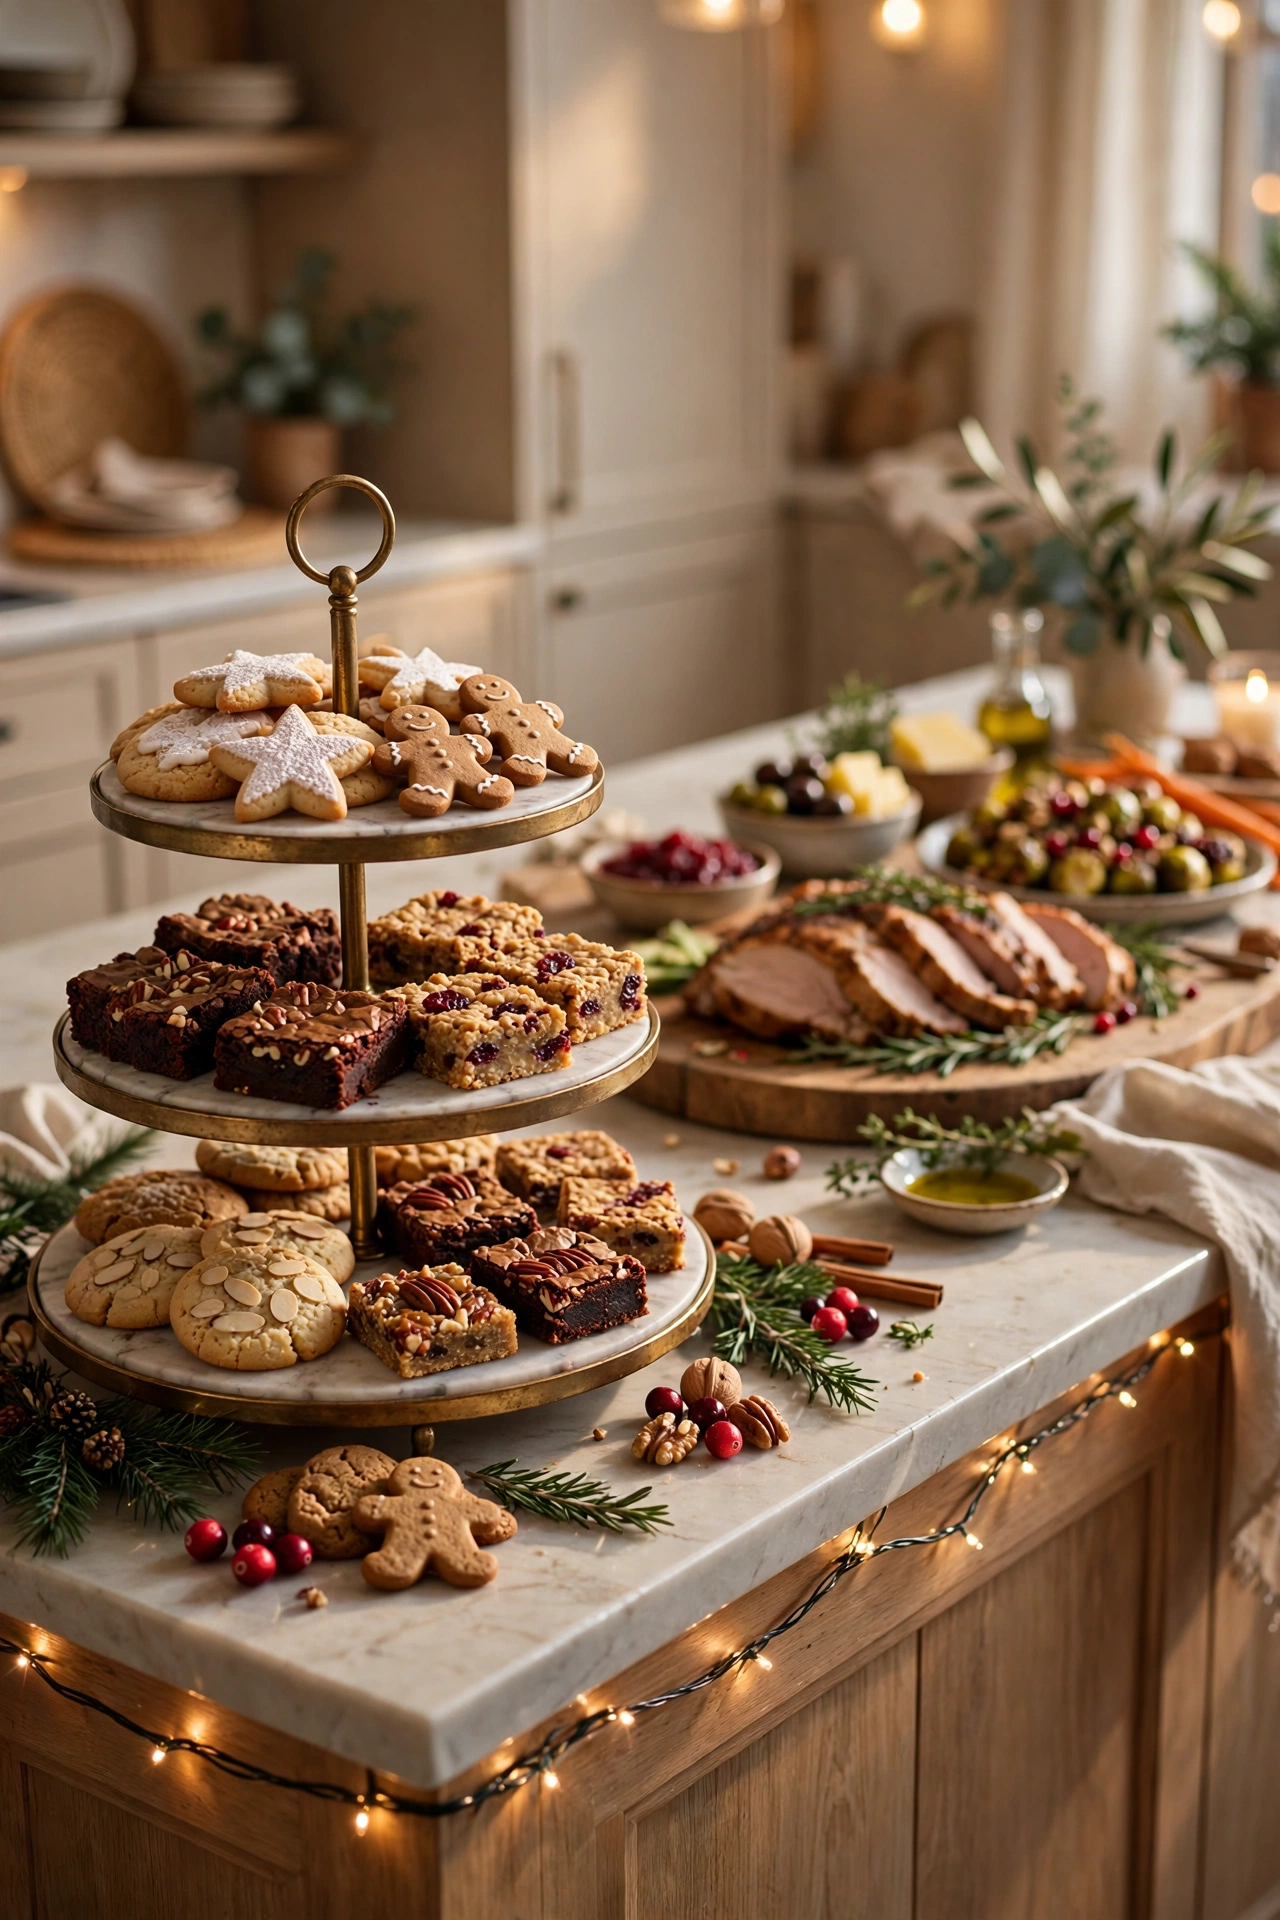
Height variation on a buffet isn’t just a styling trick — it’s what lets a small island surface actually hold a full holiday spread without everything competing for the same flat plane. Heavy dishes like a full casserole, a carved ham, or a large salad bowl should stay directly on the counter, where they’re stable and easy to serve from. Lighter items like rolls, cookies, or small appetizers can move up onto a cake stand, a tiered tray, or a simple wood riser, which both saves counter space and adds the visual depth catering stylists rely on. Keep the tallest pieces toward the back or center of the island so they don’t block sightlines or reaching arms from either side. This single technique does more to make a small island buffet feel abundant than any additional decor item could.
2. Zone the Island by Food Category
Grouping dishes by category — mains together, sides together, desserts together — helps guests navigate the buffet with confidence instead of doubling back or missing something tucked behind a bigger dish. On a kitchen island, this usually means picking one end for mains and working outward toward sides, condiments, and finally desserts or bread, similar to the “zone method” caterers use for larger events. Leaving a small gap of a few inches between each zone helps guests visually register where one category ends and the next begins. This is especially useful on an island specifically because guests can approach from either long side, so a clear zone order prevents two people from reaching for the same dish at the same time from opposite directions. Grouping by category also makes it easier for a host to notice at a glance which dish needs replenishing.
3. Style a Base Layer Before Adding Any Food
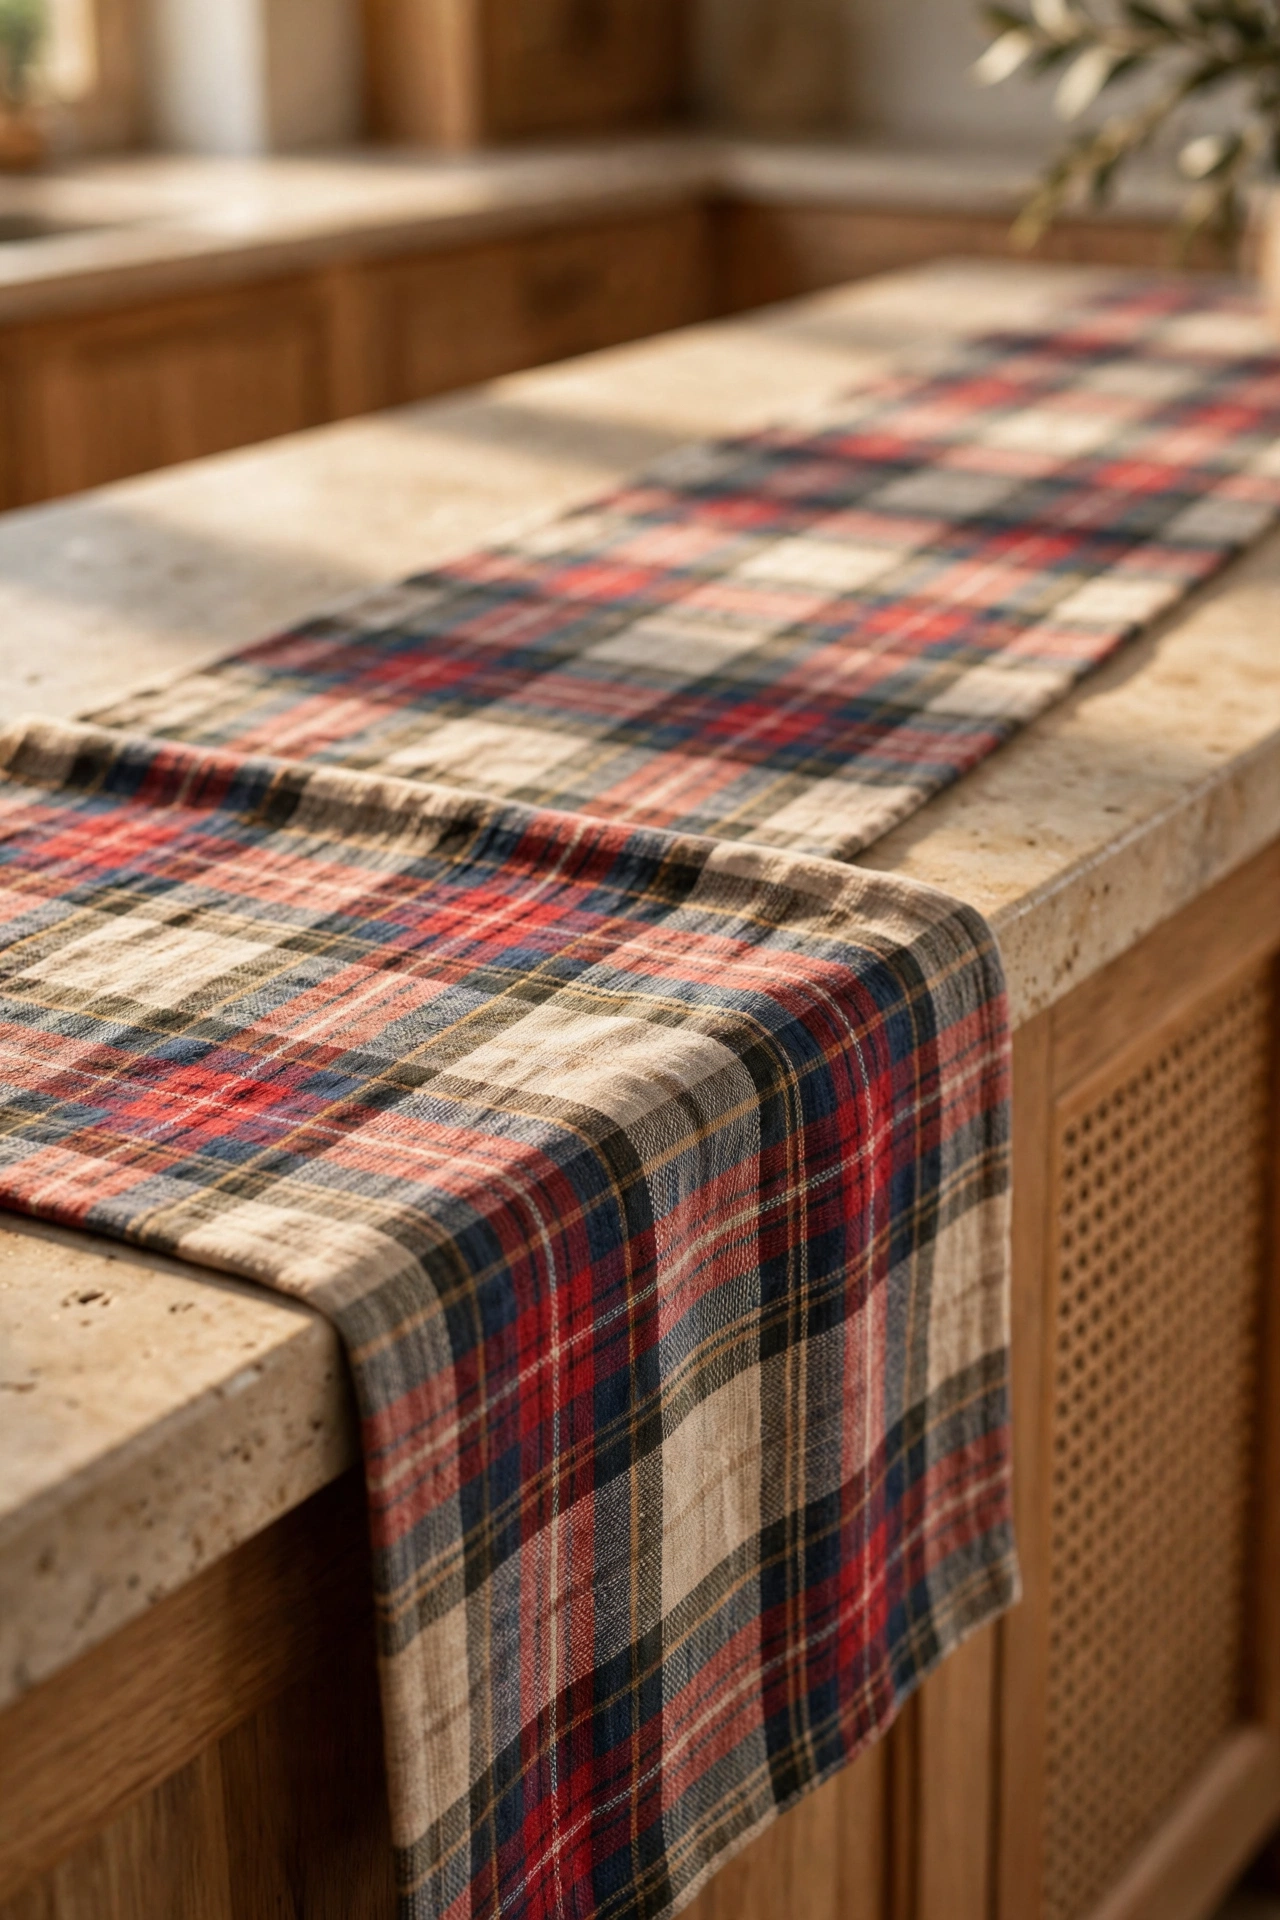
Just like a table setting starts with a runner or tablecloth, an island buffet looks more intentional when a base layer goes down before a single dish is placed. A table runner in plaid, buffalo check, or a subtle metallic print adds color and texture beneath the food, softening the hard surface of stone or quartz countertops. This base layer also protects the counter from drips and spills throughout the party, which matters more on an island than a dining table since it’s getting approached and reached across from every direction. Choose a runner narrow enough that plates and platters can still sit fully on the counter beside it, rather than balancing partially on the fabric. This one layer ties the whole buffet’s look together before any food or decor gets added on top.
4. Protect the Surface from Heat First
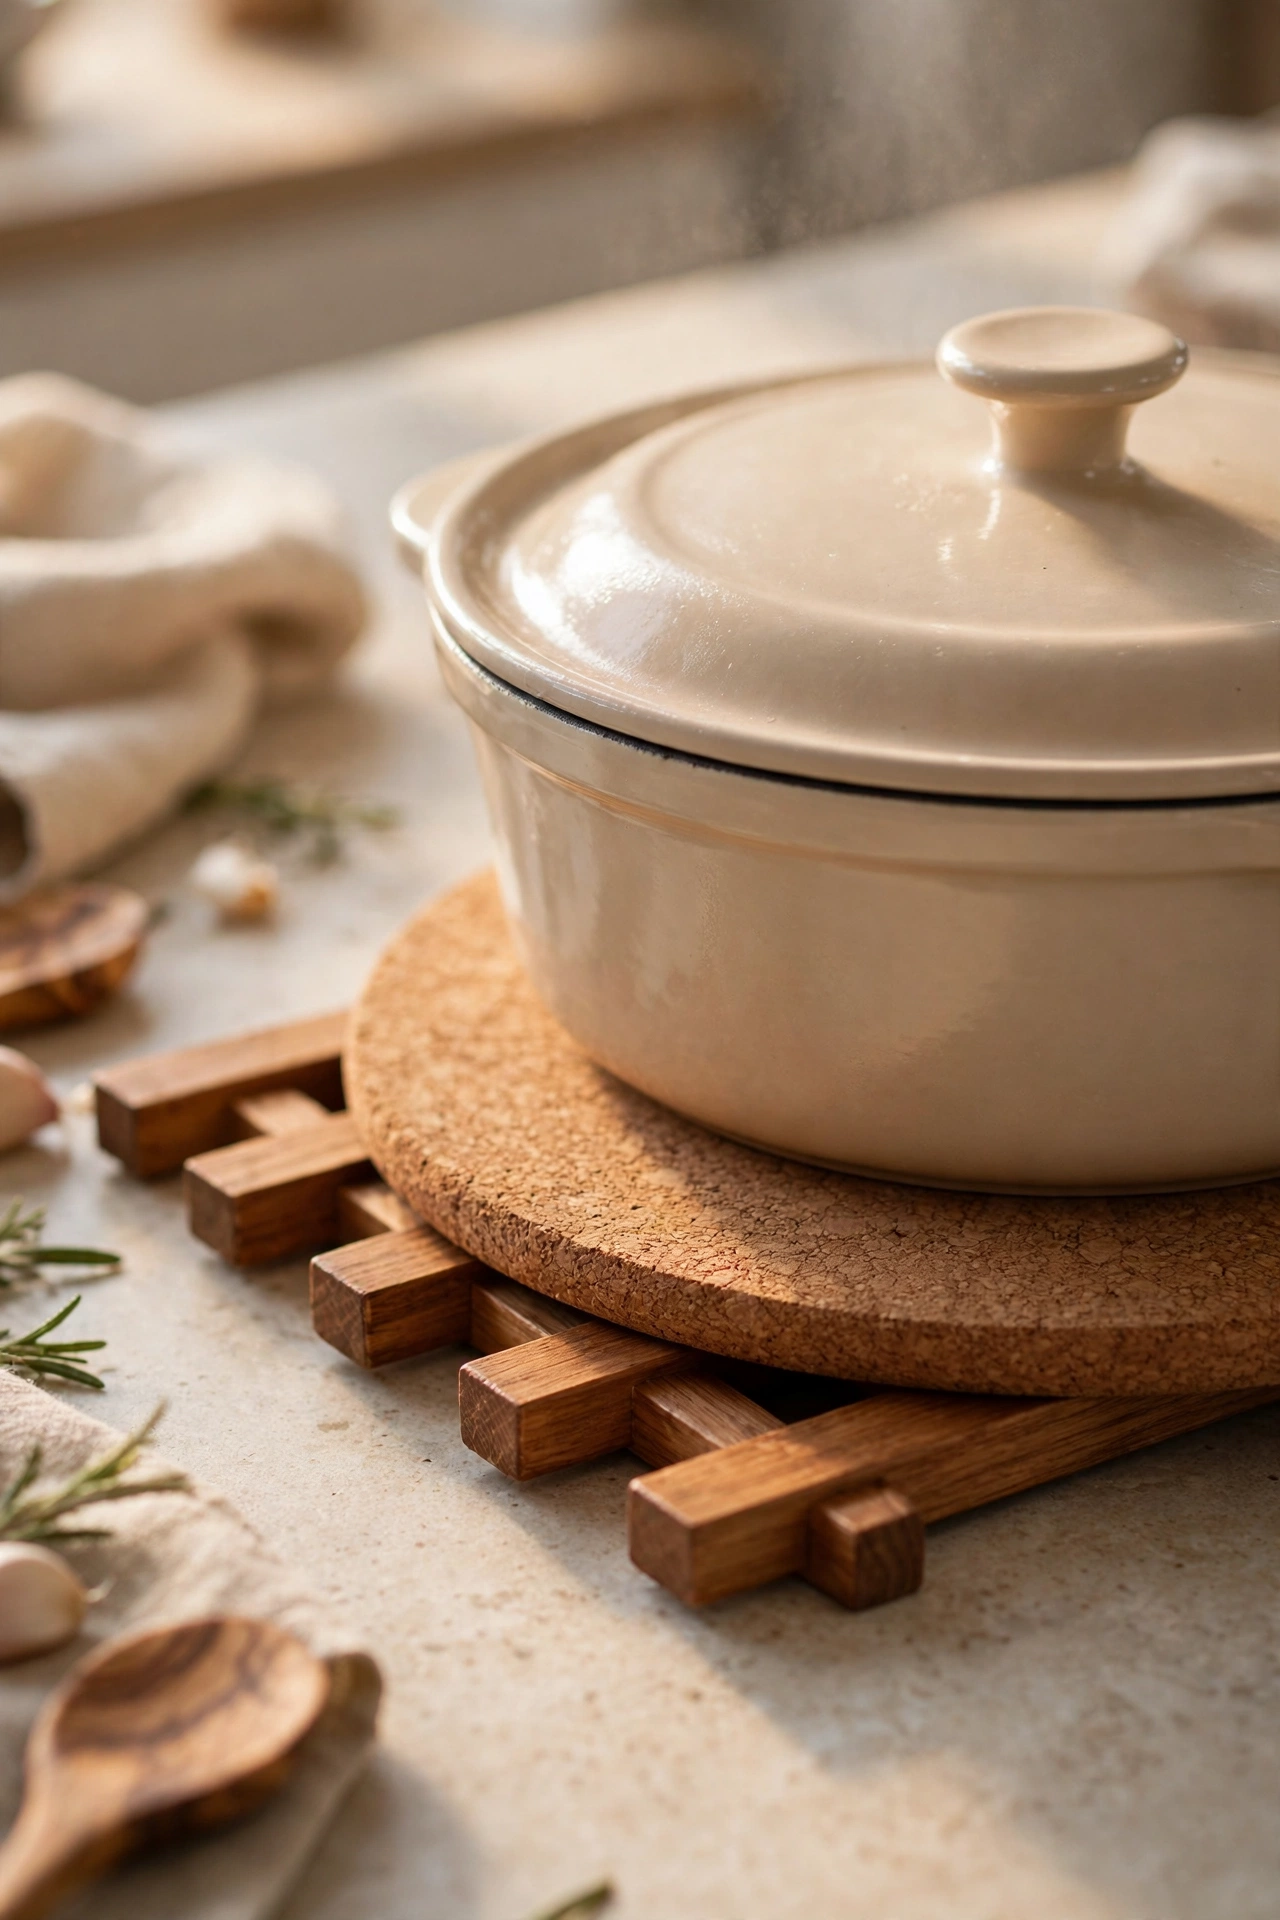
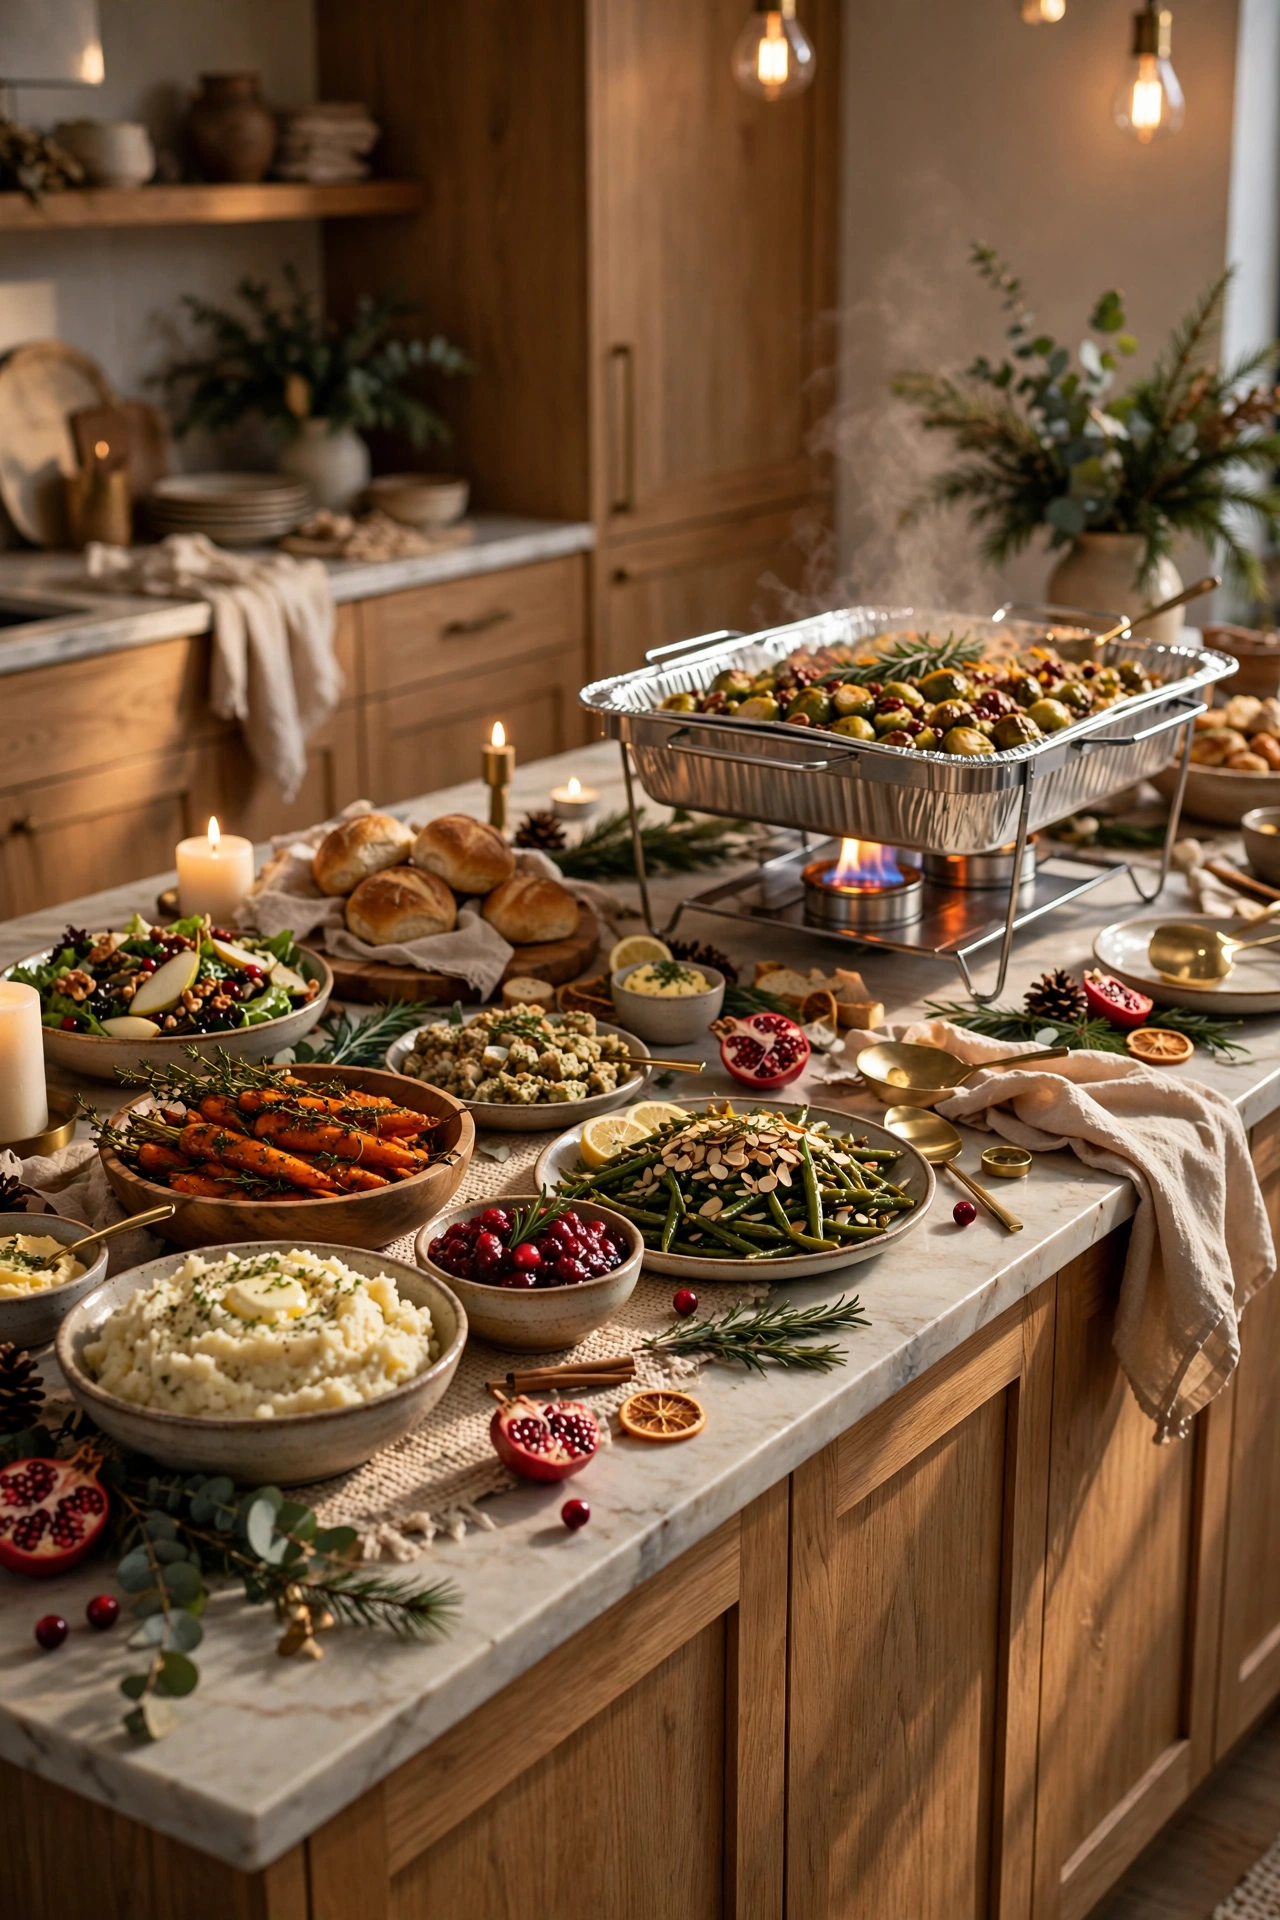
Before any hot dish goes down, place trivets, cork mats, or heat-resistant risers exactly where warming trays or hot casseroles will sit, since a kitchen island’s stone or quartz surface can be damaged by direct heat in a way a dining table with a tablecloth typically isn’t. This step is easy to forget in the rush of party prep, but it’s the one piece of buffet planning that protects the island itself, not just how the food looks. Choose trivets that coordinate with your color palette — wood, wire, or a festive printed cork mat — so the protective layer doubles as an intentional style choice rather than an obvious afterthought. Mapping out where each hot dish will land before the party starts also helps with the height-layering and zoning steps above, since you’ll already know where the heavier, stationary pieces need to go. This is one of the most overlooked practical steps in any kitchen island buffet guide, precisely because it isn’t visually interesting, but it prevents real damage to an expensive surface.
Related: 19 Ways to Decorate a Farmhouse Kitchen for Christmas (Cozy, Budget-Friendly Ideas)
5. Set Up a Dedicated Drink Station Away from Food
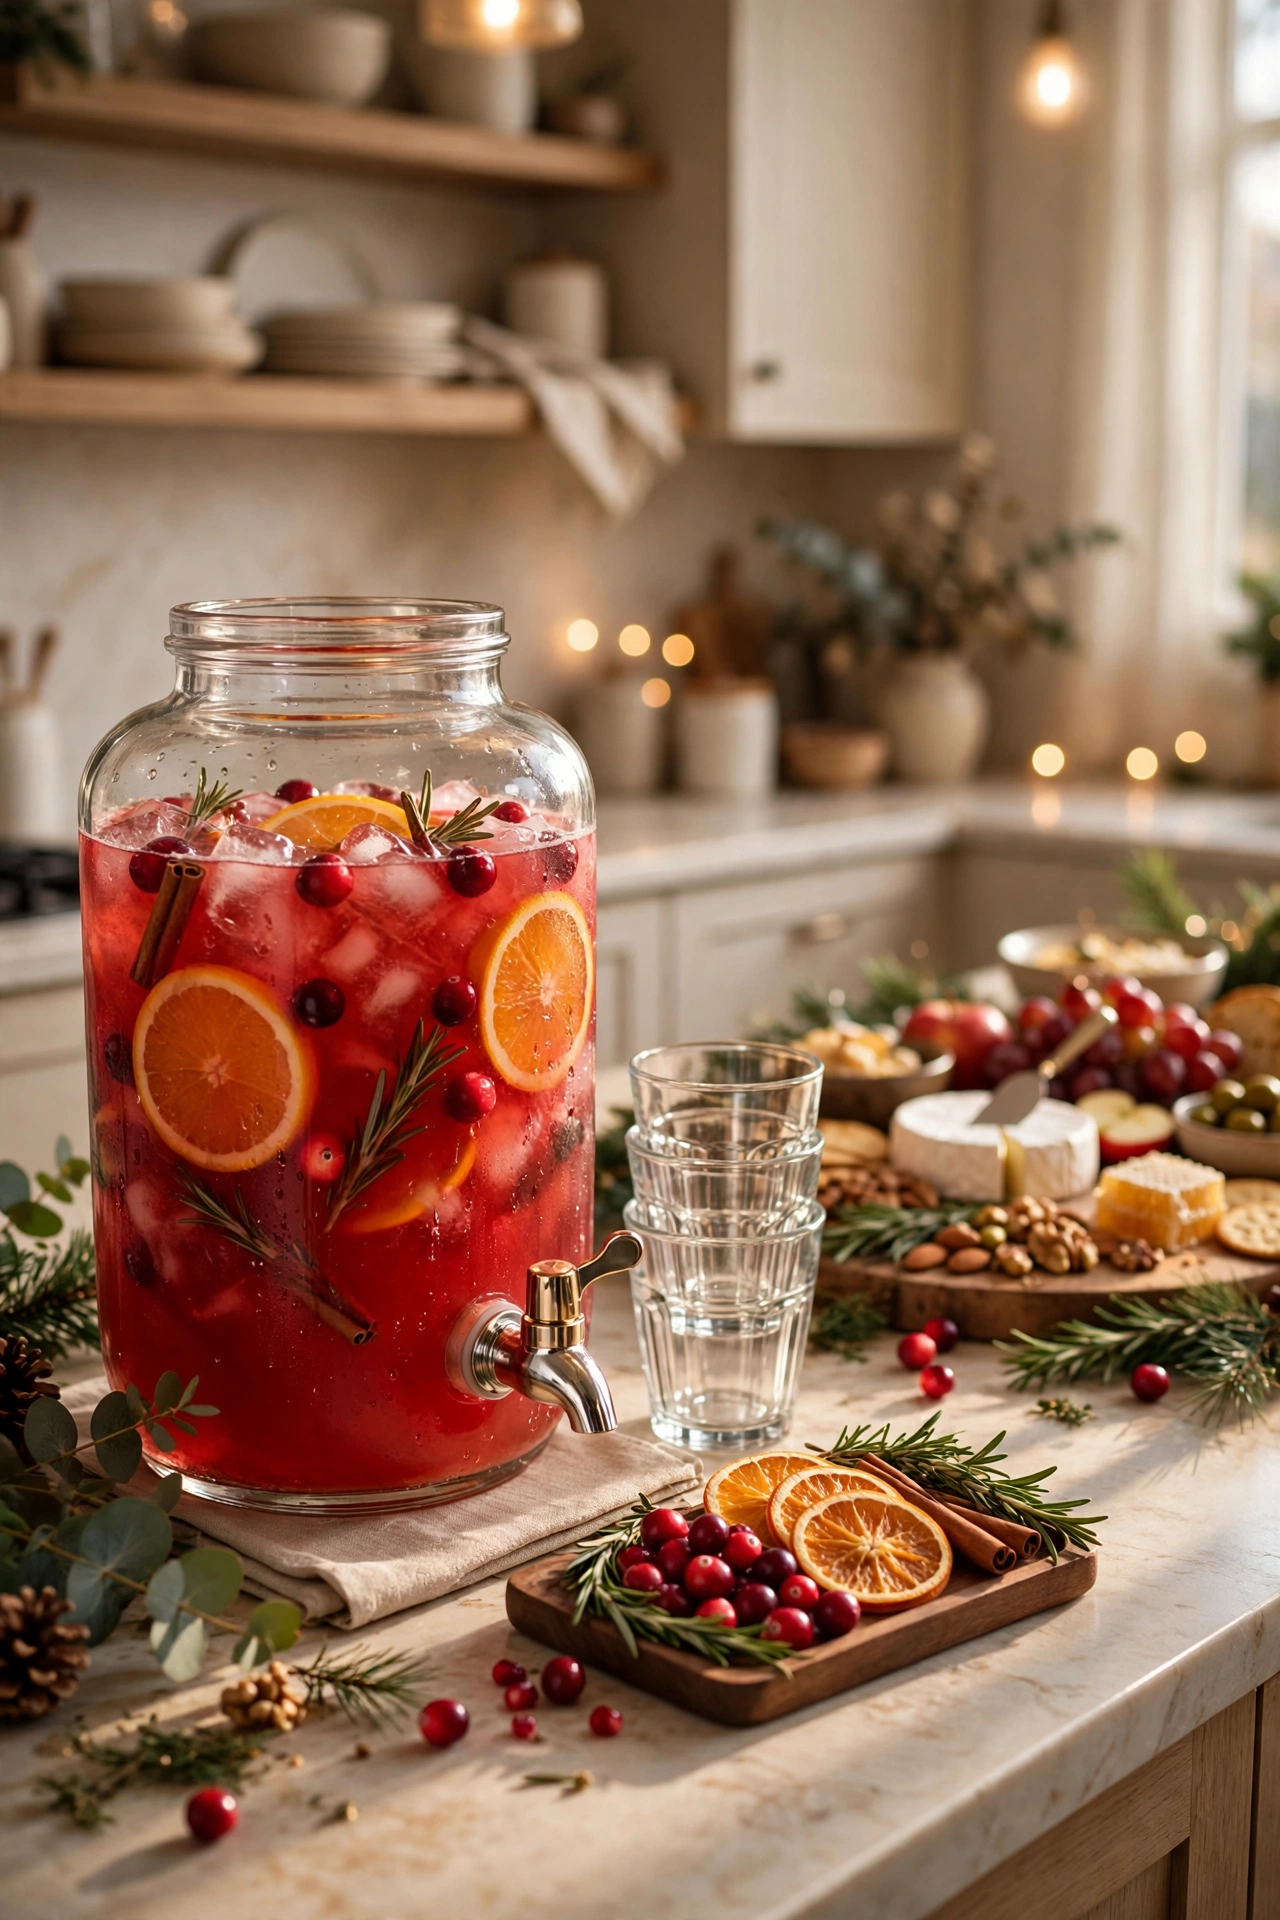
Keeping drinks on a separate counter, cart, or the far end of the island away from the main food zone reduces congestion significantly, since guests who only want a refill don’t have to wait behind someone building a full plate. A simple glass beverage dispenser, a small bar cart, or even a designated tray on a nearby counter works well for this, as long as it’s clearly separated from the food itself. Pre-pouring a batch cocktail or mocktail into a pitcher ahead of time speeds up this station even further, since guests can pour their own without needing to measure or mix anything. If the island is the only real counter space available, positioning the drink station at one distinct end, with a visual break like a small greenery cluster between it and the food, still creates enough separation to ease traffic. This is one of the highest-impact flow improvements on this entire list, since drink refills happen far more frequently throughout a party than trips through the main buffet line.
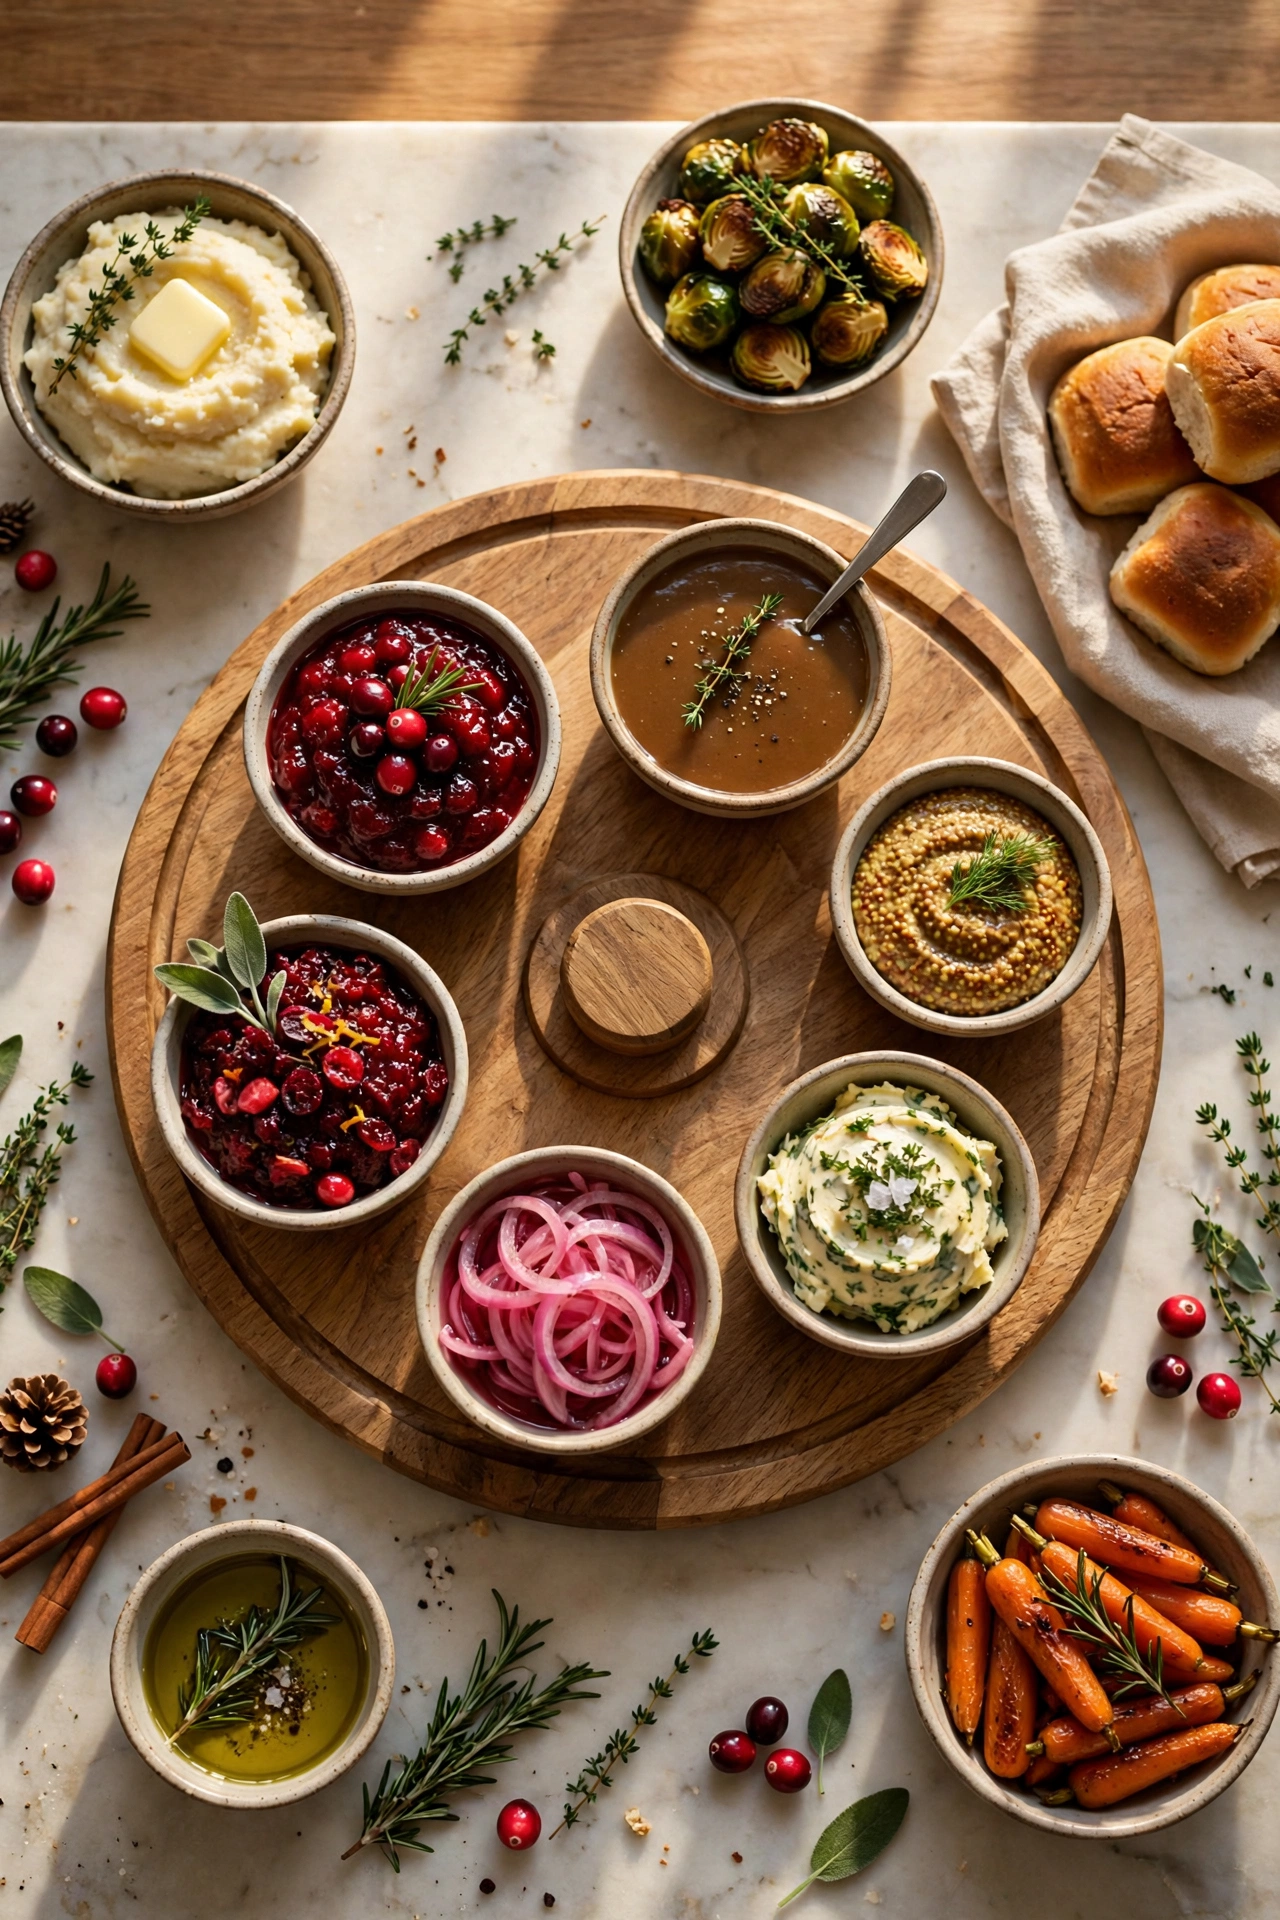
6. Add a Lazy Susan for Corner Reach
If your kitchen island is a large square or rectangle, a lazy susan placed toward one end solves the common problem of condiments and small dishes getting stranded in the middle, out of comfortable reach from either side. Loading it with sauces, cranberry relish, gravy, or other smaller accompaniment dishes lets guests spin it toward themselves instead of leaning awkwardly across the counter. This works especially well for a larger gathering where the island is fully loaded and reach becomes a genuine physical challenge, not just a minor inconvenience. Choose a lazy susan finish — wood, marble, or metal — that matches your other serving pieces so it reads as an intentional design choice rather than a purely functional add-on. It’s a small tool that solves a real, common island-specific problem competitors rarely mention at all.
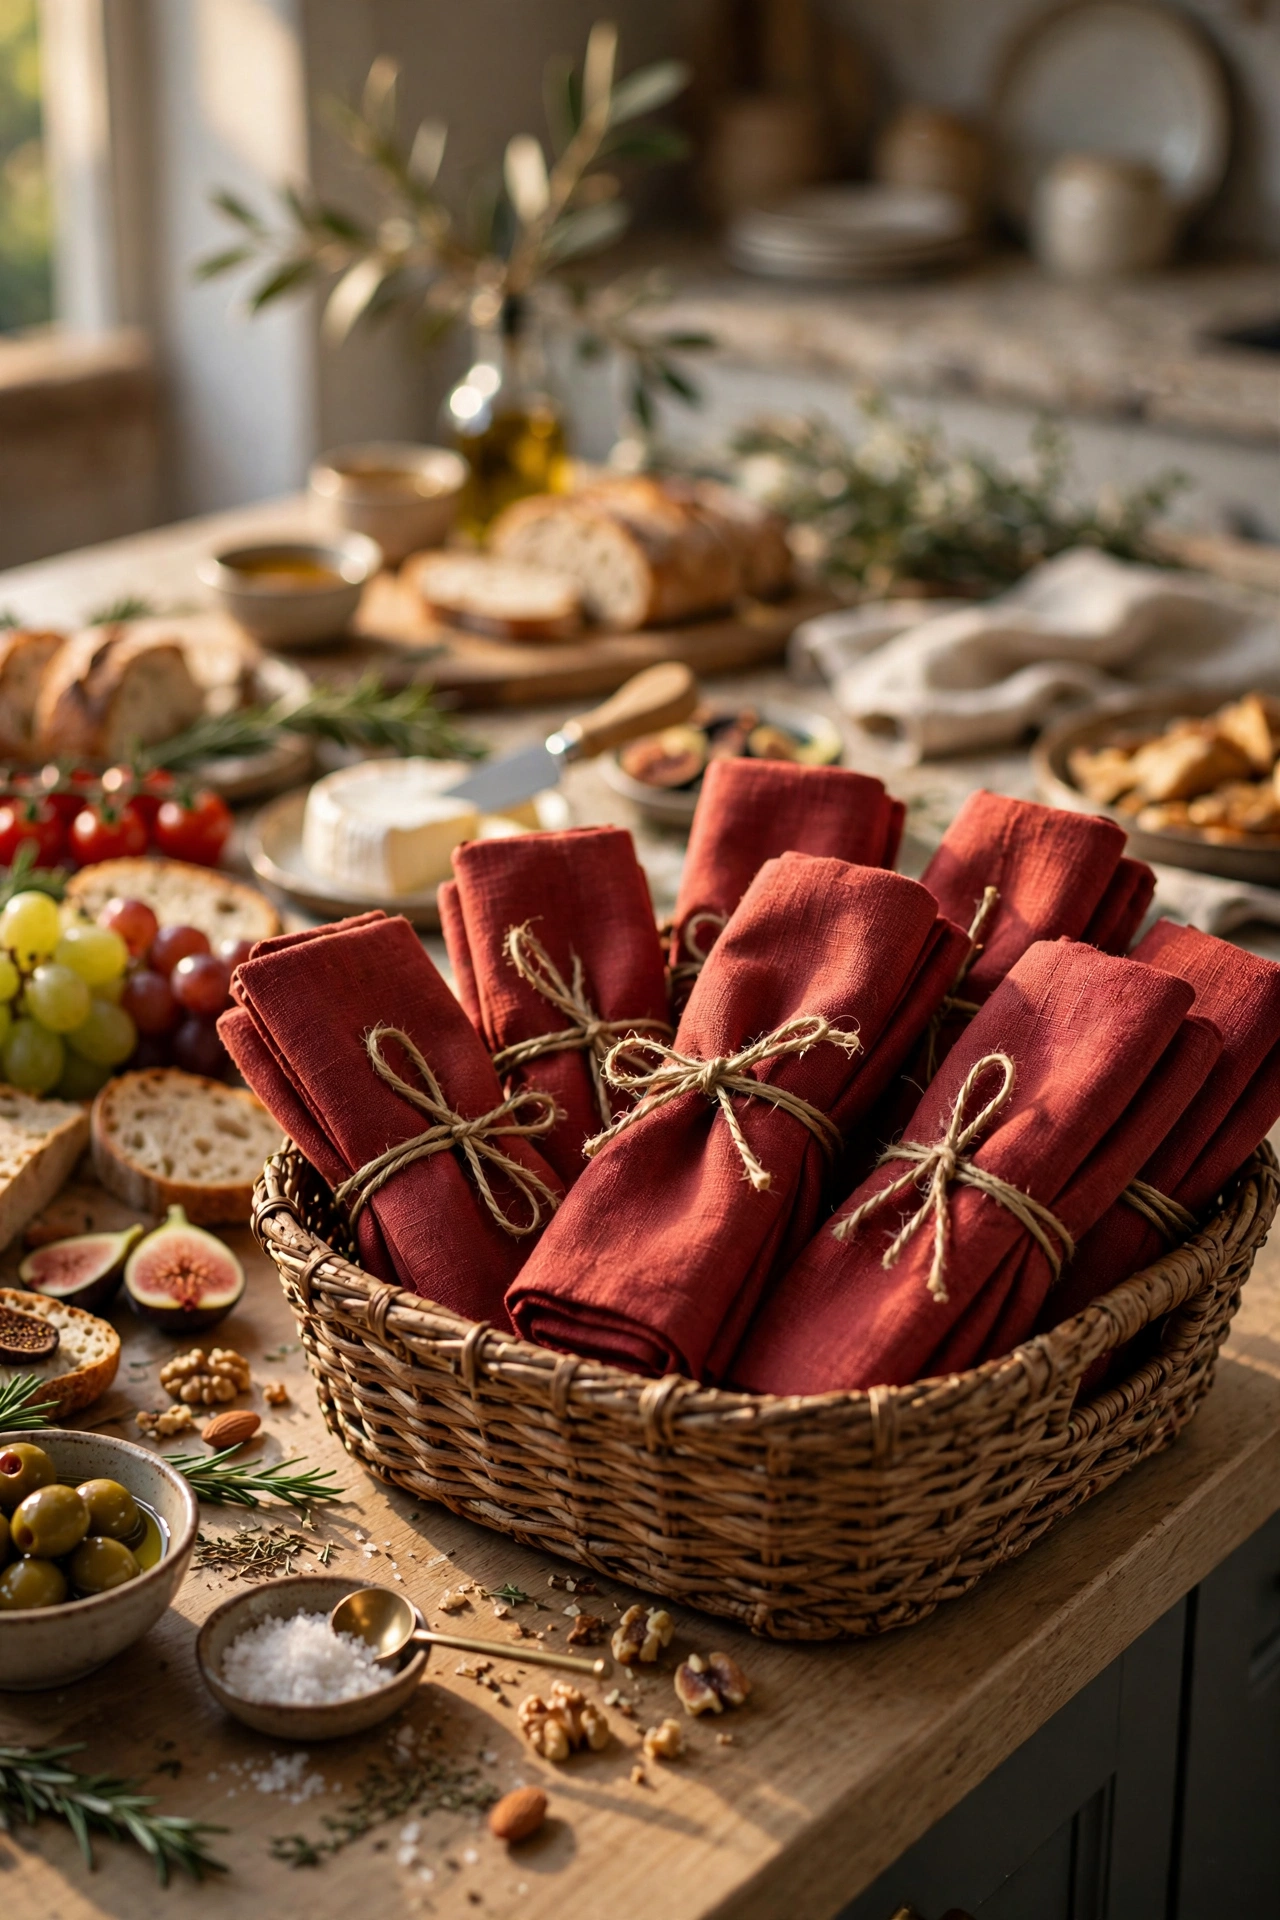
7. Wrap Flatware in Napkins for Grab-and-Go
Rolling each set of flatware inside a folded napkin and securing it with a piece of ribbon or twine turns two separate buffet items into one easy-to-carry bundle, which matters more on an island buffet than a seated table since guests are balancing a plate while standing. This also visually tidies up what could otherwise be a loose pile of forks and knives at the end of the line. Place the wrapped bundles in a basket or shallow tray near the very end of the food zone, right before guests head toward drinks or their seats, so they’re not fumbling for utensils while their hands are already full of a plate. Choose a ribbon or twine color that matches your overall palette to make even this small functional detail feel intentional. This idea solves a real physical problem — carrying a full plate and separate utensils at the same time — that almost no purely decorative buffet guide addresses.
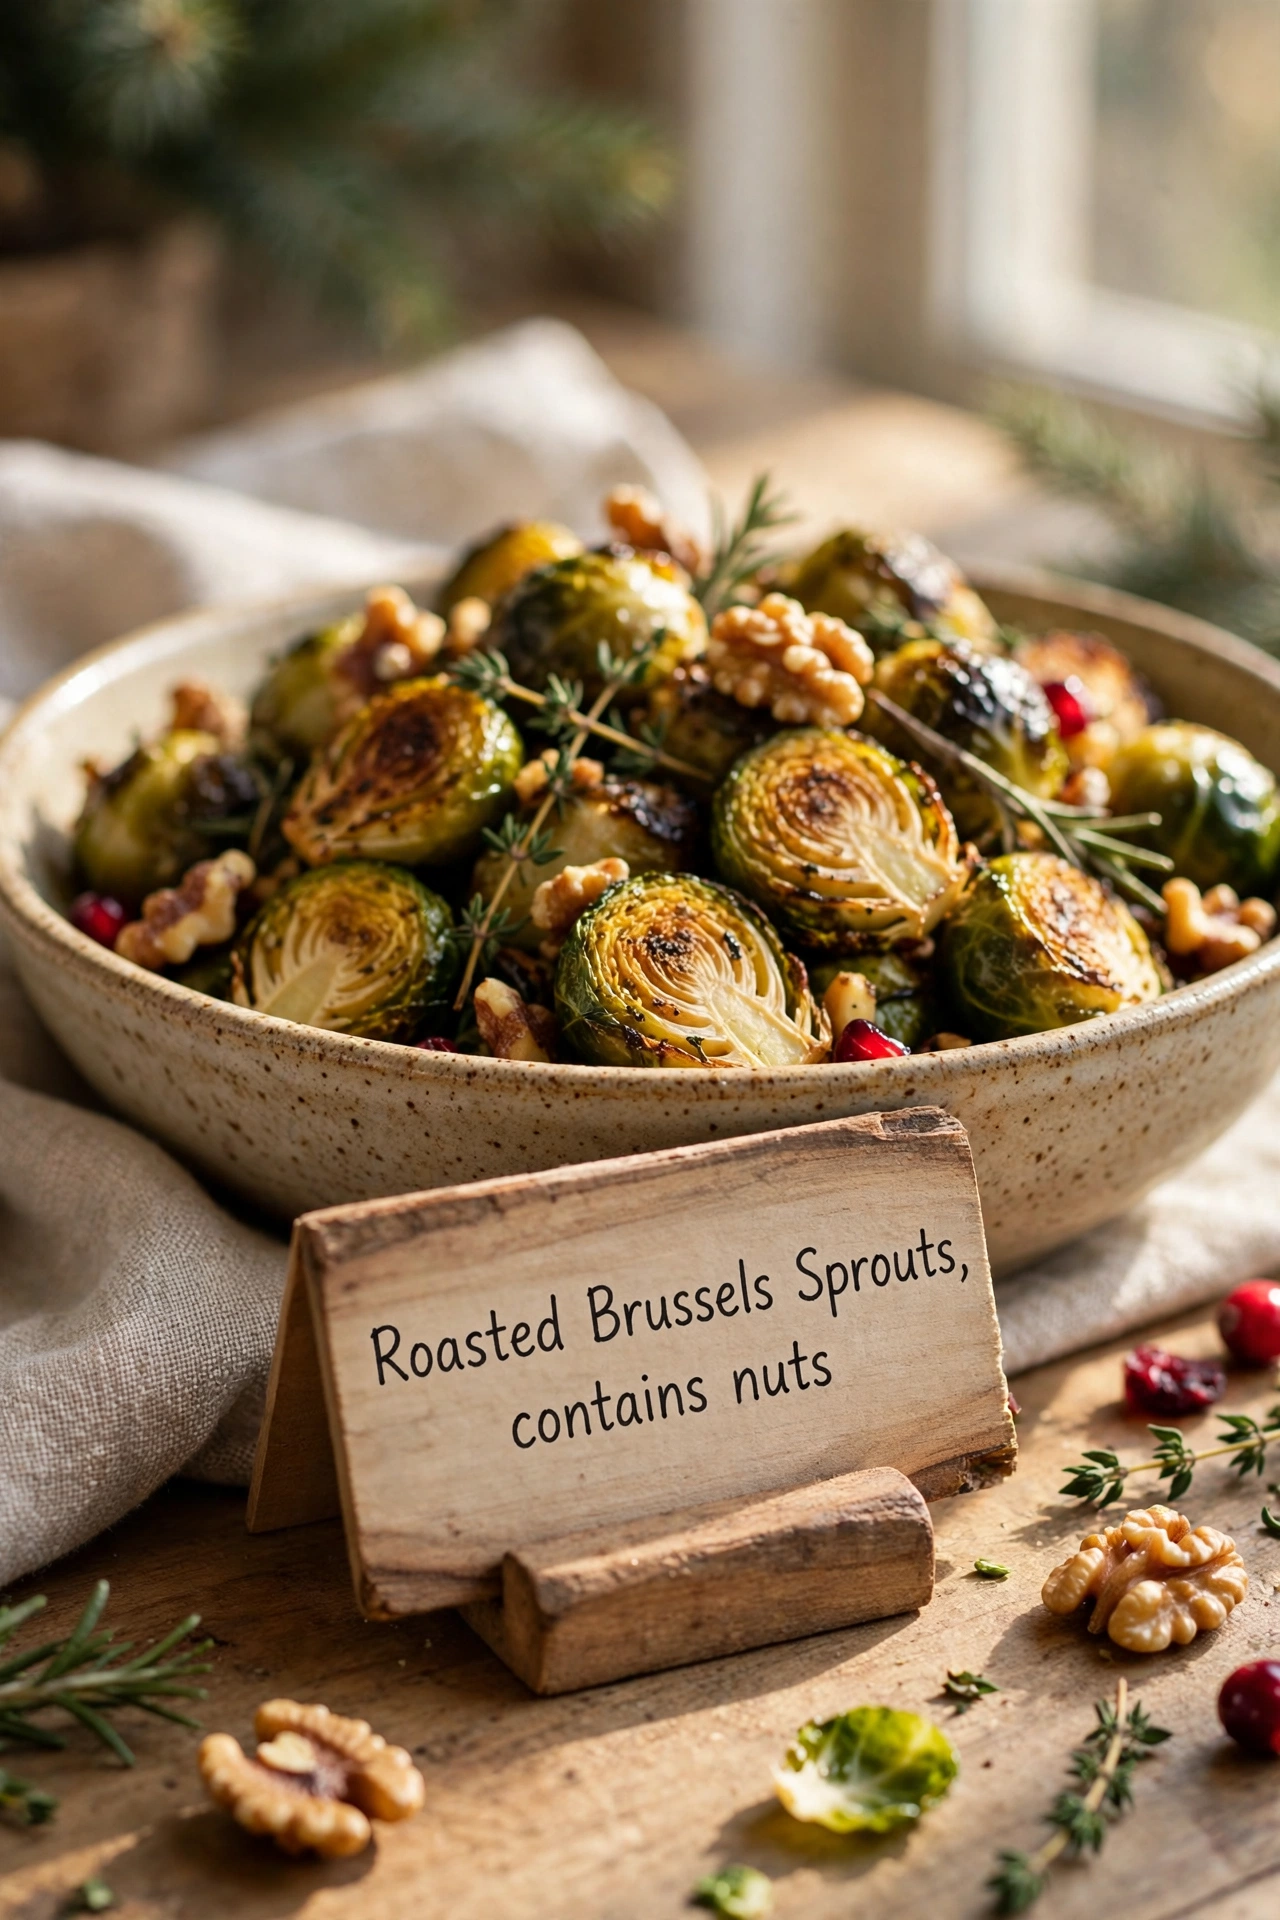
8. Label Every Dish
Small handwritten or printed labels in front of each dish do double duty — they add a charming, styled detail to the buffet and they solve the very real problem of guests repeatedly asking what something is or whether it contains a particular allergen. Simple cardstock tags, mini chalkboard signs, or even a folded place card work well and can be made well ahead of the party, unlike the food itself. Noting major allergens or a vegetarian symbol next to the dish name is a small, thoughtful touch that guests with dietary restrictions notice immediately. This is especially useful on an island buffet where the host may be circulating with other tasks and can’t personally narrate every dish to each guest who walks up. Labeling also speeds up the overall buffet line, since guests spend less time hesitating or asking questions before serving themselves.
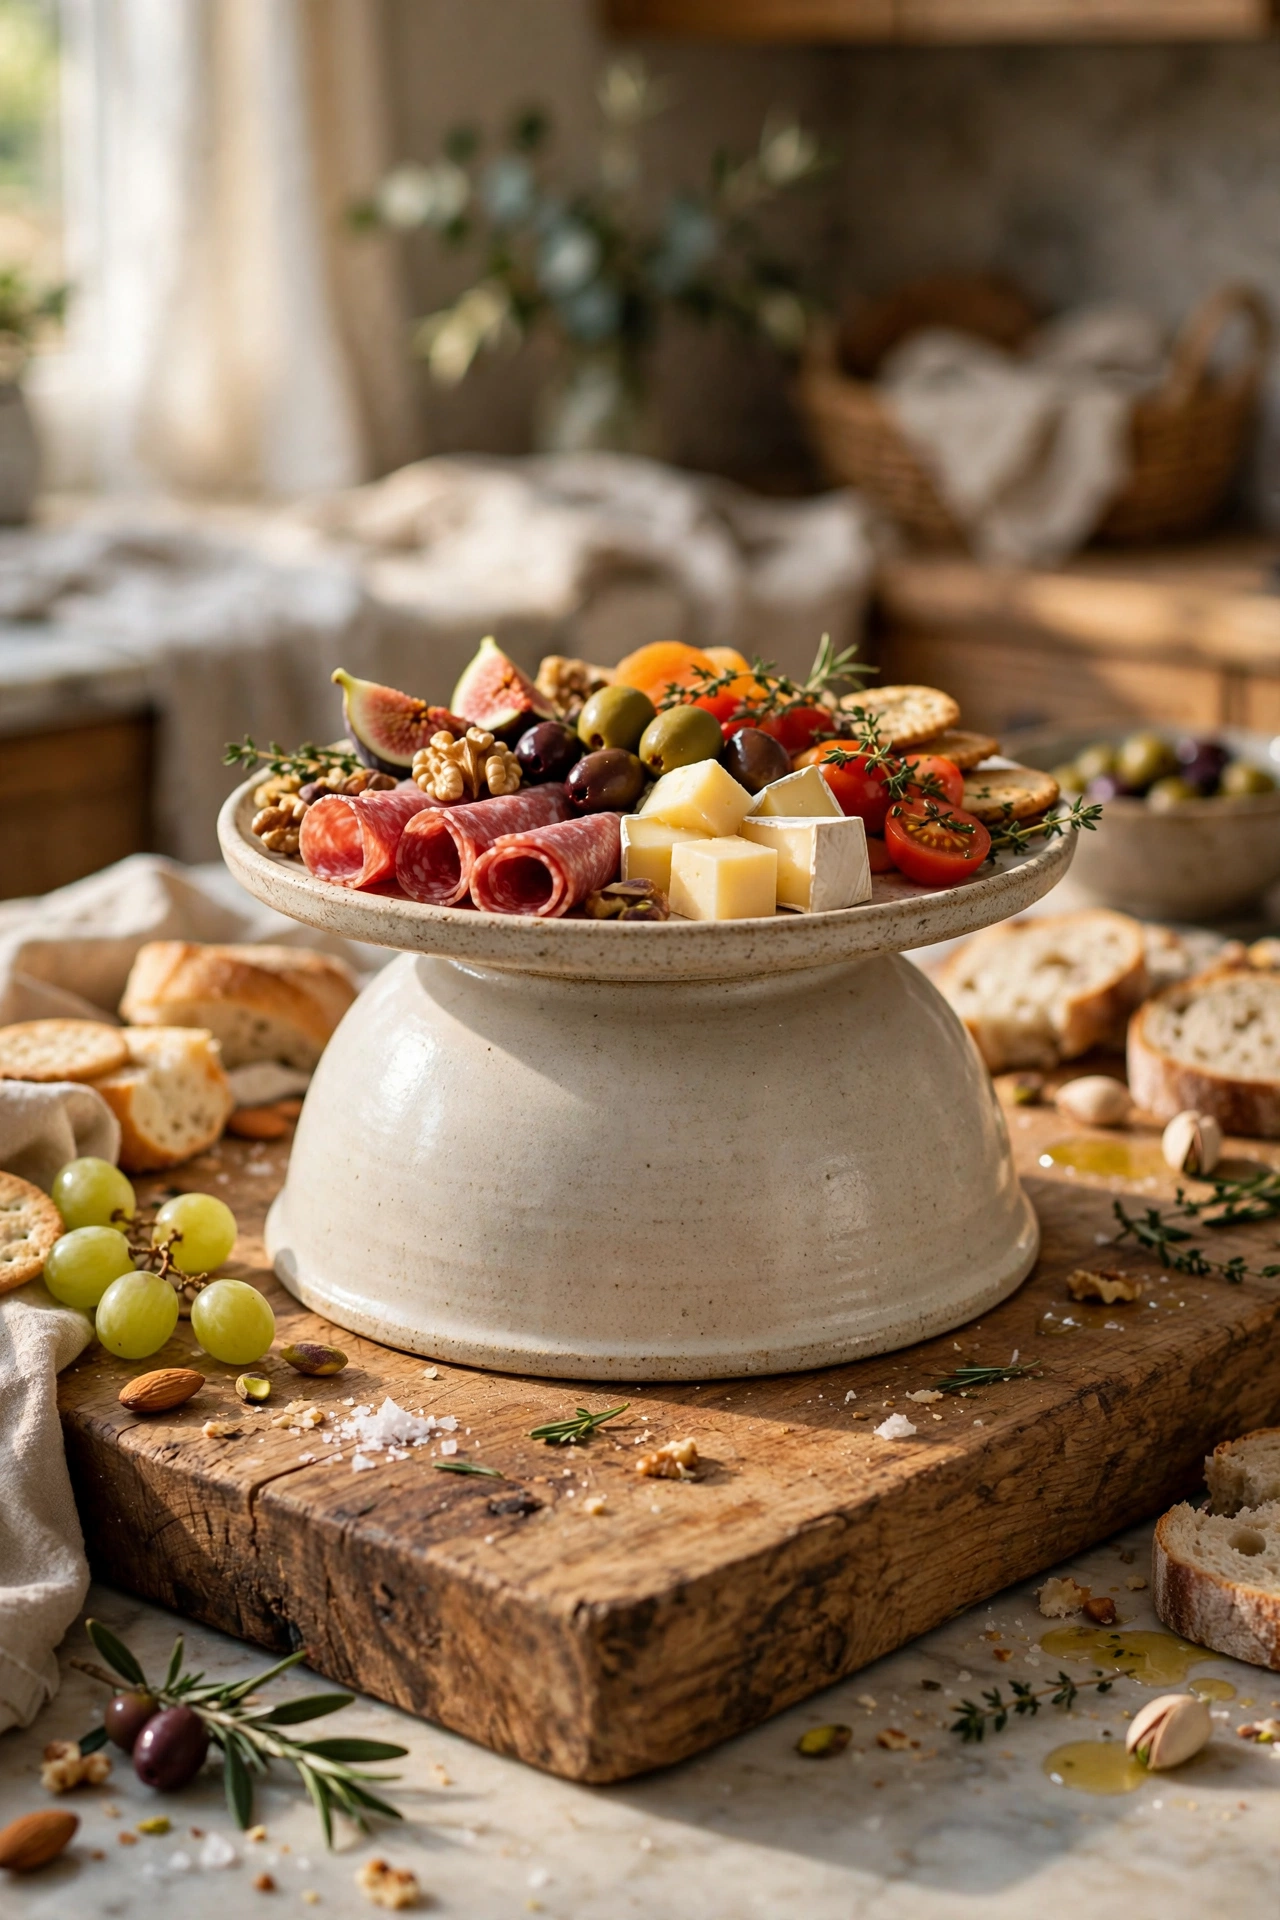
9. Use Cutting Boards and Trays as Instant Risers
Rather than buying new serving stands, large wood cutting boards, sturdy trays, or even upside-down bowls already in a kitchen can be stacked to create the same height variation a proper tiered stand would offer. Placing a smaller platter on top of an upside-down bowl, then setting that combination on a cutting board, instantly adds a level without any new purchase. This approach also tends to look more collected and personal than a uniform set of matching risers, since the pieces come from different parts of the kitchen rather than a single boxed set. It’s a genuinely useful trick for a host who doesn’t own dedicated buffet serveware but still wants the visual depth height variation provides. Testing the stability of any stacked riser before guests arrive is worth the extra minute, since a wobbly stack is a real hazard once food and reaching hands are involved.
10. Add a Chafing Dish or Warming Tray for Hot Items
For a buffet that needs to stay out for more than thirty minutes or so, a chafing dish or an electric warming tray keeps hot food at a safe, appetizing temperature far longer than a dish left uncovered on the counter. Foil chafing dish kits are inexpensive, store flat, and work just as well as a metal version for a home gathering, without the cleanup a reusable set requires. Since most kitchen islands don’t have a nearby outlet built in, plan the cord path for an electric warming tray before guests arrive, running it along the back edge or beneath the island rather than across a walking path. Placing the chafing dish toward the center or back of the mains zone, rather than the front edge, also helps keep curious hands and reaching guests a safer distance from the heat source. This is one of the most functionally important additions on the whole list for any buffet serving hot food over an extended party.
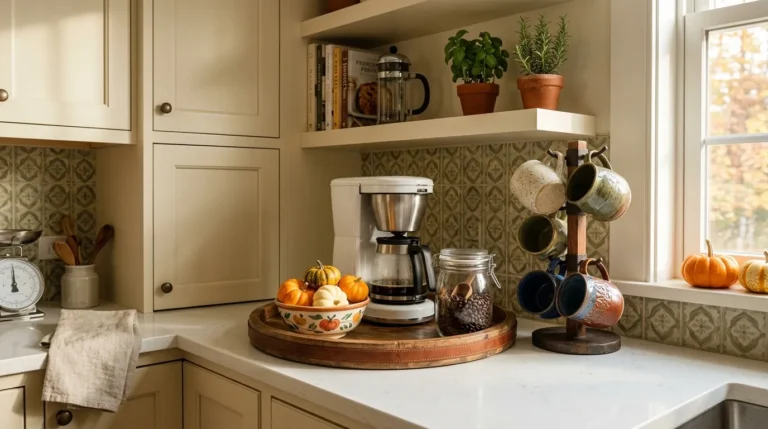
11. Create a Hot Cocoa or Coffee Bar on One End
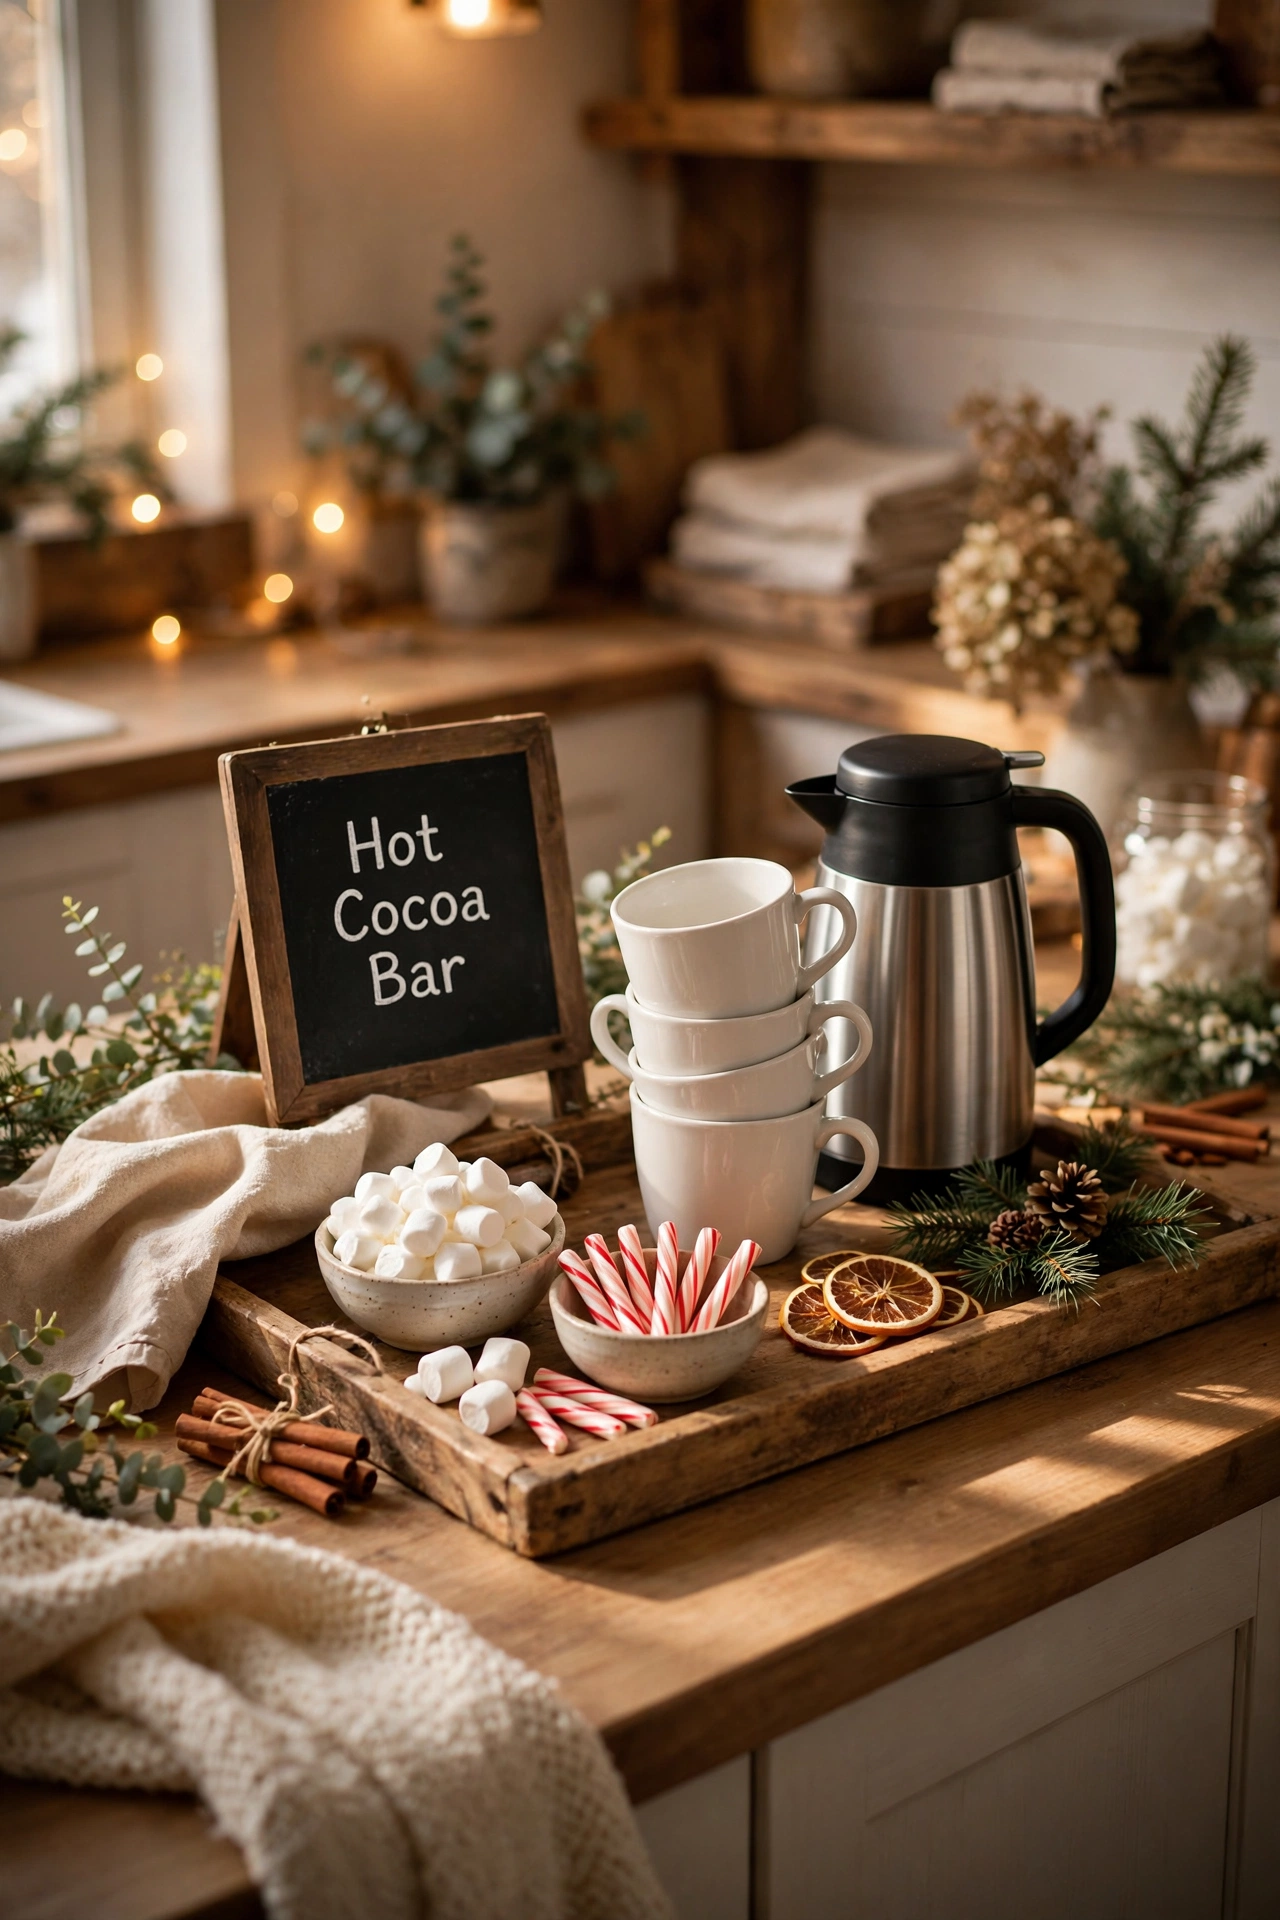
Dedicating one end of the island to a self-serve hot cocoa or coffee station gives guests, especially kids, an interactive reason to visit the island beyond the main meal. A tray with stacked mugs, a thermal carafe or slow cooker of hot cocoa, and small bowls of marshmallows, peppermint sticks, and whipped cream turns a simple hot drink into its own small event. This station works especially well positioned away from the main food zone, similar to the dedicated drink station idea, so it doesn’t create a bottleneck during the main meal service. A small chalkboard sign labeling the station adds a charming, cafe-like touch that photographs well for social sharing. This idea is particularly popular for open houses or dessert-and-coffee gatherings that happen after the main meal has already been cleared.
Related: 23 Stylish Small Apartment Christmas Decor Ideas That Save Space That Make Every Inch Count
12. Style for Access on Every Side
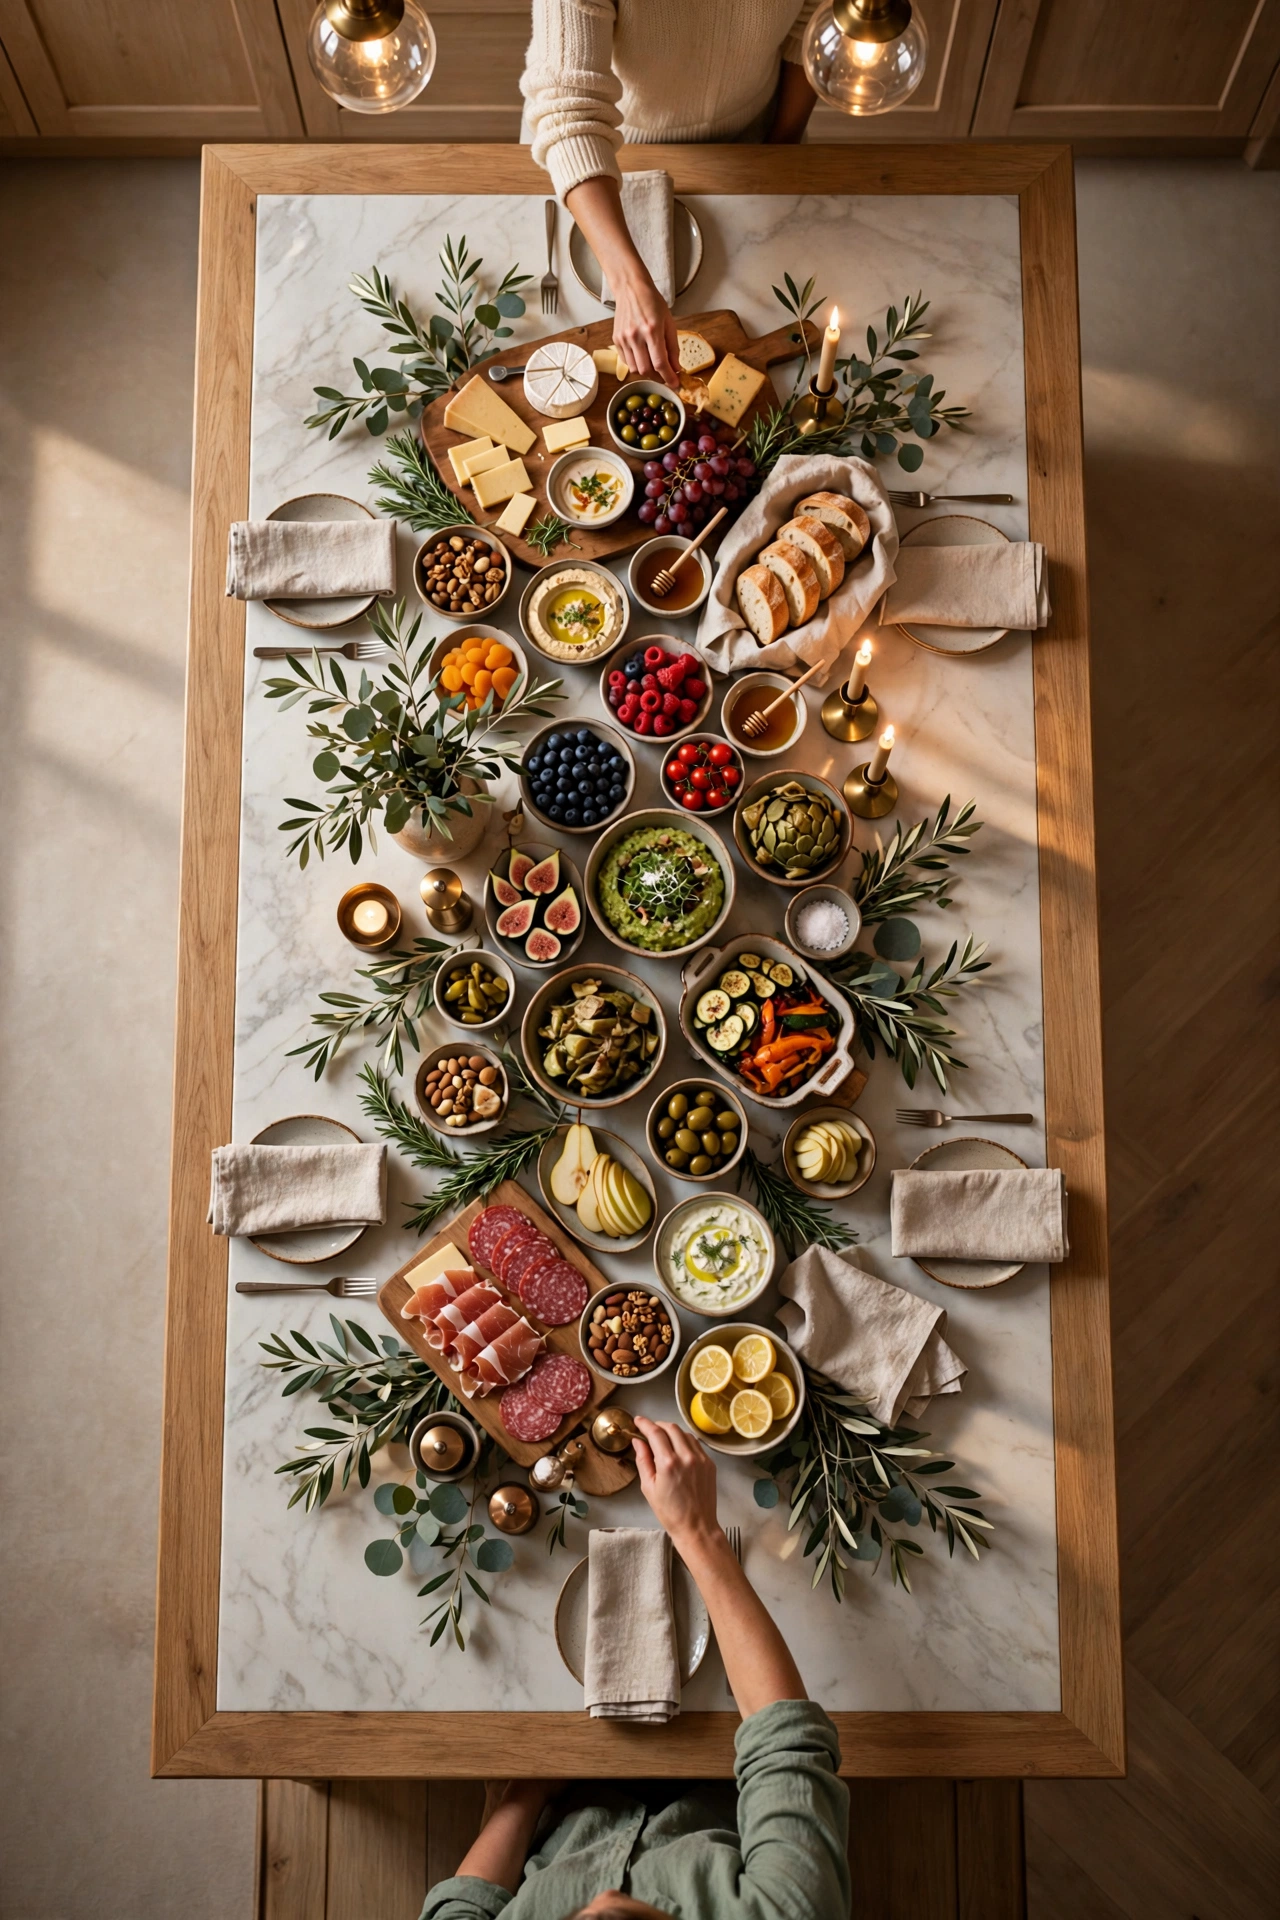
Unlike a sideboard or dining table buffet that guests only approach from one side, a kitchen island typically gets circled from both long sides and sometimes both ends, which changes how food and decor should actually be placed. Avoid positioning tall centerpieces or decor directly in the middle of the island, since they’ll block sightlines and reaching arms from the opposite side. Instead, keep the tallest elements toward one end or split into two shorter groupings, leaving a clear channel down the center for serving spoons and reaching hands from both directions. Labels and dish names should ideally face outward in more than one direction, or be placed at an angle, so they’re readable from either side rather than only from the front. This is one of the clearest structural differences between an island buffet and a traditional single-sided buffet table, and it’s a detail that decor-only guides consistently miss.
13. Add Low Greenery That Never Blocks the Food
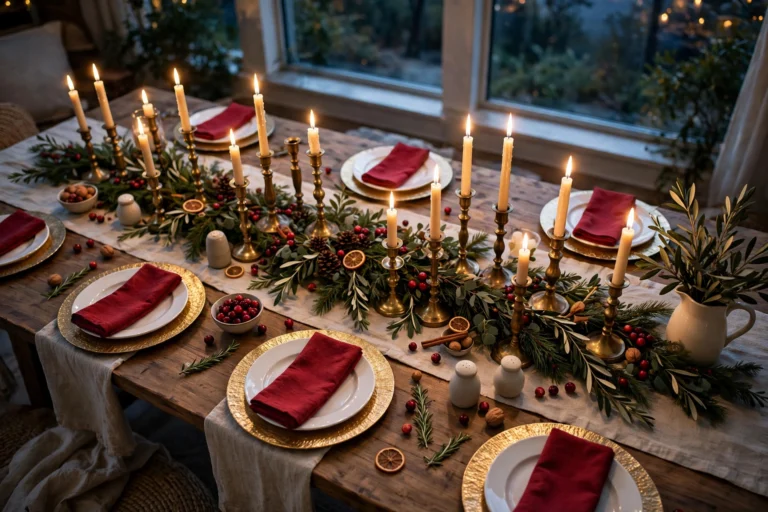
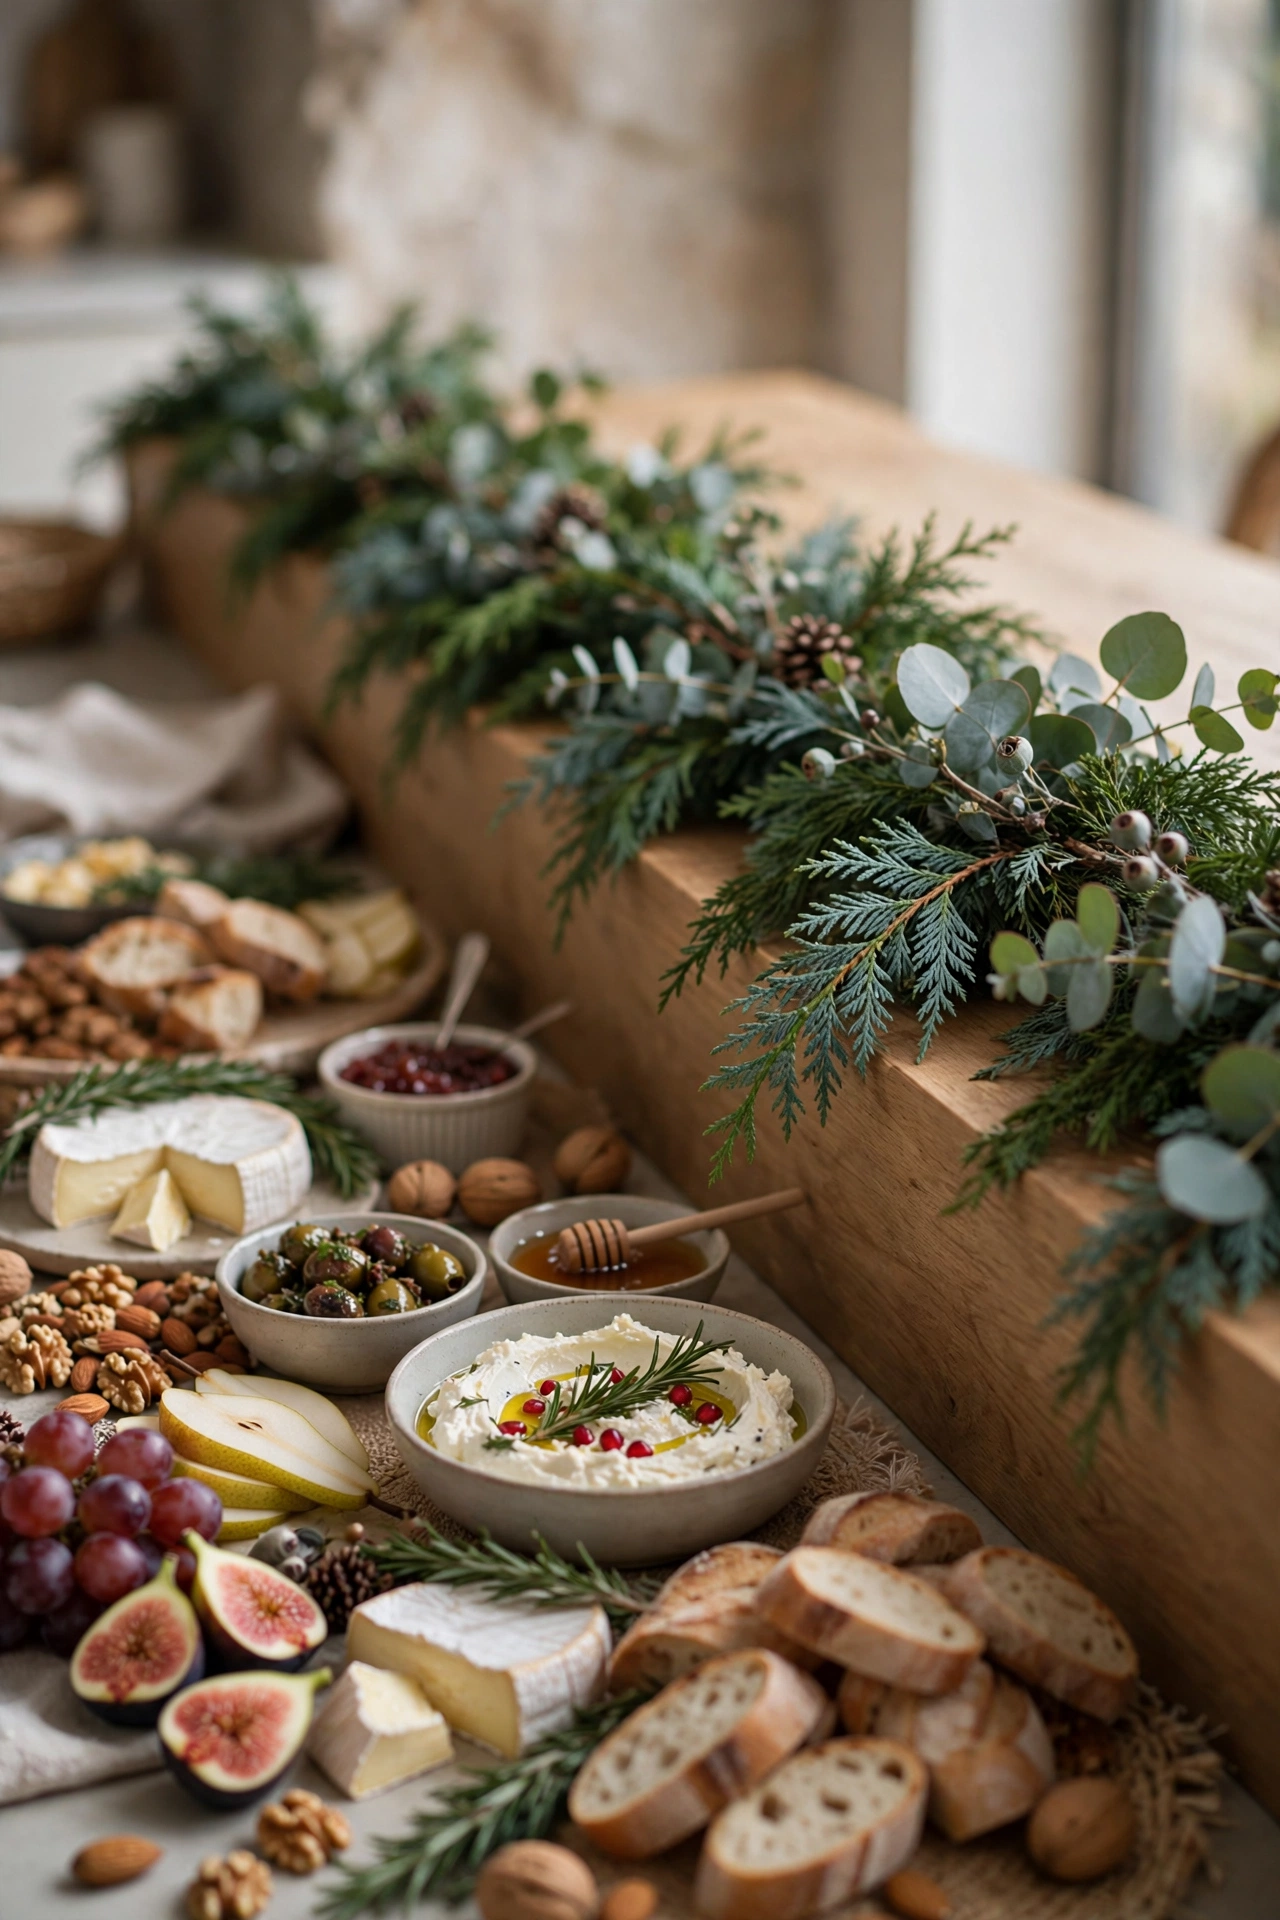
A simple line of fresh greenery — cedar, eucalyptus, or pine — running along the back edge of the island adds color and holiday atmosphere without taking up prime serving real estate on the counter’s main surface. Keeping it strictly along the back edge, rather than draped across the middle, ensures it never interferes with platters, risers, or reaching hands. Tucking in a few pinecones or berry sprigs along the greenery line adds texture without requiring any additional counter space. This approach gives the island a genuinely festive backdrop feel even though, unlike a dining table, there’s no wall or window behind it to anchor a larger garland or wreath. It’s a low-cost, low-effort way to make the buffet feel dressed for the holiday without sacrificing an inch of usable serving space.
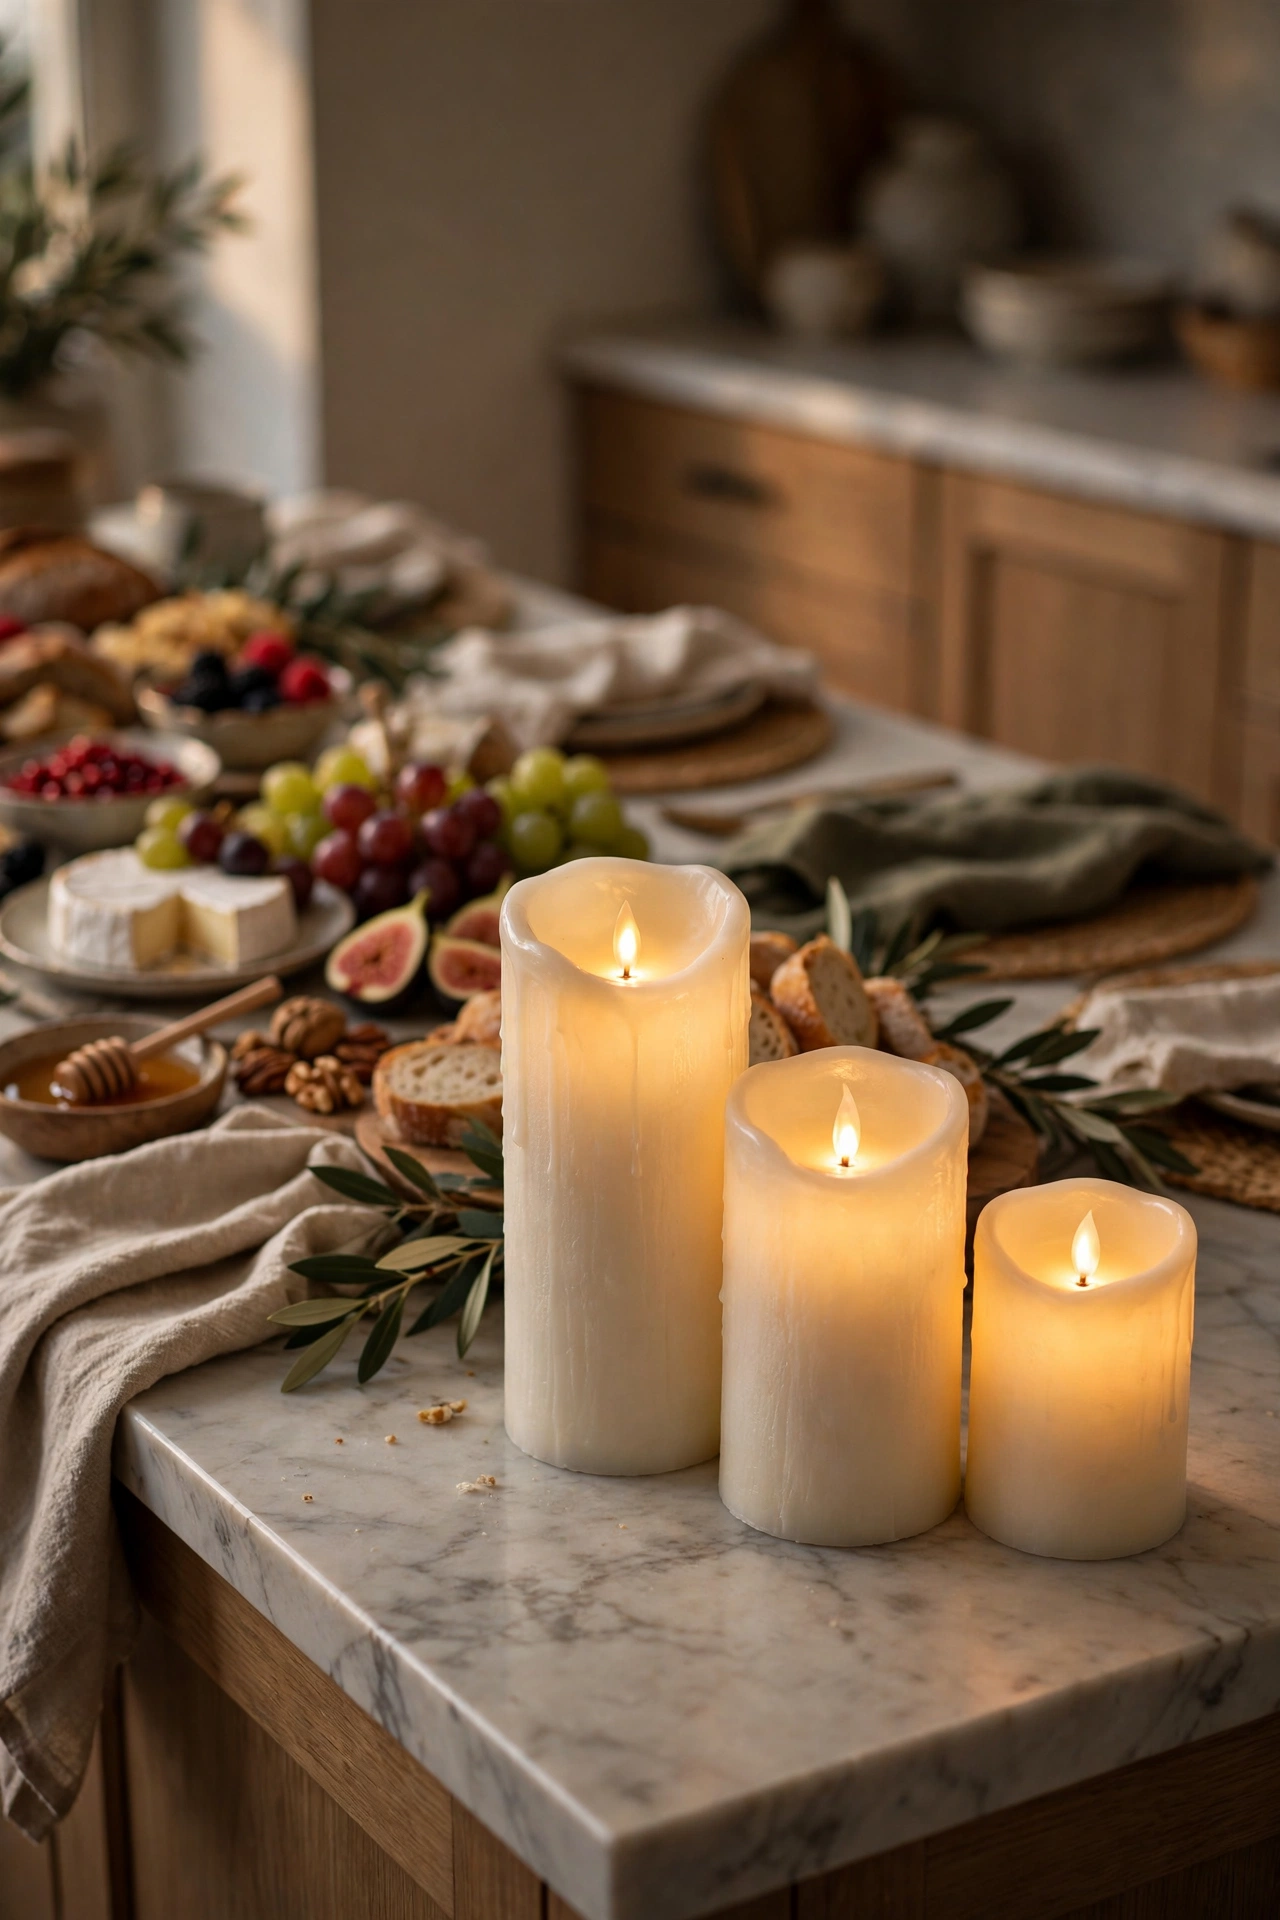
14. Group Candles in Odd Numbers for Ambient Light
Clustering three or five candles of varying heights toward one end of the island, away from direct food contact, adds warm ambient light without introducing an open flame near reaching hands and long sleeves in the main serving zone. Flameless LED candles are a genuinely smart substitute in this specific spot, given how close guests’ hands, sleeves, and children will be to the buffet all evening. Grouping odd numbers together, rather than spacing candles evenly across the whole island, creates a more natural, gathered look and keeps flame or LED light concentrated in one safer, contained area. This small lighting layer does a lot to shift the mood of the room once overhead lights are dimmed for the evening. It’s a detail worth adding after the food and functional layout are finalized, since safety and reach should take priority over candle placement on a working buffet.
15. Add a Small Chalkboard or Printed Menu Sign
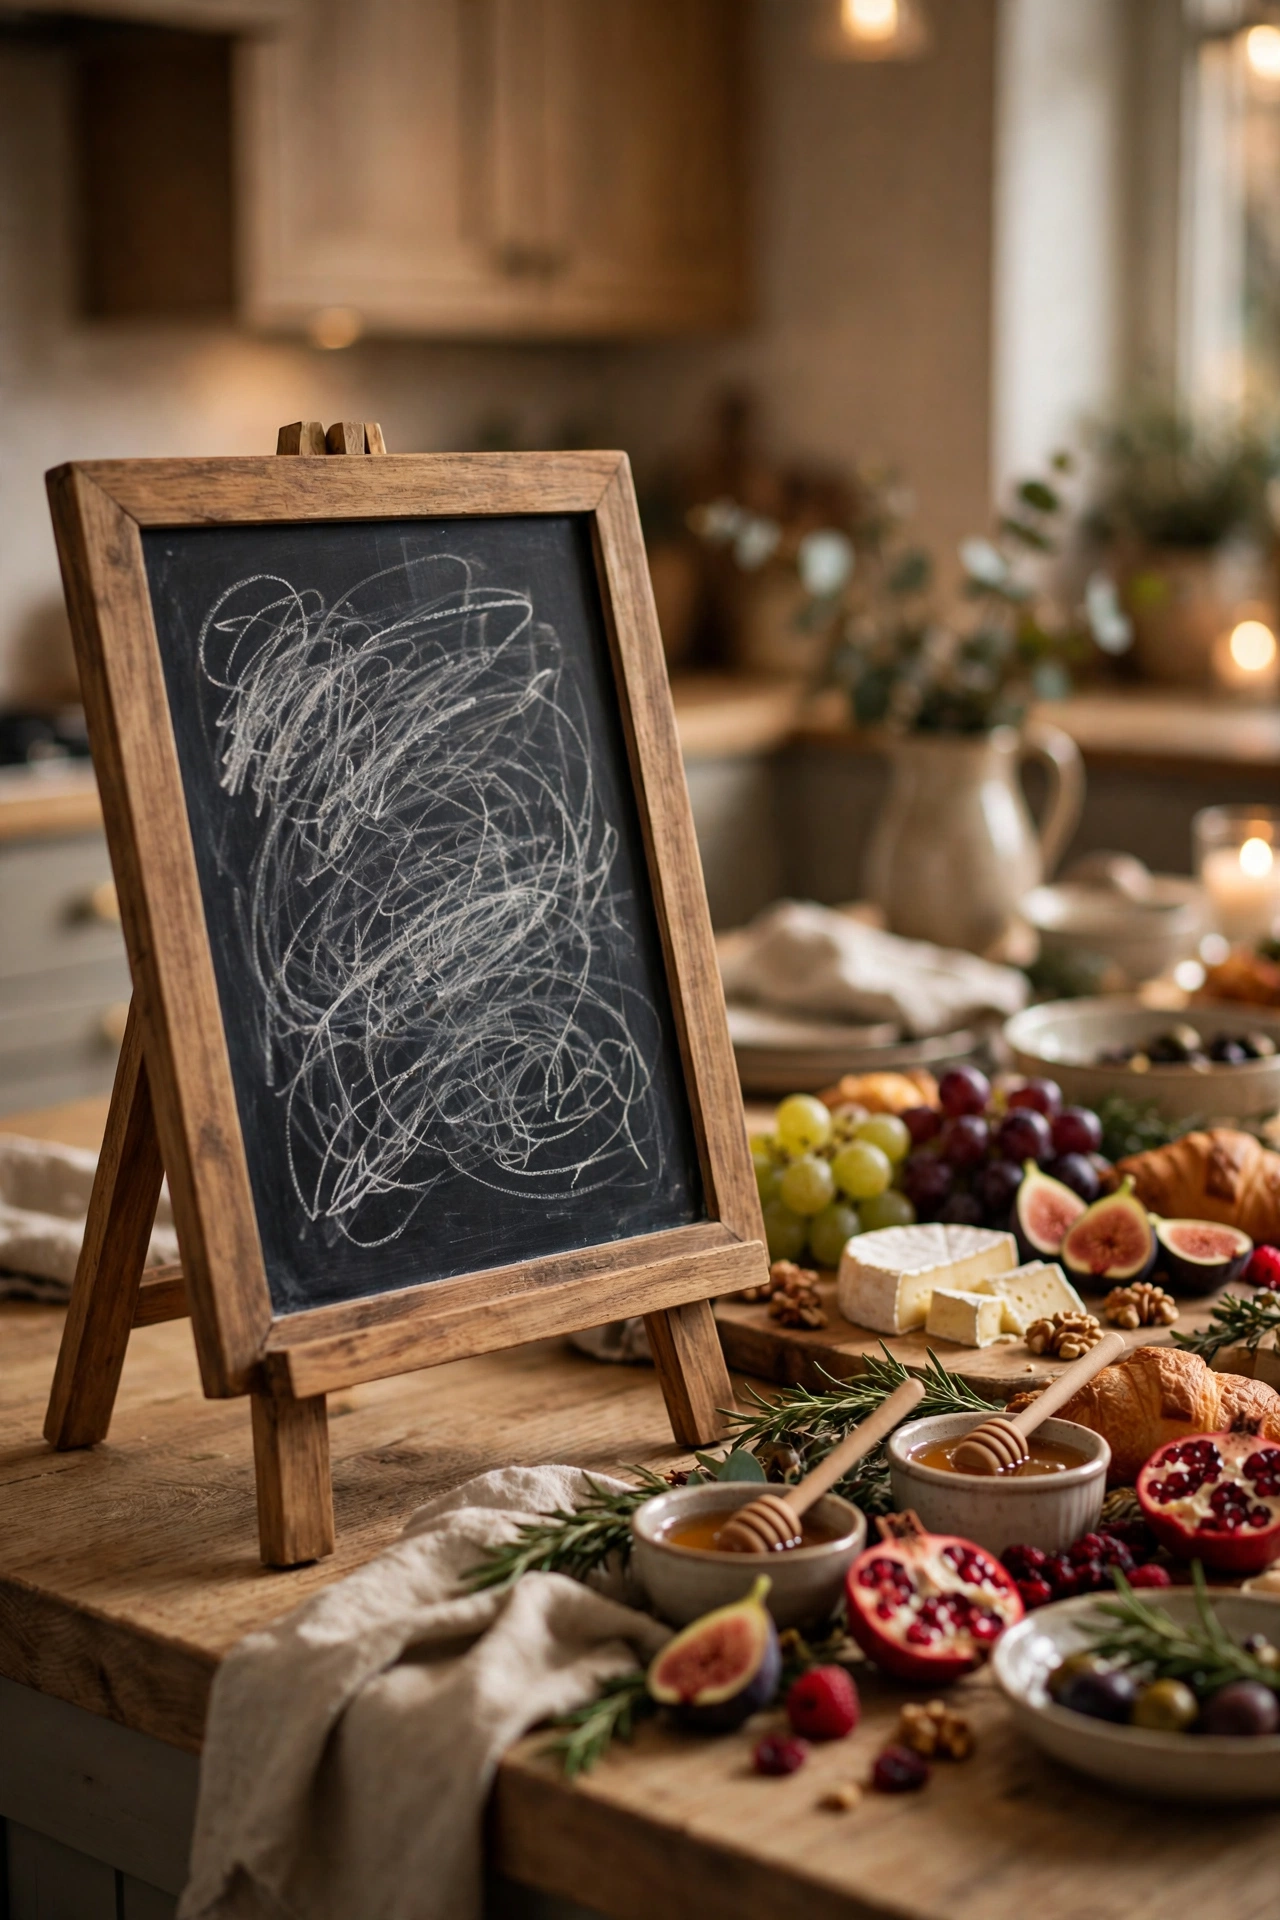
A single small chalkboard easel or a printed menu card propped near one end of the island gives guests a quick overview of what’s being served without needing individual labels in front of every dish. This is especially useful for a buffet with a longer, more elaborate menu, where guests appreciate seeing the full lineup before deciding where to start. Handwritten chalk lettering in a simple, legible script adds a personal, homemade touch that photographs well for social sharing. Positioning the sign at one end, rather than the center, keeps it from becoming another obstacle in the middle of the two-sided reaching zone. This detail pairs well with individual dish labels rather than replacing them, giving guests both a big-picture view and specific dish information as they move down the line.
16. Keep a Clear Path on Both Sides
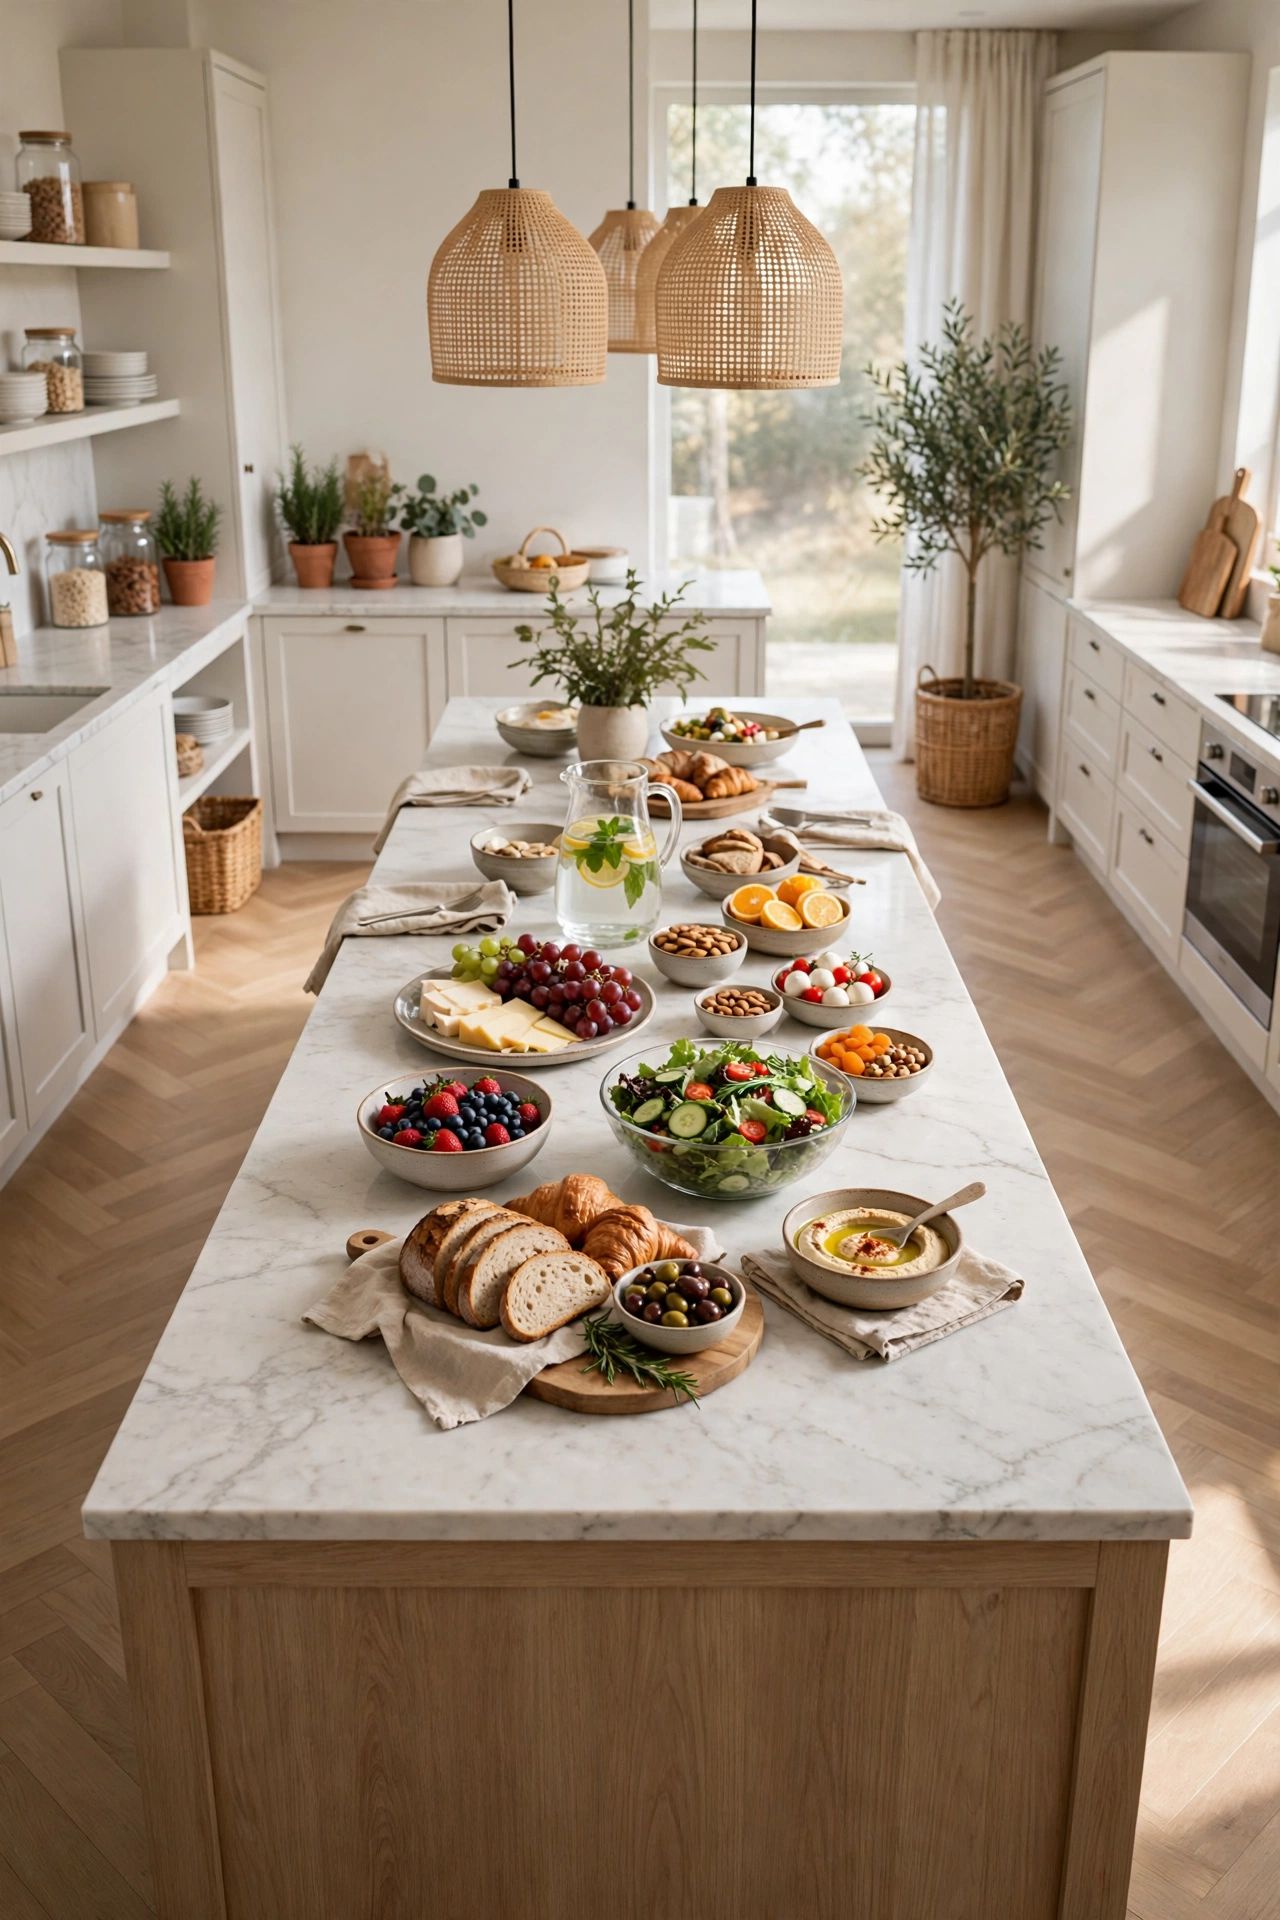
Before finalizing any decor or food placement, physically walk both long sides of the island as if you were a guest serving a plate, checking for anywhere a platter, riser, or centerpiece juts out far enough to cause a bump or a spill. A general guideline of leaving at least six inches of clearance between the island’s edge and any decor allows guests enough room to set a plate down briefly without knocking something over. This matters even more during a holiday party than a typical family dinner, since a full house means more foot traffic circling the island at once from multiple directions. If your island backs up close to a wall or cabinet on one side, consider treating that side as single-access only and concentrating decor there instead of on the fully walkable side. This walk-through test takes only a minute or two but prevents the most common and most avoidable buffet mishaps of the evening.
17. Build a Backdrop Since an Island Has No Wall
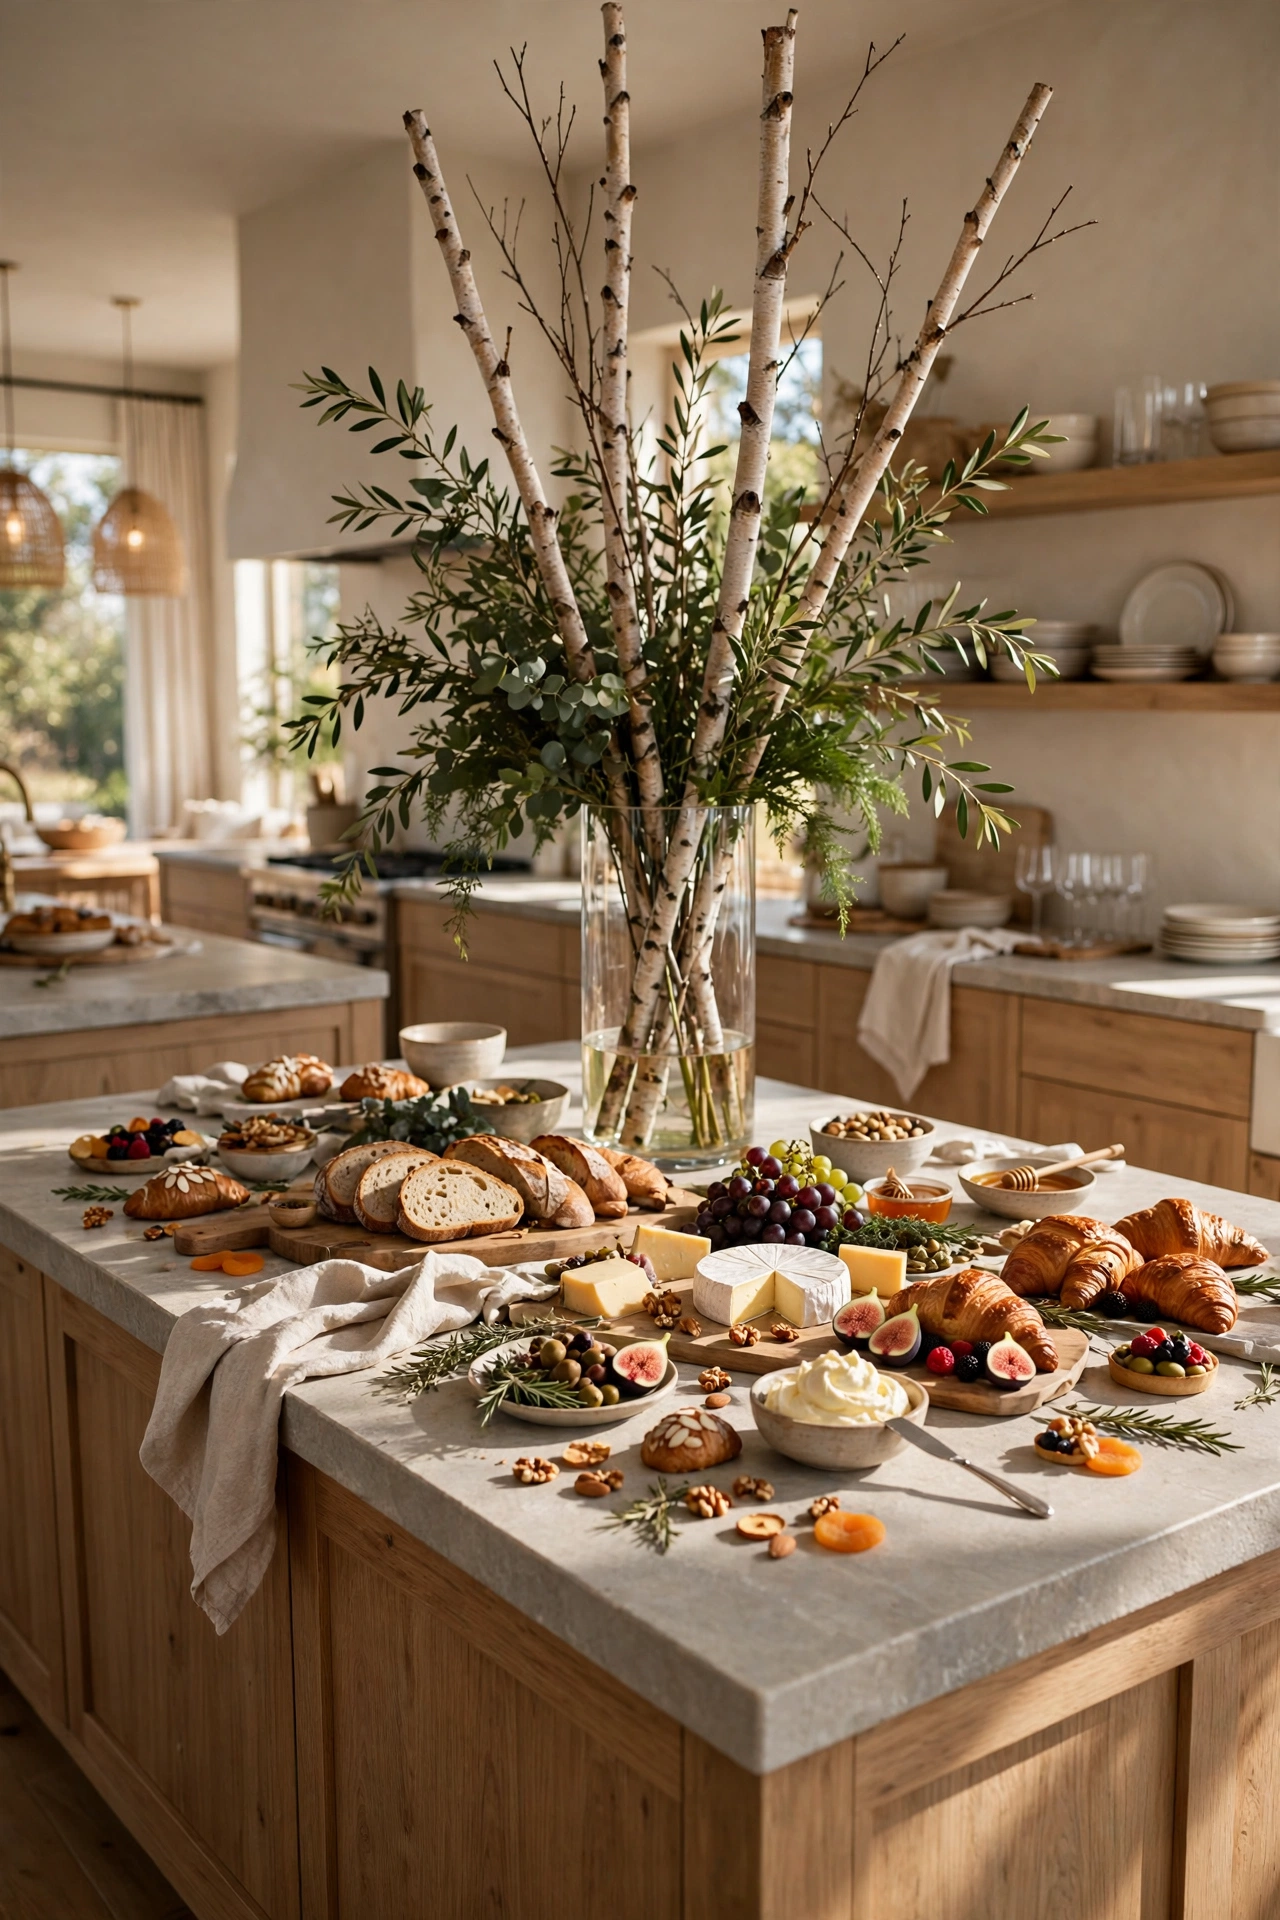
A dining room buffet automatically gets a backdrop from the wall behind it, but a kitchen island floats in open space, so a small, deliberate backdrop element helps anchor the whole display visually. A tall vase of branches, a cluster of pillar candles at one end, or even a small potted tree positioned just behind one corner of the island gives the eye a vertical anchor point the way a wall-mounted wreath or artwork would in a dining room. This doesn’t need to be large or elaborate — even a single tall element is often enough to keep the buffet from feeling like it’s floating with nothing to visually frame it. Position any backdrop piece off to one side rather than directly behind the center, so it doesn’t interfere with the two-sided reaching access discussed earlier. This is a detail unique to island buffets that dining-table-focused guides never need to consider at all.
18. Style a Separate Dessert Zone for the Second Wave
Rather than putting desserts out alongside the main meal from the start, styling a separate section — or waiting to reveal it entirely — creates a natural second wave of buffet activity once the main course has wound down. This can be as simple as covering a dessert spread with a decorative cloth until it’s time to reveal it, or physically staging it on a different part of the island or an adjacent counter. Cookies, bars, and pies benefit from the same tiered riser approach as appetizers, since a cake stand or tiered tray makes a dessert spread feel like its own intentional moment rather than an afterthought. This approach also naturally clears the main buffet zone for guests going back for seconds, since dessert traffic and main-course traffic aren’t competing for the same counter space at the same time. It’s a smart pacing trick borrowed directly from professional catering that most home buffet guides never mention.
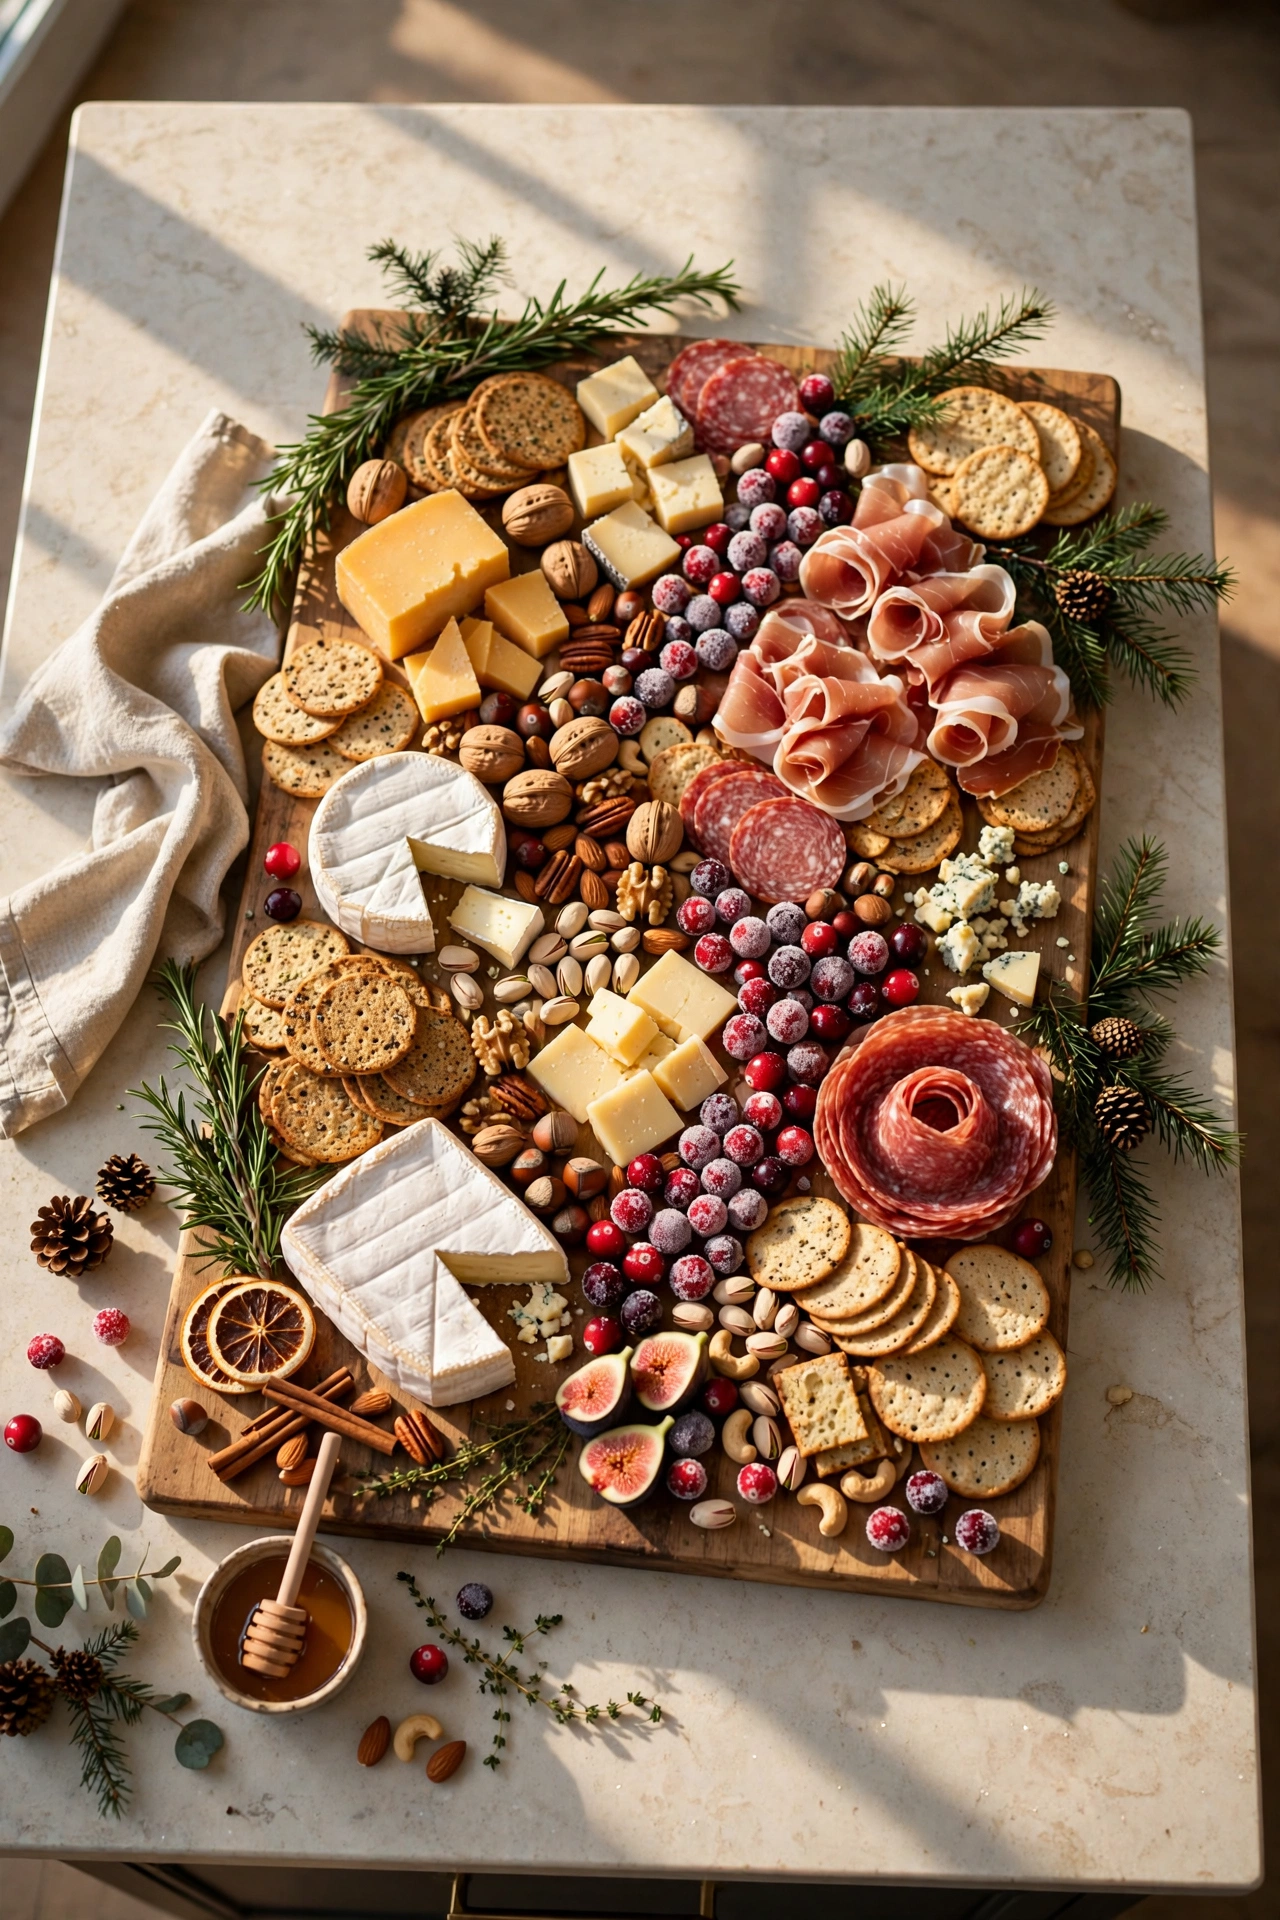
19. Anchor the Spread with a Charcuterie or Grazing Board
A large wood charcuterie or grazing board laid directly on the island counter makes a strong visual anchor point and works especially well for an appetizer hour before a seated dinner or as the entire spread for a casual open house. Filling it with a mix of cheeses, cured meats, crackers, nuts, and a few festive touches like sugared cranberries or rosemary sprigs gives the eye plenty to explore without needing separate serving dishes for every item. Because the board itself sits flat on the counter, it works beautifully as the “low” layer in a height-varied display, with smaller bowls or a tiered stand added around its edges for taller elements. This is one of the most efficient single pieces on this entire list, since one board can replace what would otherwise require six or seven separate small dishes. It also happens to be one of the most photographed styles of holiday spread, making it a strong choice if the buffet is likely to end up on social media.
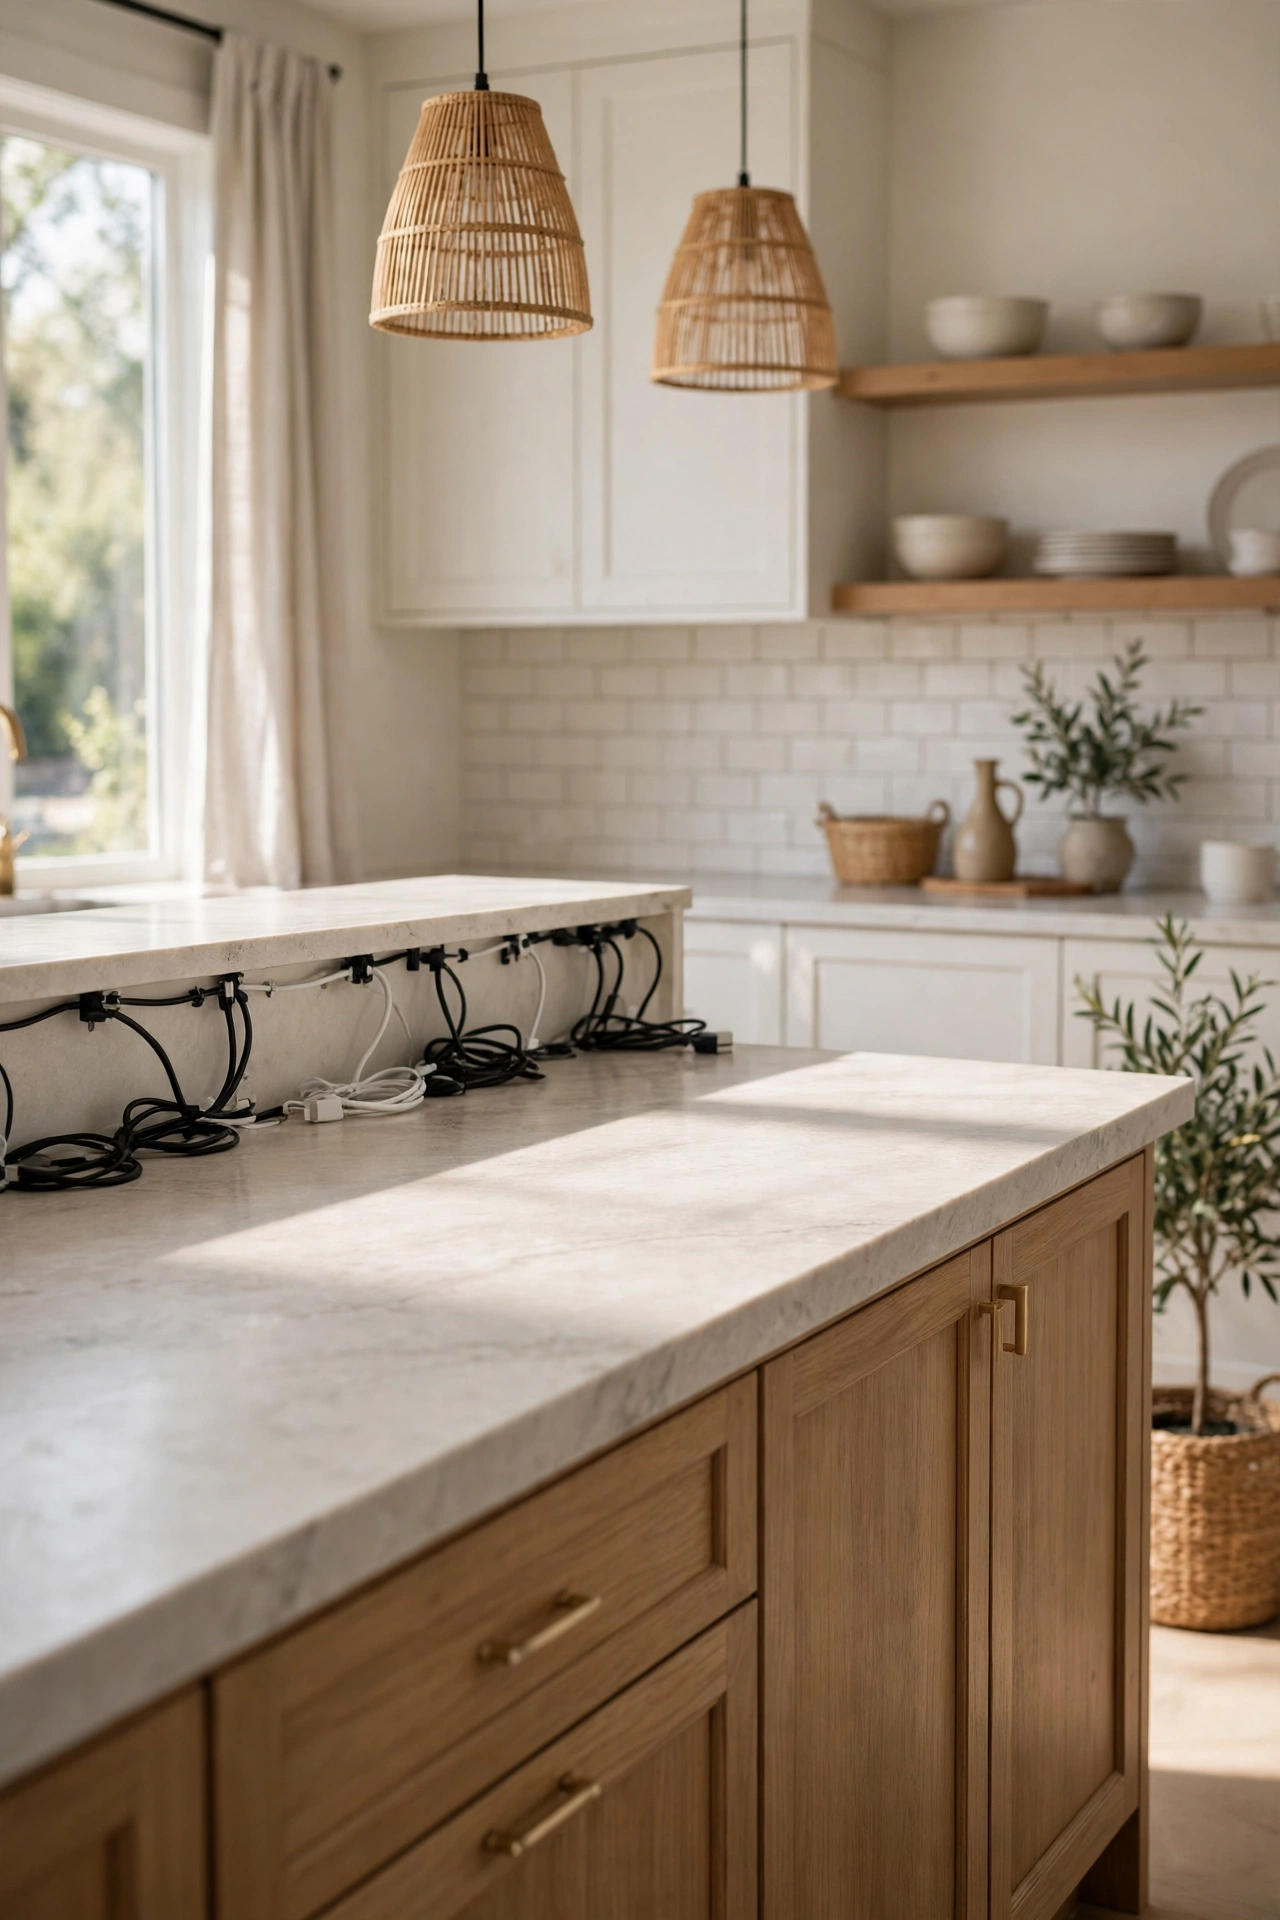
20. Hide Cords and Small Appliances Before Guests Arrive
Kitchen islands often double as a landing spot for small appliances, mail, and daily clutter, so a genuine “before” step for any island buffet is clearing that surface completely and deciding in advance where any necessary cords — for a warming tray, slow cooker, or coffee station — will run. Tucking cords along the back edge or down the side of the island, secured with a small piece of tape, keeps them from becoming a trip hazard in a busy, crowded kitchen. If a stand mixer, toaster, or other daily-use appliance normally lives on the island, moving it to a nearby counter or pantry for the event frees up meaningful surface area for the buffet itself. This is one of the least glamorous steps in the entire process, but it’s also one of the most important for both safety and the overall polished appearance of the finished buffet. Taking five minutes to do this before styling anything else prevents the frustrating experience of running out of counter space halfway through setup.
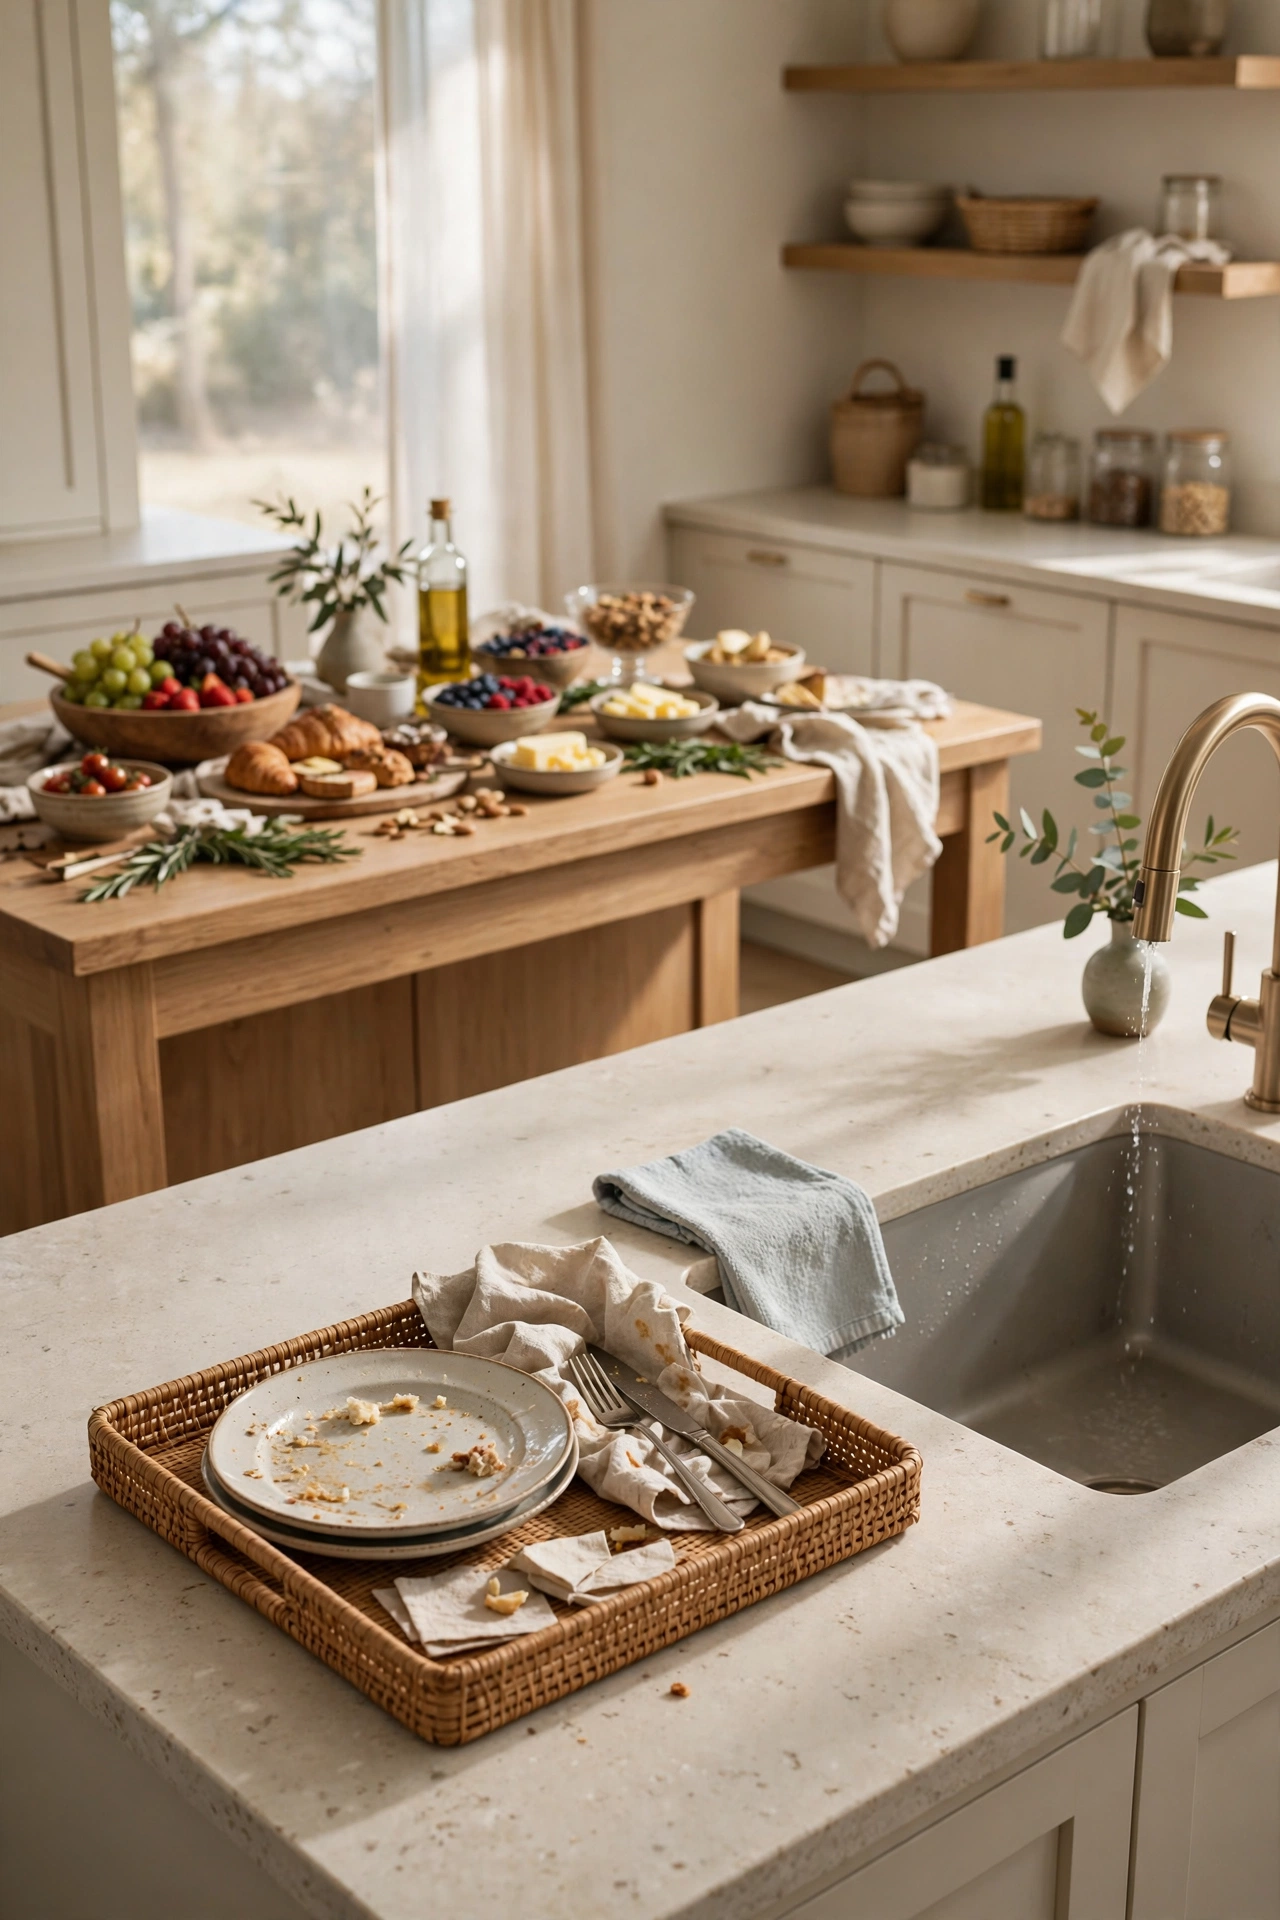
21. Create a Return Zone for Used Plates and Napkins
Designating a specific spot, ideally away from the main serving area, where guests can set down used plates, napkins, or empty glasses keeps the buffet itself from slowly filling up with discarded items throughout the party. A small tray or bin near the kitchen sink, clearly separated from the food zone, gives guests an obvious place to go rather than leaving dishes scattered around the island. This is a detail specific to open-concept kitchens with an island, since the sink is often close enough that guests will look for somewhere to set things down on their way past. Communicating this zone verbally when guests first arrive, or with a small sign, makes the system work without needing to be enforced throughout the evening. This final step is what keeps an island buffet functional and presentable from the first guest’s plate all the way through the last one, rather than gradually sliding into chaos as the party goes on.
Kitchen Island Buffet Flow: The Order Guests Actually Move In
This is the section decor-only guides skip entirely, even though it determines whether the whole setup actually works once real guests are moving through it.
- Step 1 — Plates: Always start the line with stacked plates, since guests need something to put food on before anything else makes sense.
- Step 2 — Mains: Position main dishes immediately after the plates, since guests build their plate around the entree first and arrange sides around it.
- Step 3 — Sides and condiments: Follow with side dishes, sauces, and condiments, grouped logically near the mains they pair with.
- Step 4 — Flatware: Place wrapped flatware bundles near the end of the food line, not the beginning, so guests aren’t holding utensils while trying to serve hot food with both hands.
- Step 5 — Napkins: Keep a stack or basket of extra napkins right beside the flatware for the same reason.
- Step 6 — Drinks: Position the separate drink station last in the overall path, or entirely apart from the food line, so it doesn’t create a bottleneck for guests only stopping for a refill.
- Step 7 — Dessert (later in the event): Reveal or redirect guests to a separate dessert zone once the main course has wound down, keeping that traffic pattern distinct from the earlier mains-and-sides flow.
On a kitchen island specifically, this order needs to work in whichever direction makes sense for your kitchen’s layout — sometimes left to right, sometimes wrapping around one end — but the sequence of plates, mains, sides, flatware, napkins, and drinks should stay consistent regardless of which physical direction the line moves.
Styling Tips
- Choose one seasonal color story (classic red and green, all-white winter, or warm metallics) and carry it through the runner, labels, and any candles so the buffet feels cohesive rather than randomly decorated.
- Keep the tallest decor elements toward the ends or corners of the island, never the center, to preserve two-sided reaching access.
- Repeat a single greenery type (cedar, eucalyptus, or pine) throughout rather than mixing several different types, which keeps the styling looking intentional.
- Use labels and signage as both a decor layer and a functional tool, choosing a script or print style that matches your overall table aesthetic.
- Add lighting last, once food and functional layout are finalized, so candle or fairy light placement doesn’t interfere with safe reaching zones.
Practical Implementation Ideas
- Do a full walk-through of both sides of the island as a “guest” before the party starts, checking for anything that juts out far enough to cause a bump.
- Set trivets and heat protection down before any hot dish, mapping out exactly where warming trays and chafing dishes will sit.
- Wrap flatware bundles and prep labels the day before, since both tasks take real time but don’t require last-minute freshness.
- Test any stacked or improvised risers for stability before loading them with food, especially if using cutting boards or upside-down bowls.
- Plan your cord path for any electric warming equipment before the party, taping cords down along a low-traffic edge rather than across a walking path.
Common Mistakes to Avoid
- Placing a tall centerpiece or decor piece directly in the center of the island, which blocks reaching access from the opposite side.
- Skipping heat protection under a hot dish, risking real damage to a stone or quartz countertop.
- Putting the drink station in the same zone as the main food line, creating unnecessary congestion for guests who only want a refill.
- Forgetting to test stacked or improvised risers for stability before loading them with food and setting them near a crowd of reaching hands.
- Leaving cords for warming trays or slow cookers running across an open walking path, creating a real trip hazard in a busy kitchen.
Small-Island Alternatives
On a smaller island, prioritize function over decor volume — a runner, one height-varied riser, and clear labeling will do more than trying to fit every idea on this list onto a limited surface. Skip the on-island drink station entirely and move it to a nearby counter or cart instead, freeing up the full island surface for food. A single charcuterie or grazing board can replace several smaller separate dishes, which is especially useful when counter space is tight. Consider serving dessert on a completely separate surface, like a small side table or cart, rather than trying to fit a second wave of food onto an island that’s already at capacity.
Related: 17 Doable Christmas Table Settings That Feel Elevated
Budget-Friendly Alternatives
Cutting boards, upside-down bowls, and trays already in the kitchen can replace purchased tiered stands entirely, delivering the same height variation at no additional cost. Foil chafing dish kits from a grocery or party store cost far less than a reusable metal set and work just as well for a single gathering. Handwritten cardstock labels and a basic chalkboard easel are inexpensive ways to add both function and charm without a large decor budget. Grocery store greenery, rather than a florist arrangement, keeps the backdrop and runner-line ideas affordable while still delivering real texture and scent to the display.
Pro Styling Recommendations
Plan the functional flow — plates, mains, sides, flatware, napkins, drinks — before making a single styling decision, since decor placed without that structure in mind often has to be moved or redone once real food gets added. Treat the island’s open, walkable-on-all-sides nature as the defining design constraint for this specific buffet, rather than styling it the way you would a wall-backed sideboard. Layer height strategically rather than decoratively, prioritizing which dishes actually need the visual boost versus which ones are heavy and need to stay grounded on the counter. Do a genuine test walk-through from both sides of the island before the party starts, since this single five-minute check catches more real problems than any amount of additional styling would. Finally, plan for the reset — knowing where a return zone, a warming tray’s cord, or a chafing dish will go before the party starts saves significant stress once the room actually fills with guests.
FAQs
Conclusion
A kitchen island can absolutely carry an entire Christmas buffet, but it asks for a slightly different approach than a traditional sideboard against a wall. Guests come at it from every direction, there’s no backdrop to lean on, and the counter itself needs protecting before the food even goes down. Handle those island-specific realities first — height, zoning, heat protection, and a clear path on both sides — and the styling on top of it, the greenery, the candles, the labels, is what turns a functional buffet into the one everyone actually asks you about.