17 Doable Christmas Table Settings That Feel Elevated
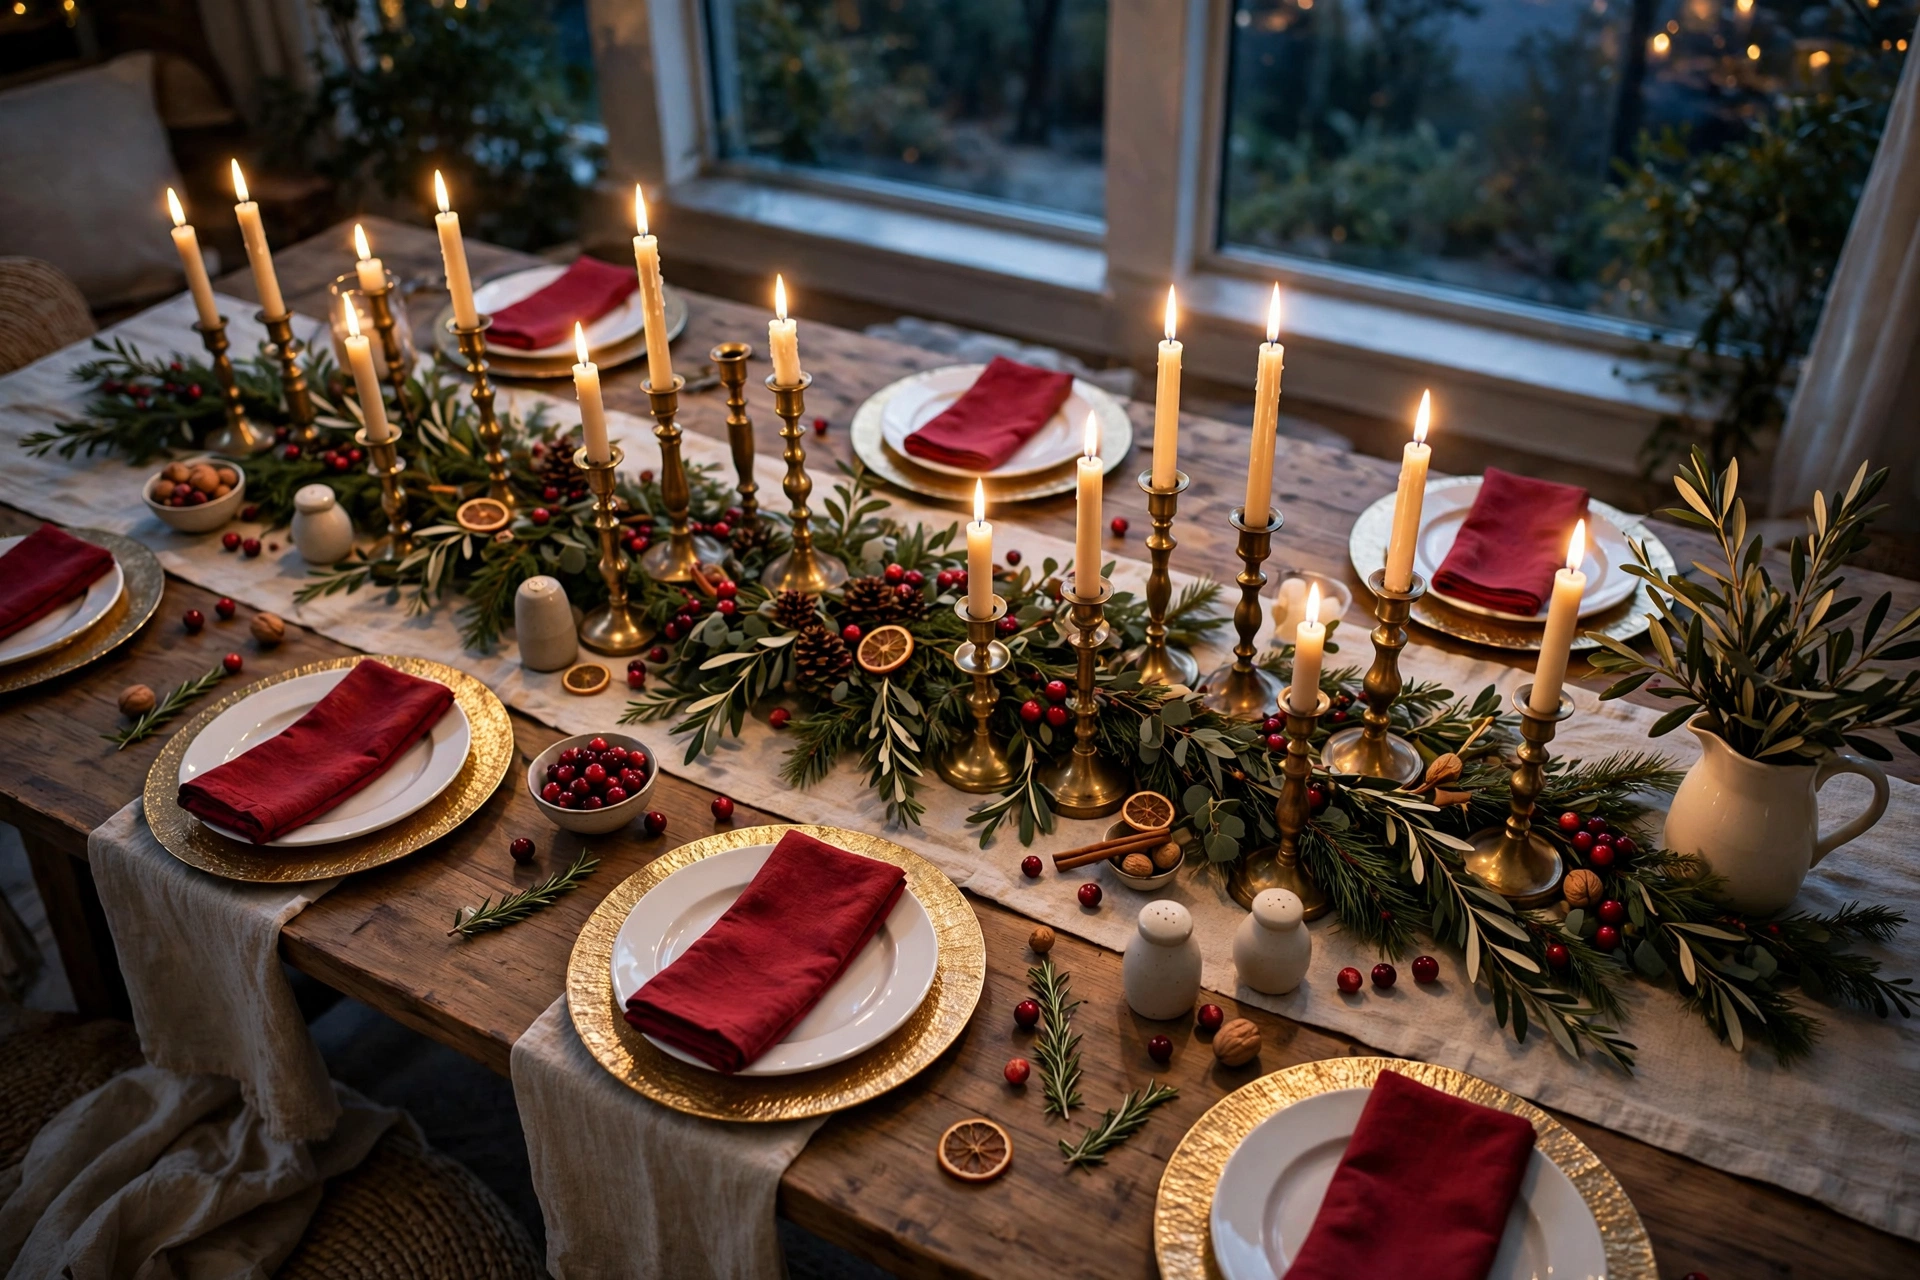
Every gorgeous Christmas table you’ve ever admired was built the same way.
Not with a florist on speed dial. Not with a brand-new set of china. With a handful of layers, stacked in the right order, using things a lot of hosts already have in a cabinet somewhere.
That’s the actual secret behind the tables people photograph before they even sit down — and it’s also why the same five basic ingredients (a runner, a charger, a candle, some greenery, a folded napkin) can look completely different depending on how you combine them.
Here are 17 doable Christmas table settings, from a ten-minute refresh to a slightly more involved centerpiece, all built on that same layering logic so you can mix and match pieces to fit your own table, your own dishes, and how much time you actually have before guests arrive.
Table of Contents
Layered Charger, Plate, and Napkin Base
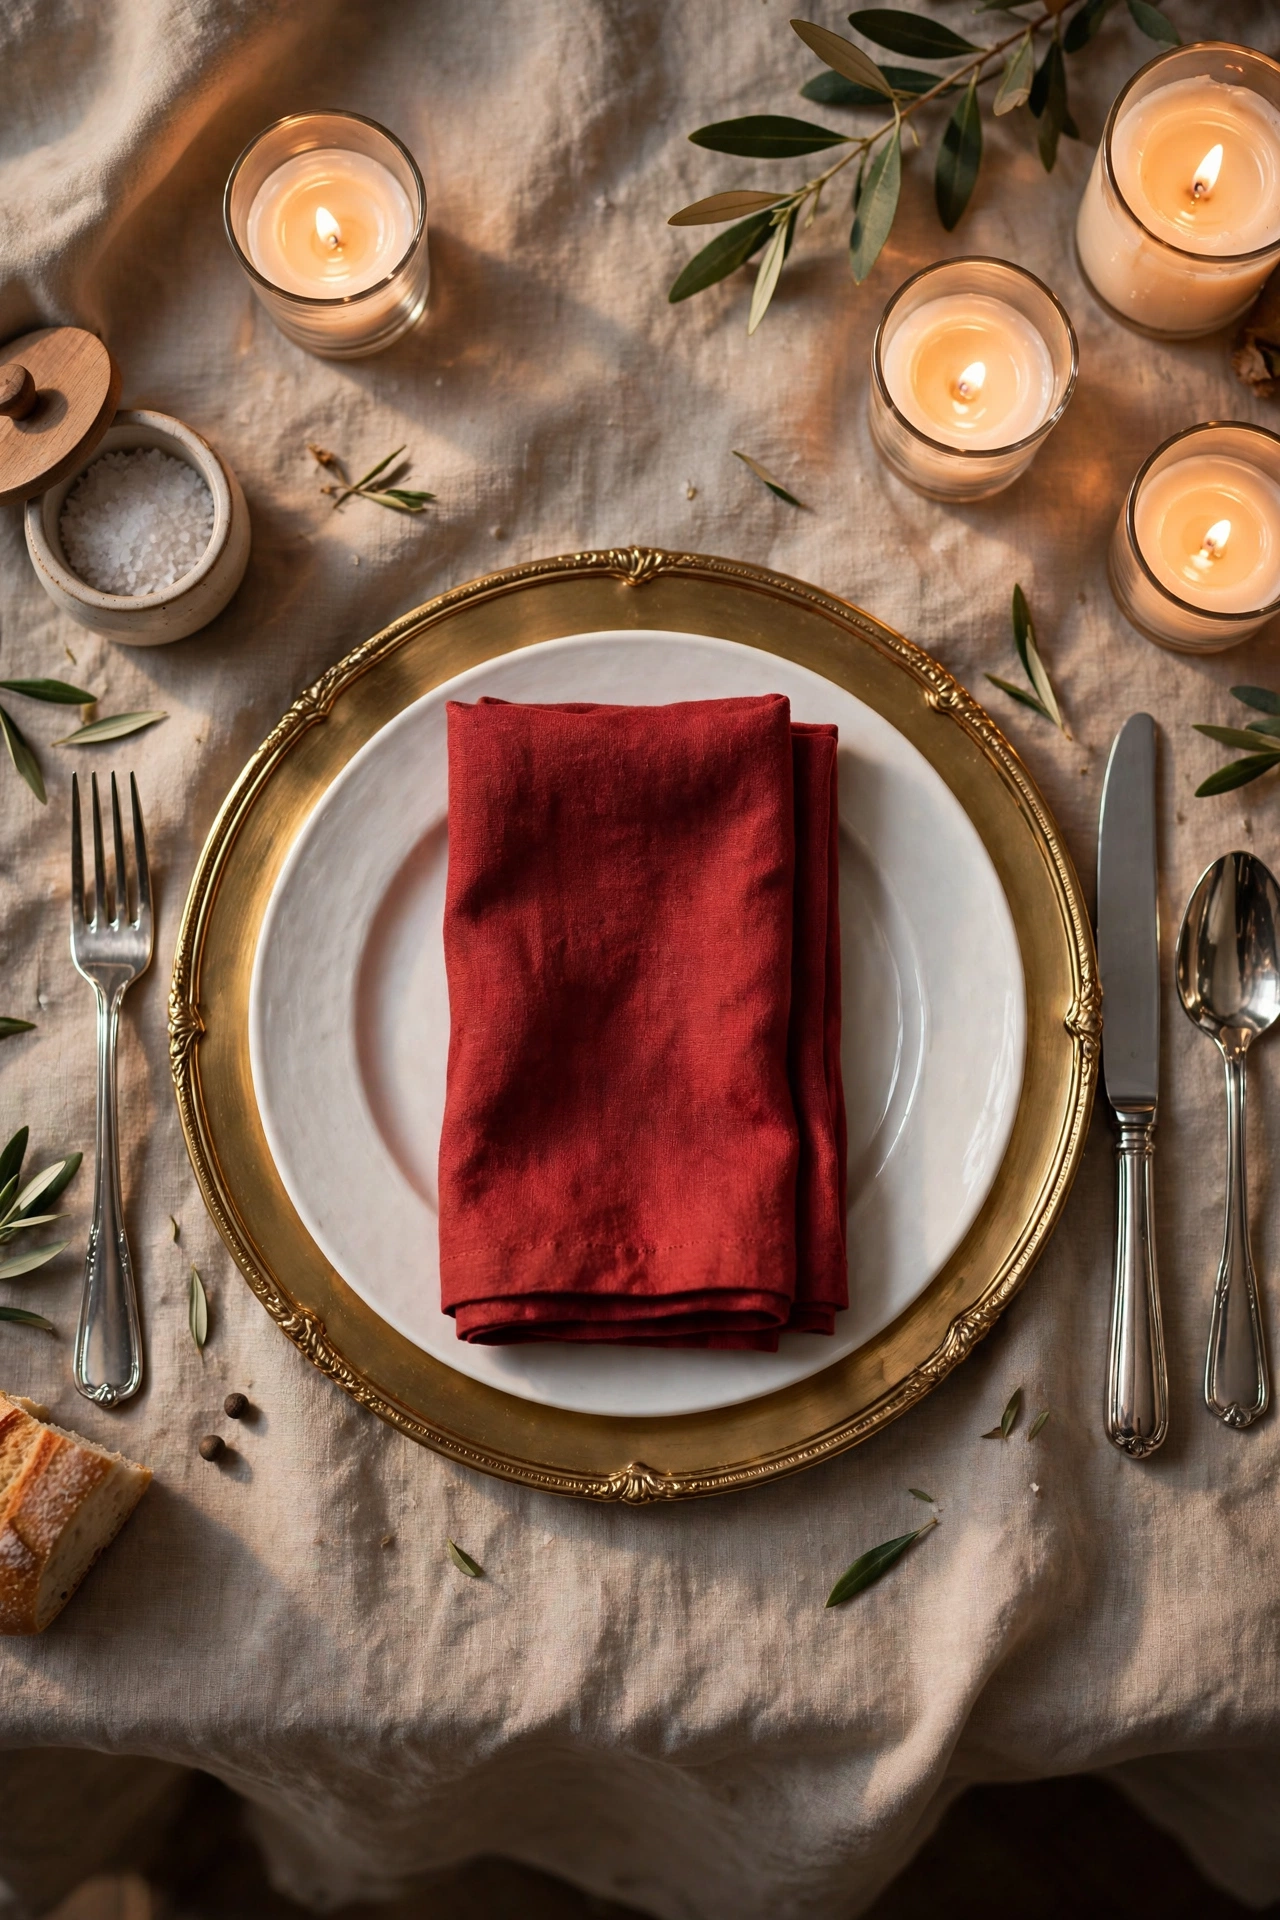
Before any centerpiece or candle gets added, the base layer of charger, dinner plate, and folded napkin is what makes a table look intentionally set rather than just functional. A charger doesn’t need to match your everyday dishes exactly — a simple gold, silver, or wood charger under a plain white plate instantly adds a frame of color and shine at each place setting. Stack the napkin either on top of the plate or to the left of the fork, folded simply in thirds or quarters, so every setting reads as consistent even if your dishes themselves are mismatched. This base takes about ten minutes for a table of eight once the chargers and plates are washed and ready, making it the fastest, highest-impact starting point on this entire list. Every other idea that follows builds directly on top of this foundation.
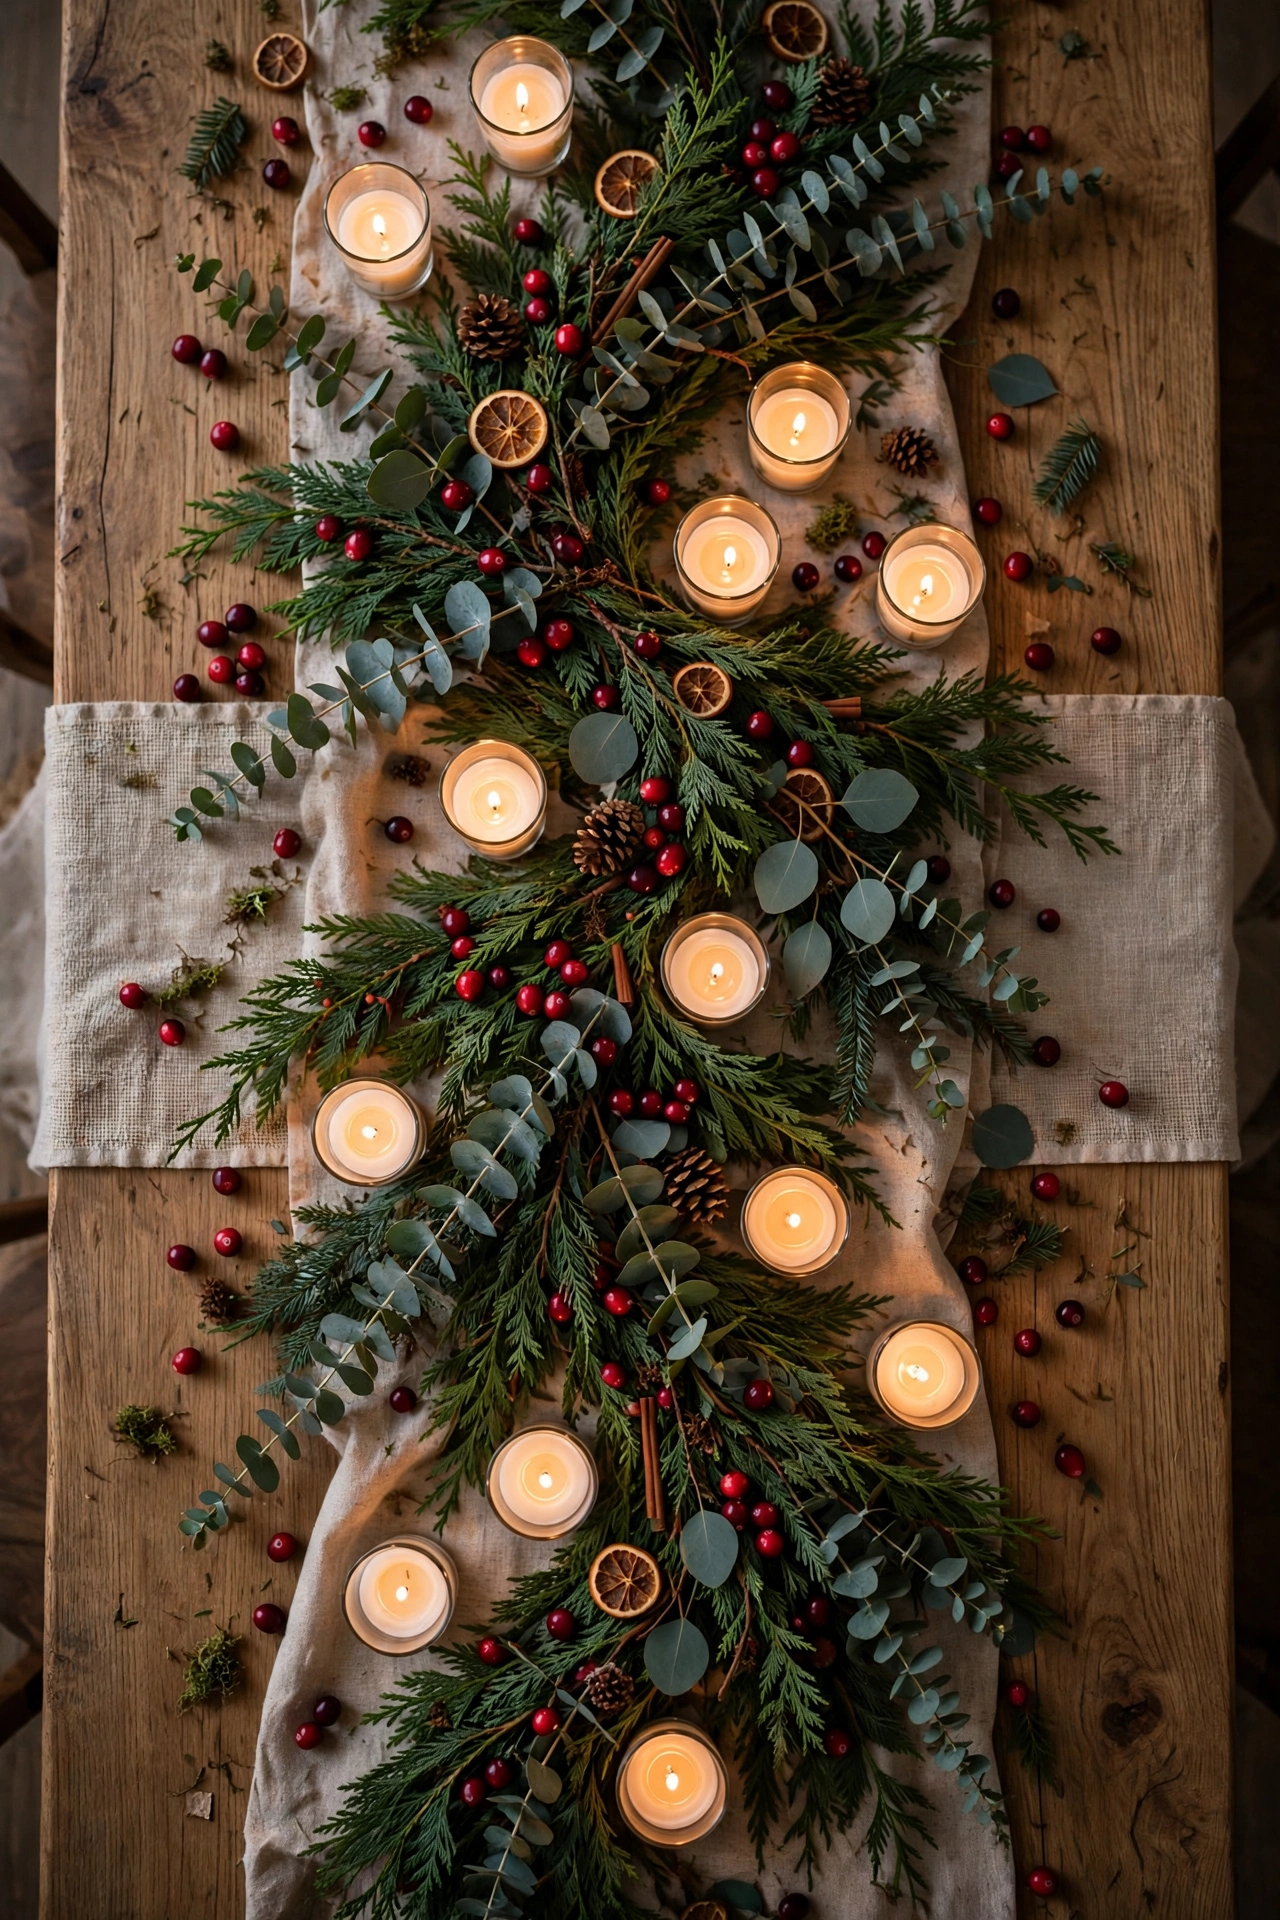
Low Greenery and Candle Runner
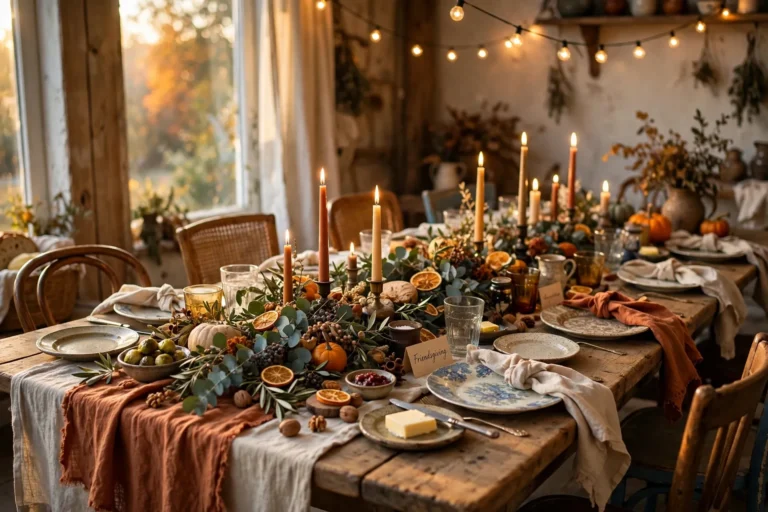
Running a loose line of fresh greenery down the center of the table, dotted with votive candles, is one of the simplest centerpieces that still reads as fully styled. Keeping the greenery low and slightly untidy, rather than built up into a tall arrangement, means guests can actually see and talk to each other across the table. Cedar, eucalyptus, or even trimmed branches from an outdoor tree all work, and tucking in a few pinecones or cranberries along the way adds color without adding height. Votive candles nestled directly into the greenery cast warm, flattering light that does more for the mood of the room than any overhead fixture. This idea takes about fifteen to twenty minutes and can be built almost entirely from a grocery store greenery bunch and candles you likely already own.
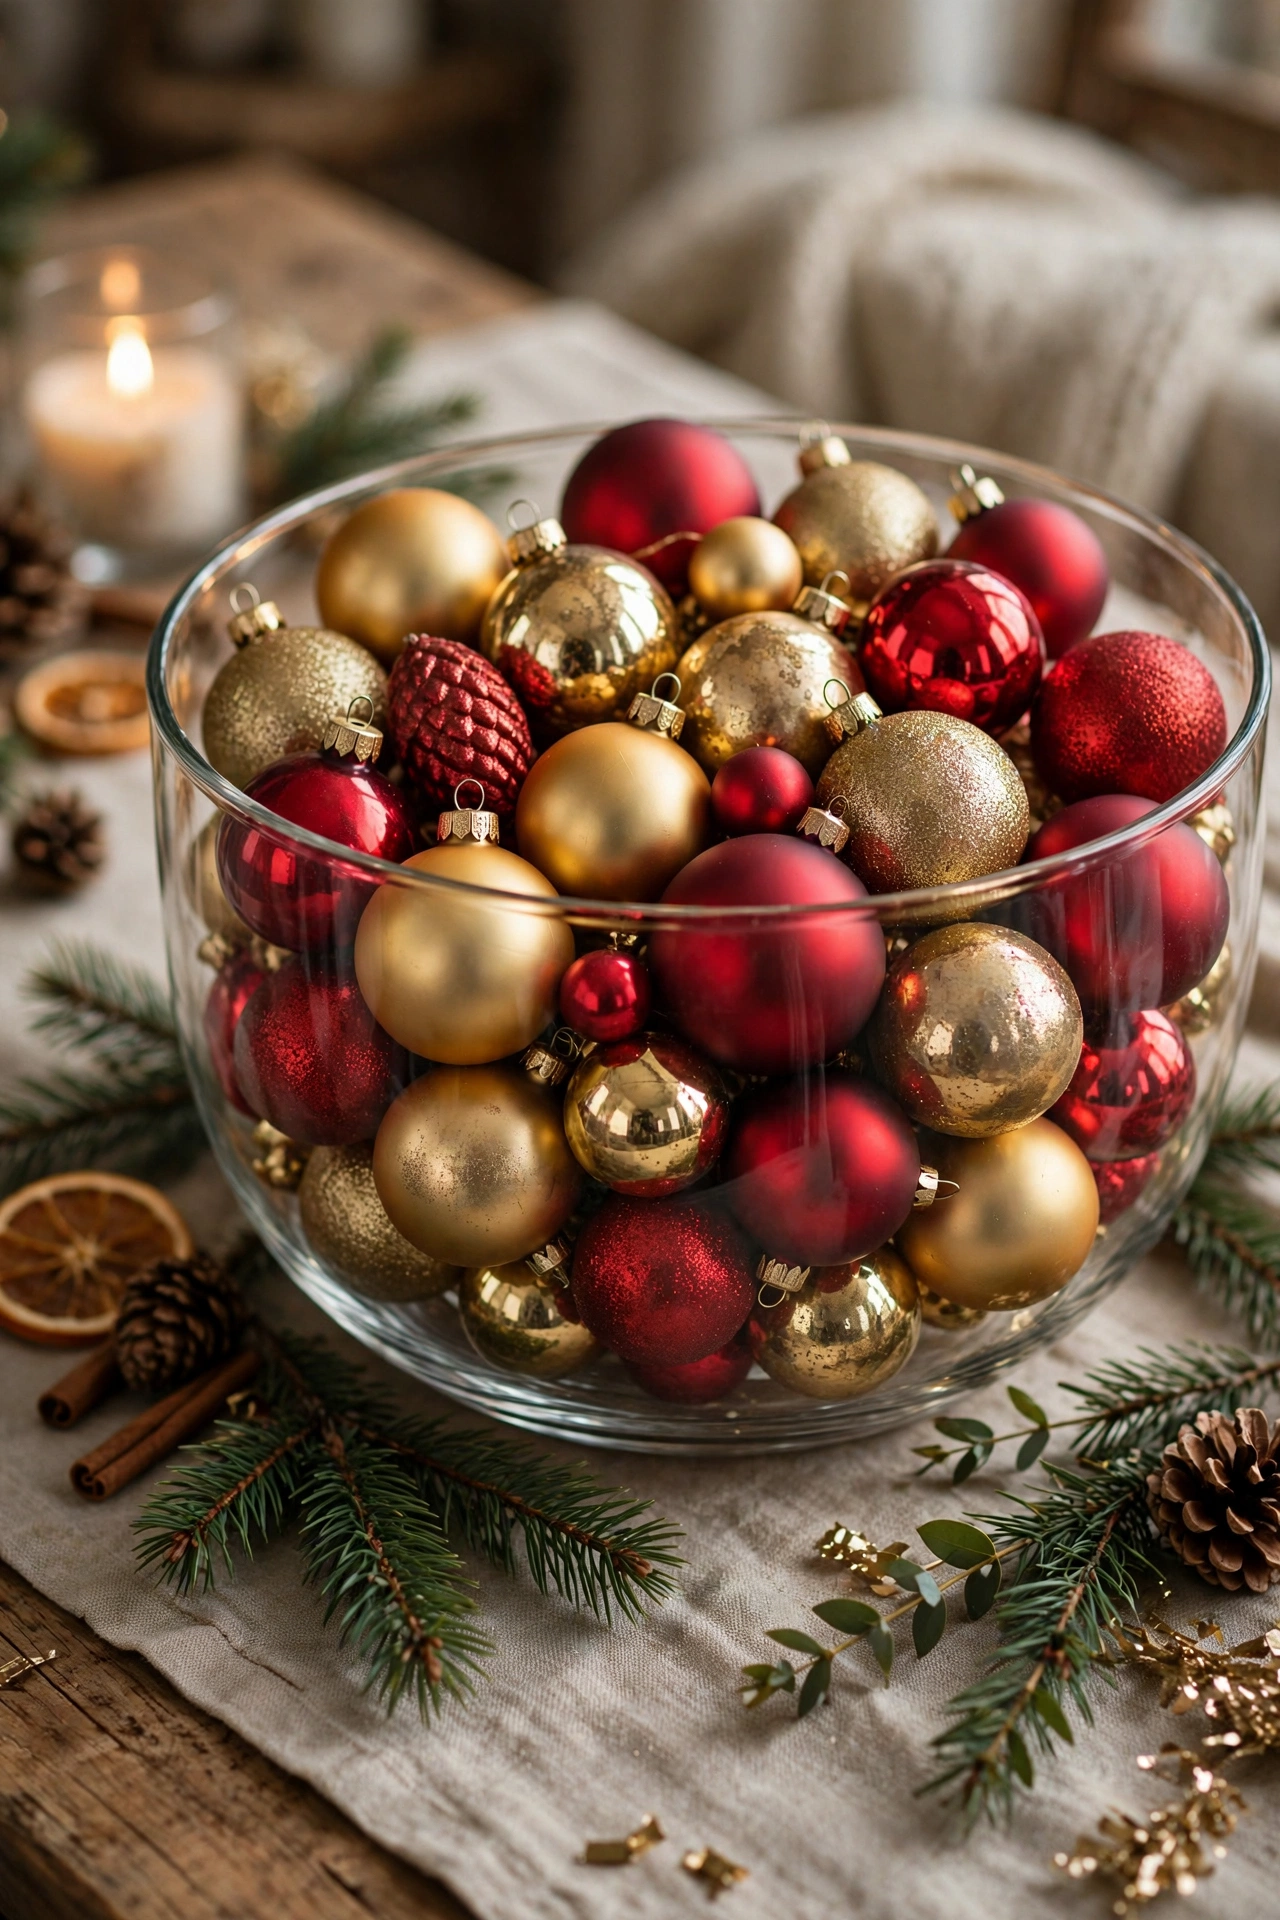
Ornaments in a Glass Bowl Centerpiece
Filling a simple glass bowl or trifle dish with a mix of your own Christmas ornaments is one of the fastest centerpieces on this list, since it repurposes decorations you already own for the tree. Choosing ornaments in two or three coordinating colors, rather than every color in the box, keeps the bowl looking curated instead of like overflow storage. A single large glass bowl works well as a centered focal point, while several smaller bowls spaced down a long table create a more repeated, rhythmic look. This idea takes about five minutes and requires no shopping at all if you already have a box of ornaments in the closet. It also doubles as an easy conversation starter, since guests often recognize or ask about a particularly interesting ornament in the mix.
Related: 18 Christmas Breakfast Buffet Table Decor Ideas to Copy This Year
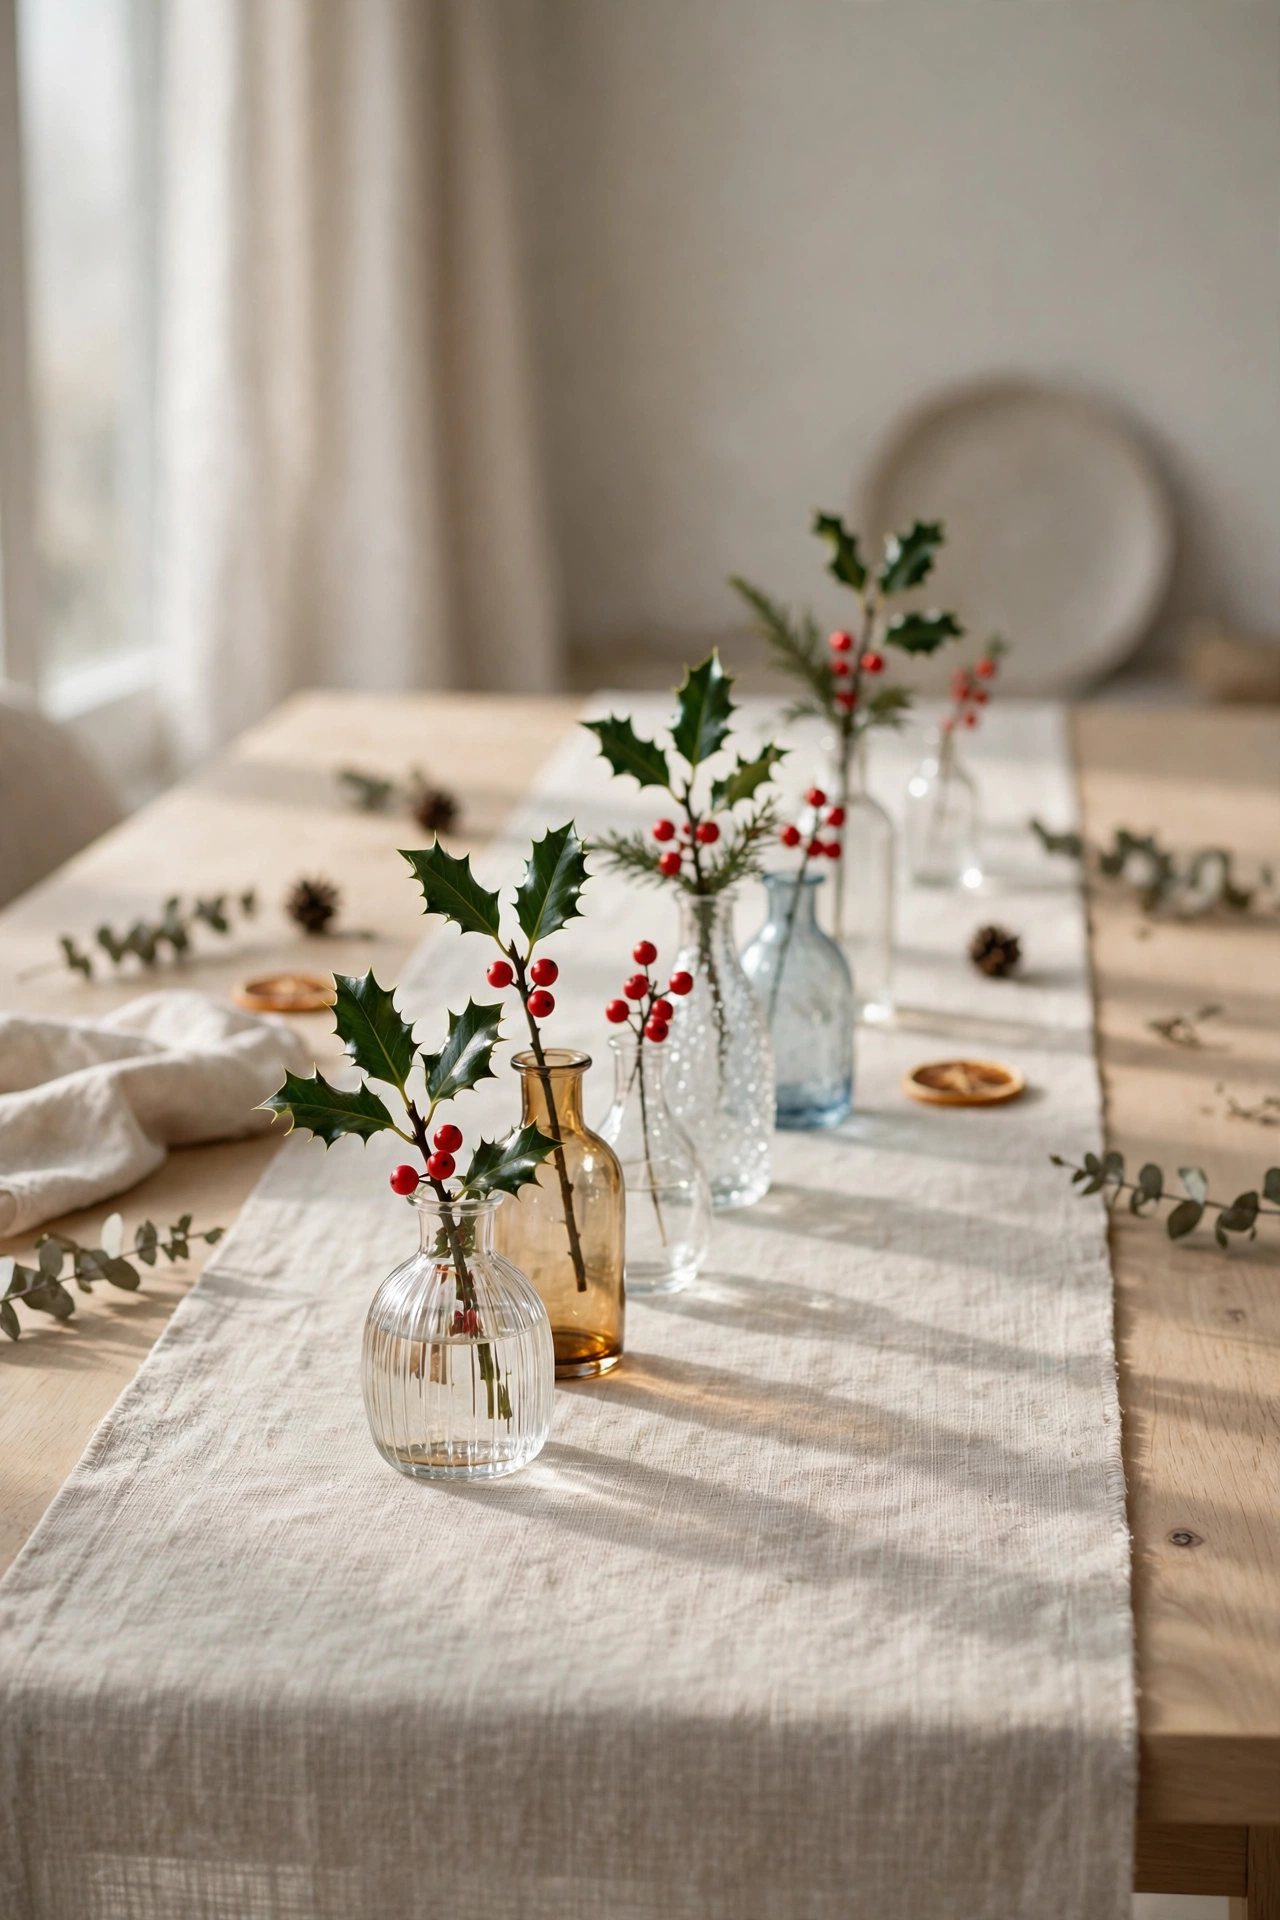
Bud Vases Down the Table
Instead of one large centerpiece, clustering several small bud vases with a single stem or small sprig each down the length of the table creates an elegant, restaurant-style look that’s currently trending in tablescape design. This approach keeps sightlines completely open across the table, since nothing blocks conversation the way a taller arrangement would. Mixing vase heights and shapes slightly, rather than using identical vessels, gives the row a more collected, personal feel. A single red amaryllis stem, a sprig of holly, or even a small branch of berries in each vase is enough — this is not the place to overdesign each individual vase. This idea takes about fifteen minutes and can be built with vases as simple as small glass jars or bud vases already in a kitchen cabinet.
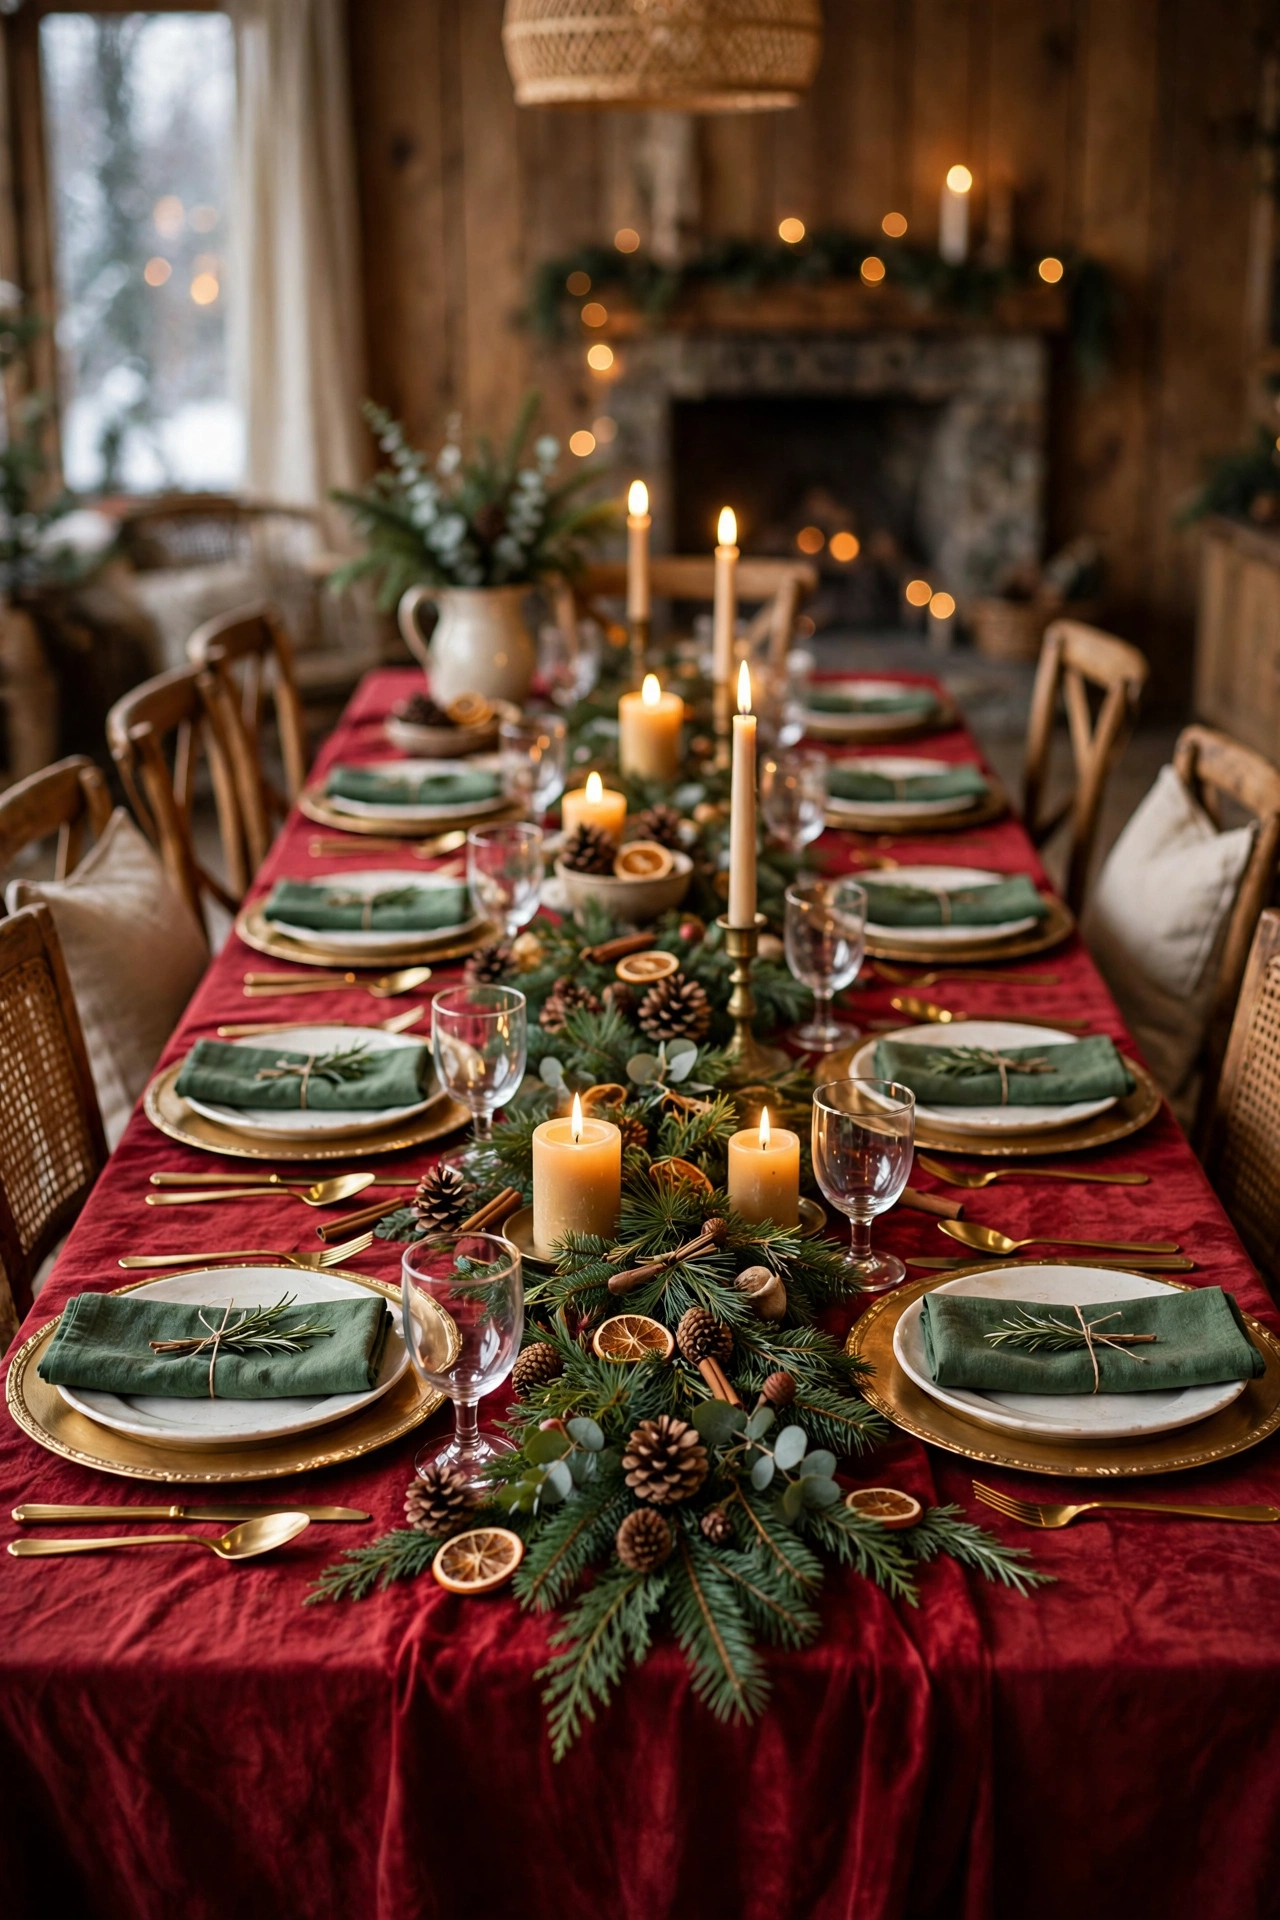
Classic Red and Green with Gold Chargers
The traditional red and green Christmas palette remains a reliable choice specifically because it requires no color theory decisions — the colors already read as universally festive to almost every guest at the table. A deep red tablecloth or runner paired with forest green napkins and gold chargers creates immediate visual richness without needing an elaborate centerpiece to carry the look. Keeping the centerpiece simple, such as a pine garland with pinecones and red berries, lets the linens and place settings do most of the color work. This combination photographs especially well under warm candlelight, since the gold and red tones both reflect light beautifully. It’s a strong choice for a first-time host who wants something that reads as “classic Christmas” without needing to make many additional style decisions.
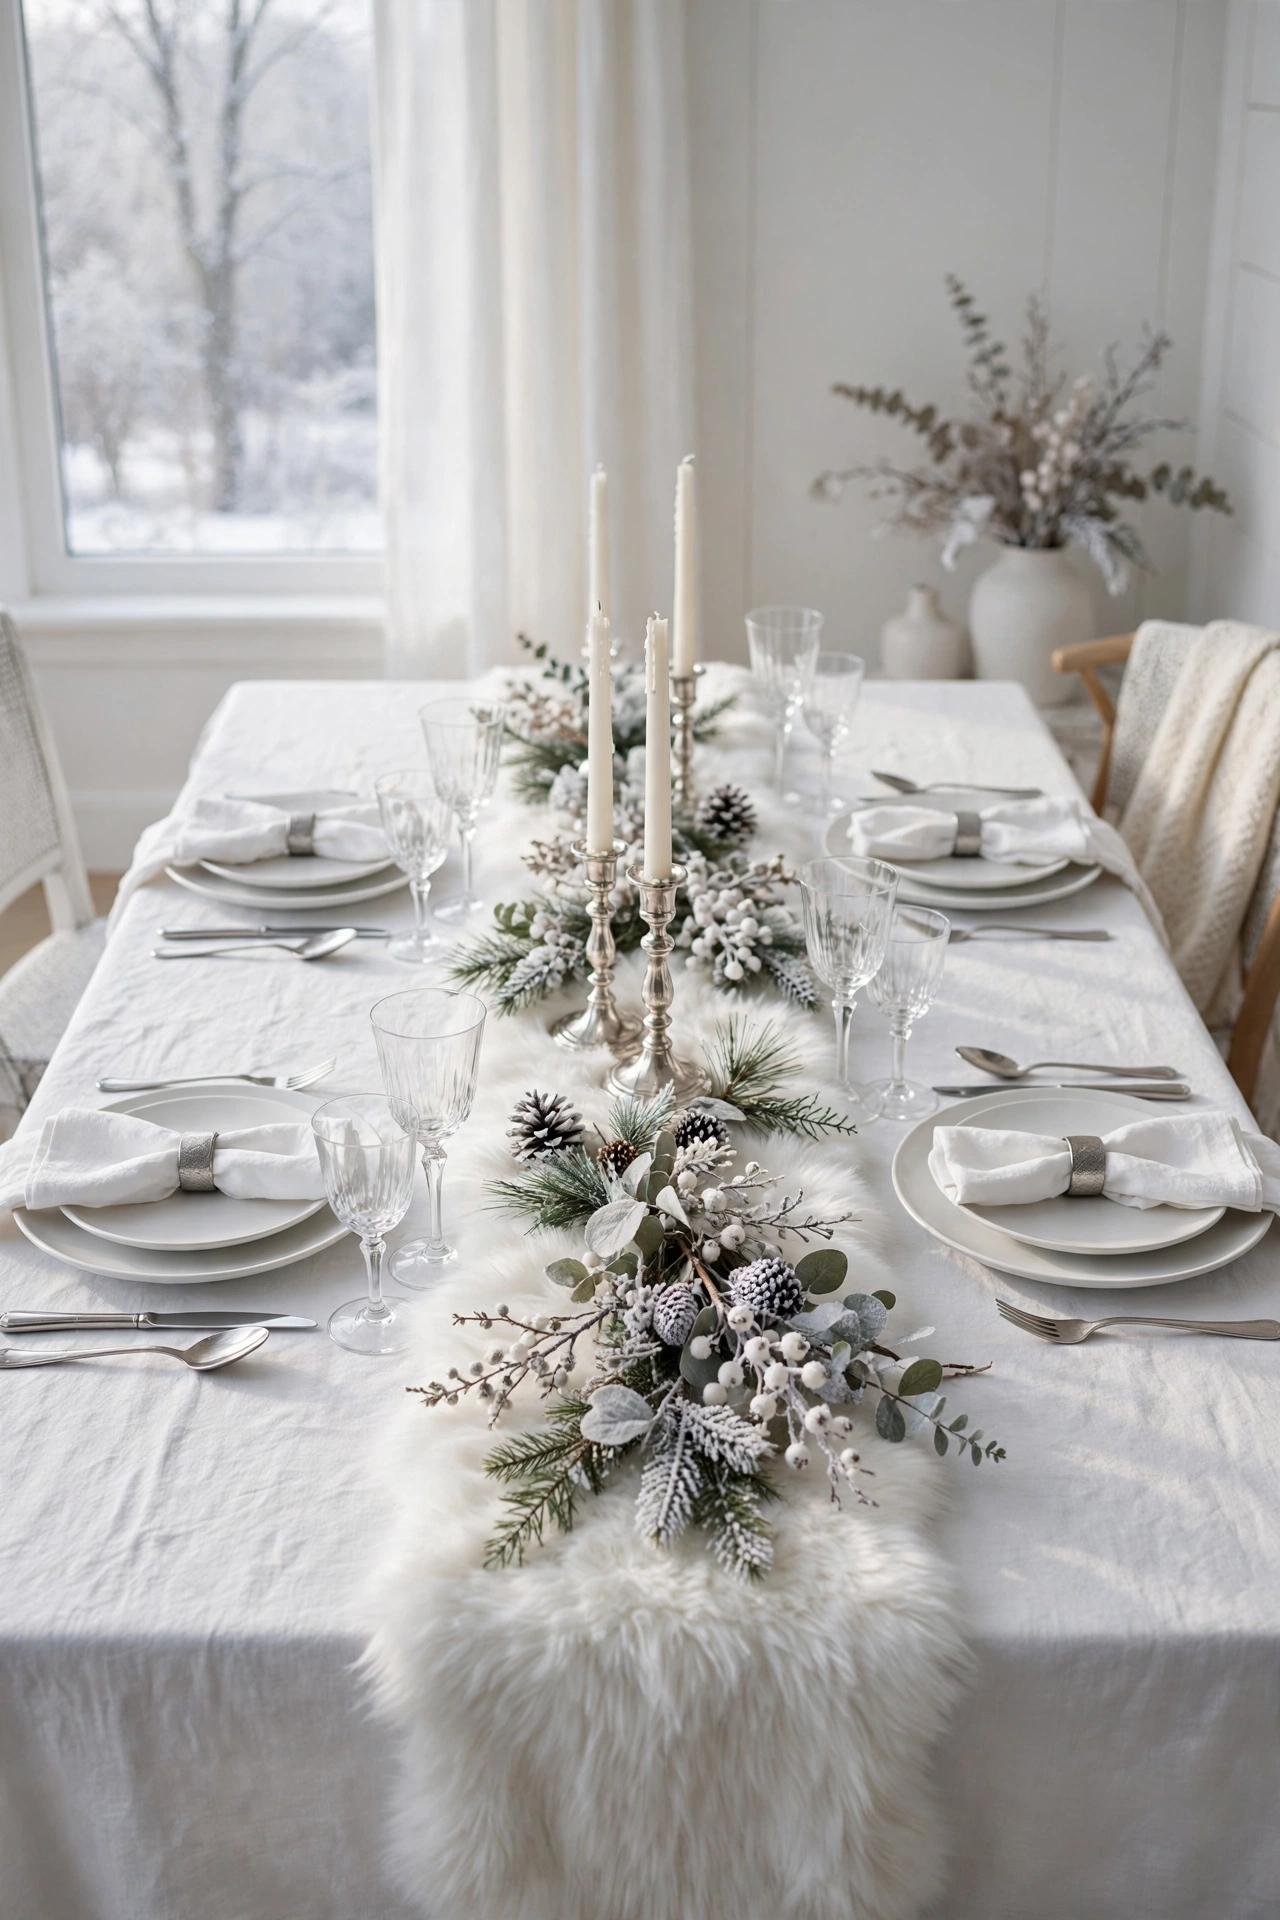
Monochromatic White Winter Tablescape
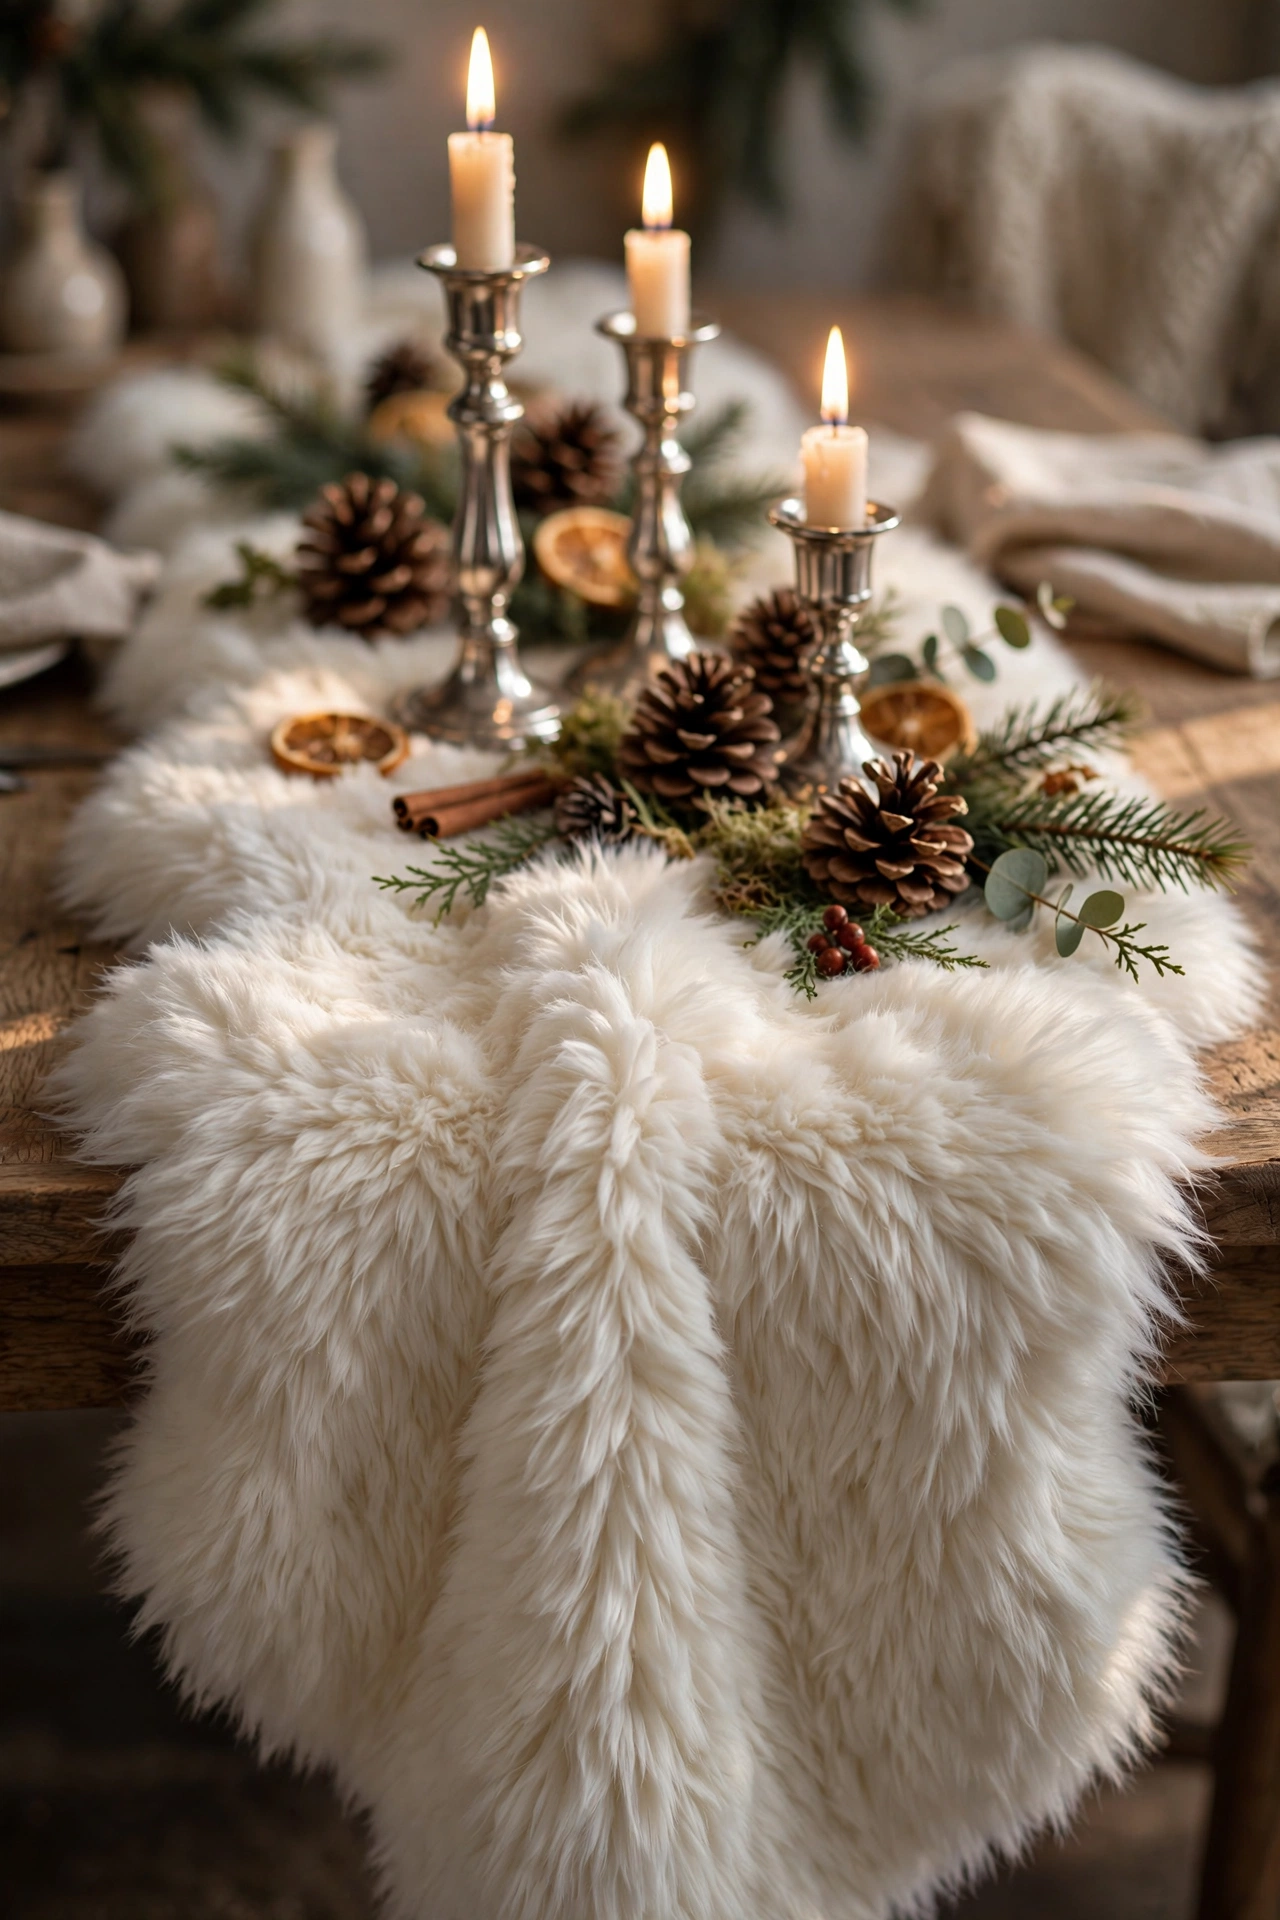
An all-white table — white linens, white dishware, frosted glassware — creates a serene, snowy feeling that works beautifully for a more formal or minimalist Christmas gathering. The key to keeping an all-white table from feeling flat is layering different textures: a linen tablecloth, a faux fur table runner, crystal glassware, and matte ceramic plates all read as “white” but add visible variation up close. Adding small metallic accents, like silver candlesticks or snowflake-shaped place card holders, keeps the look from feeling sterile or overly plain. This palette also has the practical advantage of matching almost any dishware a host already owns, since white plates are among the most common in most households. It takes slightly more intentional texture-layering than a colorful table, but it delivers one of the most consistently elegant results on this entire list.
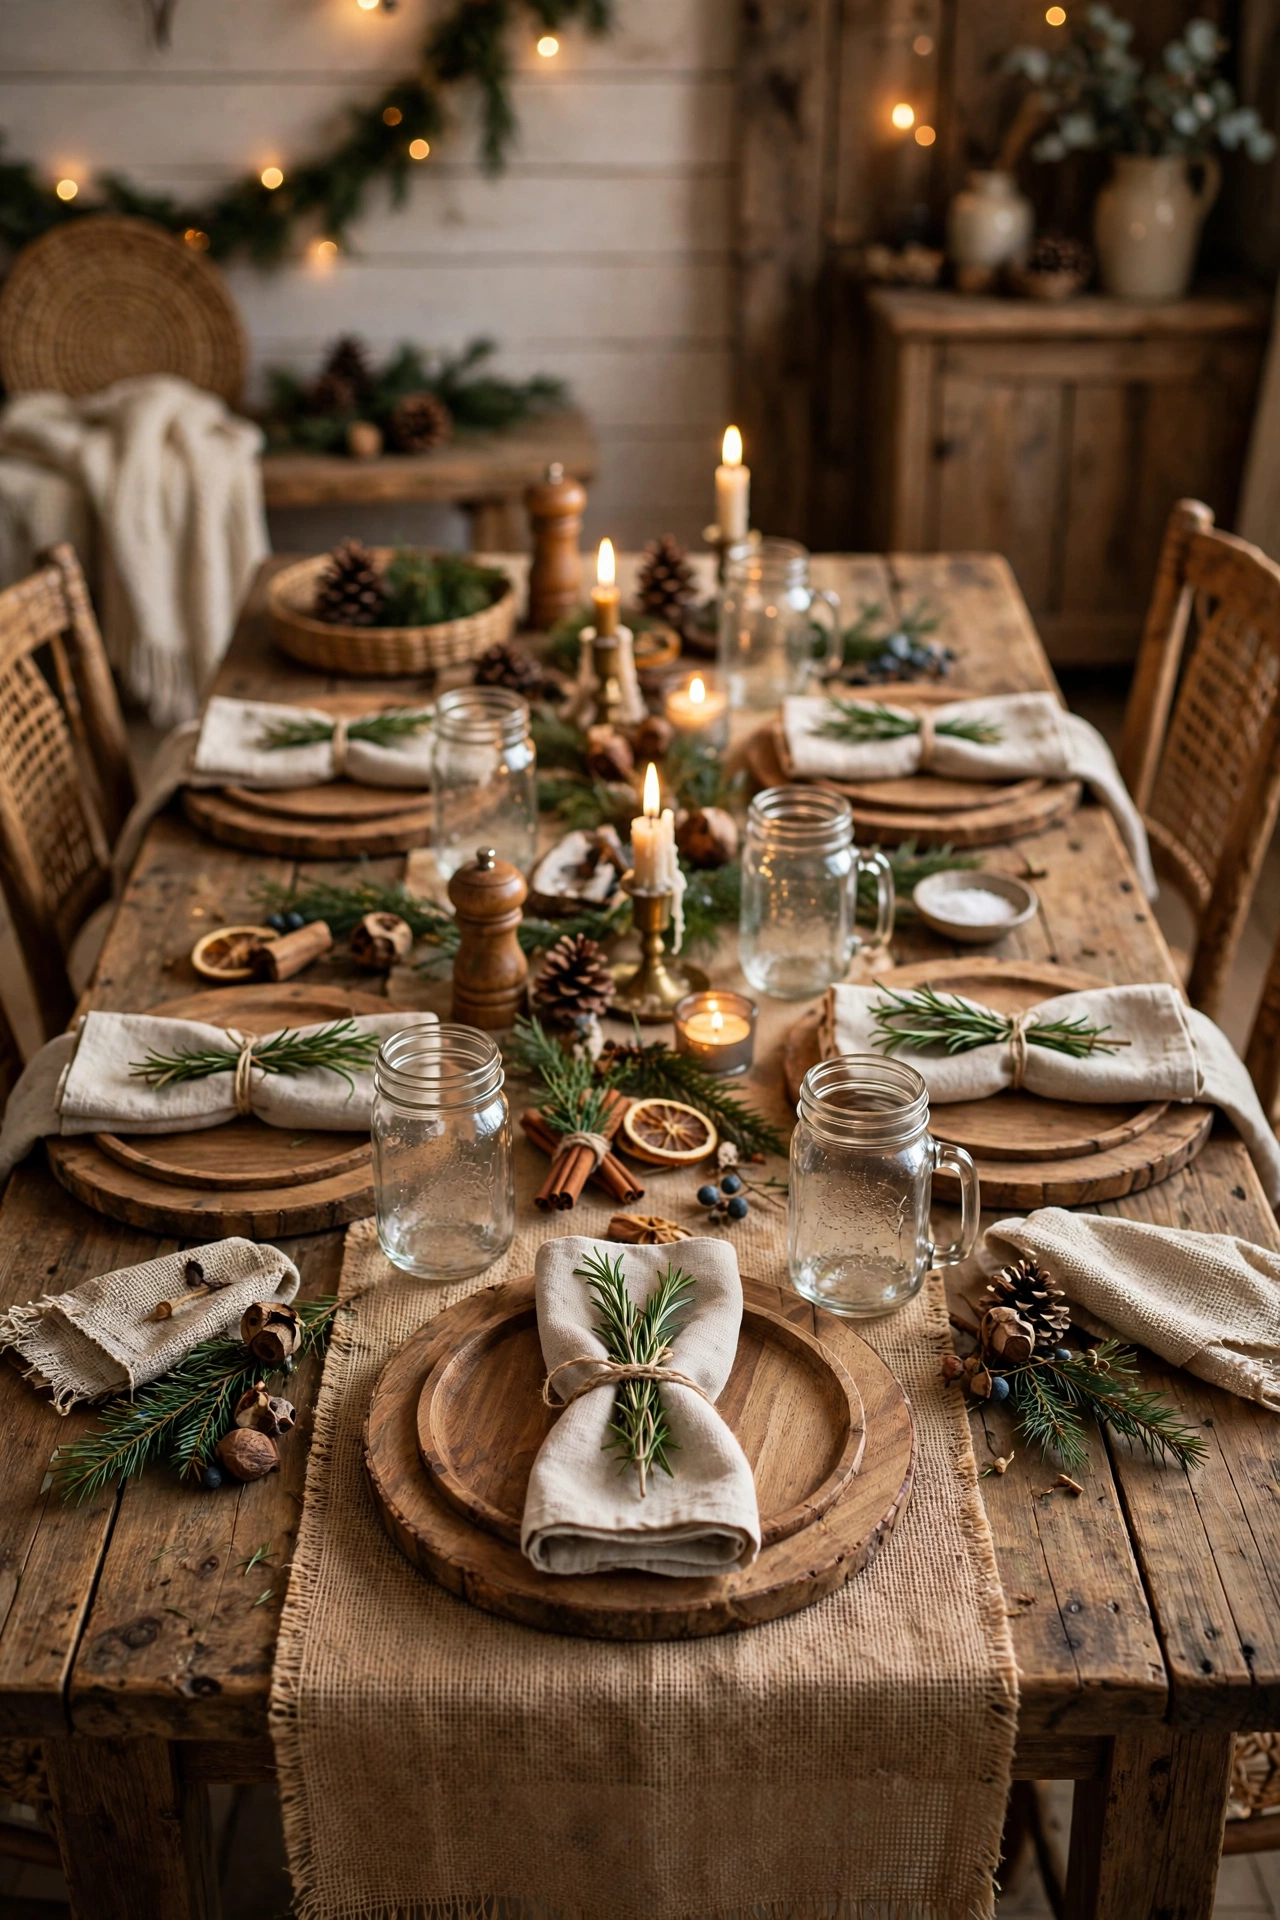
Rustic Farmhouse Table with Burlap and Wood Chargers
A burlap or natural linen runner paired with wood chargers and mason jars for drinks brings a cozy, farmhouse feel that suits a more casual, family-style Christmas gathering. Sprigs of fresh rosemary or thyme tucked into each folded napkin add a subtle herbal scent and a fresh-from-the-garden touch that ties the whole table together. Using cut wood slices as coasters or small trivets adds another layer of natural texture without requiring any purchased decor at all. This style pairs especially well with mismatched or vintage dishware, since the imperfection actually reinforces the relaxed, gathered-over-time farmhouse aesthetic rather than working against it. It’s one of the most forgiving styles on this list for a host who doesn’t want everything to match perfectly.
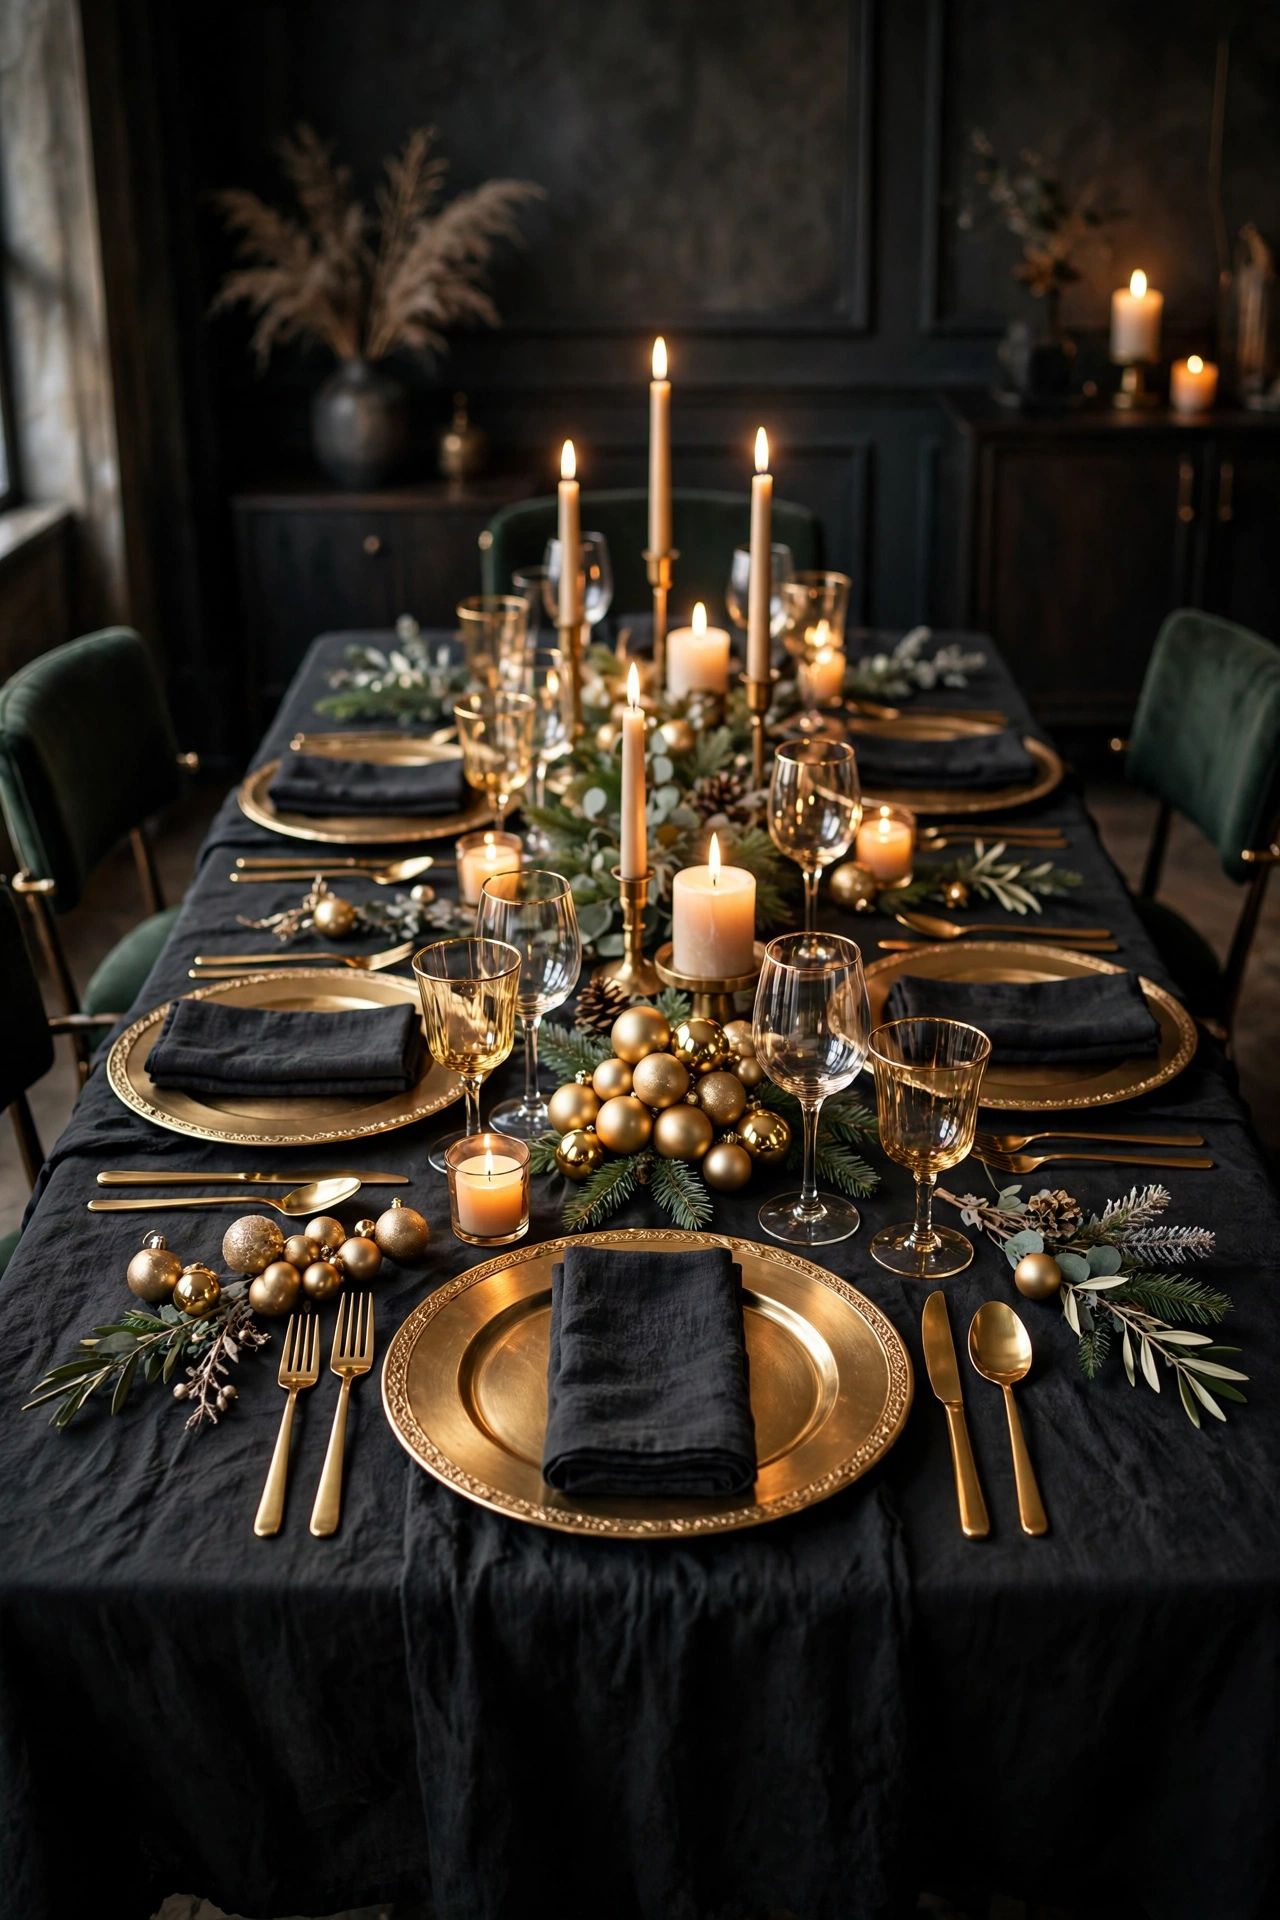
Glam Black and Gold Elegant Table
For a more dramatic, party-like Christmas dinner, a black tablecloth paired with gold chargers, gold flatware, and black napkins creates instant visual glamour. This combination works especially well for a New Year’s-adjacent Christmas gathering or a smaller, adults-only dinner where a bolder aesthetic feels appropriate. Adding a few gold or crystal accents, like taper candlesticks or small ornament clusters, reinforces the glam theme without needing to change every single element on the table. Because black and gold both photograph dramatically under warm lighting, this is one of the most Pinterest-friendly combinations on the entire list. It requires a slightly bigger shift from everyday dishware than most other ideas here, but renting or borrowing a few key pieces, like gold chargers, can achieve the full look without a large purchase.
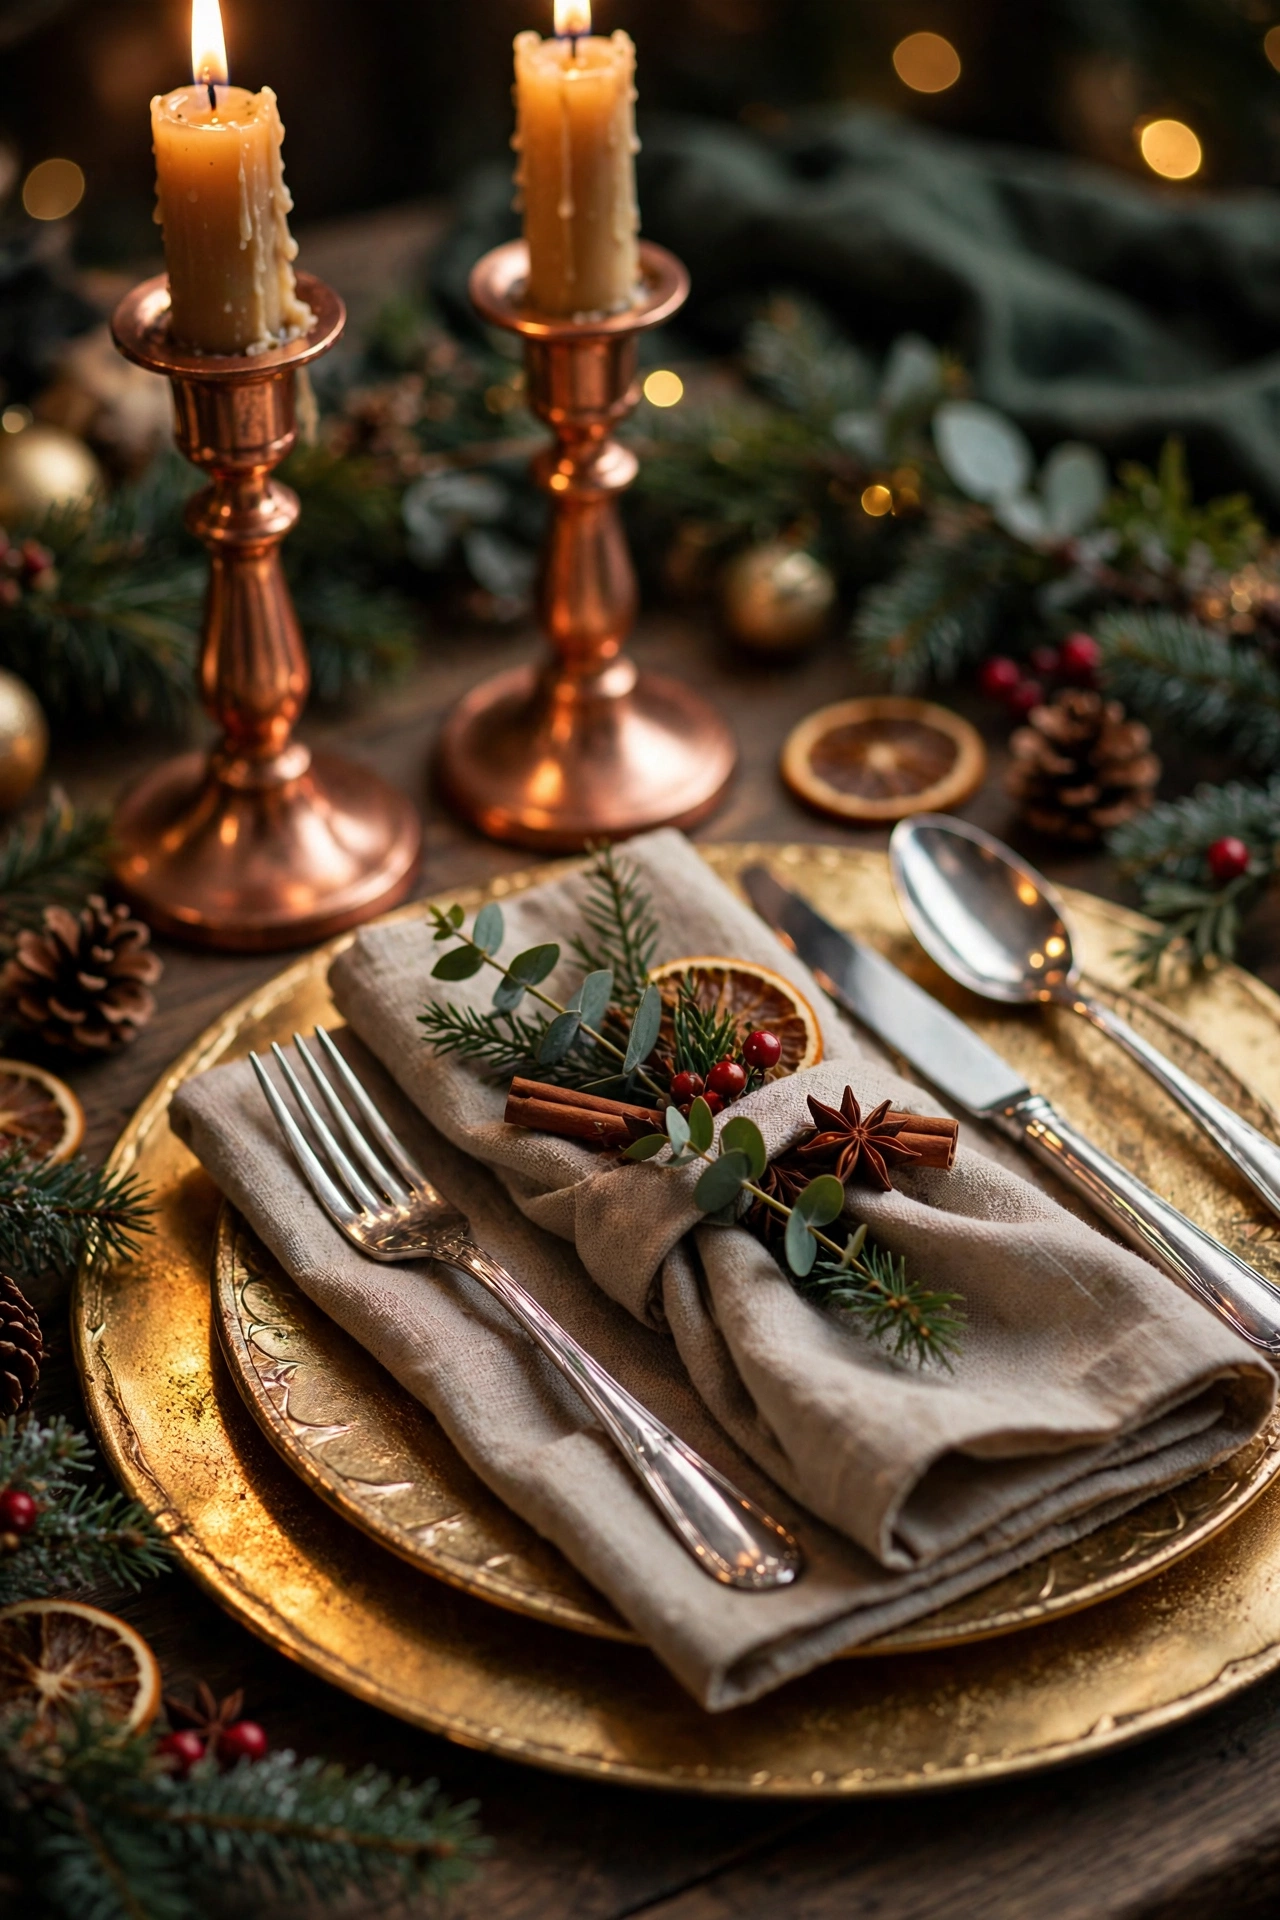
Mixed Metallics (Gold, Copper, and Silver)
Rather than committing to a single metallic finish, intentionally mixing gold, copper, and silver accents across chargers, candlesticks, and flatware creates a richer, more layered look than any one metal alone. This approach is especially useful for a host combining pieces from different sets or collected over several years, since it turns what could look mismatched into an intentional design choice. Keeping the mix balanced — roughly one dominant metal with the other two as accents — prevents the table from feeling chaotic or overly busy. Warm copper mixed with gold tends to read as cozier, while silver mixed with gold leans slightly more formal and traditional. This is one of the most practical ideas on the list for anyone without a fully matched set of holiday serveware, since it turns “I don’t have matching pieces” into the actual design strategy.
Faux Fur Table Runner for Texture
Draping a faux fur runner down the center of the table, either alone or layered under a centerpiece, adds a soft, tactile texture that photographs beautifully and feels immediately cozy to the touch. This works particularly well for a winter-themed or all-white table, where the fur adds visual interest without introducing a new color. It also pairs surprisingly well with rustic and glam themes alike, softening the harder edges of gold chargers or wood elements. Because faux fur runners are inexpensive and reusable across multiple winter holidays, this is a one-time purchase that pays off well beyond a single Christmas dinner. Keep the fur runner narrow enough that it doesn’t interfere with place settings on either side, generally no wider than about ten inches for a standard dining table.
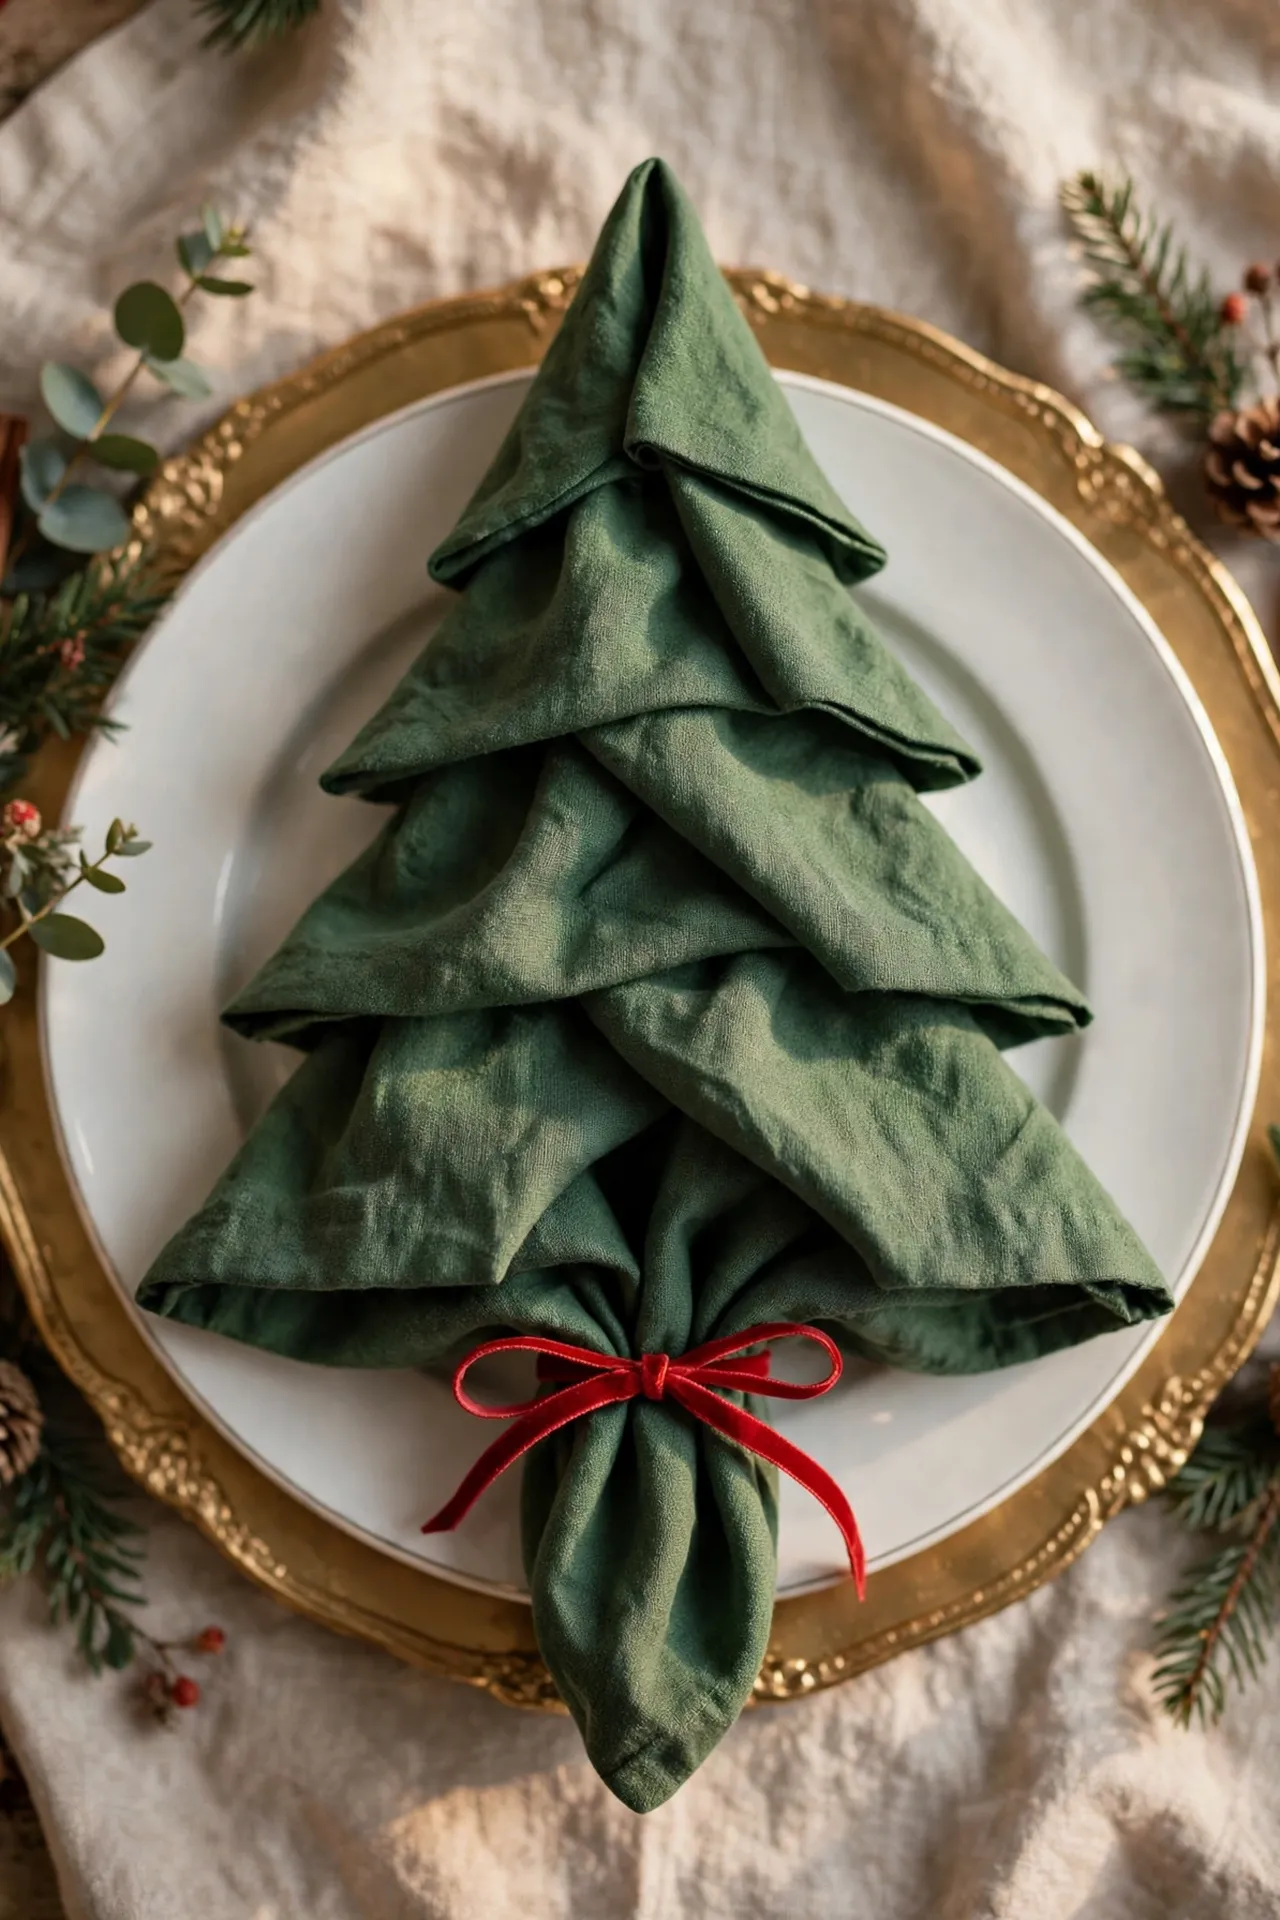
Folded Napkin Christmas Tree Accent
Folding each napkin into a simple triangular Christmas tree shape turns an ordinary place setting into a small, festive centerpiece of its own, and it’s one of the most commonly asked-about details on any well-set holiday table. The fold starts with a diagonal fold into a triangle, then folding the top point down and the two side corners inward to build the tree’s silhouette before tucking the base into place. A small ribbon tied around the base as a “trunk,” or a tiny ornament placed at the top, finishes the look without needing any additional tools. This fold works with both cloth and heavier paper napkins, though a lightly starched or ironed napkin holds the shape more crisply. It takes about a minute per napkin once you’ve practiced the fold once or twice, making it realistic even for a table of ten or twelve.
Related: 23 Stylish Small Apartment Christmas Decor Ideas That Save Space That Make Every Inch Count
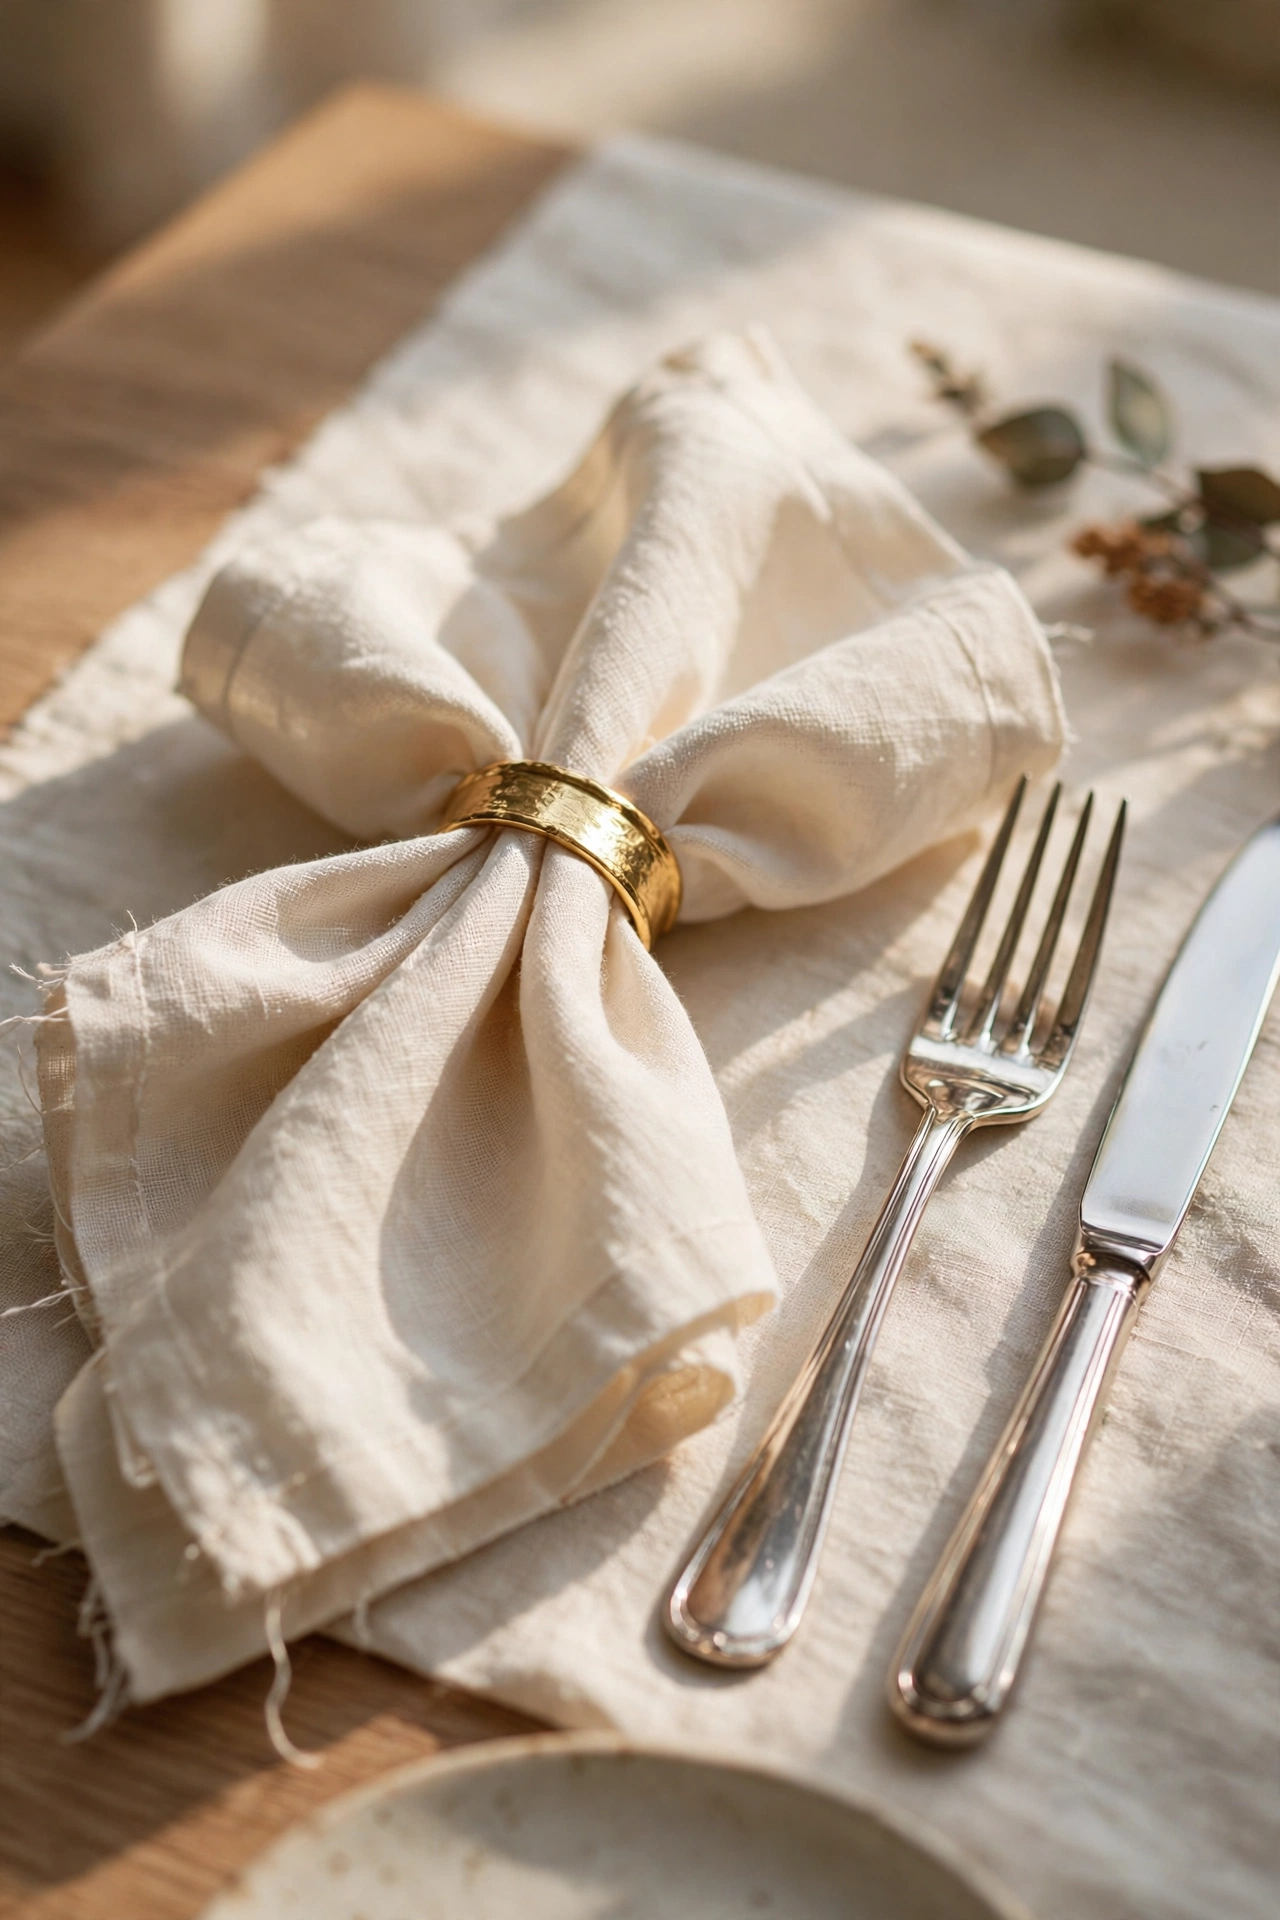
Folded Napkin Bow with a Napkin Ring
A simpler alternative to the tree fold, this technique uses a napkin ring to gather a loosely folded or fanned napkin into the shape of a bow, delivering an elegant look with far less folding effort. Start by making a simple fan fold, then fold that fan in half and slide a napkin ring around the folded base before fluffing out the top to create the bow’s rounded shape. This is one of the fastest napkin techniques on this list, since the ring does most of the structural work rather than requiring precise folds. Choosing a napkin ring in a metal that matches your chargers or flatware ties this small detail into the rest of the table’s overall metallic palette. It’s a strong choice for a host who wants a polished look without the extra time investment of a more intricate fold.
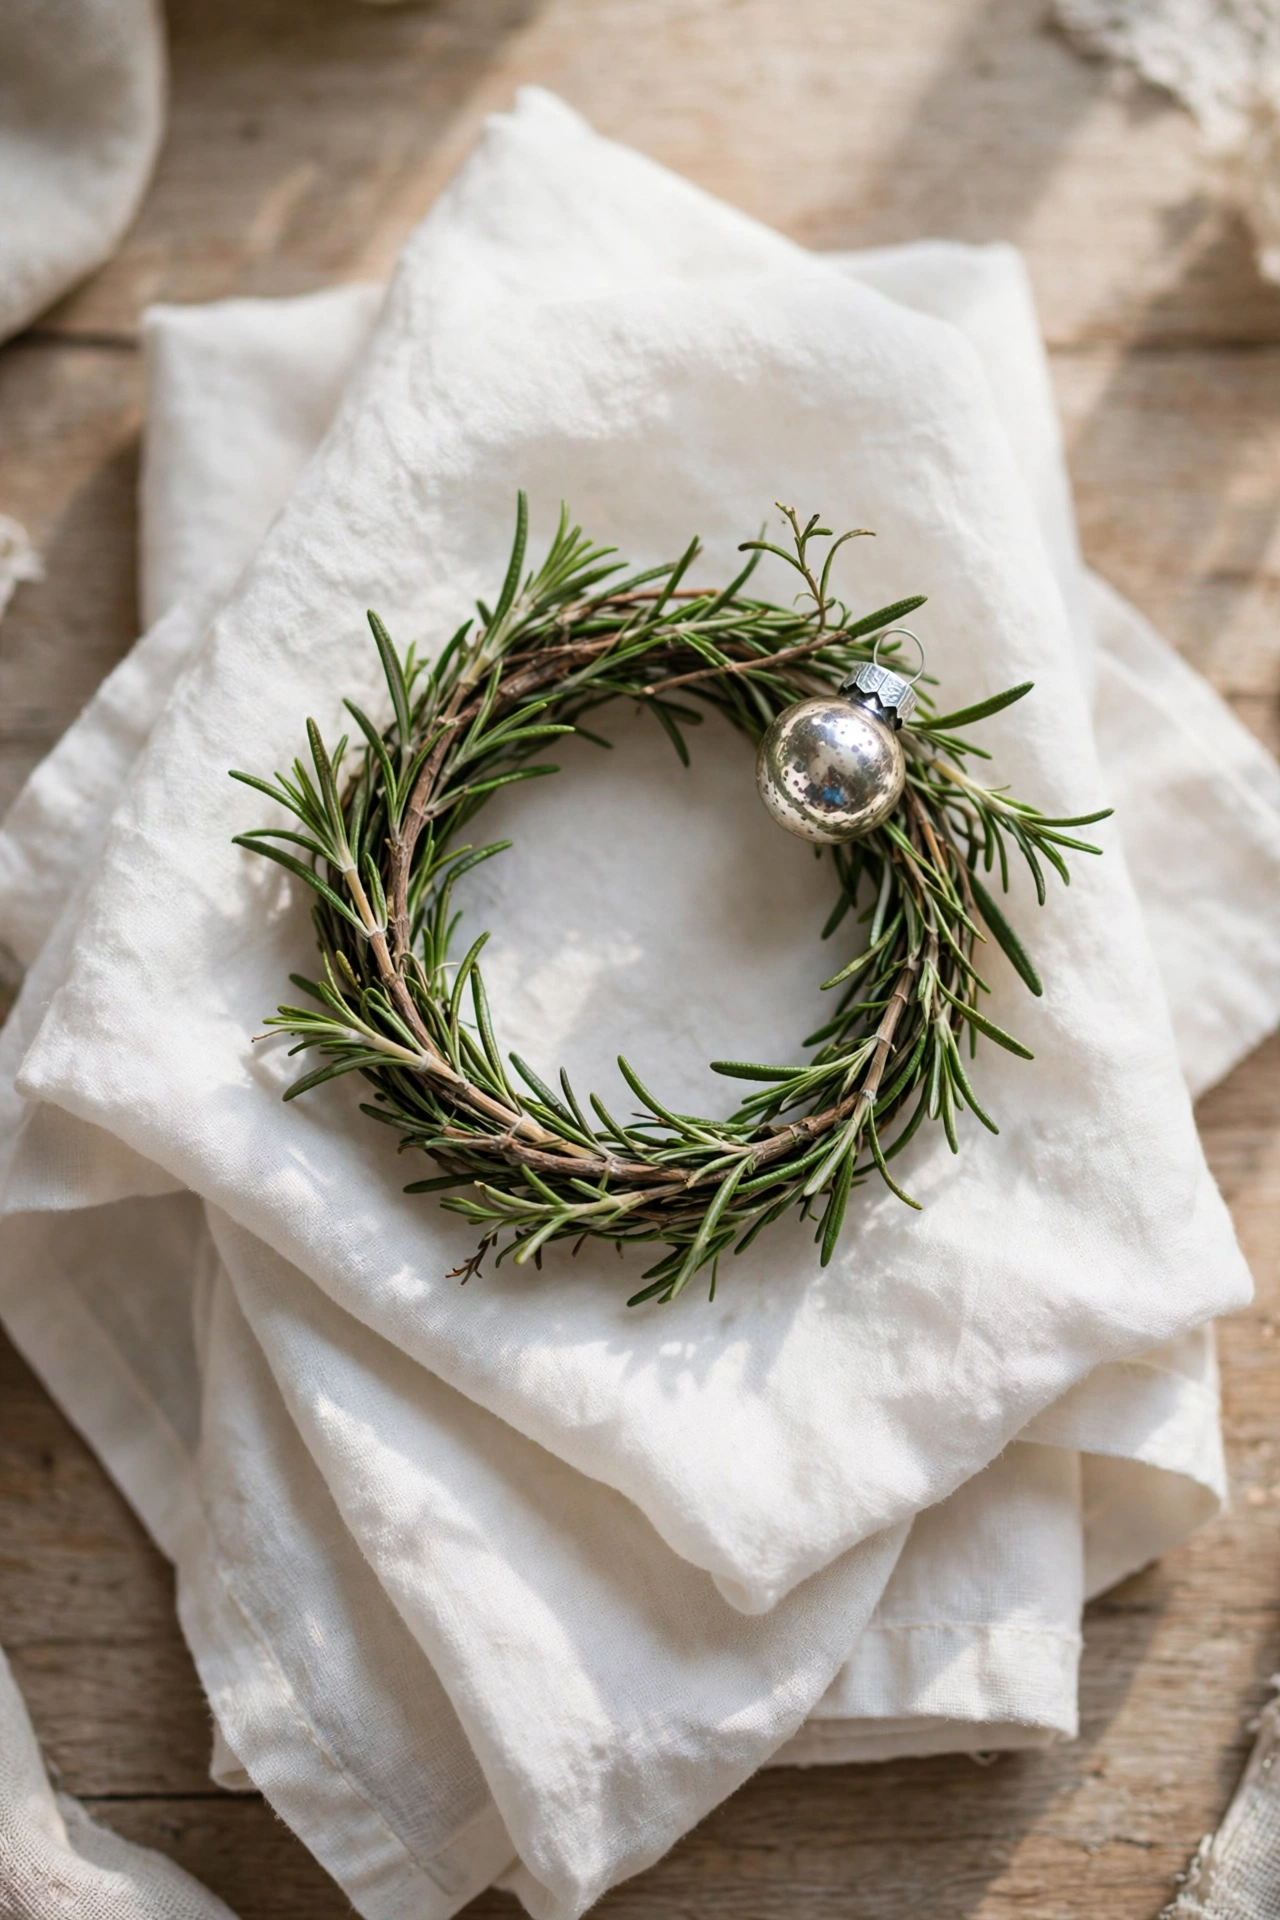
Mini Rosemary or Herb Wreath Place Settings
Twisting a small sprig of rosemary or fresh herbs into a tiny wreath and placing it directly on top of each napkin creates an individual, personal touch at every seat without much additional cost. This idea works especially well layered on top of a folded napkin, adding dimension and a light, fresh scent that plain decor can’t replicate. A small mercury glass ornament or a tiny sprig of berries tucked into the wreath adds a bit of sparkle without overwhelming the delicate herb shape. Because fresh rosemary is inexpensive and often available in small bunches at most grocery stores, this idea costs only a few dollars total for an entire table. It’s a detail guests genuinely notice and comment on, since it’s uncommon enough to feel like a thoughtful, handmade touch rather than a store-bought decoration.
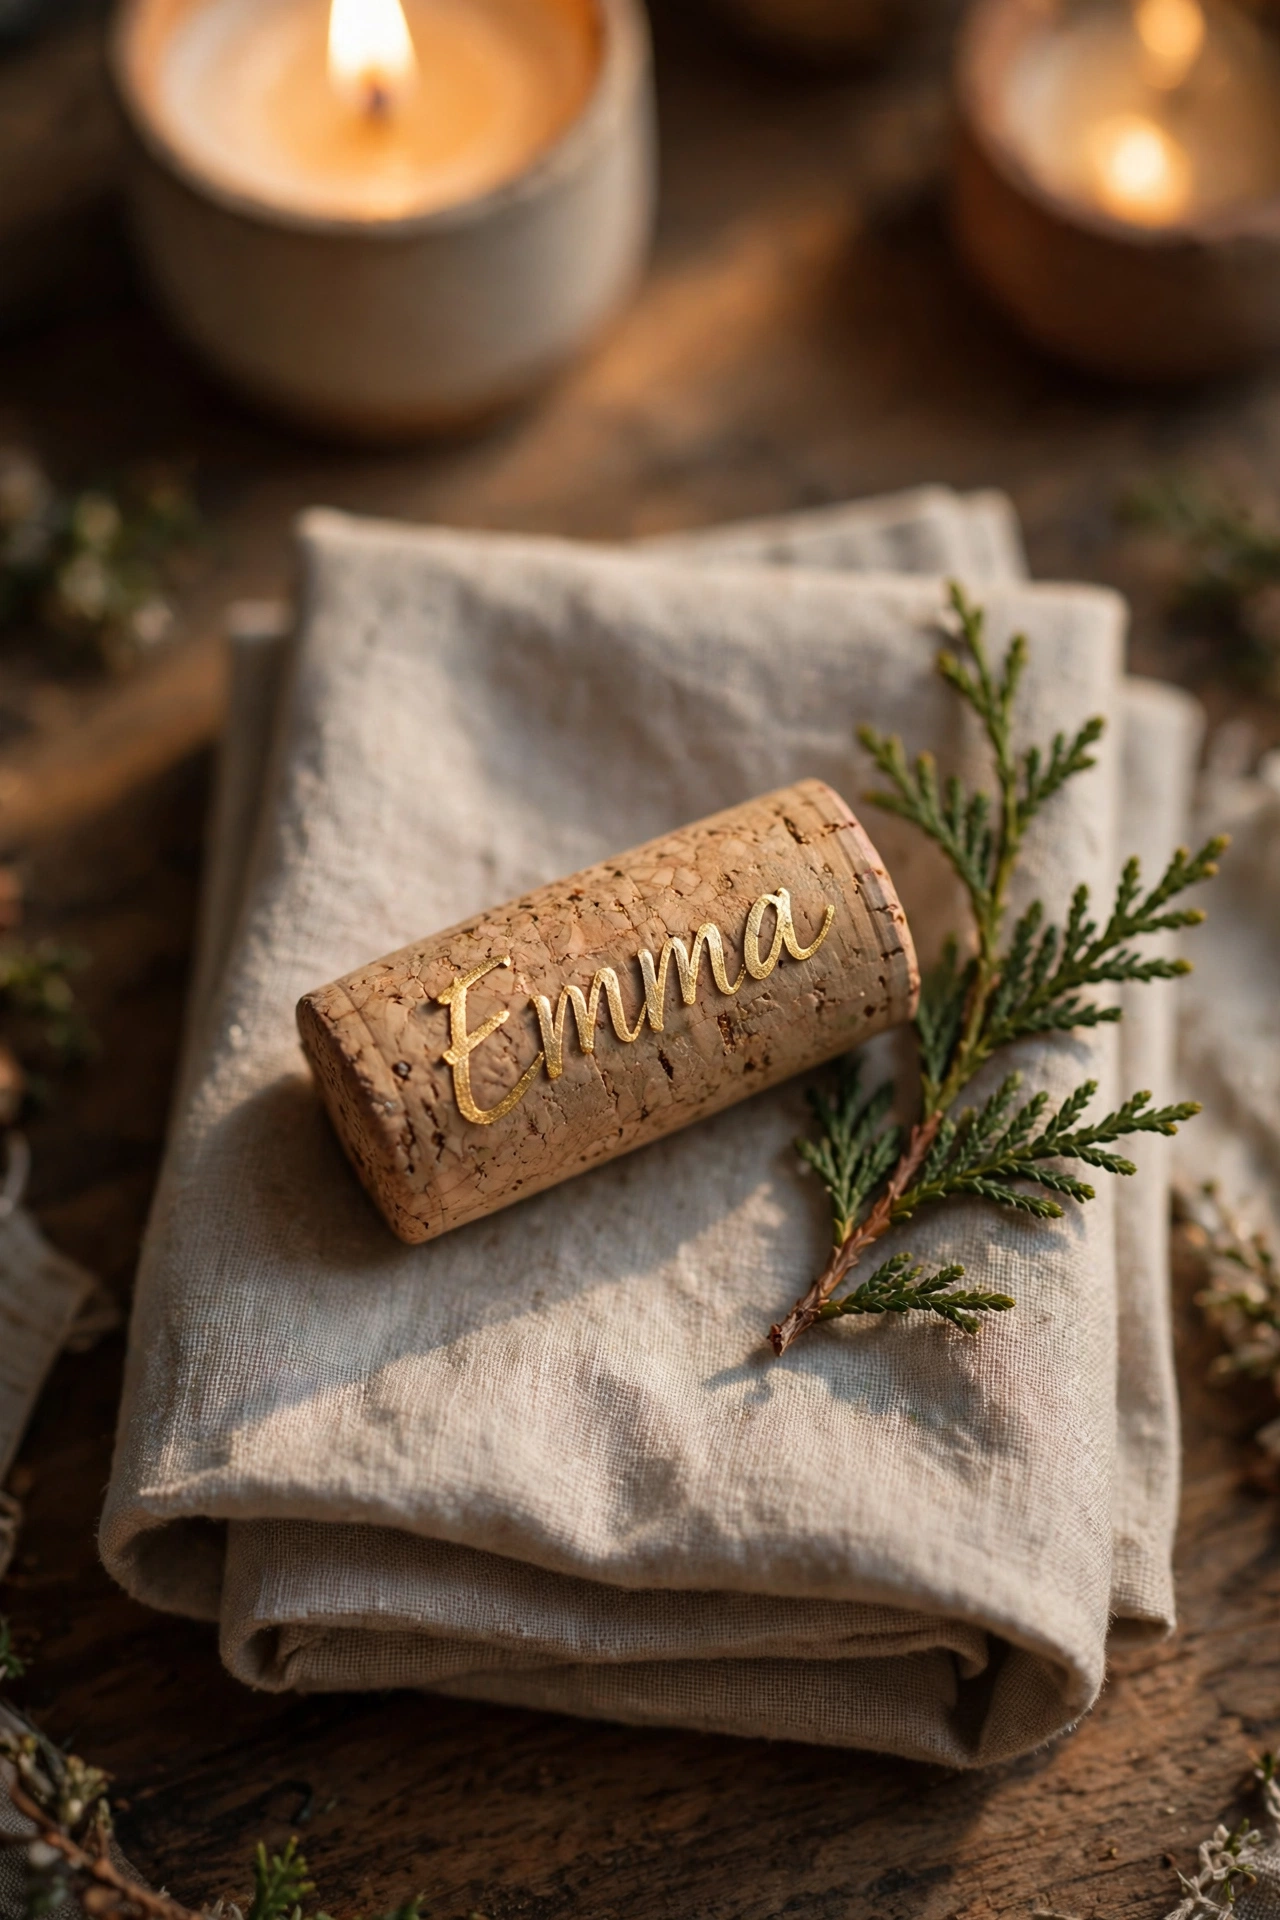
Wine Cork Place Cards with Greenery
Writing each guest’s name directly on a used wine cork, then setting it on top of a napkin with a small sprig of cedar or a tiny painted gold twig, creates a place card that costs almost nothing and adds a genuinely charming, handmade detail. This idea works particularly well for hosts who already save corks throughout the year, since it repurposes something that would otherwise be thrown away. A simple paint pen or metallic marker is enough to write names clearly on the cork’s flat side. Pairing the cork with a small sprig of greenery gives it a bit of visual weight so it doesn’t get lost against a plate or napkin. This is one of the lowest-cost personalization ideas on the entire list, and it consistently gets mentioned as a favorite small detail by guests.
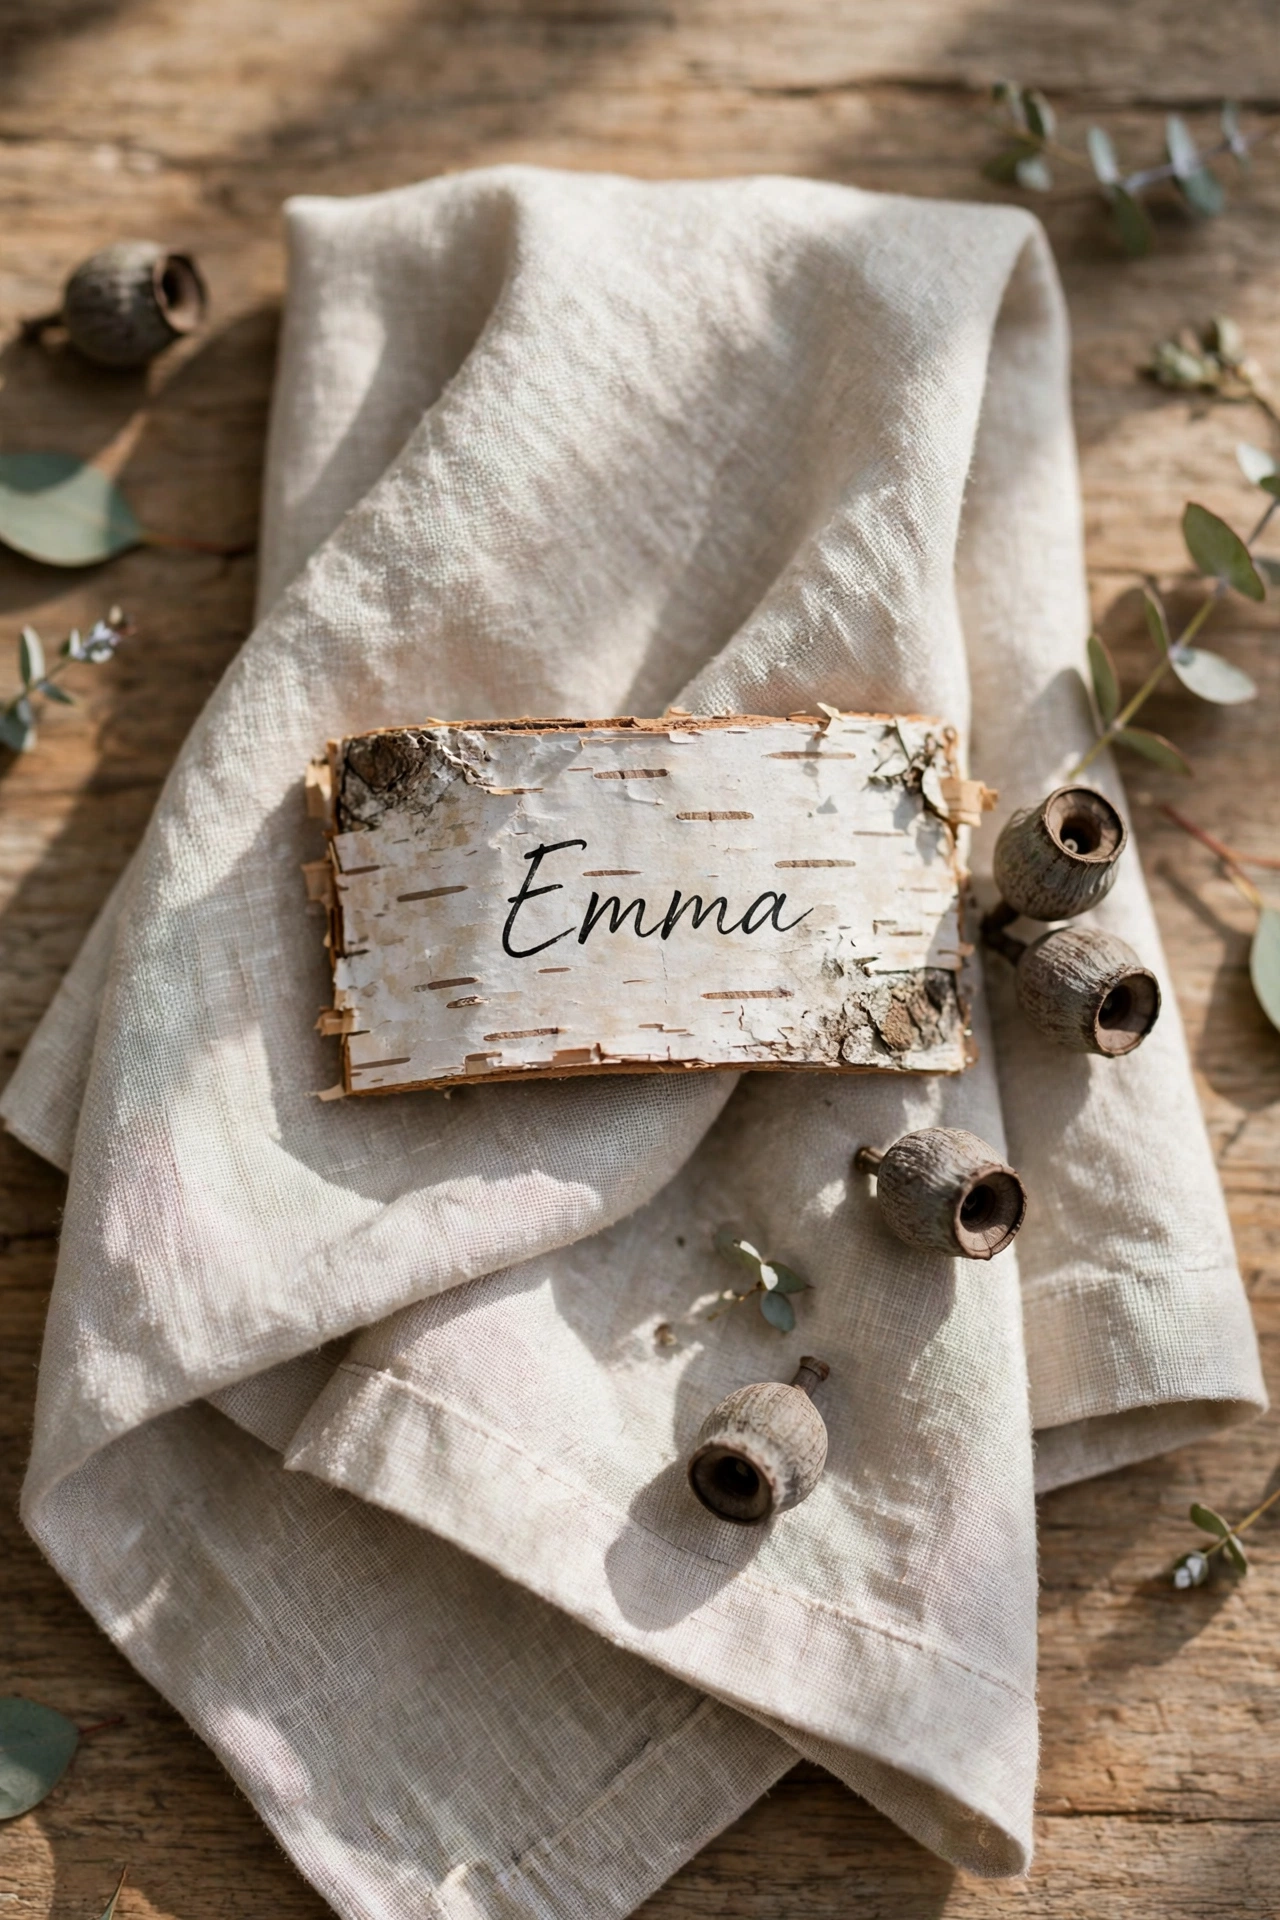
Personalized Place Cards with Natural Elements
Beyond wine corks, a range of natural materials — a small leaf, a slice of manzanita bark, a piece of birch — can serve as a rustic, elegant surface for a guest’s handwritten name. These place cards work especially well on a farmhouse or nature-inspired table, since the material itself reinforces the overall theme rather than feeling like an unrelated add-on. Writing names in a metallic paint pen against natural bark or wood creates a nice contrast that keeps the names legible even against a busier material. Placing these cards directly on top of the napkin, rather than propped up separately, keeps the table’s overall profile low and consistent with the “guests should be able to see each other” principle. This idea also solves the very practical hosting problem of seating arrangements, doing double duty as both decor and logistics.
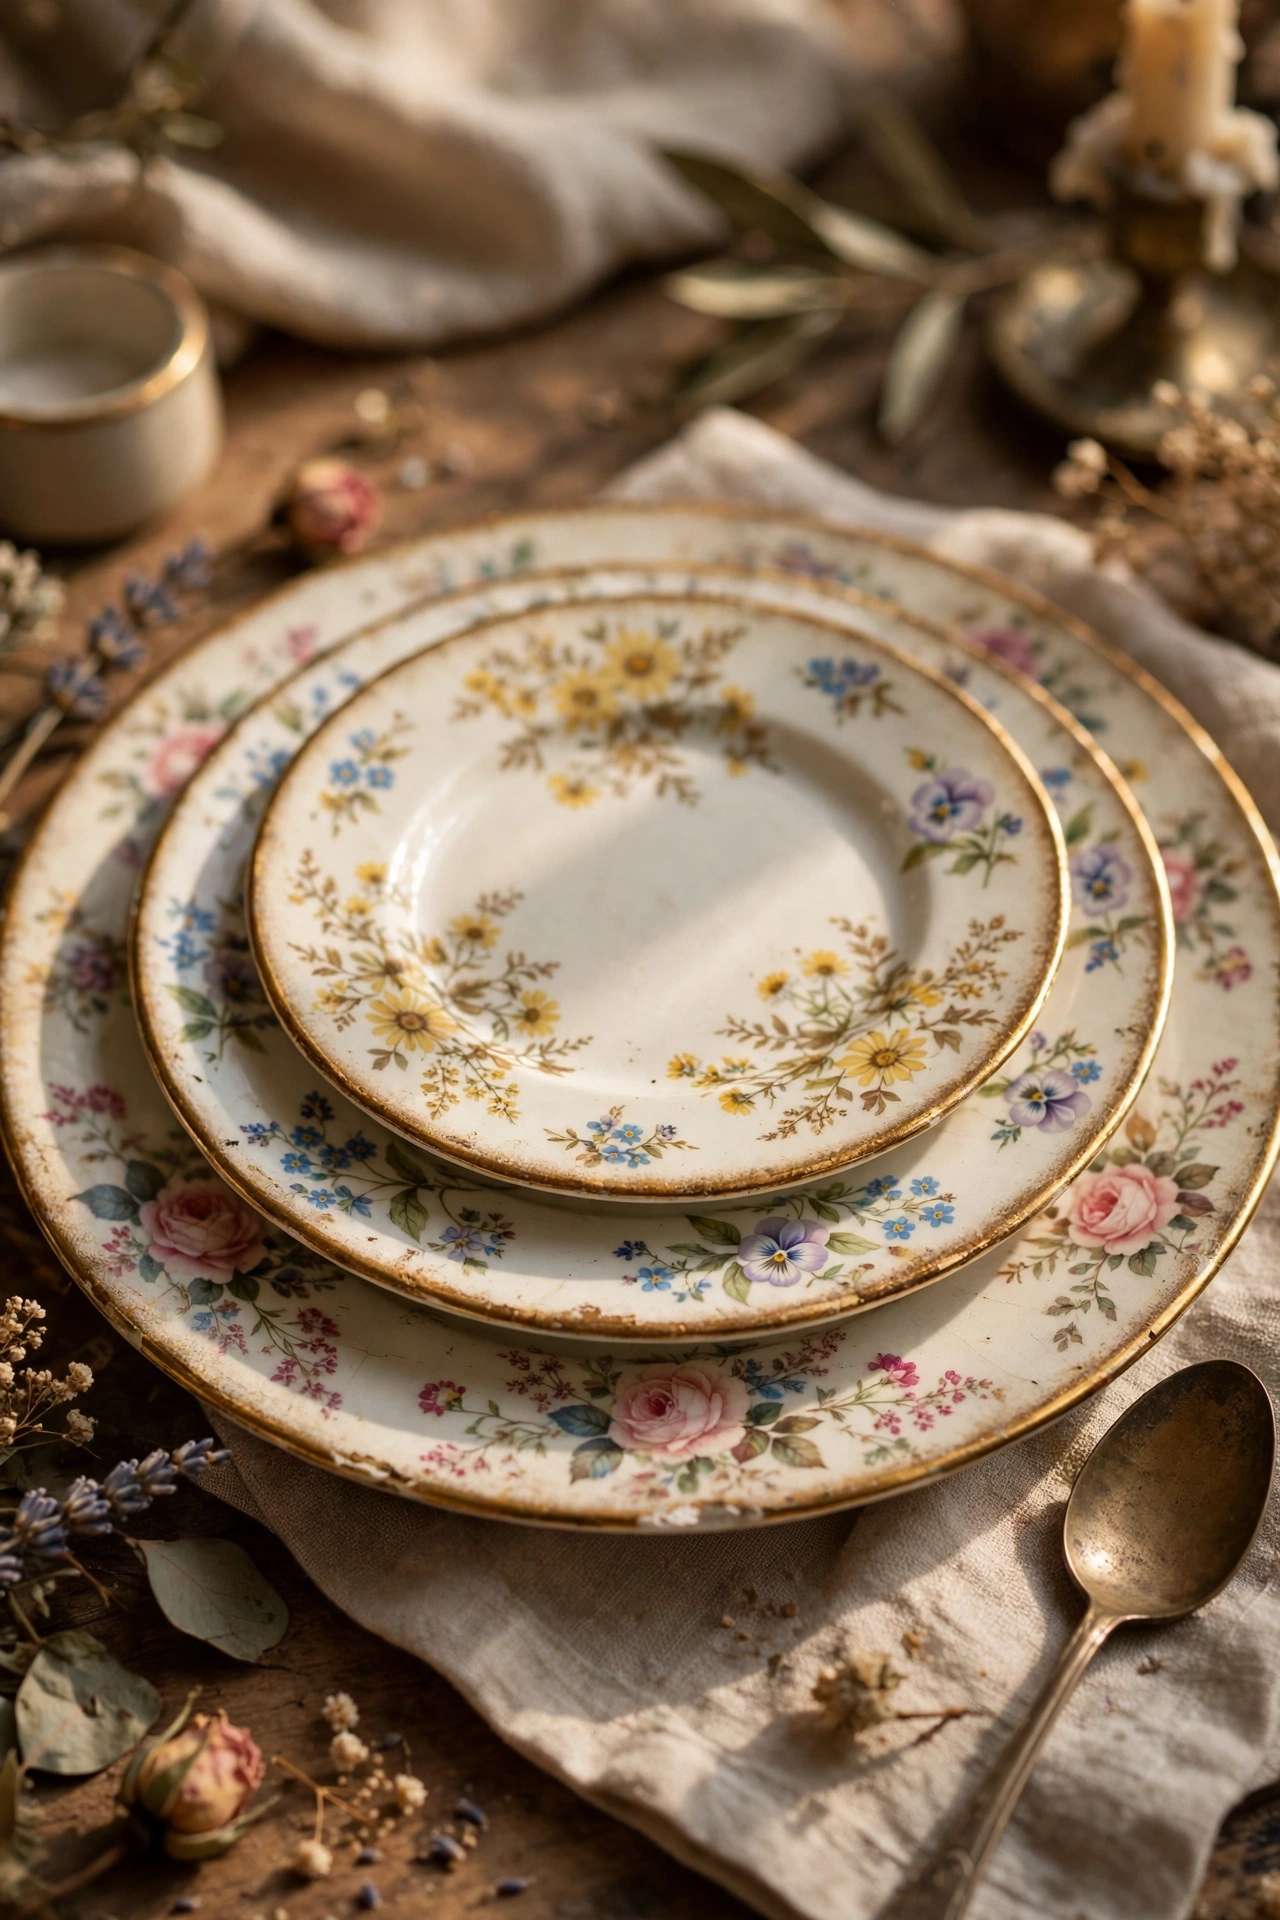
Thrifted and Mismatched Vintage China Mix
Rather than trying to source a full matching set of holiday china, intentionally mixing thrifted or inherited vintage plates across the table creates a collected, storytelling quality that a brand-new matching set can’t replicate. Coordinating the mismatched pieces by color family, rather than pattern, keeps the table from feeling chaotic — for example, sticking to plates with gold rims or plates in shades of cream and white, even if the patterns themselves vary. This approach is also one of the most budget-conscious ideas on the list, since secondhand and thrifted china typically costs a fraction of a new set. It photographs beautifully specifically because each plate has slightly different character, catching light and detail differently than a uniform set would. This is a strong option for a host who has inherited pieces from family members and wants to actually use them rather than keep them in a cabinet.
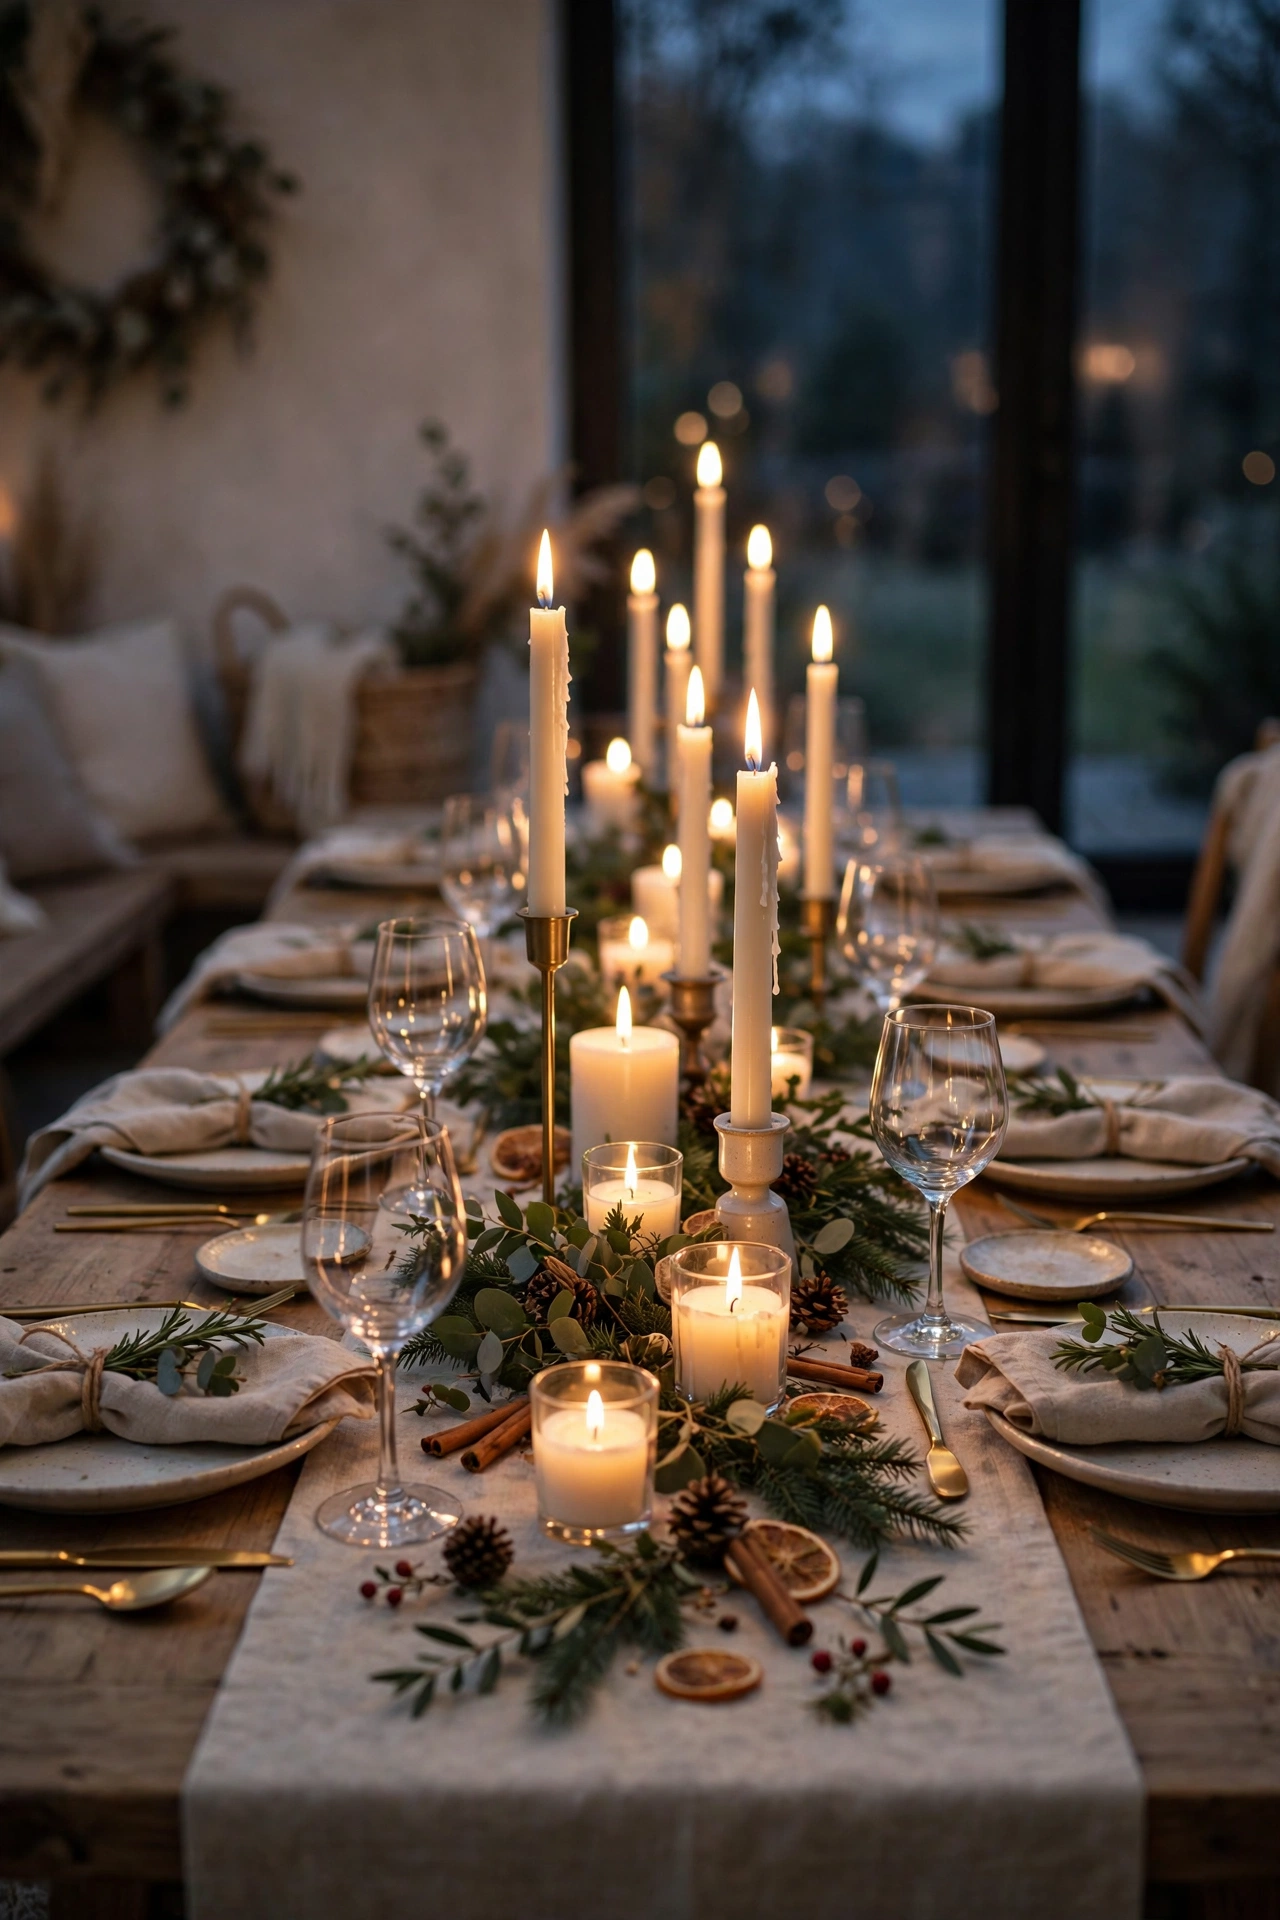
Warm Candlelight in Varying Heights
Grouping candlesticks and votives of different heights down the table, rather than a single uniform row, creates depth and visual interest the way a well-lit room does with layered lighting. Taller taper candles at the center or ends of the table, paired with shorter votives scattered between them, mimics the kind of intentional lighting design used in professional event styling. Warm white or ivory candles cast the most flattering light for both the food and the guests, while colored candles can clash with careful color coordination elsewhere on the table. Dimming or turning off overhead lighting entirely during the meal lets the candlelight do the visual work, instantly making the room feel more intimate and elevated. This is one of the lowest-cost, highest-impact ideas on the entire list, since most hosts already own some combination of candlesticks and votive holders.
The Layering System: How Every Elevated Table Is Actually Built
This is the part most tablescape roundups never explain, even though it’s the actual reason some tables look effortlessly put-together and others look like a collection of separate decorations.
- Layer 1 — Protection and base: A tablecloth, table runner, or protective pad goes down first, setting the color and texture foundation for everything above it.
- Layer 2 — Charger: The charger sits under the plate at each setting, acting as a frame of color or metallic shine. It never touches food directly and gets removed before the meal is served or before dessert.
- Layer 3 — Plate: The dinner plate sits centered on the charger. If using multiple plate sizes (a charger, dinner plate, and smaller salad or bread plate), stack them largest to smallest.
- Layer 4 — Napkin: The napkin goes either on top of the stacked plates, folded into one of the styles above, or to the left of the fork in a simpler fold or roll.
- Layer 5 — Glassware and flatware: Flatware is placed in the order it will be used, from the outside in, and glassware is positioned above the knife on the right side of the setting.
- Layer 6 — Centerpiece: Whether it’s a greenery runner, bud vases, or an ornament bowl, the centerpiece goes down the center of the table last, kept low enough that seated guests can see each other across it.
- Layer 7 — Candlelight: Candles are added last, once the centerpiece is in place, so their height and placement work with the arrangement rather than around it.
- Layer 8 — Place cards and personal touches: These small final details — wine cork names, mini wreaths, or bark place cards — go on top of the napkin or beside the plate as the very last step before guests sit down.
Once this order clicks, any of the 17 ideas above can be swapped in and out at any layer without breaking the overall look — that’s what makes a table doable rather than a one-time, hard-to-repeat effort.
Styling Tips
- Keep the centerpiece low enough that seated guests can make eye contact across the table without leaning or craning.
- Choose one dominant metal finish and let the other one or two act as accents, rather than giving every metal equal visual weight.
- Mix textures — linen, fur, glass, wood — even within a single-color palette to keep the table from feeling flat.
- Fold napkins the day before if hosting a large group, so table-setting day is only about placement, not learning a new fold under time pressure.
- Dim or turn off overhead lighting during the meal and let candlelight carry the room’s atmosphere instead.
Practical Implementation Ideas
- Set the table the night before if possible, since food prep on the day of tends to eat up more time than expected.
- Do a practice fold of any new napkin technique a day or two ahead, especially for a first-time fold like the Christmas tree shape.
- Lay out the full layering order (tablecloth, charger, plate, napkin, glass, centerpiece, candles) for just one place setting first as a test before repeating it across the whole table.
- Keep a small tray nearby with extra matches, spare votives, and backup ribbon in case anything runs short mid-setup.
- Take a quick phone photo of the finished table before guests arrive, since it’s an easy way to remember what worked for next year.
Common Mistakes to Avoid
- Building a centerpiece too tall or wide, which blocks sightlines and makes conversation across the table awkward.
- Mixing too many competing metal finishes without a clear dominant one, which can make the table feel visually noisy rather than rich.
- Waiting until guests are about to arrive to fold napkins for a large group, which turns a simple detail into a stressful time crunch.
- Skipping candlelight entirely and relying only on overhead lighting, which flattens the mood the table’s other details worked to create.
- Overcrowding the table with too many small decorative elements at each place setting, leaving no room for actual plates and glassware.
Small-Table Alternatives
For a smaller table or a more intimate gathering, scale back to just two or three layers instead of the full system — a runner, a simple centerpiece, and candlelight often carry a small table just as well as a fully layered large one. Bud vases work especially well here, since a single small vase per two settings doesn’t overwhelm a tighter table the way a longer greenery runner might. Skip the charger plate layer entirely if the table is very small, since it can start to feel crowded once real plates and glassware are added. A single well-chosen centerpiece, like the ornament bowl, can carry a small table on its own without needing several additional layers of decor.
Budget-Friendly Alternatives
The ornament bowl centerpiece, wine cork place cards, and mismatched vintage china are the three lowest-cost ideas on this list, since all three repurpose things a host likely already owns. Grocery store greenery, rather than florist-arranged stems, keeps the low garland runner idea affordable while still delivering real, fragrant texture. Borrowing chargers or candlesticks from a friend or family member for a single event is a smart way to try the glam or metallic-heavy looks without a permanent purchase. Focusing budget on just one or two higher-impact items, like a faux fur runner that gets reused every winter, stretches further than buying several smaller decorative pieces that only work for one specific theme.
Related: 17 Christmas Centerpiece Ideas for Round Dining Tables
Pro Styling Recommendations
Build the table in the layering order outlined above every time, even for a simple setting, since the sequence itself is what creates a polished result regardless of which specific decor choices you make. Choose a theme that matches your actual dishware and linens on hand before shopping for anything new, since working with what you already own almost always looks more cohesive than a rushed, mismatched new purchase. Keep the centerpiece secondary to the candlelight and place settings rather than the star of the show — a beautifully set table with simple candles often reads as more elevated than an elaborate centerpiece with plain place settings. When in doubt about a color palette, red and green or all-white are the two most forgiving starting points, since both work with almost any dishware a host is likely to already have. Finally, give yourself more time than you think you need for napkin folding specifically, since it’s the one detail most likely to take longer than expected the first time through.
FAQs
Conclusion
An elevated Christmas table isn’t about spending more or owning more — it’s about layering a handful of simple elements in the right order and letting warm candlelight do the rest. Once that layering system clicks, the specific theme almost doesn’t matter, whether that’s classic red and green, an all-white winter look, or a rustic farmhouse table built from things already sitting in a kitchen cabinet. Pick two or three ideas from this list that fit your actual dishes, your actual time, and your actual guest list, and the table will do the rest of the talking before anyone even takes a bite.