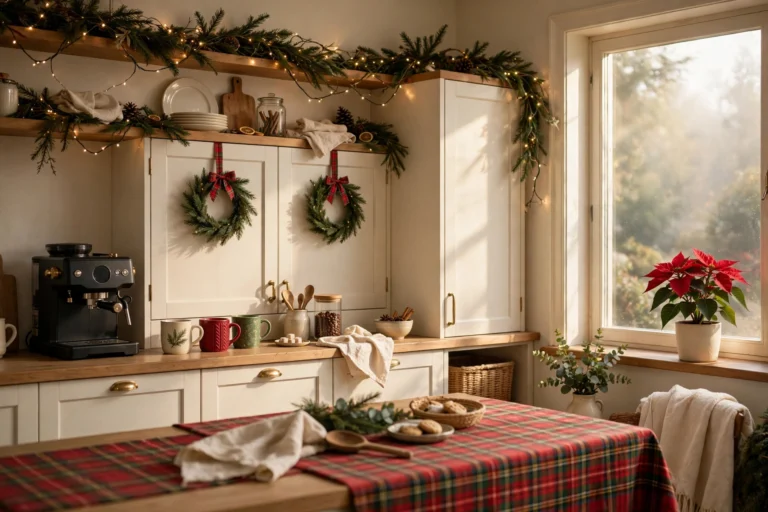
20 Budget Christmas Outdoor Yard Decorations That Still Wow
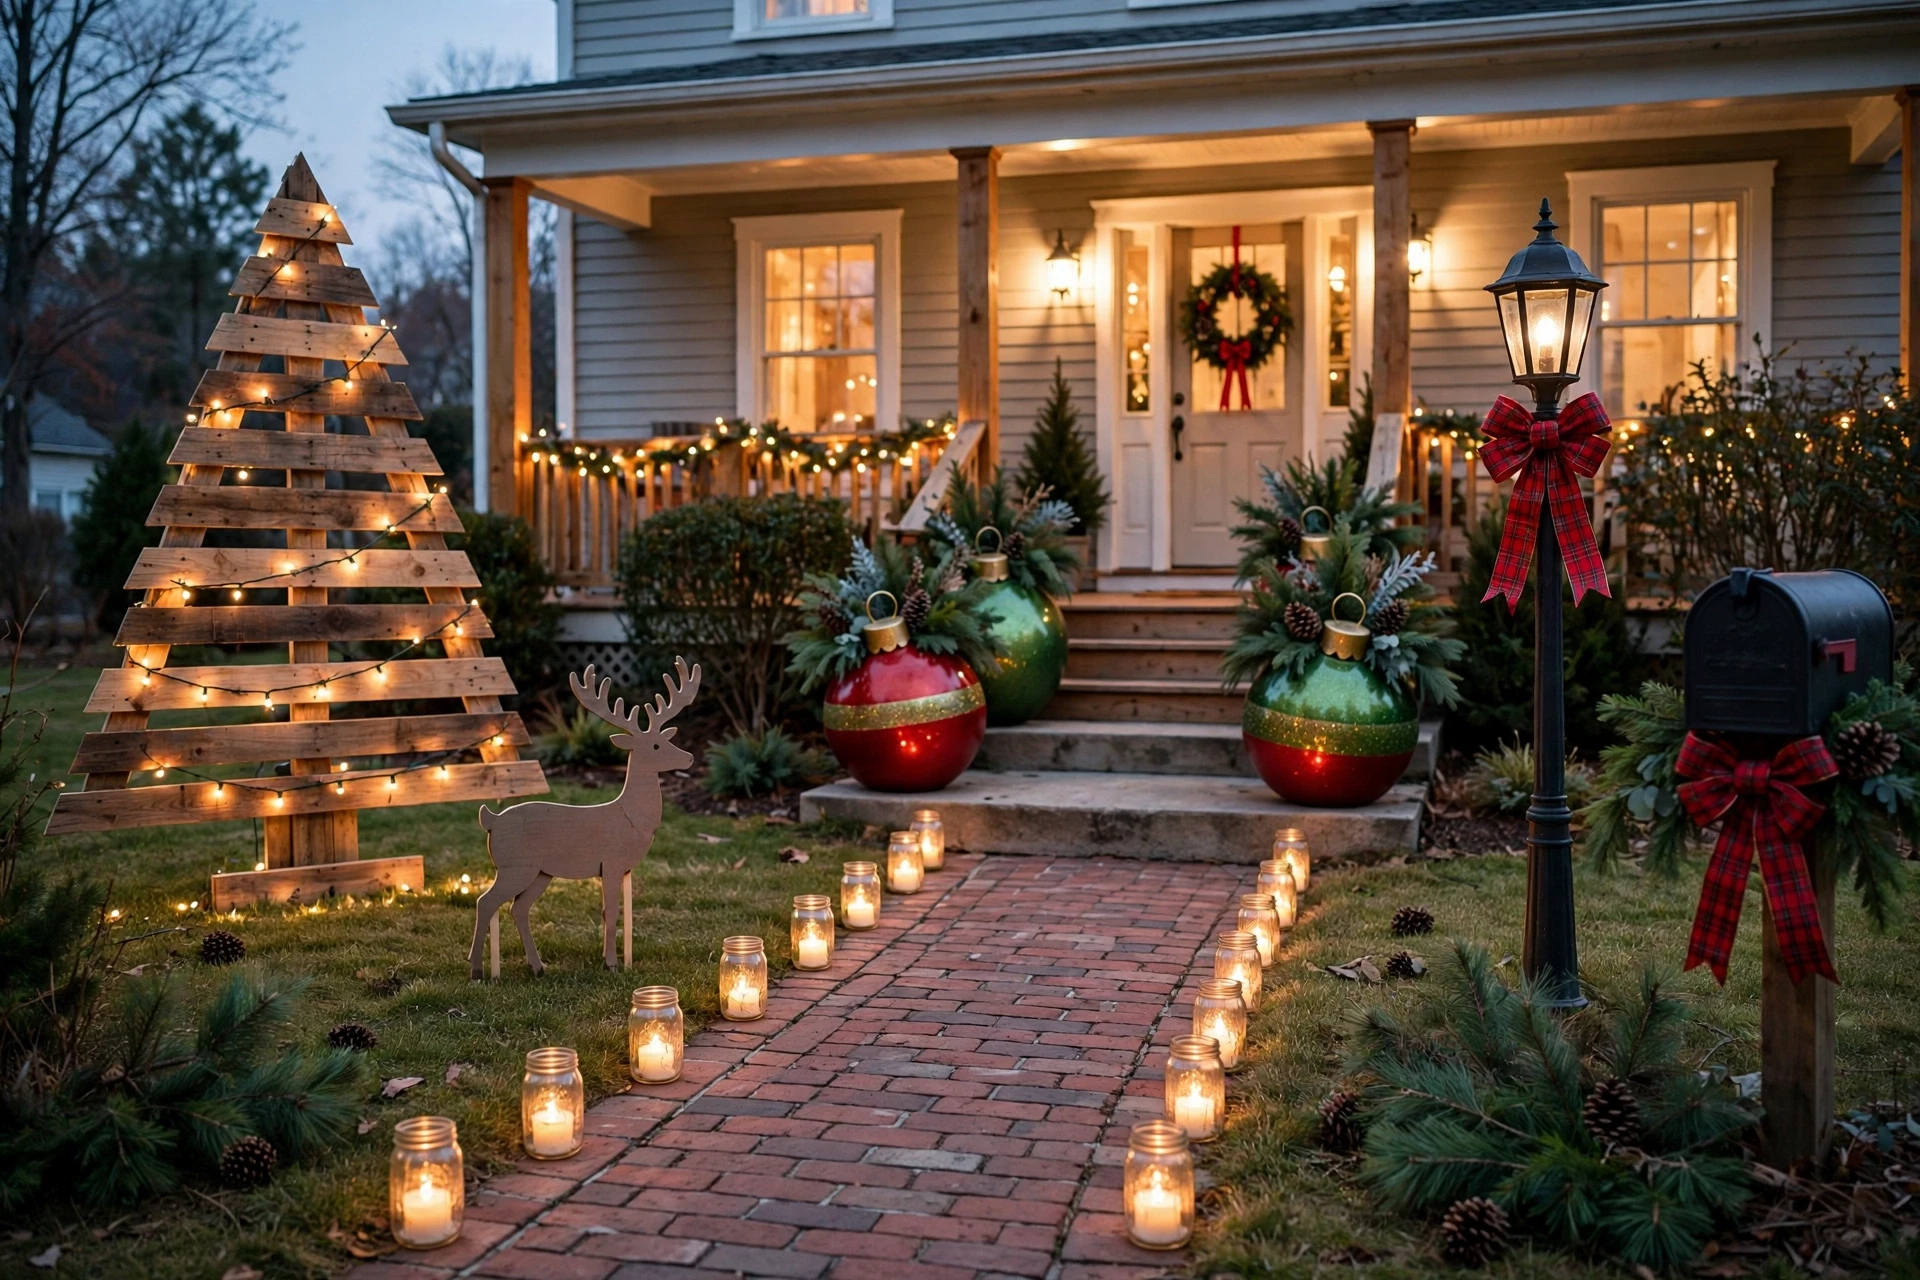
A beautiful holiday yard does not require a big holiday budget. It requires a little creativity, a few smart material choices, and knowing which details actually make people stop and look.
Some of the most impressive Christmas yards ever photographed were built from pallet wood, dollar store bowls, and things already sitting in a garage. The trick is not spending more. It is spending on the right details, and building the rest yourself.
This guide walks through 20 budget Christmas outdoor yard decorations, each with the specific materials, technique, and styling reason it works, plus an image so you can picture exactly how it should look before you start building.
Table of Contents
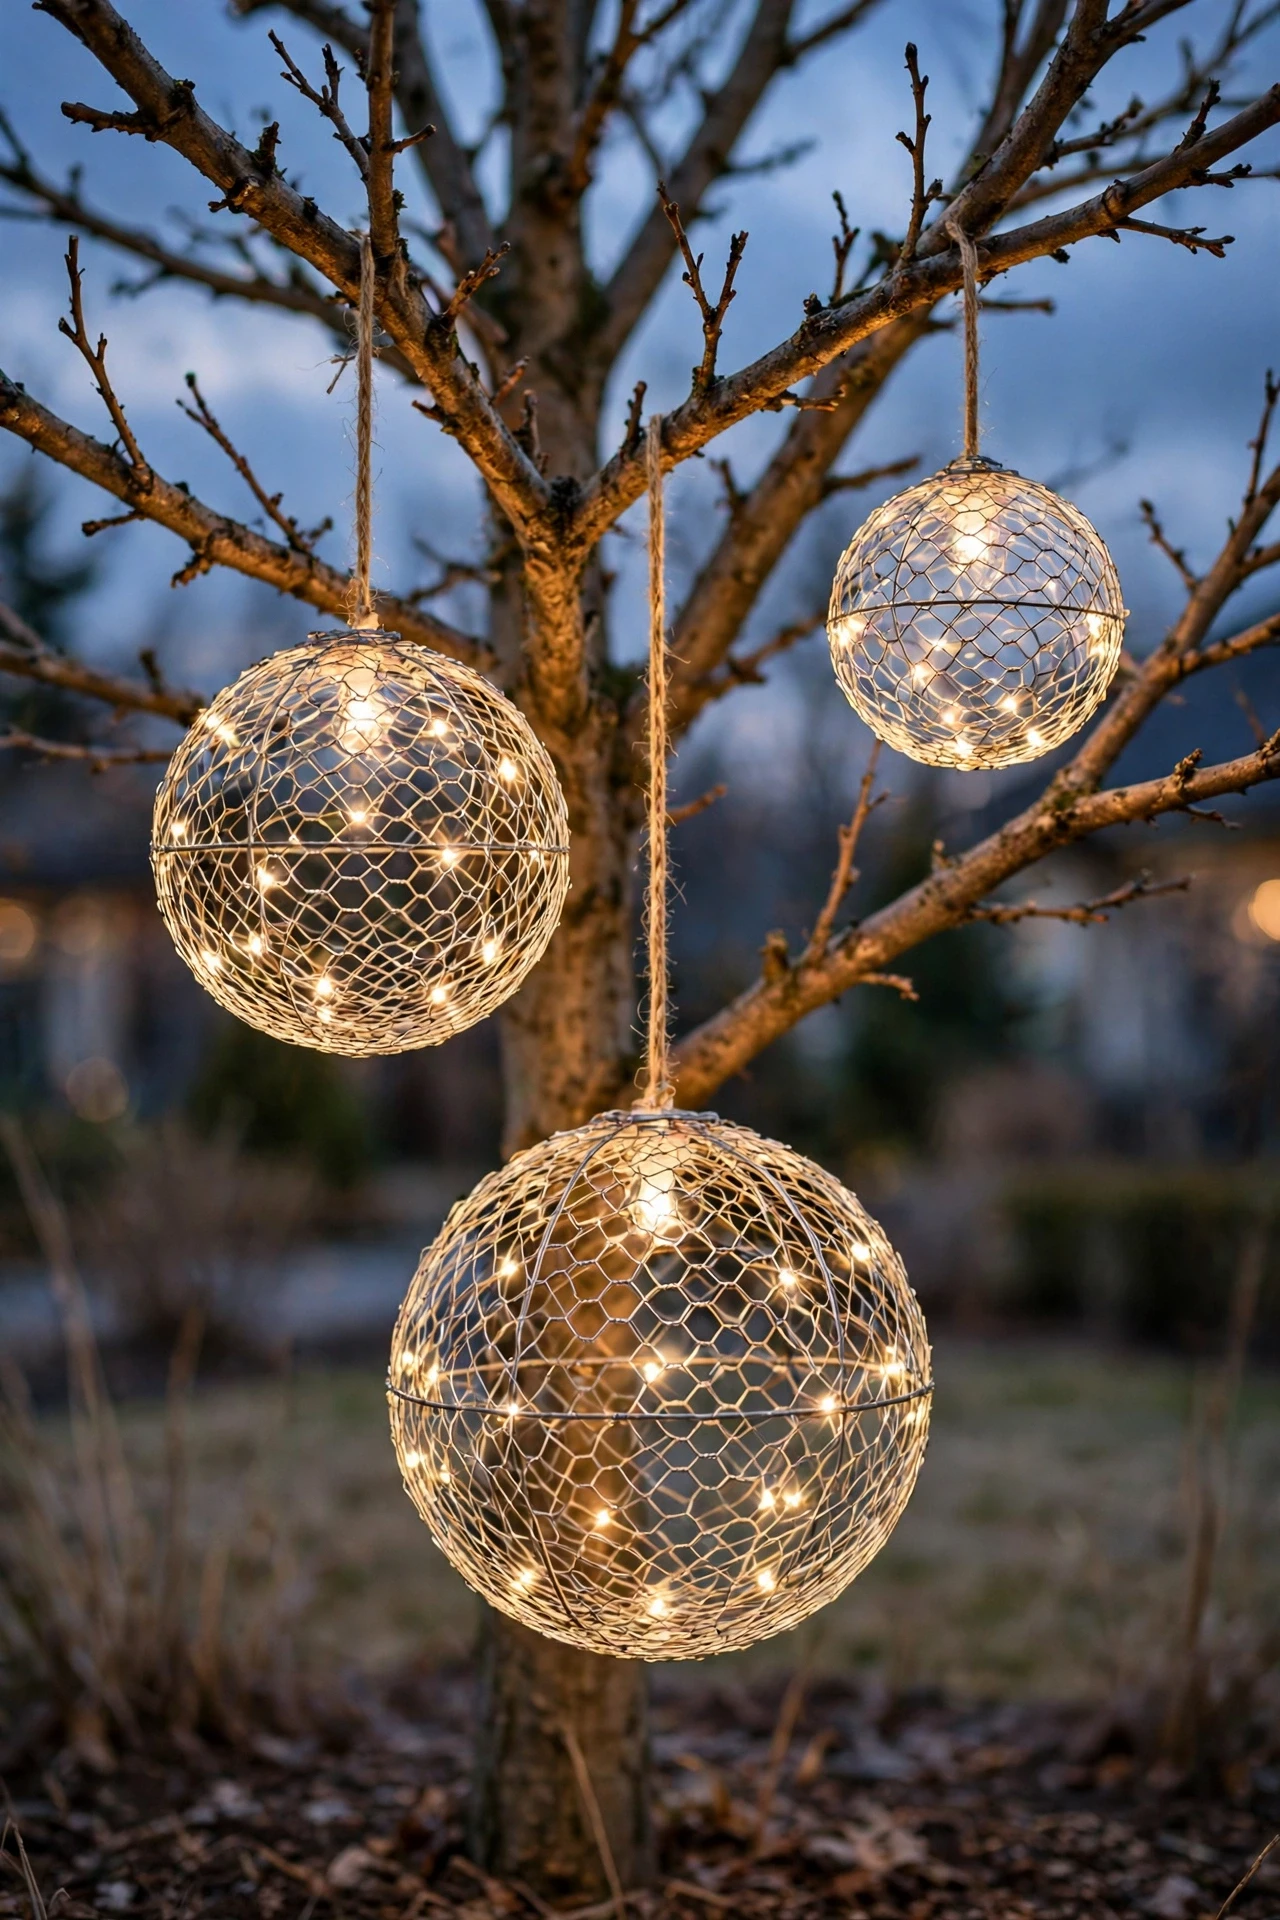
DIY Chicken Wire Light Balls
Chicken wire light balls are one of the most photographed budget Christmas decorations because they look complicated but only require a roll of chicken wire, wire cutters, and a strand of LED mini lights. Shape rolled chicken wire into a rough sphere, then weave the light strand through the wire structure so the bulbs are spread evenly rather than bunched in one section. Hang several balls of varying sizes from tree branches or a shepherd’s hook, since a cluster of different sizes reads far more designed than a single matched set. Choose warm white lights for a classic look or cool white for a more modern, frosty effect, and keep the wire shape loose and organic rather than a tight, perfect sphere. This project costs very little beyond the lights themselves, since chicken wire is sold cheaply by the roll and one roll makes several balls.
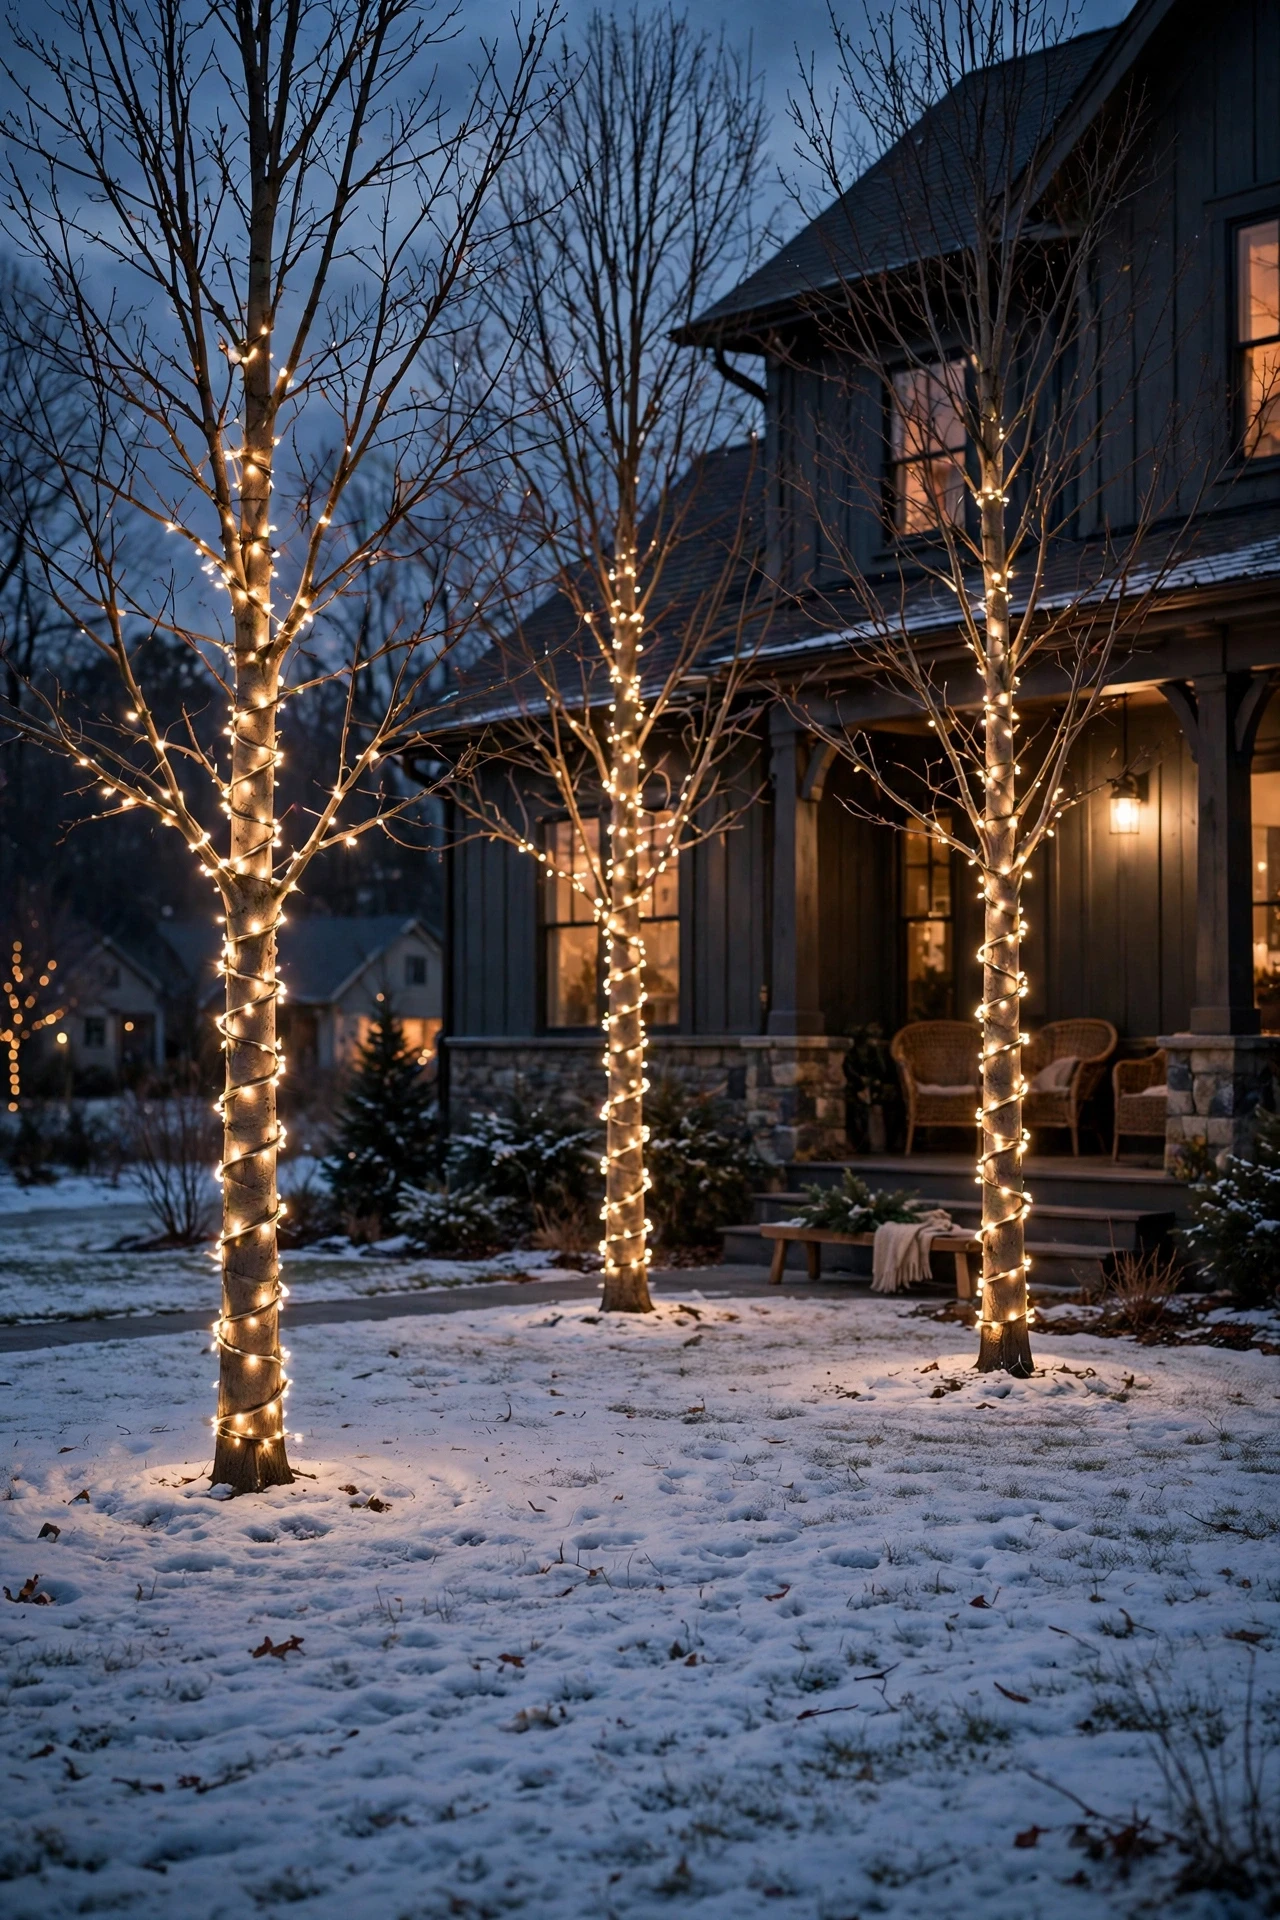
Trunk-Wrapped Light Trees
Wrapping tree trunks in string lights, rather than draping lights only through the branches, is a faster and often cheaper way to light up existing yard trees for the holidays. Trunk wrap lights, sold pre-strung on a roll, cost less per tree than buying enough standard string lights to fully cover a tree’s branches, and installation takes a fraction of the time. Start at the base of the trunk and spiral upward, securing the end at the first major branch split, then either stop there or continue lightly through a few main branches for extra glow. This approach works especially well for yards with multiple trees, since covering trunks first gives an immediate lit effect across the whole yard even before branches are touched. Use a timer on the lights to save on electricity costs over the full holiday season, since trunk-wrapped trees often stay lit for many hours each evening.
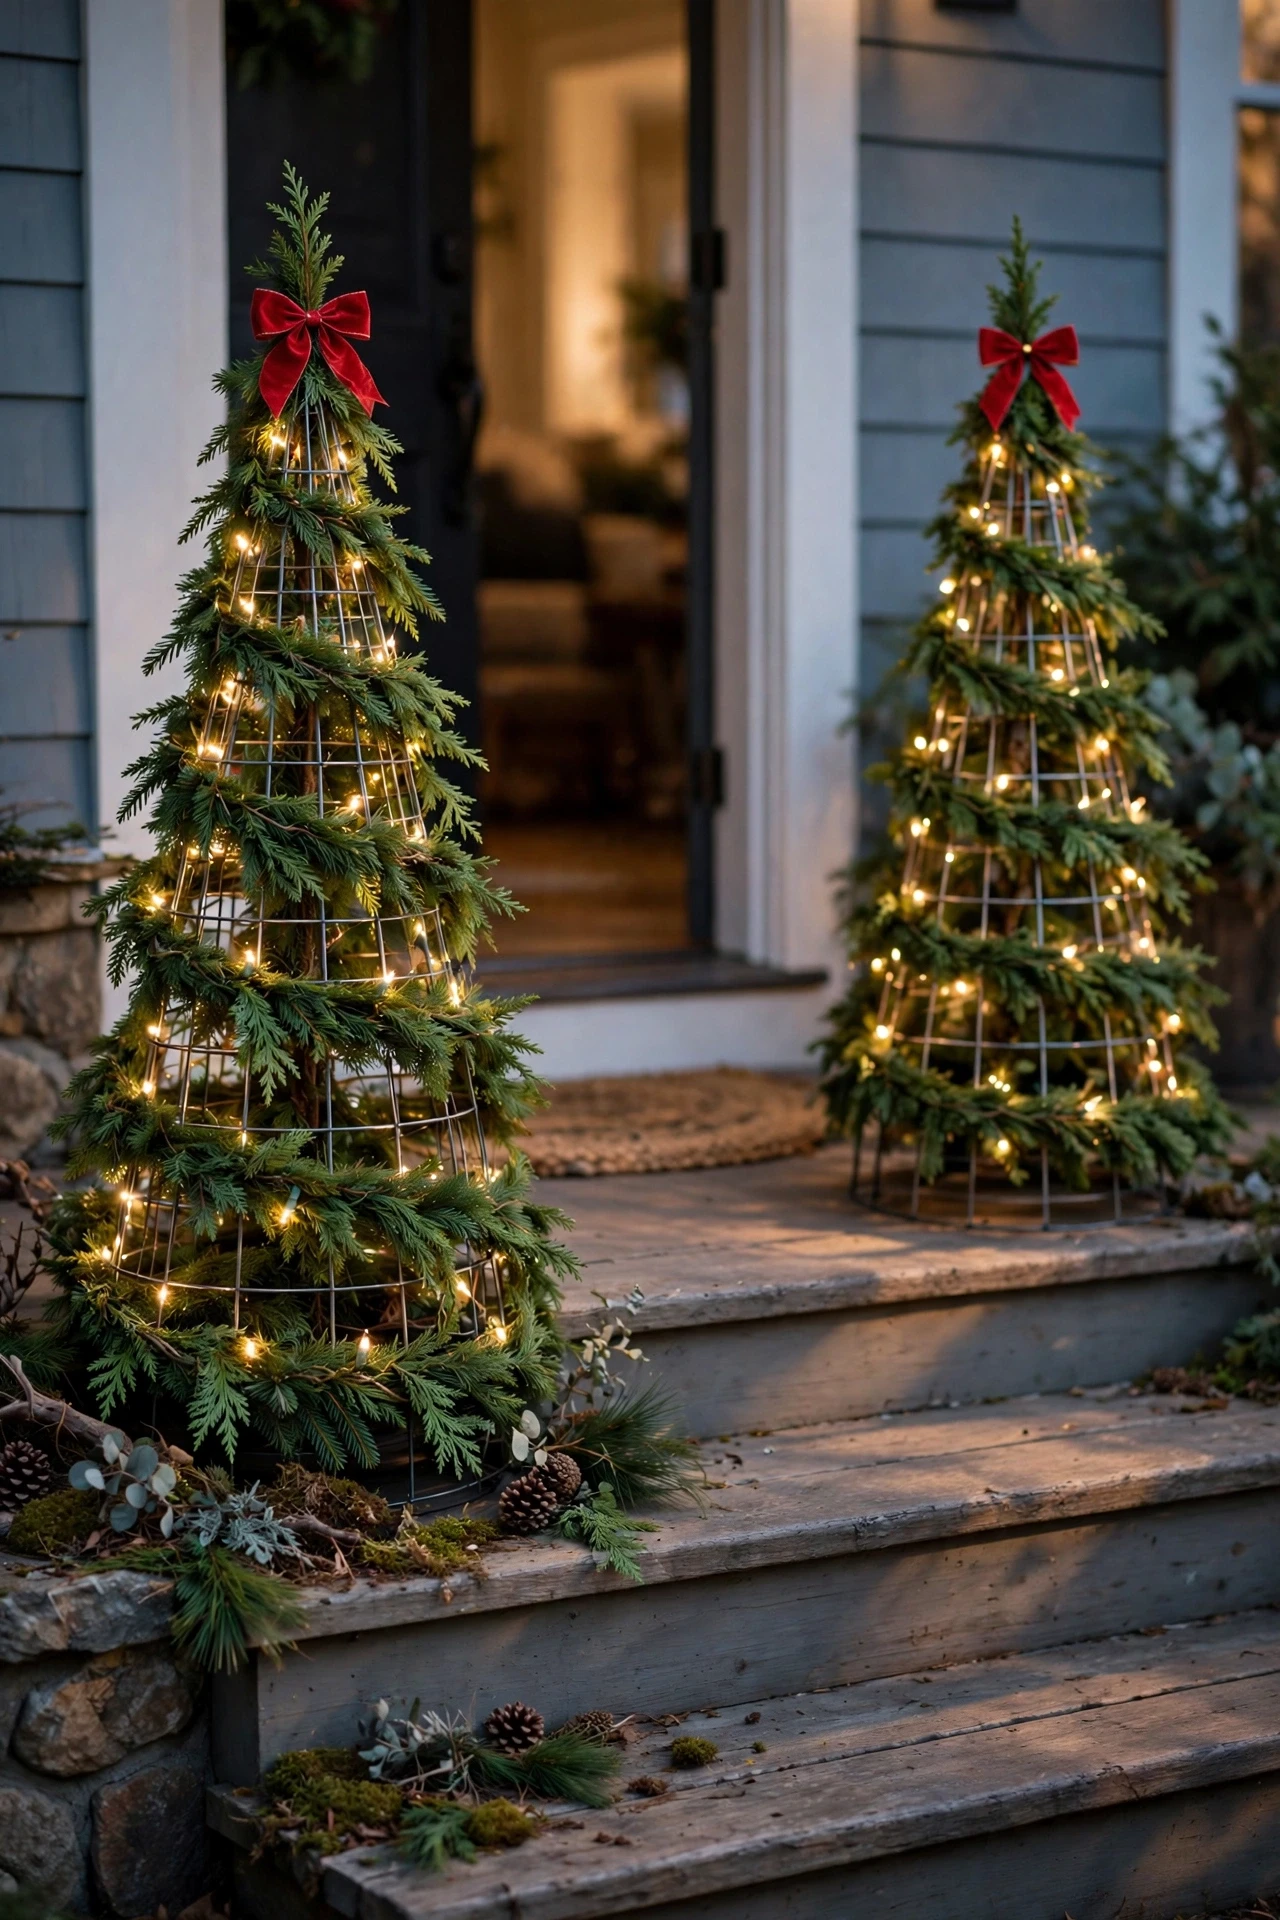
Tomato Cage Christmas Trees
An upside-down tomato cage, tied at the narrow end and wrapped in garland and lights, becomes an instant miniature Christmas tree for almost no cost if you already have cages left over from a summer garden. Flip the cage so the wide end sits on the ground and the narrow end points up, then zip tie the top prongs together to form a rough cone shape. Wrap the frame in inexpensive faux garland, tucking the wire ends into the structure so the metal cage disappears completely under the greenery. Add a strand of mini lights and a simple star or bow topper, and the finished piece looks remarkably close to a small designer topiary tree at a fraction of the price. Group two or three in graduated sizes along a walkway or flanking the front steps for the biggest visual impact.
Related: 17 Doable Christmas Table Settings That Feel Elevated
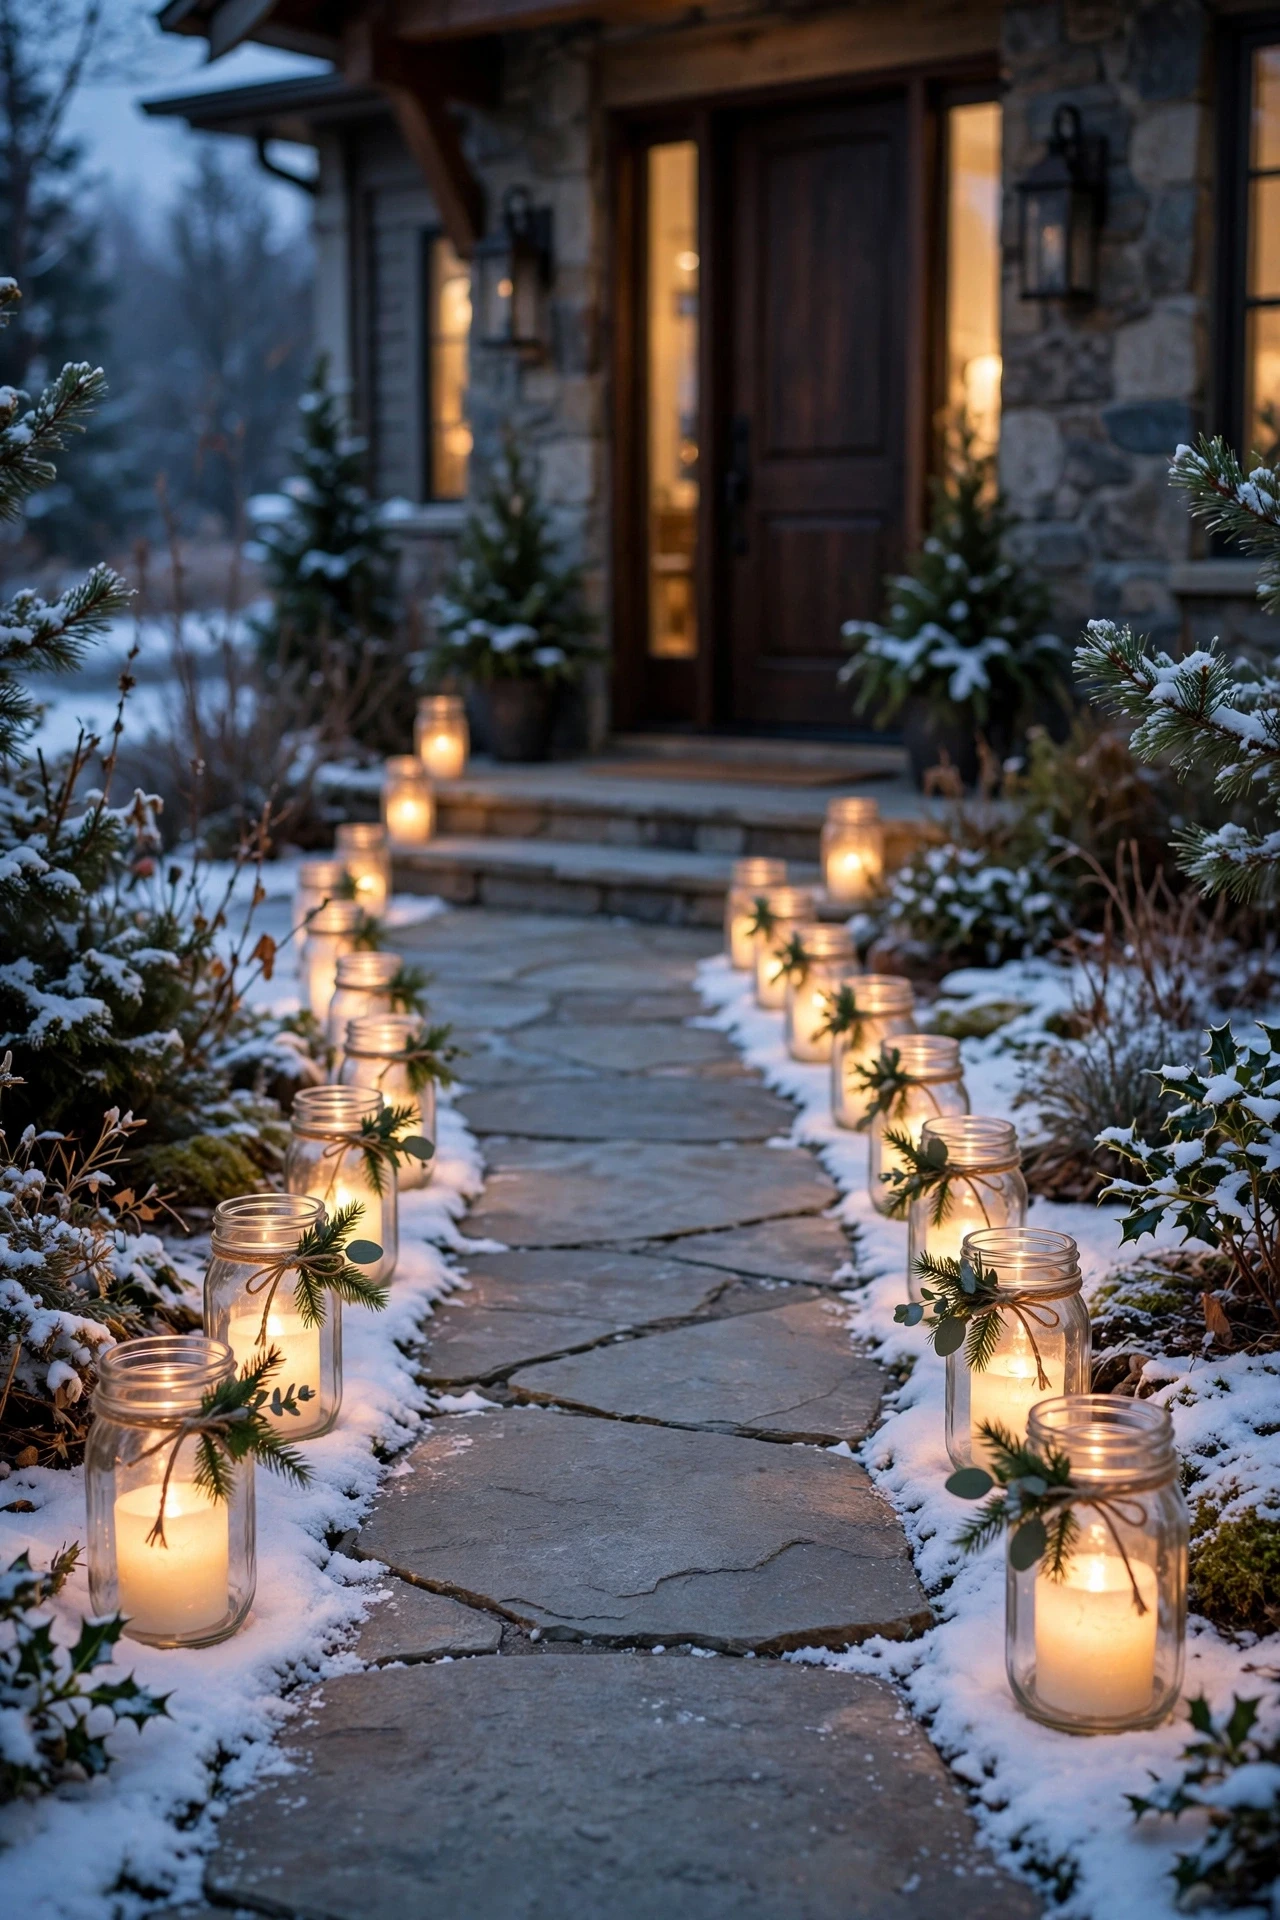
Mason Jar Luminaries Along the Walkway
Mason jars, whether new dollar store versions or ones already in a kitchen cabinet, make simple and elegant luminaries when filled with a flameless LED tea light and a bit of Epsom salt or fake snow for texture. Line them evenly along both sides of a front walkway, spaced about two to three feet apart, to create a soft, glowing path leading guests to the door. Tie a small piece of twine, ribbon, or a sprig of greenery around the neck of each jar for a finished, styled look rather than a plain jar sitting on the ground. Battery-operated tea lights mean no cords are needed along the walkway, which keeps the whole project both safer and easier to set up in one afternoon. This is one of the least expensive ideas on this list, since most of what is needed can be sourced from a kitchen, a recycling bin, or a single dollar store trip.
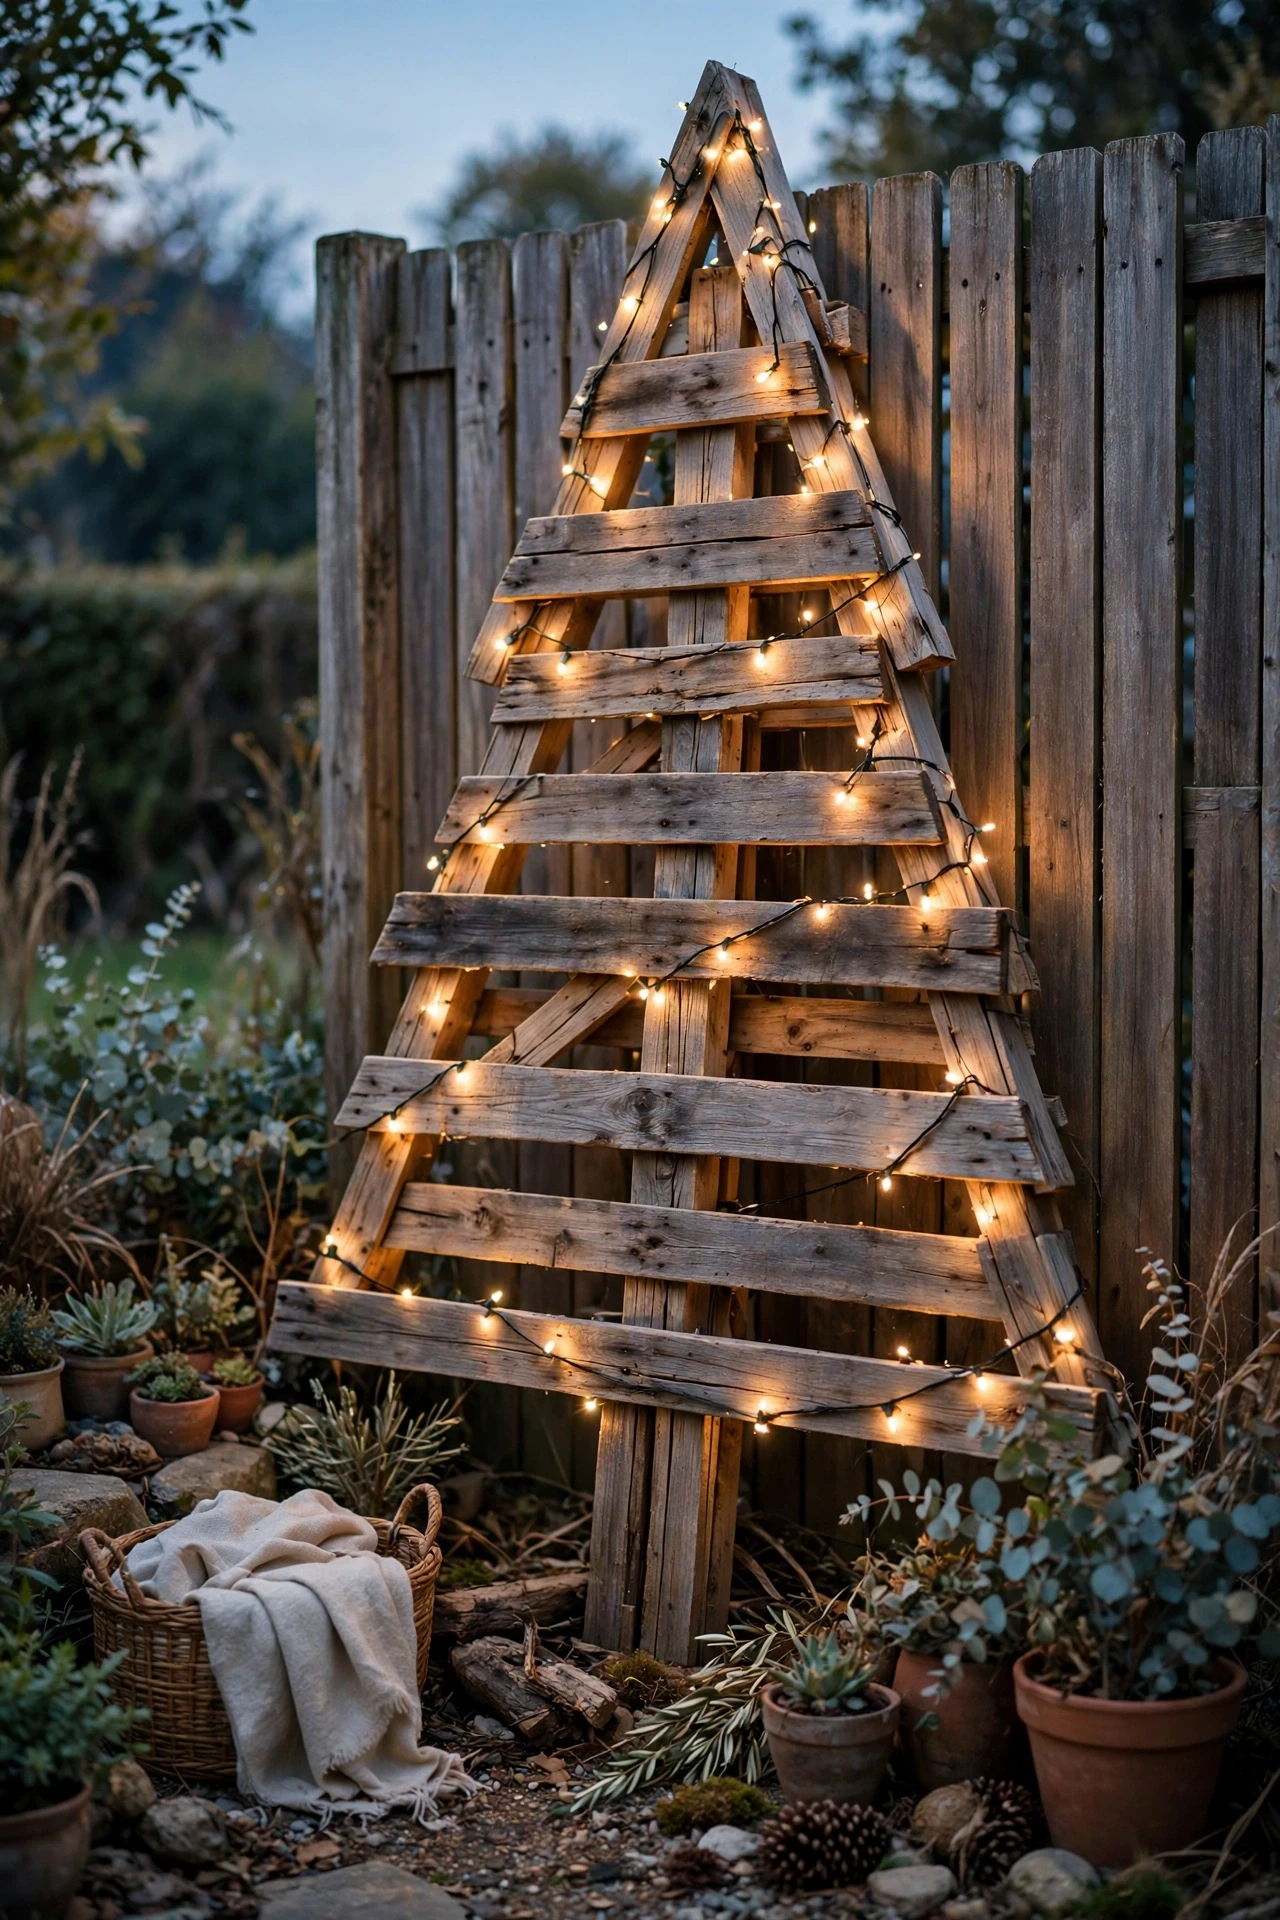
Pallet Wood Christmas Tree
A Christmas tree shape built from a single reclaimed wood pallet is one of the most popular budget yard decorations because pallets are often free or very cheap to source, and the project requires only basic cutting and assembly. Cut the pallet boards into a rough triangular tree shape, leaving small gaps between slats for a rustic, layered look, then mount the finished shape against a wall, fence, or freestanding easel-style frame. Wrap the tree in warm white string lights woven between the slats, and add a simple star cutout or bow at the top for the finishing touch. This decoration is naturally weather-resistant with a little exterior sealant, and it stores flat against a wall or in a garage far more easily than a bulky pre-made yard tree. It also works as a repeatable yearly decoration, since the base structure can be restyled with new ribbon or ornaments each season without rebuilding it from scratch.
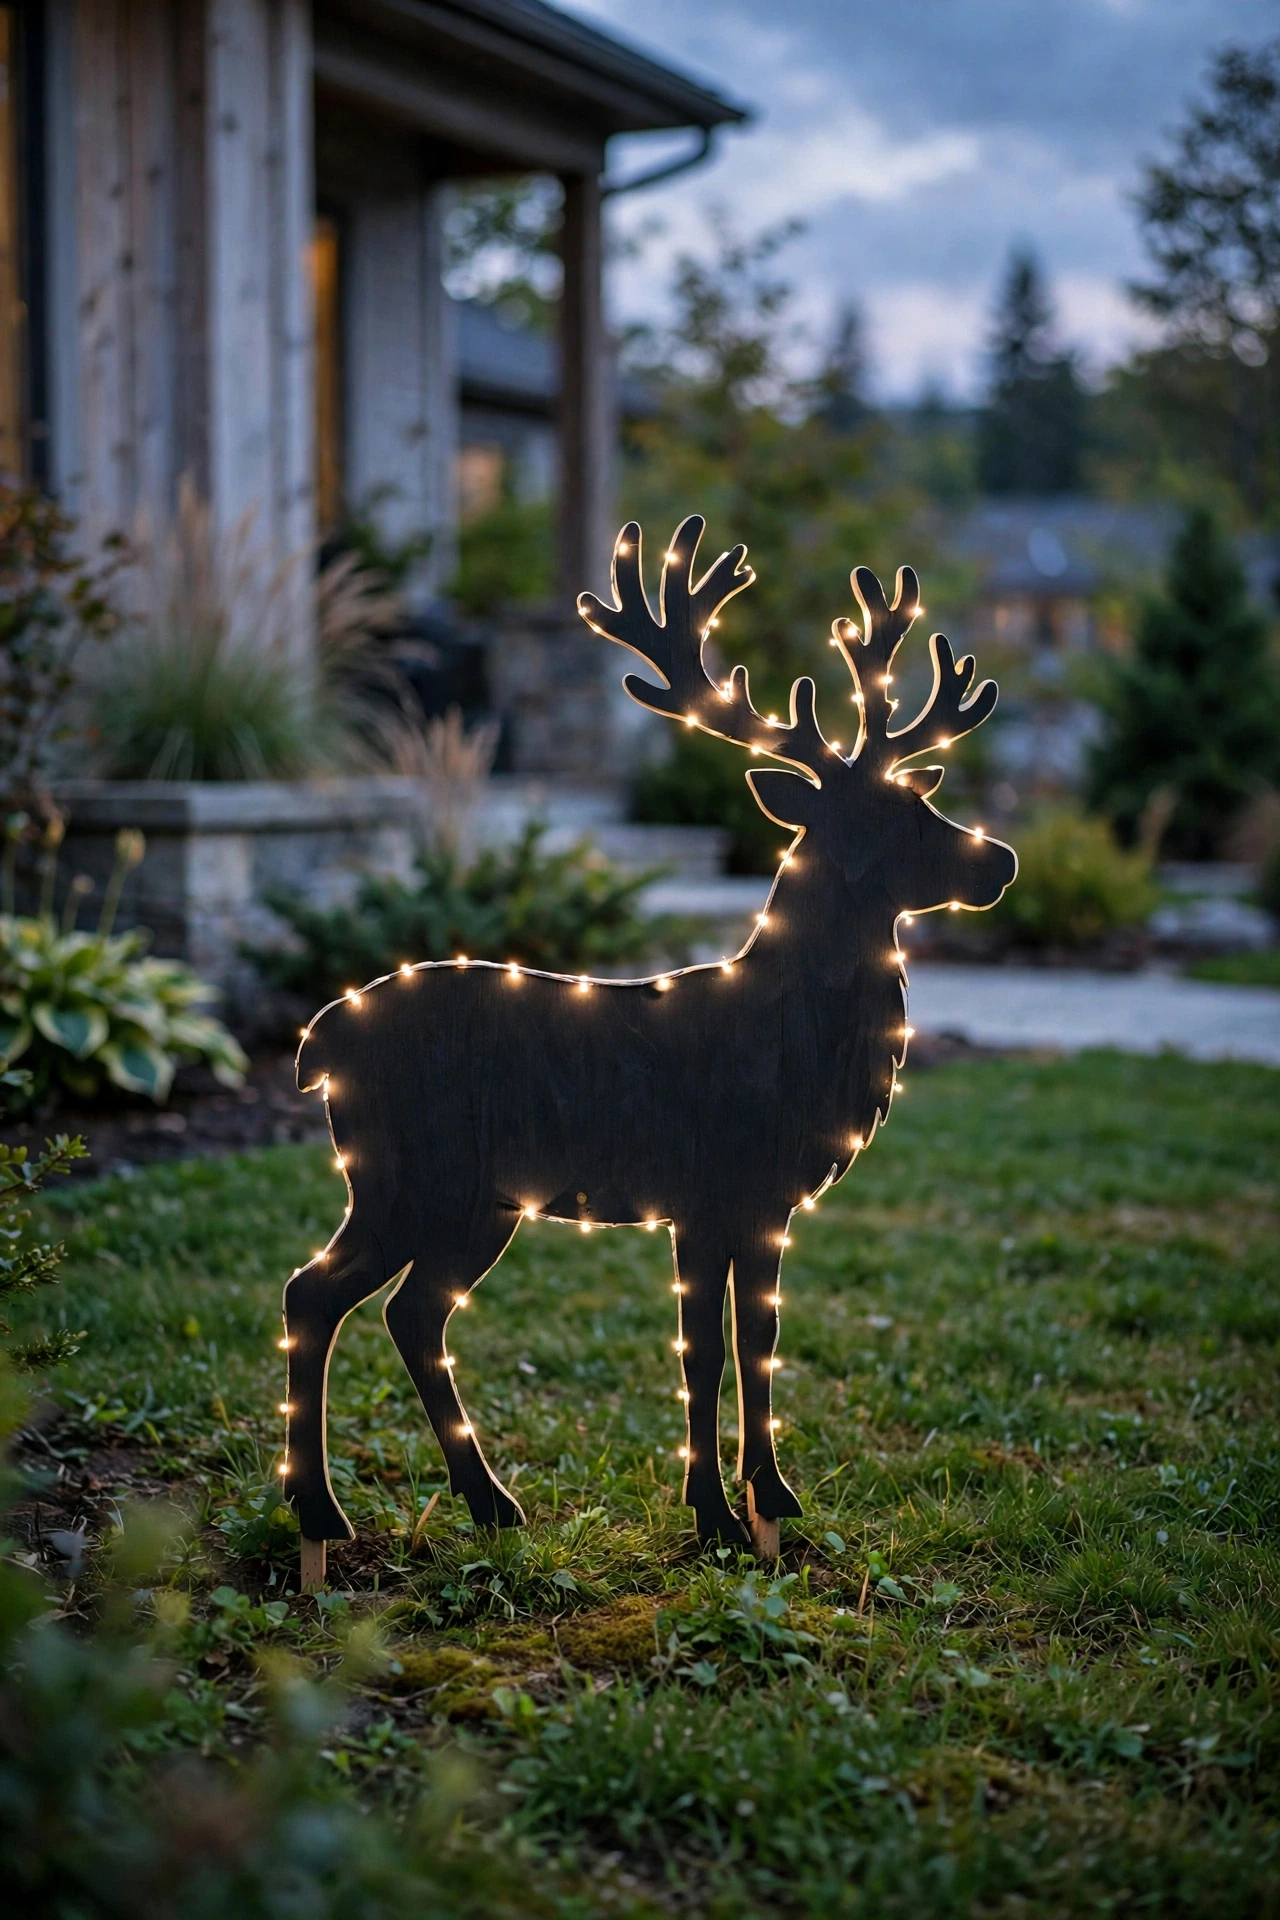
Painted Wood Silhouette Yard Signs
Simple silhouette cutouts of reindeer, a sleigh, or festive lettering, cut from plywood and painted a single bold color, bring a charming, handmade look to a front yard for the cost of one sheet of wood and a can of paint. Trace a simple shape onto plywood, cut it with a jigsaw, sand the edges, then paint it in a solid color like matte black, deep red, or white for a clean, graphic silhouette. Stake the finished piece into the lawn using a simple wood or metal support on the back, positioned where it will be visible from the street or driveway. A small strand of mini lights outlining the edge of the silhouette adds a glow effect after dark without needing a separate light source nearby. This project can be scaled up easily by making a small family of matching silhouettes in graduated sizes, which reads as a cohesive display rather than a single random cutout.
Upcycled Tire Snowman
An old tire, painted white and stacked with a smaller tire or half tire on top, makes a surprisingly charming and sturdy snowman for the front yard using materials that would otherwise be thrown away. Stack two or three tires in graduated sizes, securing them together with strong exterior adhesive or bolts, then paint the whole structure white and add a simple face and buttons using black paint or attached wood pieces. A small stick arm on each side and a scarf made from fabric scraps or an old sweater sleeve finishes the look with almost no additional cost. This decoration is extremely weather-resistant by nature, since tires are built to withstand outdoor exposure far better than most holiday decor materials. It also tends to become a genuine neighborhood conversation piece, since the upcycled concept itself is part of what makes it memorable.

PVC Pipe Candy Canes
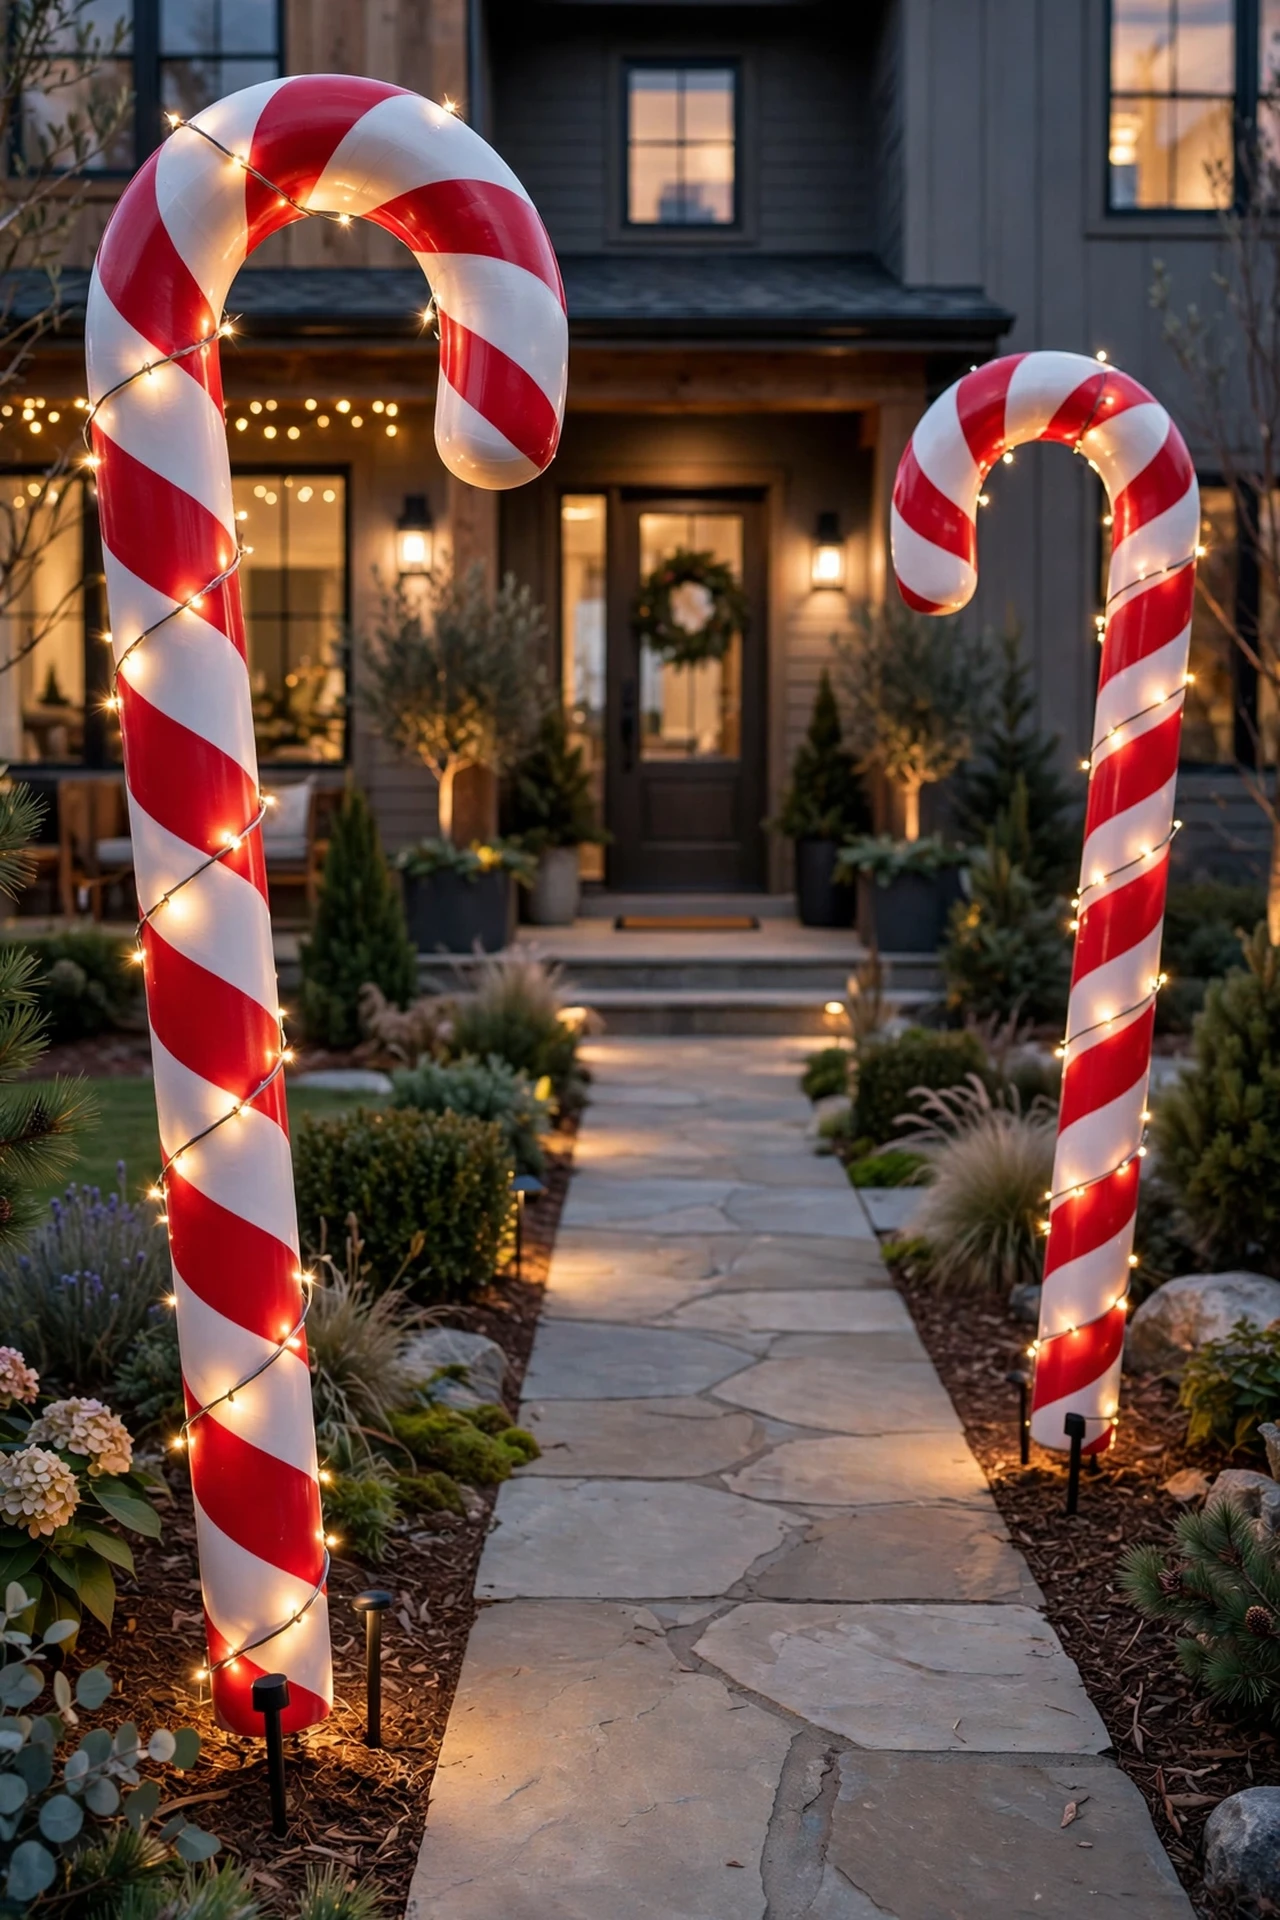
Large candy cane yard stakes, made from bent PVC pipe wrapped in red and white tape or ribbon, are one of the cheapest ways to add a tall, colorful, classic holiday shape to a front yard. Bend a length of PVC pipe using gentle heat, like a heat gun or careful hot water treatment, into a candy cane curve, then wrap the full length in alternating red and white outdoor tape or weatherproof ribbon. Stake pairs of candy canes flanking the front walkway, mailbox post, or driveway entrance for a classic, symmetrical look that reads clearly from the street. Adding a small strand of lights spiraled alongside the tape gives the canes a soft glow after dark to match the rest of the display. This project can be completed for just a few dollars per cane, since PVC pipe and tape are both inexpensive materials sold in bulk at most hardware stores.
Layered Dollar Store Garland
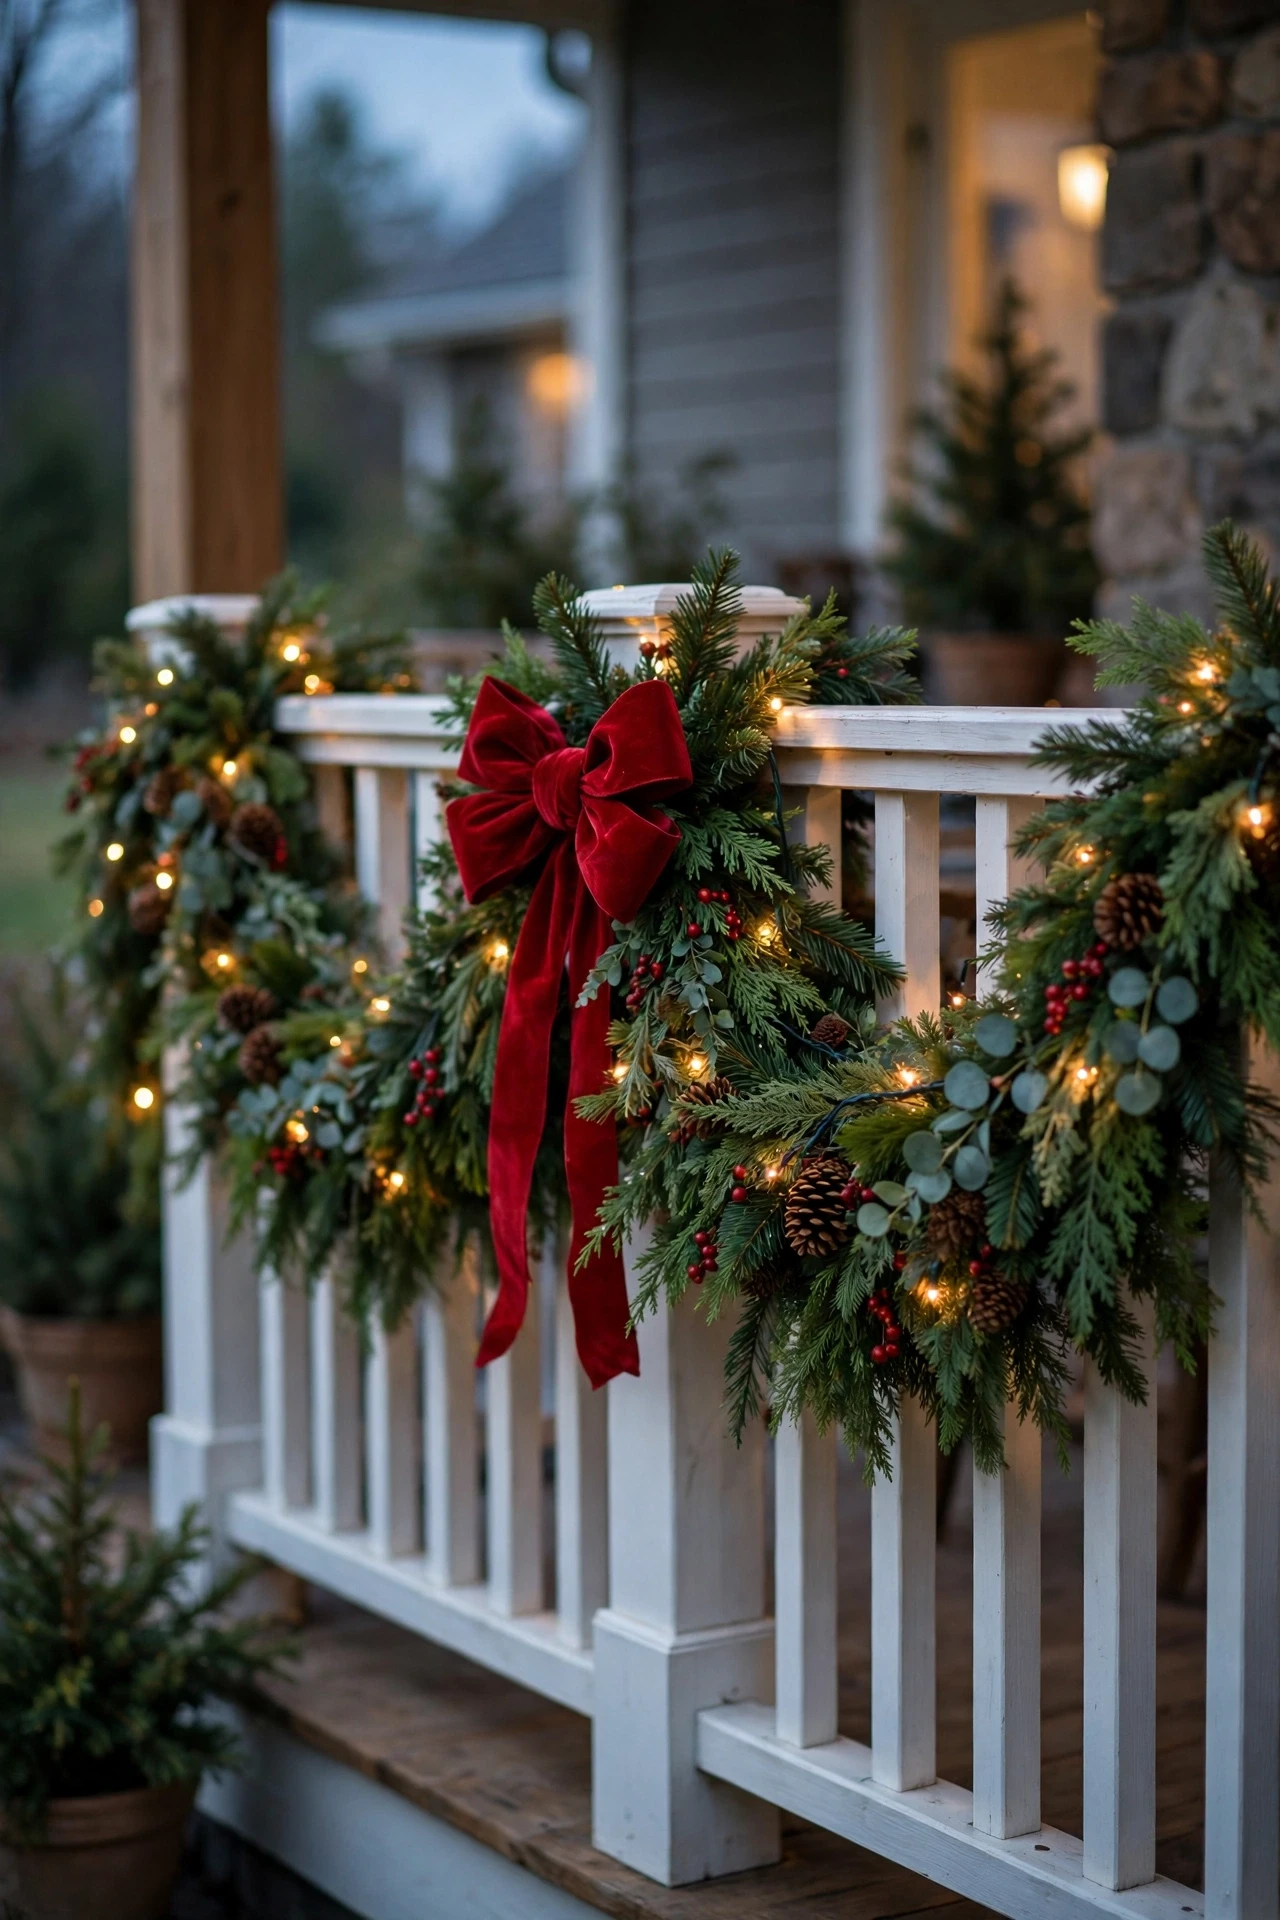
Thin dollar store faux garland strands can look flat and sparse on their own, but layering three to five strands together instantly creates the fuller, more expensive look of a premium garland at a fraction of the price. Twist the strands together with floral wire or zip ties as you hang them along a railing, doorframe, or fence line, fluffing the branches outward as you go to hide any gaps. Tuck in a few extra elements, like faux eucalyptus picks, small pinecones, or berry stems, every foot or so to add texture and make the layered strands look more intentional and varied. Weave a strand of warm white fairy lights through the finished garland, tucking the battery pack out of sight behind a bow or thicker section of greenery. A single oversized bow at the center or one end pulls the whole layered garland together and gives it a clear focal point.
Oversized Dollar Store Ornament Planters
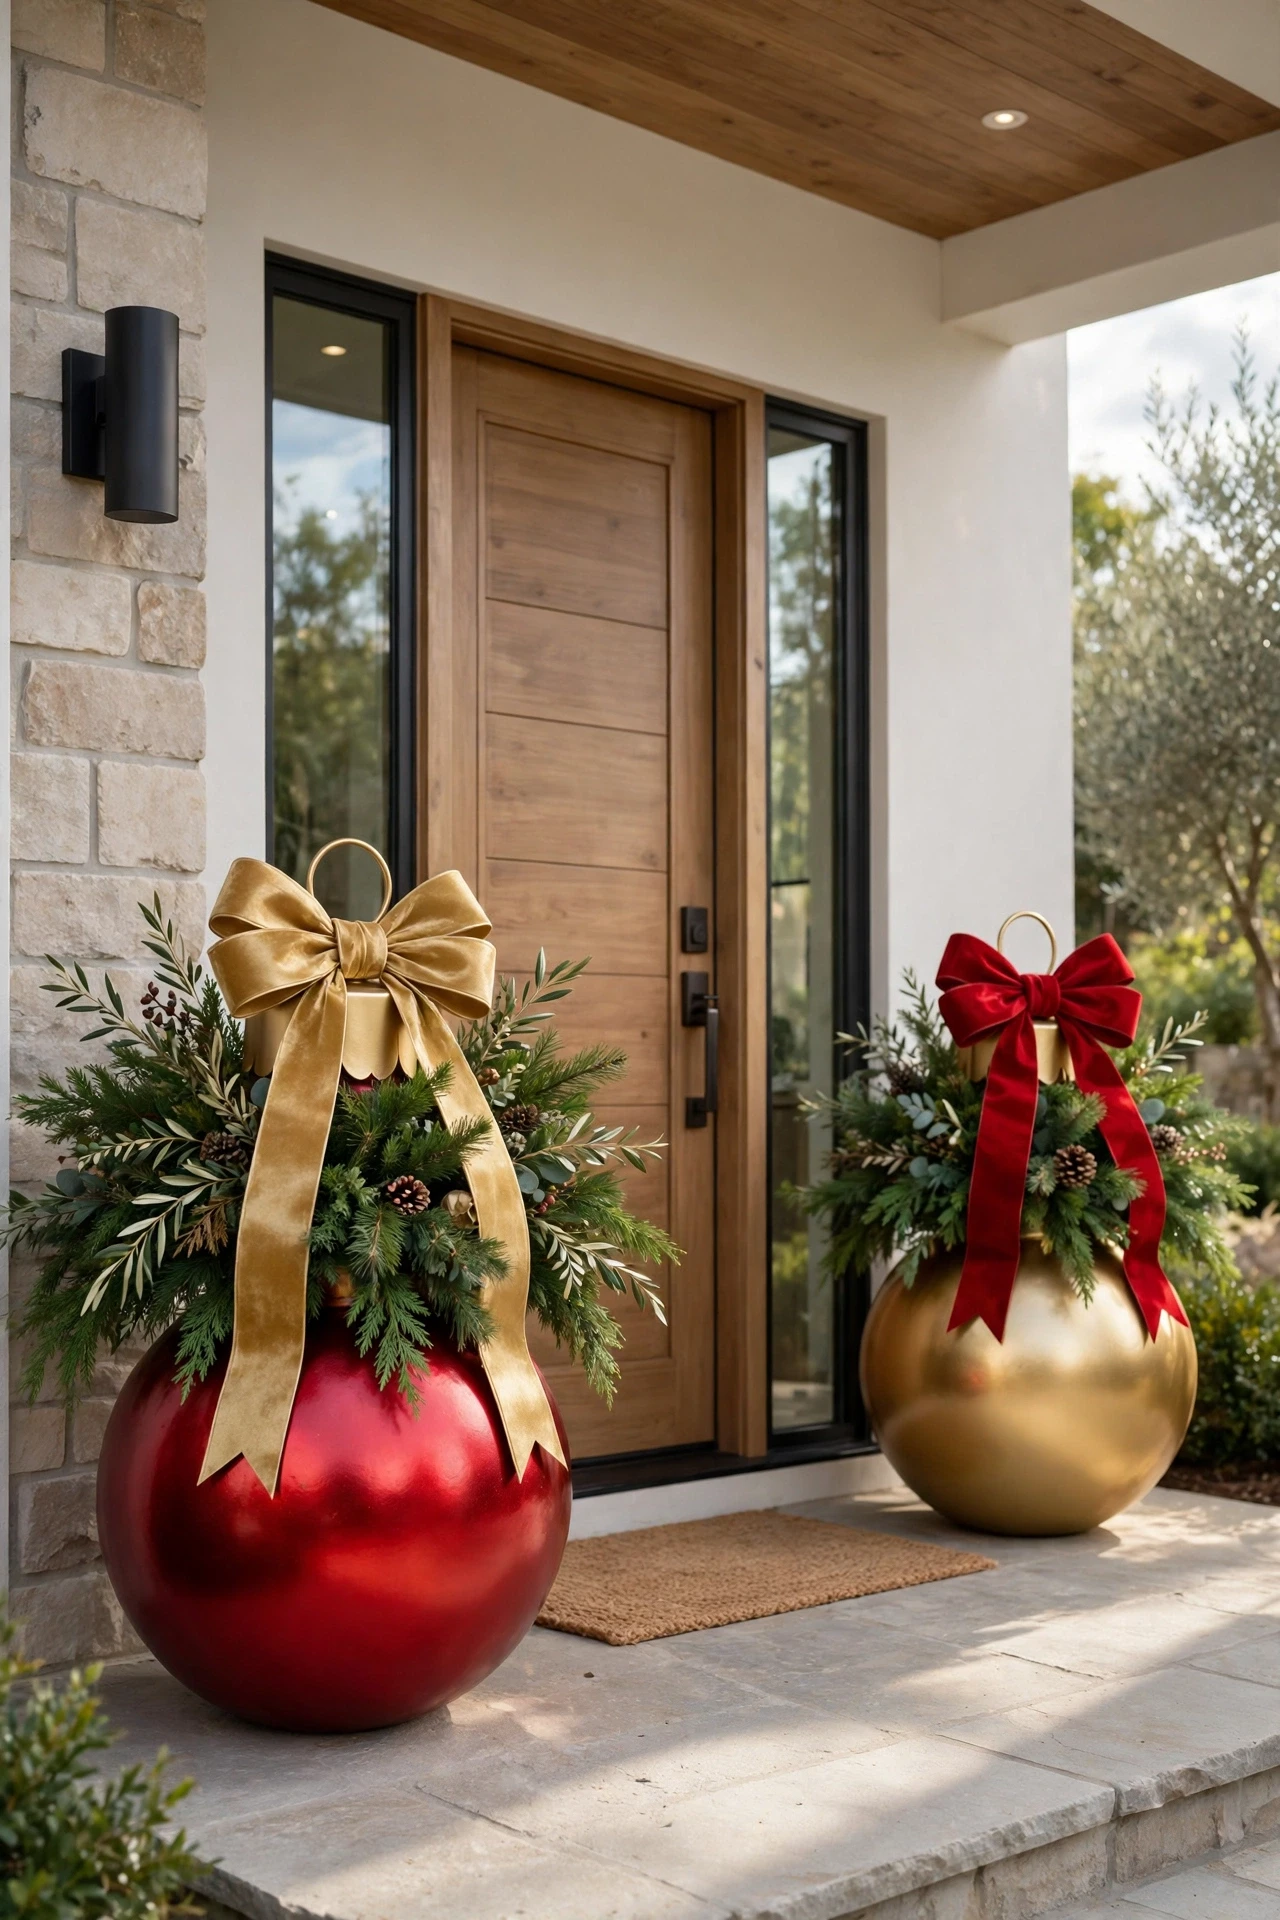
Turning plain outdoor planters into giant ornament shapes is a bold, low-cost trick that transforms an already-existing pot into a statement piece without buying any new decor. Paint an empty plastic or resin planter in a single bold ornament color, like red, gold, or silver, then add a wide ribbon cap and small loop at the top to complete the ornament illusion. Group two or three in graduated sizes near the front door or along a walkway for a display that reads as a coordinated, oversized ornament collection. This idea also works well using planters you may already own and simply want to repurpose for the season, since only paint and a small amount of ribbon or trim are needed. Adding a single strand of lights wrapped around each ornament planter gives the display a soft glow that matches the rest of the yard after dark.
Thrifted Sled or Skis Yard Art
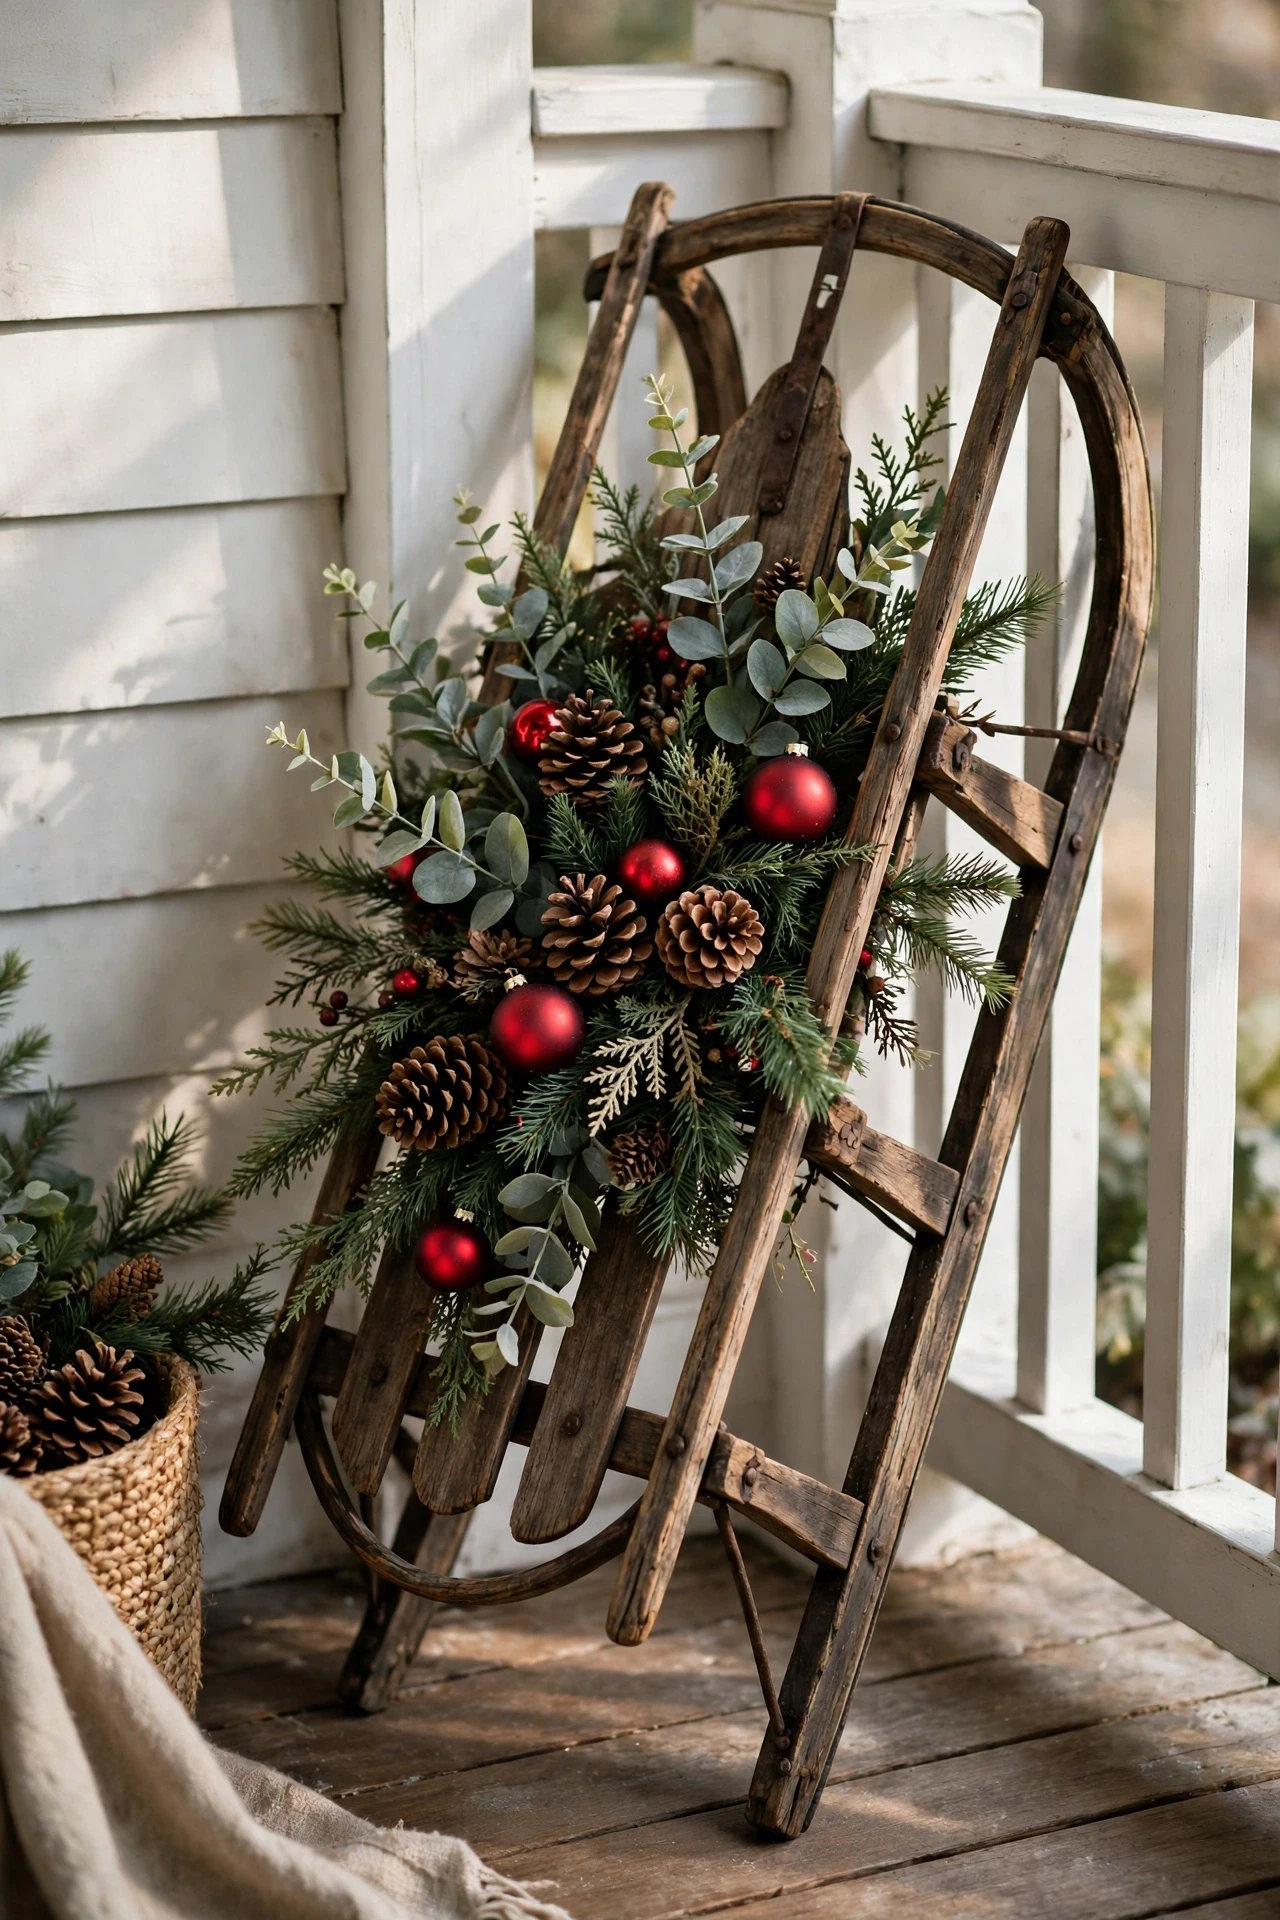
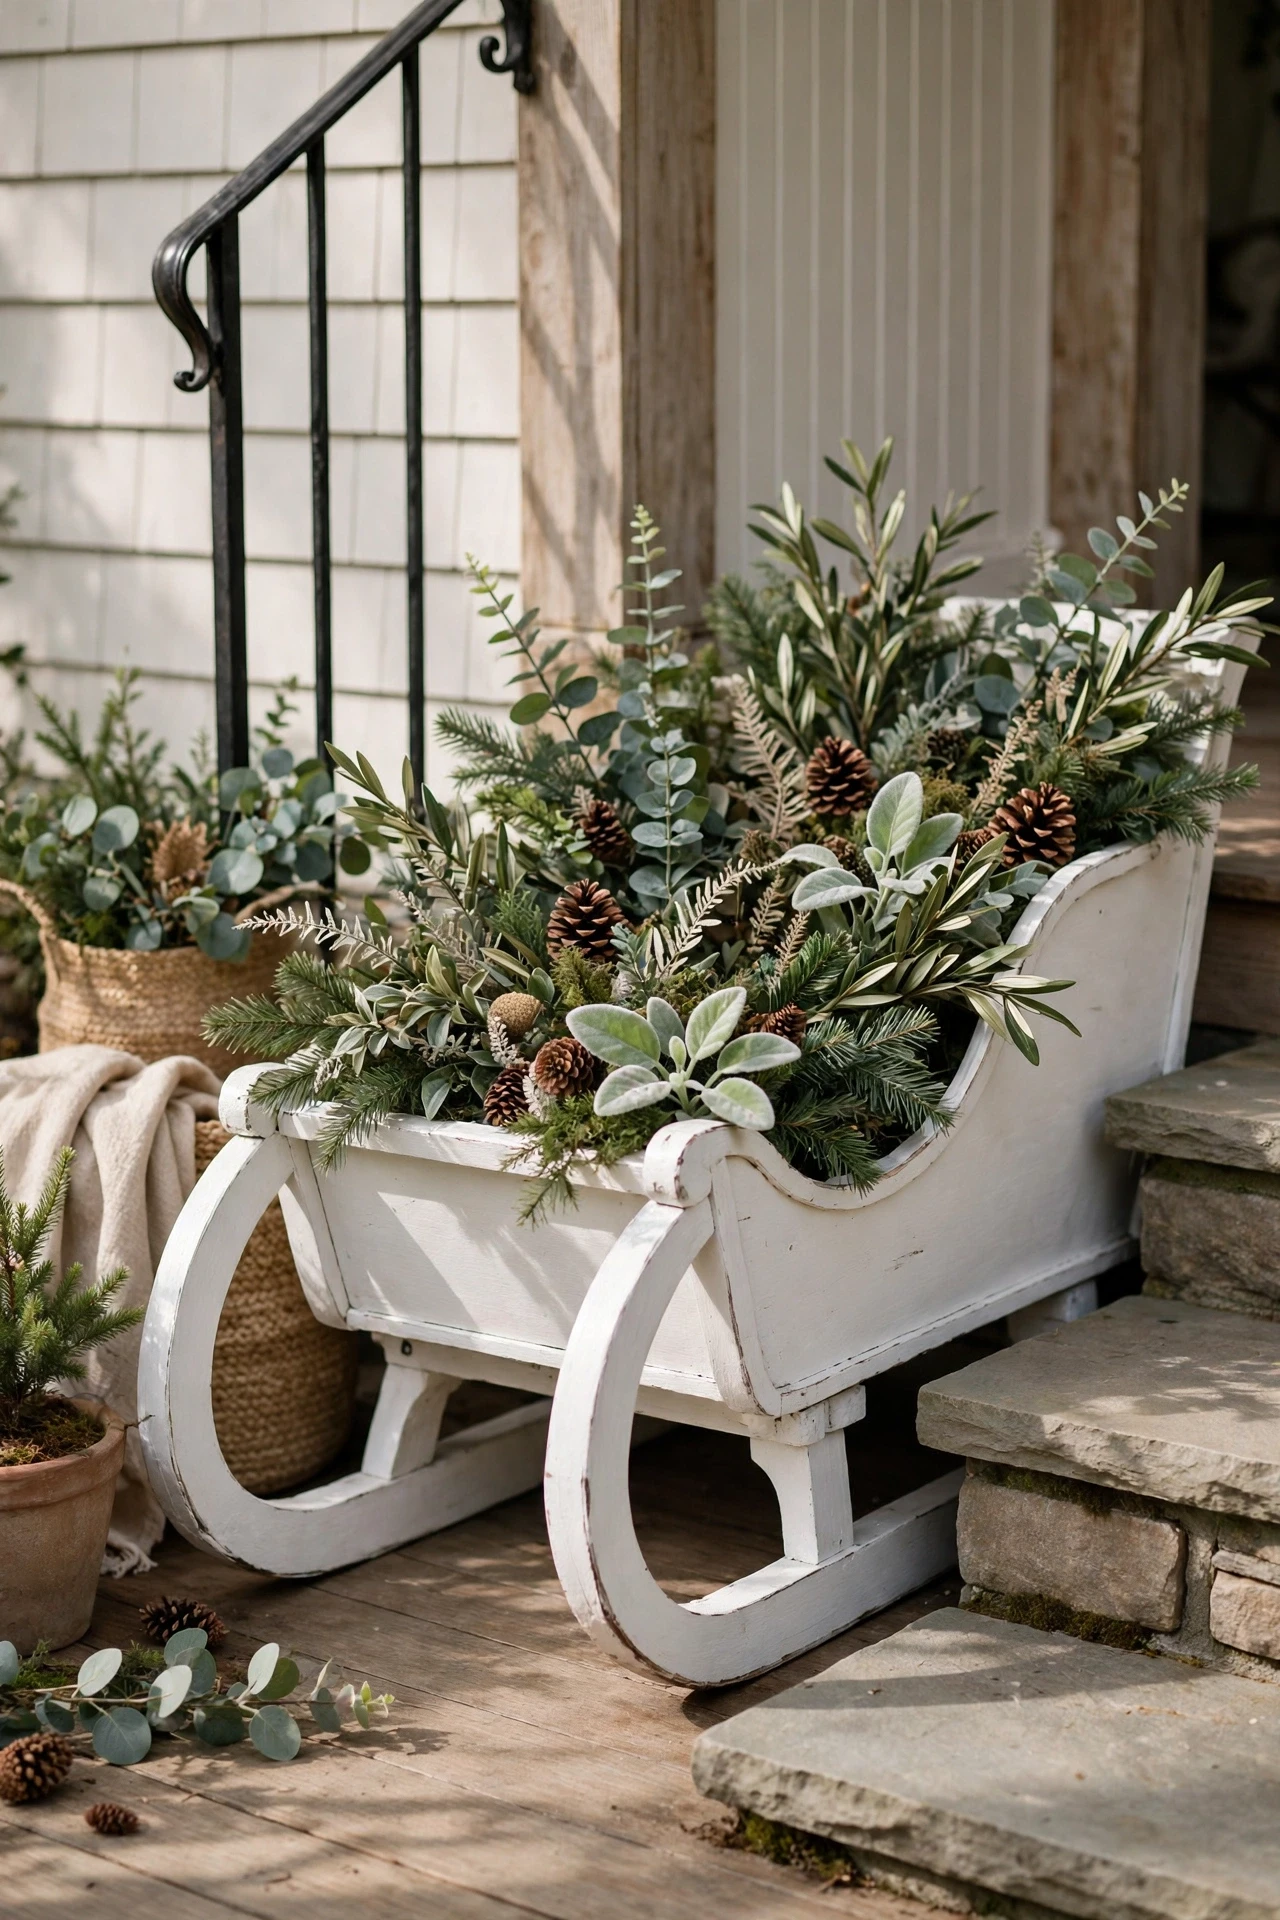
A secondhand wooden sled or a pair of old skis, found at a thrift store or garage sale, makes charming, ready-made yard art that needs almost no additional styling to look intentional and collected. Lean a sled against the porch railing or a tree, then fill it with a simple arrangement of faux greenery, pinecones, and a few oversized ornaments for an instant, styled vignette. Cross a pair of skis and lean them against the house or a fence post, tying a small bow or sprig of greenery where they cross for a subtle finishing detail. Both options work especially well for a more rustic, cabin-inspired Christmas look, and both tend to be priced very low secondhand since they are considered old or out of use by most sellers. This is one of the fastest ideas on this list to execute, since it requires almost no building or assembly beyond simple styling.
Ribbon and Bow Accents on Lamppost and Mailbox
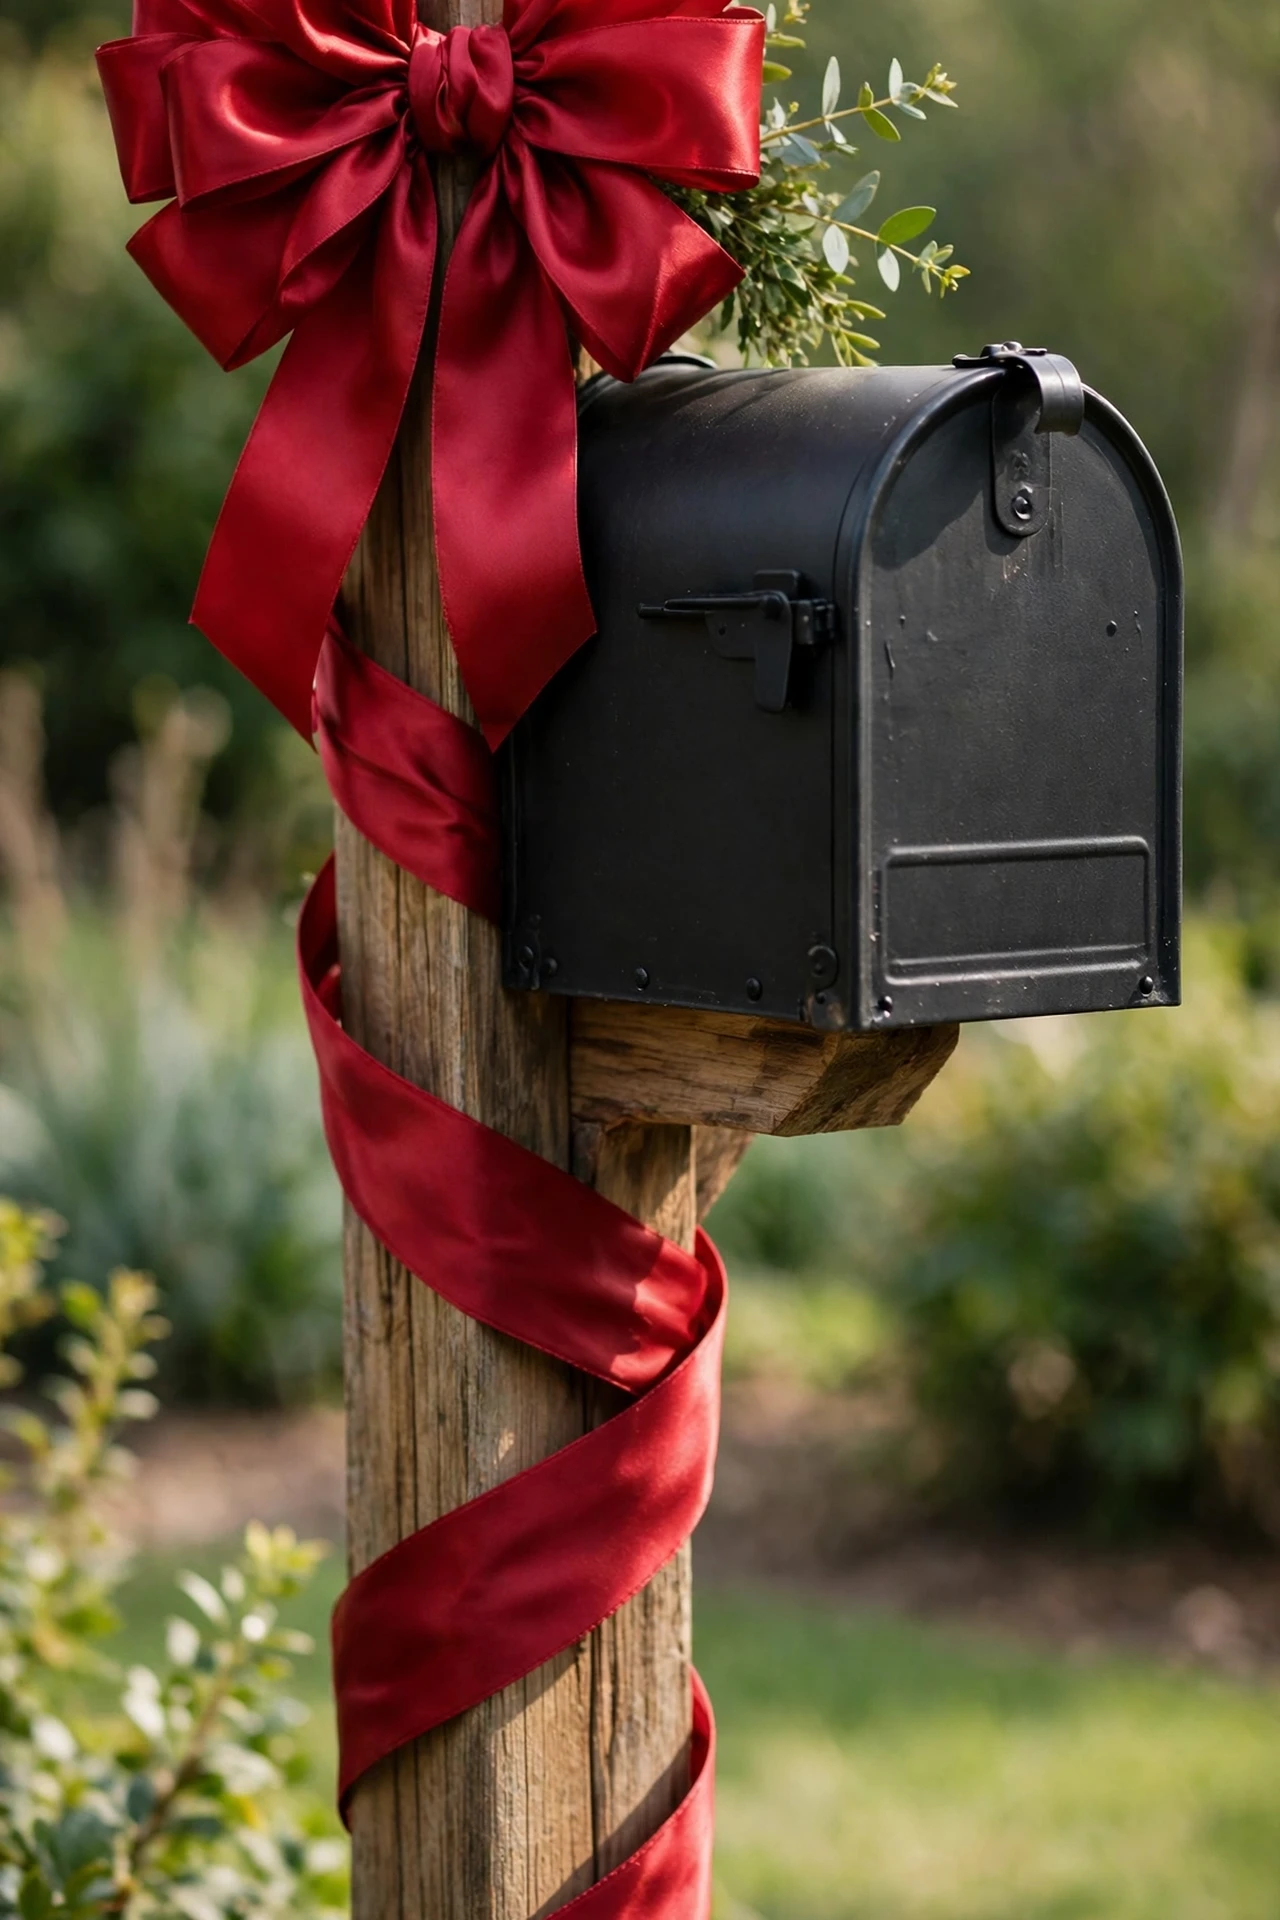
Simple wide ribbon wrapped around a lamppost or mailbox post, finished with a large bow, is one of the lowest-cost and fastest updates on this entire list, since it requires only a few yards of ribbon. Choose a wide, weatherproof ribbon, at least two and a half inches, since thin ribbon tends to look sparse and can shift or fray quickly outdoors. Wrap the ribbon in a loose spiral from top to bottom, securing the ends with floral wire or hot glue rather than tape, which does not hold up well in cold or wet weather. Tie a generous bow at the top of the post, using at least a full yard of ribbon for the bow itself so it reads as full and finished rather than thin and limp. This small detail draws the eye to structural elements of the yard that would otherwise go completely undecorated, and it pairs well with almost every other idea on this list.
DIY String Light Canopy
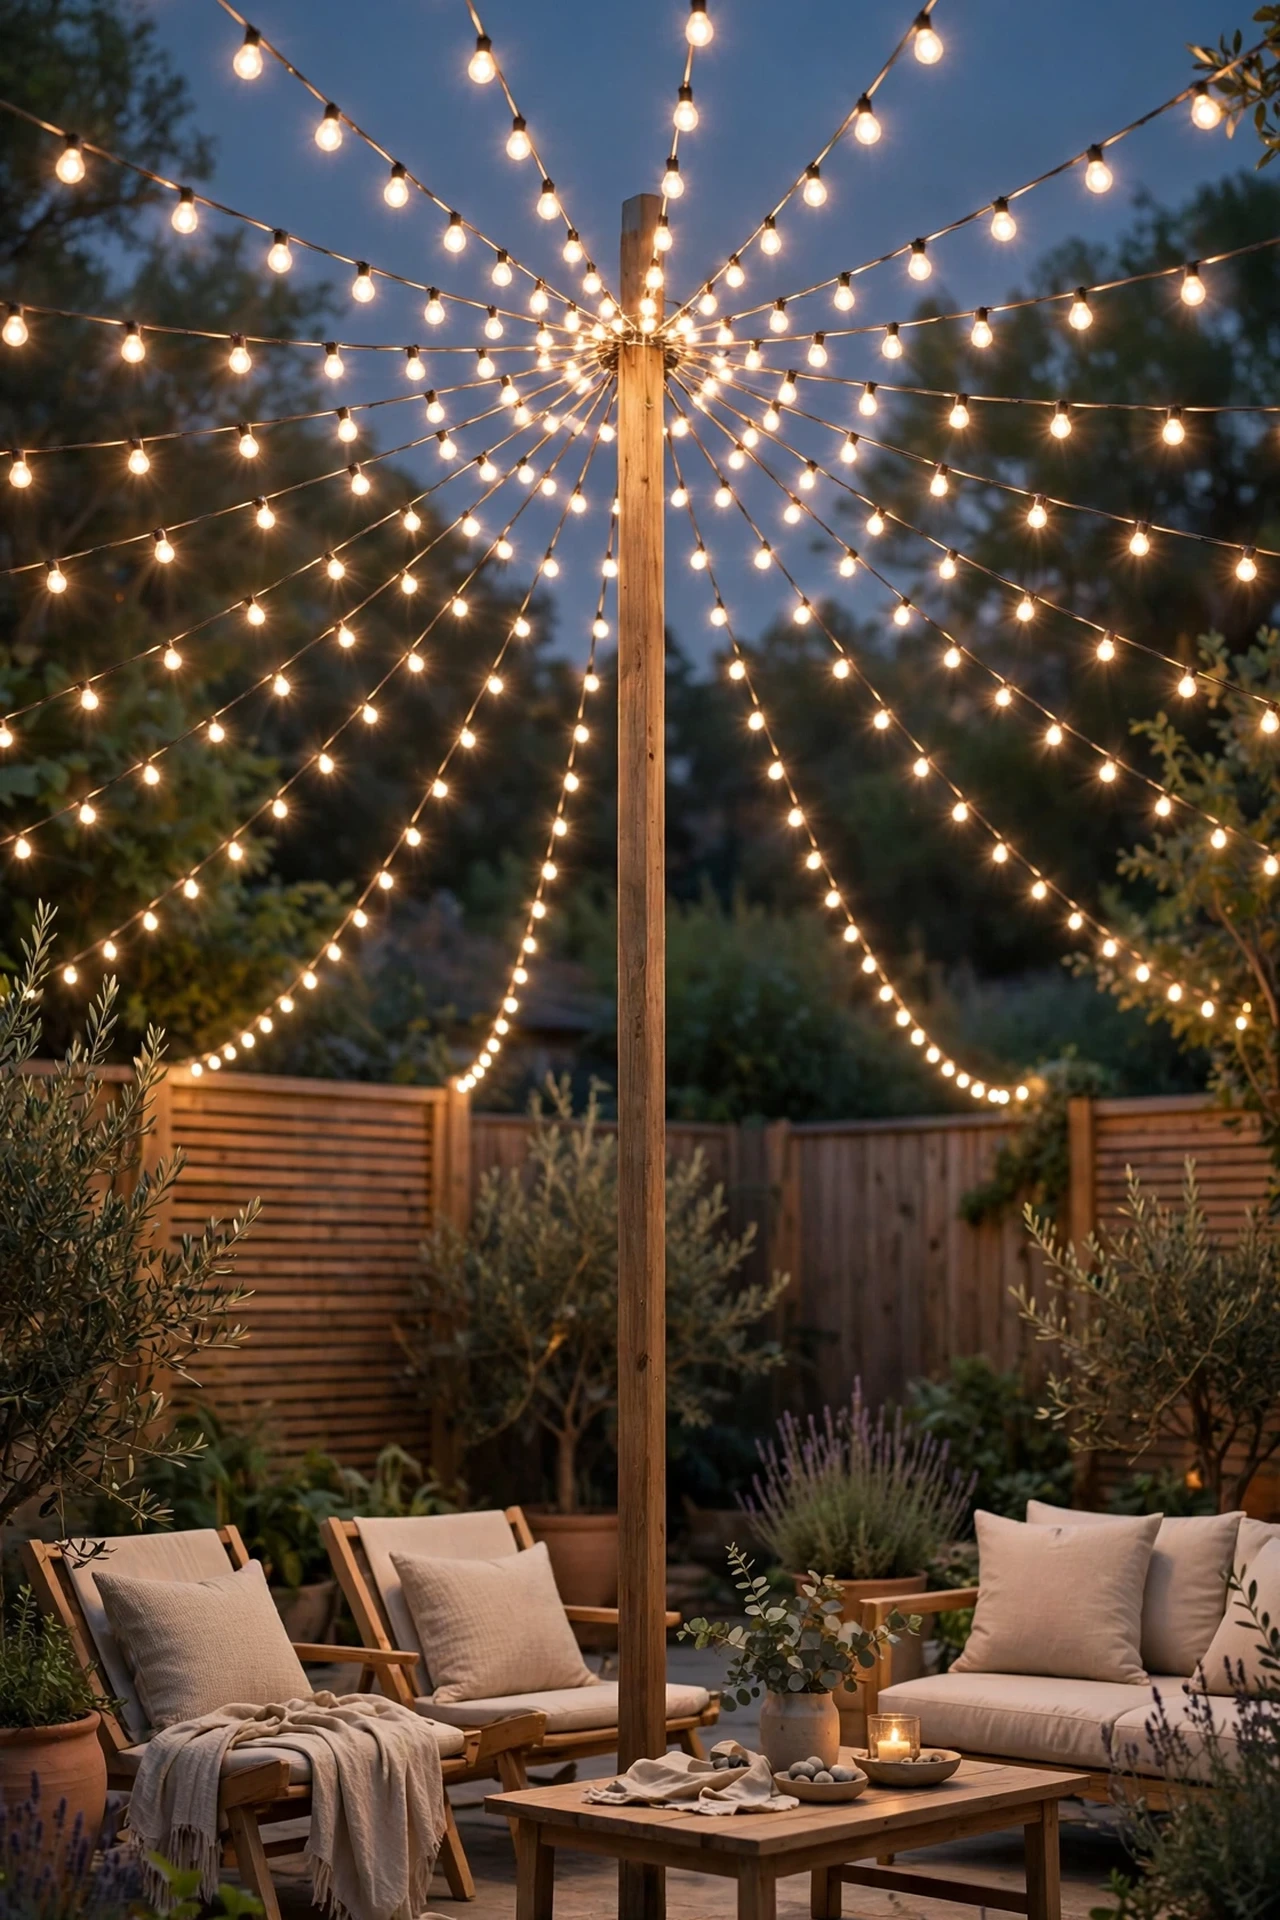
A canopy of string lights stretched across a patio, backyard seating area, or driveway turns an ordinary outdoor space into a genuine holiday gathering spot using lights you may already own or can buy in bulk cheaply. Run lights from a central point, like a pole or tree branch, out to several anchor points around the perimeter of the space, creating a starburst or umbrella pattern overhead. Use string light hooks or cup hooks screwed into fascia boards or fence posts as secure, reusable anchor points rather than nails, which can damage siding and are harder to remove cleanly. This project scales easily to any budget, since a small patio canopy might use only two or three light strands while a larger backyard version can use considerably more without needing any other decor at all. The canopy effect photographs beautifully after dark and creates a genuinely usable outdoor space for holiday gatherings, not just a passive display.
Giant DIY Outdoor Present Boxes
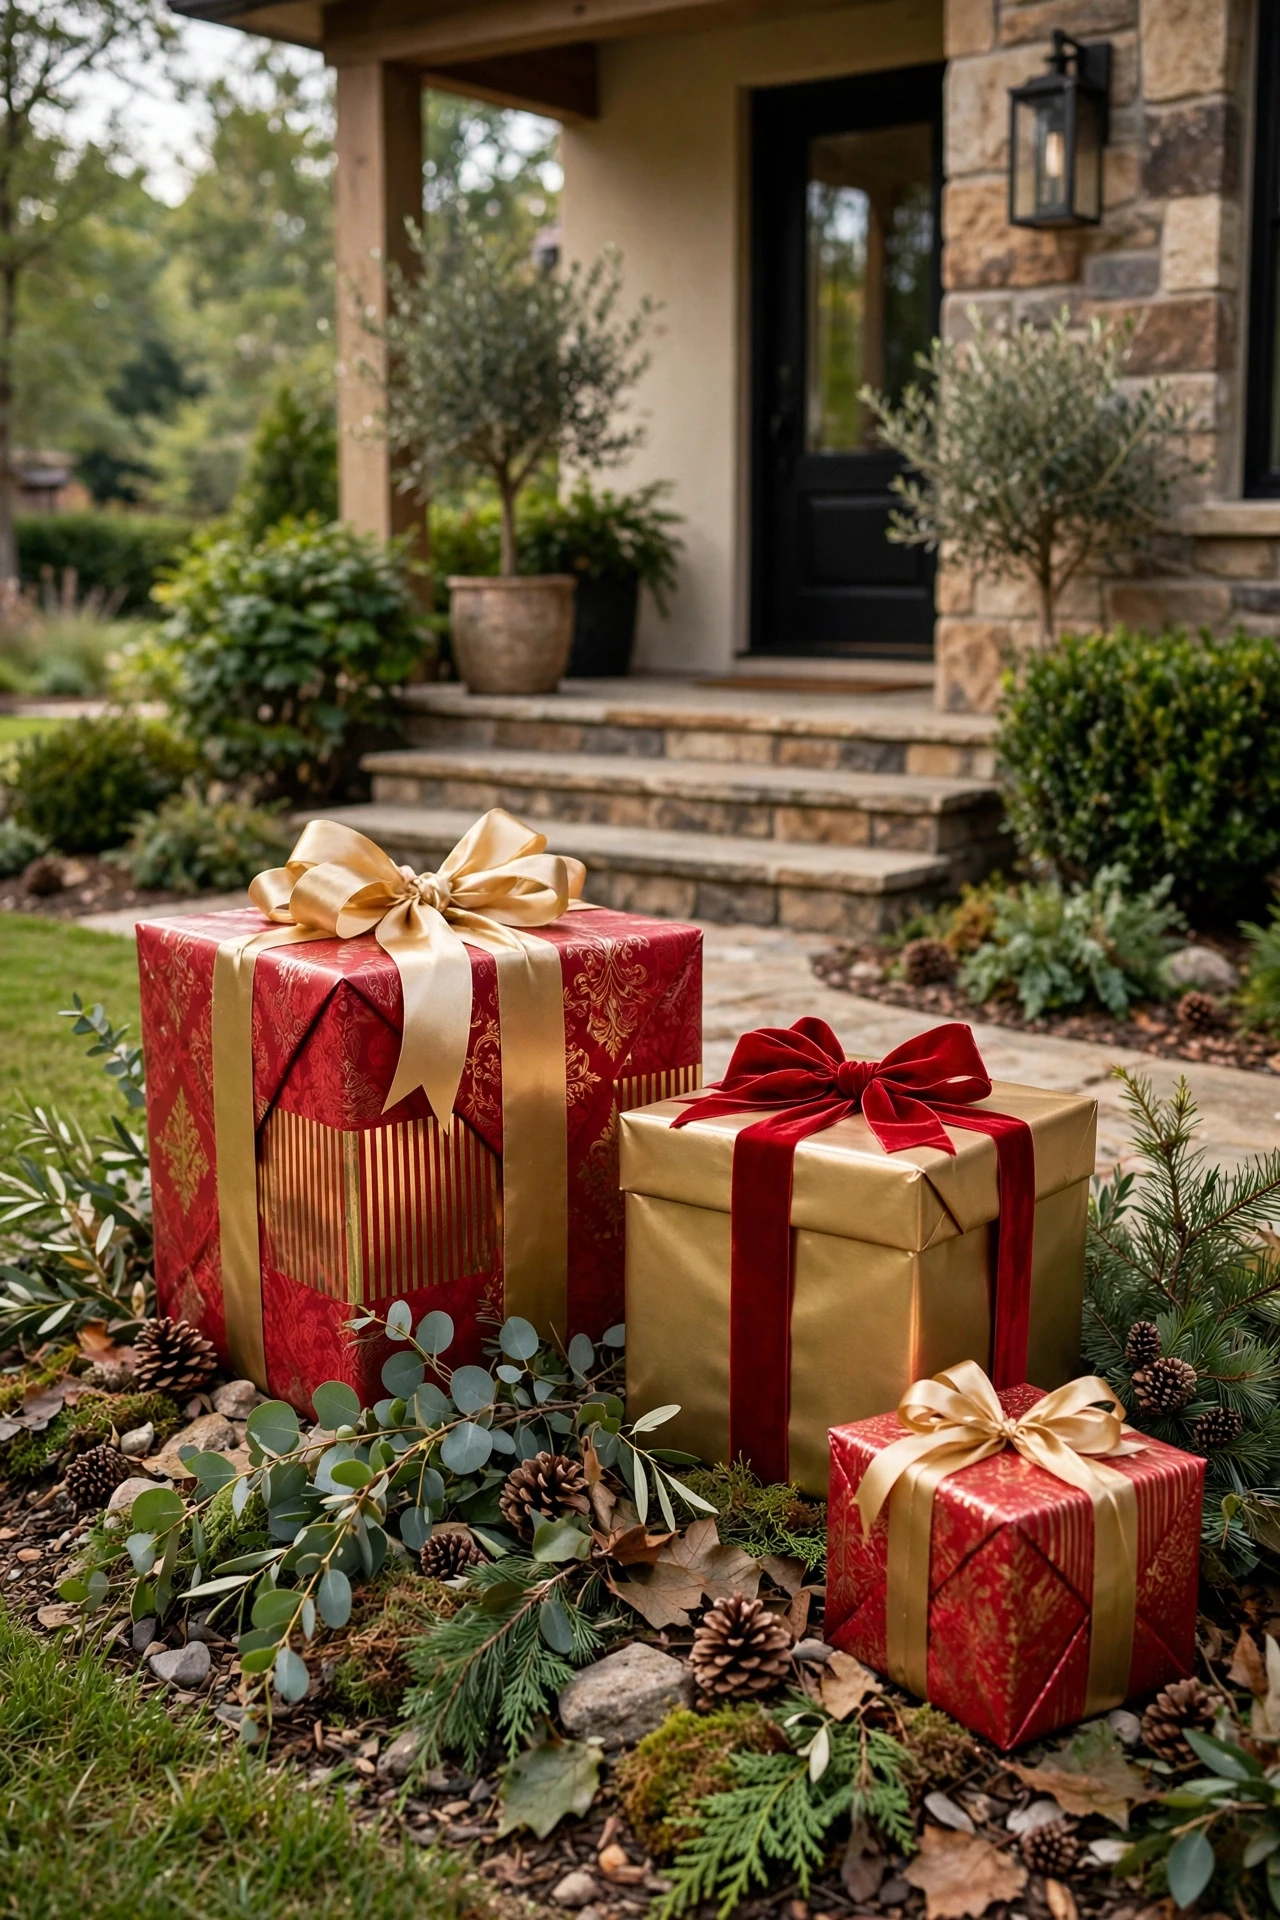
Oversized present boxes, built from plywood or foam board and wrapped like real gifts, create a fun, photogenic focal point for a front yard using inexpensive building materials and leftover wrapping paper. Build simple cube shapes from plywood or thick foam insulation board, then wrap each box like an actual present using outdoor-rated or laminated wrapping paper and wide ribbon to prevent damage from rain or snow. Stack two or three boxes in graduated sizes near the front door or at the base of a tree for a display that reads as a cheerful pile of gifts waiting to be opened. Choose bold, simple wrapping paper patterns rather than intricate designs, since simple patterns read more clearly from the street and hold up better against weather exposure. This project can be rebuilt with new paper each year using the same base boxes, making the upfront building cost a one-time investment that pays off over several holiday seasons.
Dollar Store Bowl Hanging Light Fixtures
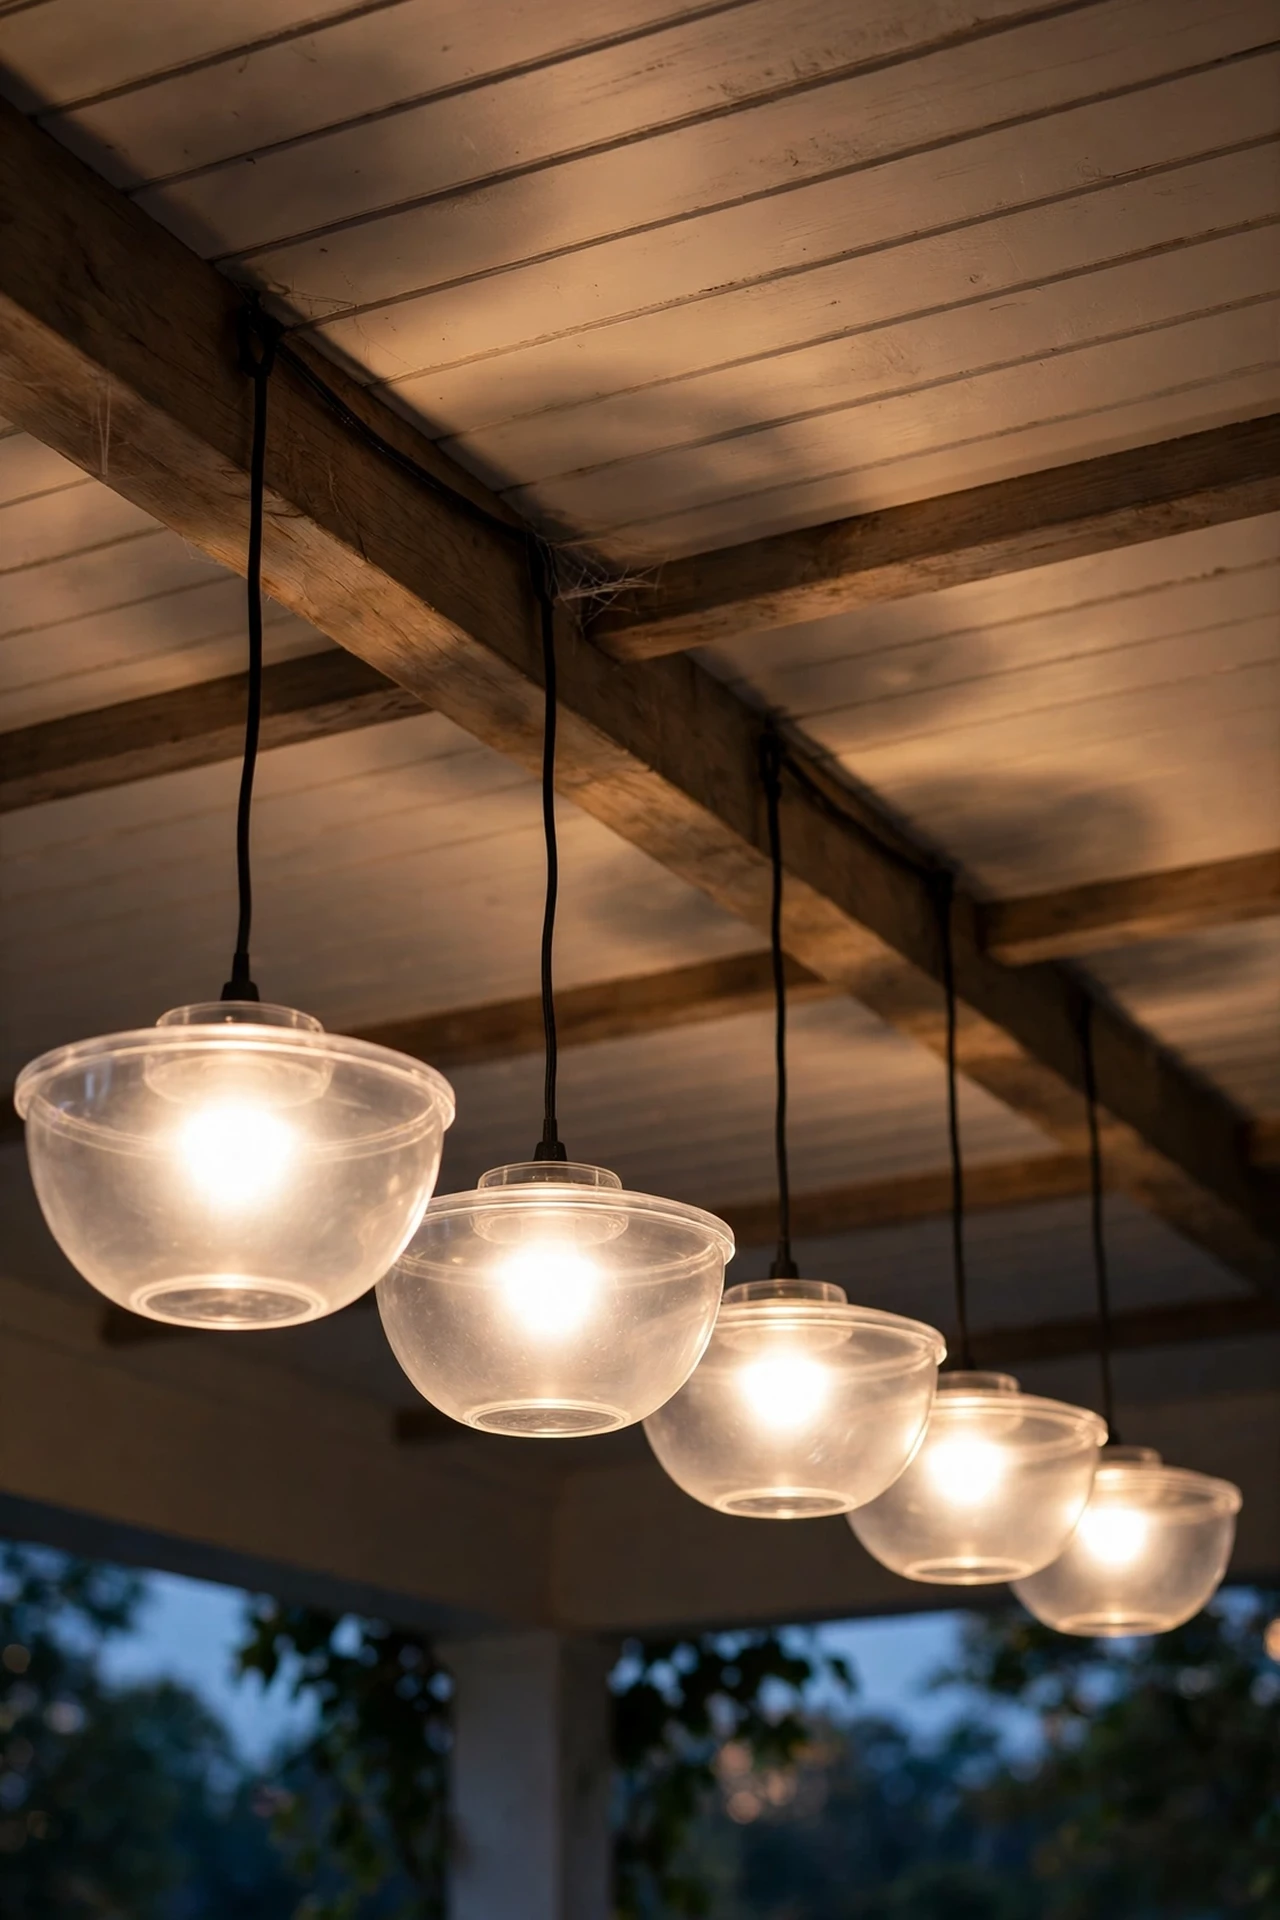
Clear plastic bowls from the dollar store, drilled and fitted with string lights, can be stacked and hung to create a surprisingly elegant, oversized ornament-style light fixture for a porch or tree branch. Drill a small hole in the center of two bowls of different sizes, thread a string light strand through both, and secure them together facing outward like a sphere, using a shower curtain hook or wire loop at the top for hanging. Space several of these fixtures along a porch ceiling or from tree branches for a repeated, cohesive lighting element that looks custom-made rather than assembled from a dollar store trip. These fixtures work especially well with warm white or soft blue lights, since the plastic bowls diffuse the light into a soft glow rather than a harsh point source. This is one of the most viral budget hacks in recent years precisely because the finished look reads as far more expensive than the handful of dollars spent on materials.
Stackable Mini Tree Clusters
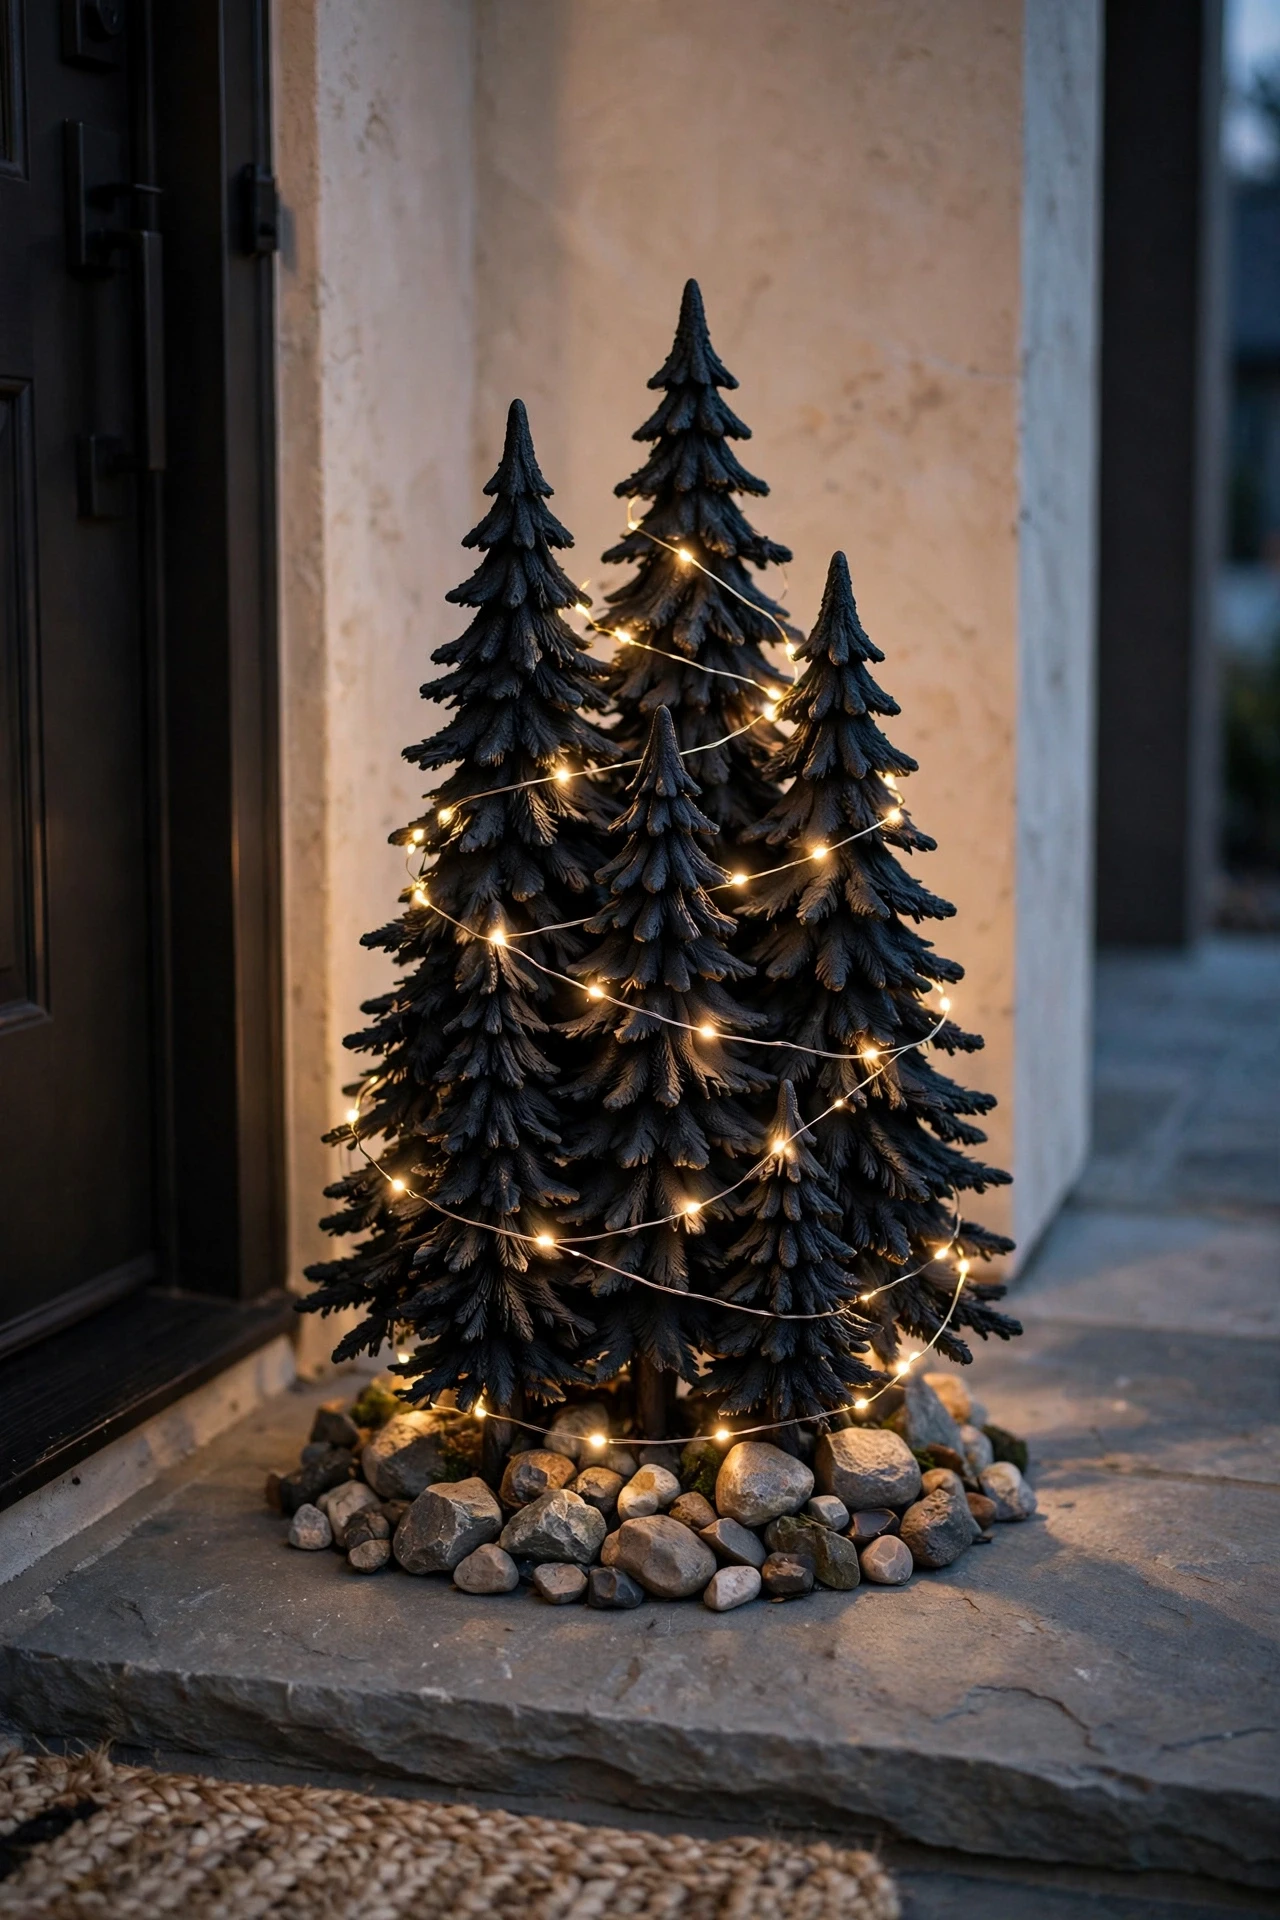
Small stackable plastic trees from the dollar store, spray painted a single bold color like matte black, white, or metallic gold, make an unexpectedly elevated cluster display when grouped by height near a front entry. Assemble several small trees according to their interlocking design, then spray paint each one in the same finish for a cohesive, designer-looking set rather than a mismatched collection of cheap trees. Arrange them in a loose triangular cluster of varying heights near the door, securing taller ones with a few small rocks or stakes if the yard is prone to wind. Wrap a single strand of lights around the whole cluster rather than each individual tree, which ties the group together visually and saves on the number of light strands needed. This idea works particularly well for smaller entryways or apartment patios where a single, larger tree display would not fit.
Solar-Powered Pathway Lights
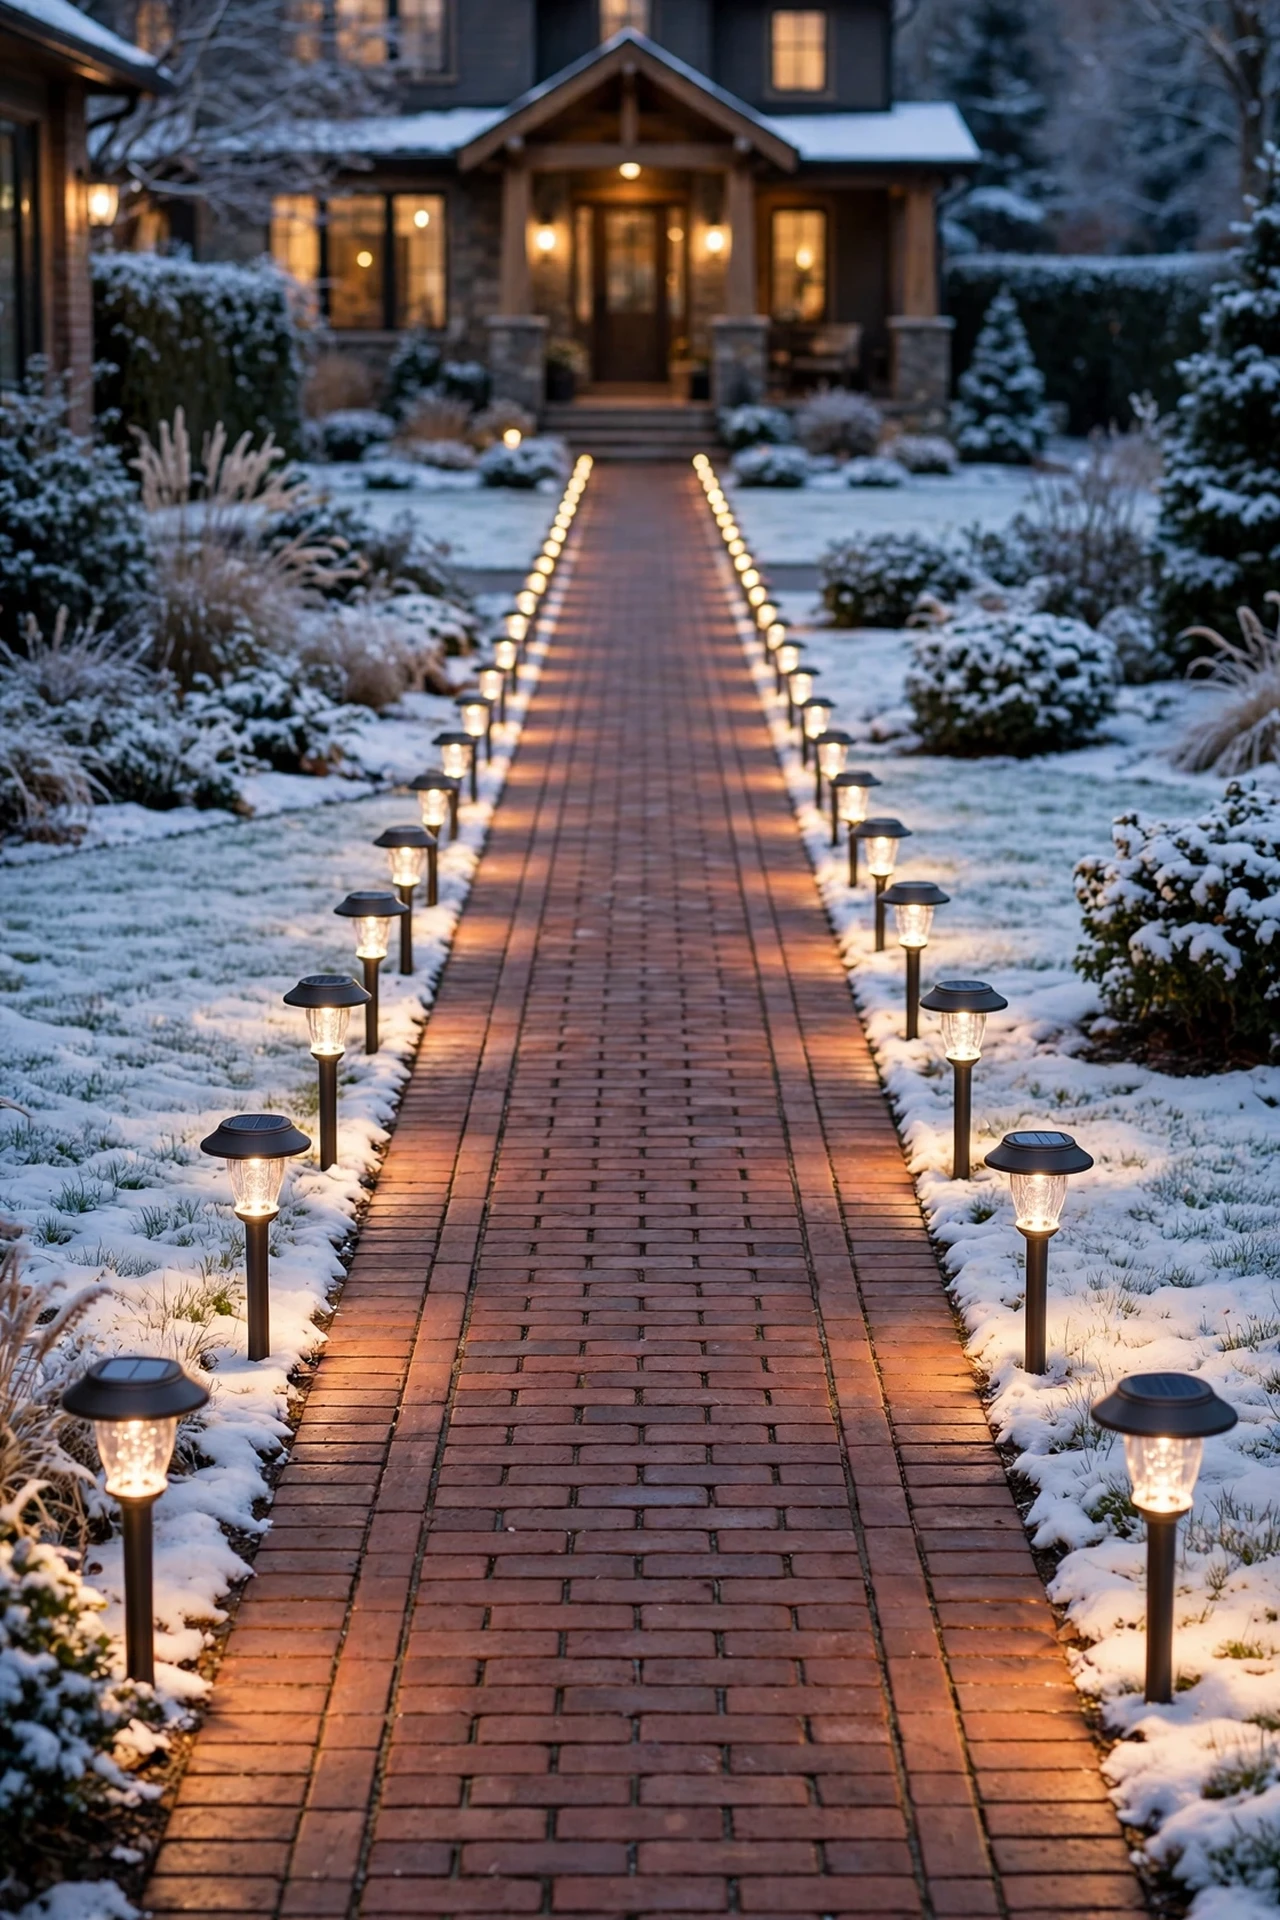
Solar-powered stake lights along a front walkway or driveway edge are one of the most cost-effective long-term lighting choices for a budget Christmas display, since they use no electricity and require no cords once installed. Choose warm white solar lights over cool blue or multicolor options for a more classic, elegant holiday look that also blends naturally into non-holiday yard lighting after the season ends. Space them evenly, roughly every two to three feet, along the edge of a walkway, driveway, or garden bed for a clean, consistent line of light after dark. Because solar lights charge during the day and run automatically at night, they also eliminate the need for extension cords running across the yard, which improves both the look and the safety of the display. This is one of the few ideas on this list with a genuine ongoing cost savings, since there is no added electricity bill for running these lights nightly throughout the season.
Bottle Brush Tree Forest Display
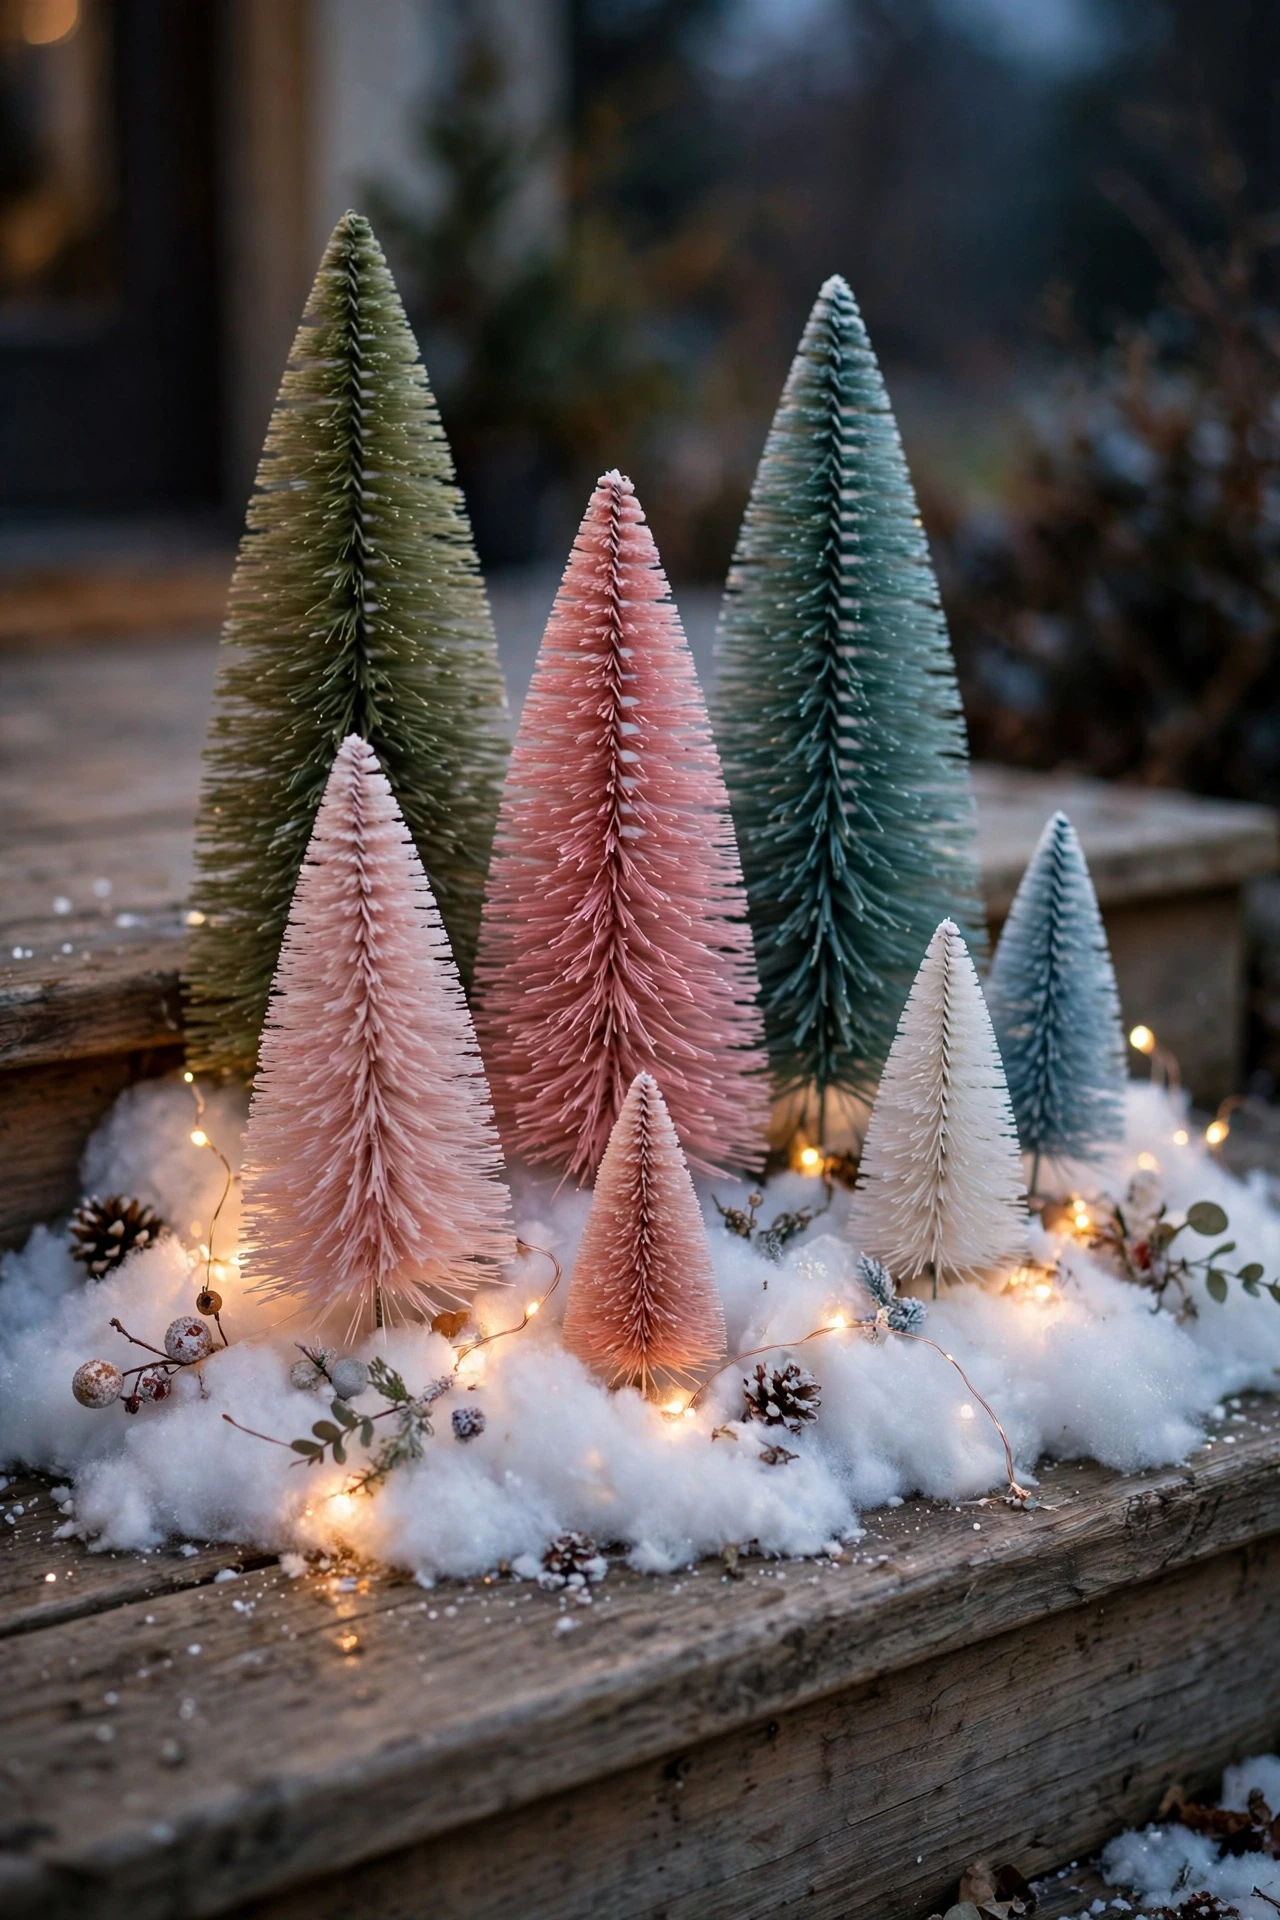
A cluster of small bottle brush trees, sold cheaply at most dollar and craft stores, creates a charming miniature forest display when grouped by height and color on a porch step, window ledge, or entry table. Arrange the trees in a loose, uneven cluster rather than a straight line, mixing a few different heights and colors like classic green, white, and red for visual variety. Hide the base of the display with a bit of faux snow batting or white fabric scraps, which gives the whole arrangement a finished, cohesive look without needing an actual container or planter. Tuck a few battery-operated fairy lights into the base of the cluster for a soft glow that shows up nicely after dark on a porch or entryway. This is one of the most affordable and beginner-friendly ideas on this list, since it requires no building, cutting, or painting at all, only simple arranging.
Related: 23 Christmas Centerpieces for Every Style of Table For a Home That Feels Festive All Season
Garage Sale and Thrift Store Finds Refreshed with Paint
Garage sales, thrift stores, and end-of-season clearance racks are reliable sources for holiday decor that only needs a coat of paint or a small repair to look brand new again. Look specifically for solid wood pieces, like old nutcrackers, wood sleighs, or wooden yard signs, since wood holds paint well and tends to be sturdier for repeated outdoor use than plastic or foam decorations. A simple color refresh, like updating a faded red sleigh to a trendier matte black or white finish, can make a secondhand piece look intentionally chosen rather than simply old. Check any secondhand lights or electrical decorations carefully before using them outdoors, since older cords and bulbs may not meet current safety standards for exterior use. Building a collection slowly over several seasons of thrifting, rather than trying to complete a full yard display in one shopping trip, tends to produce a more interesting and personal display over time.
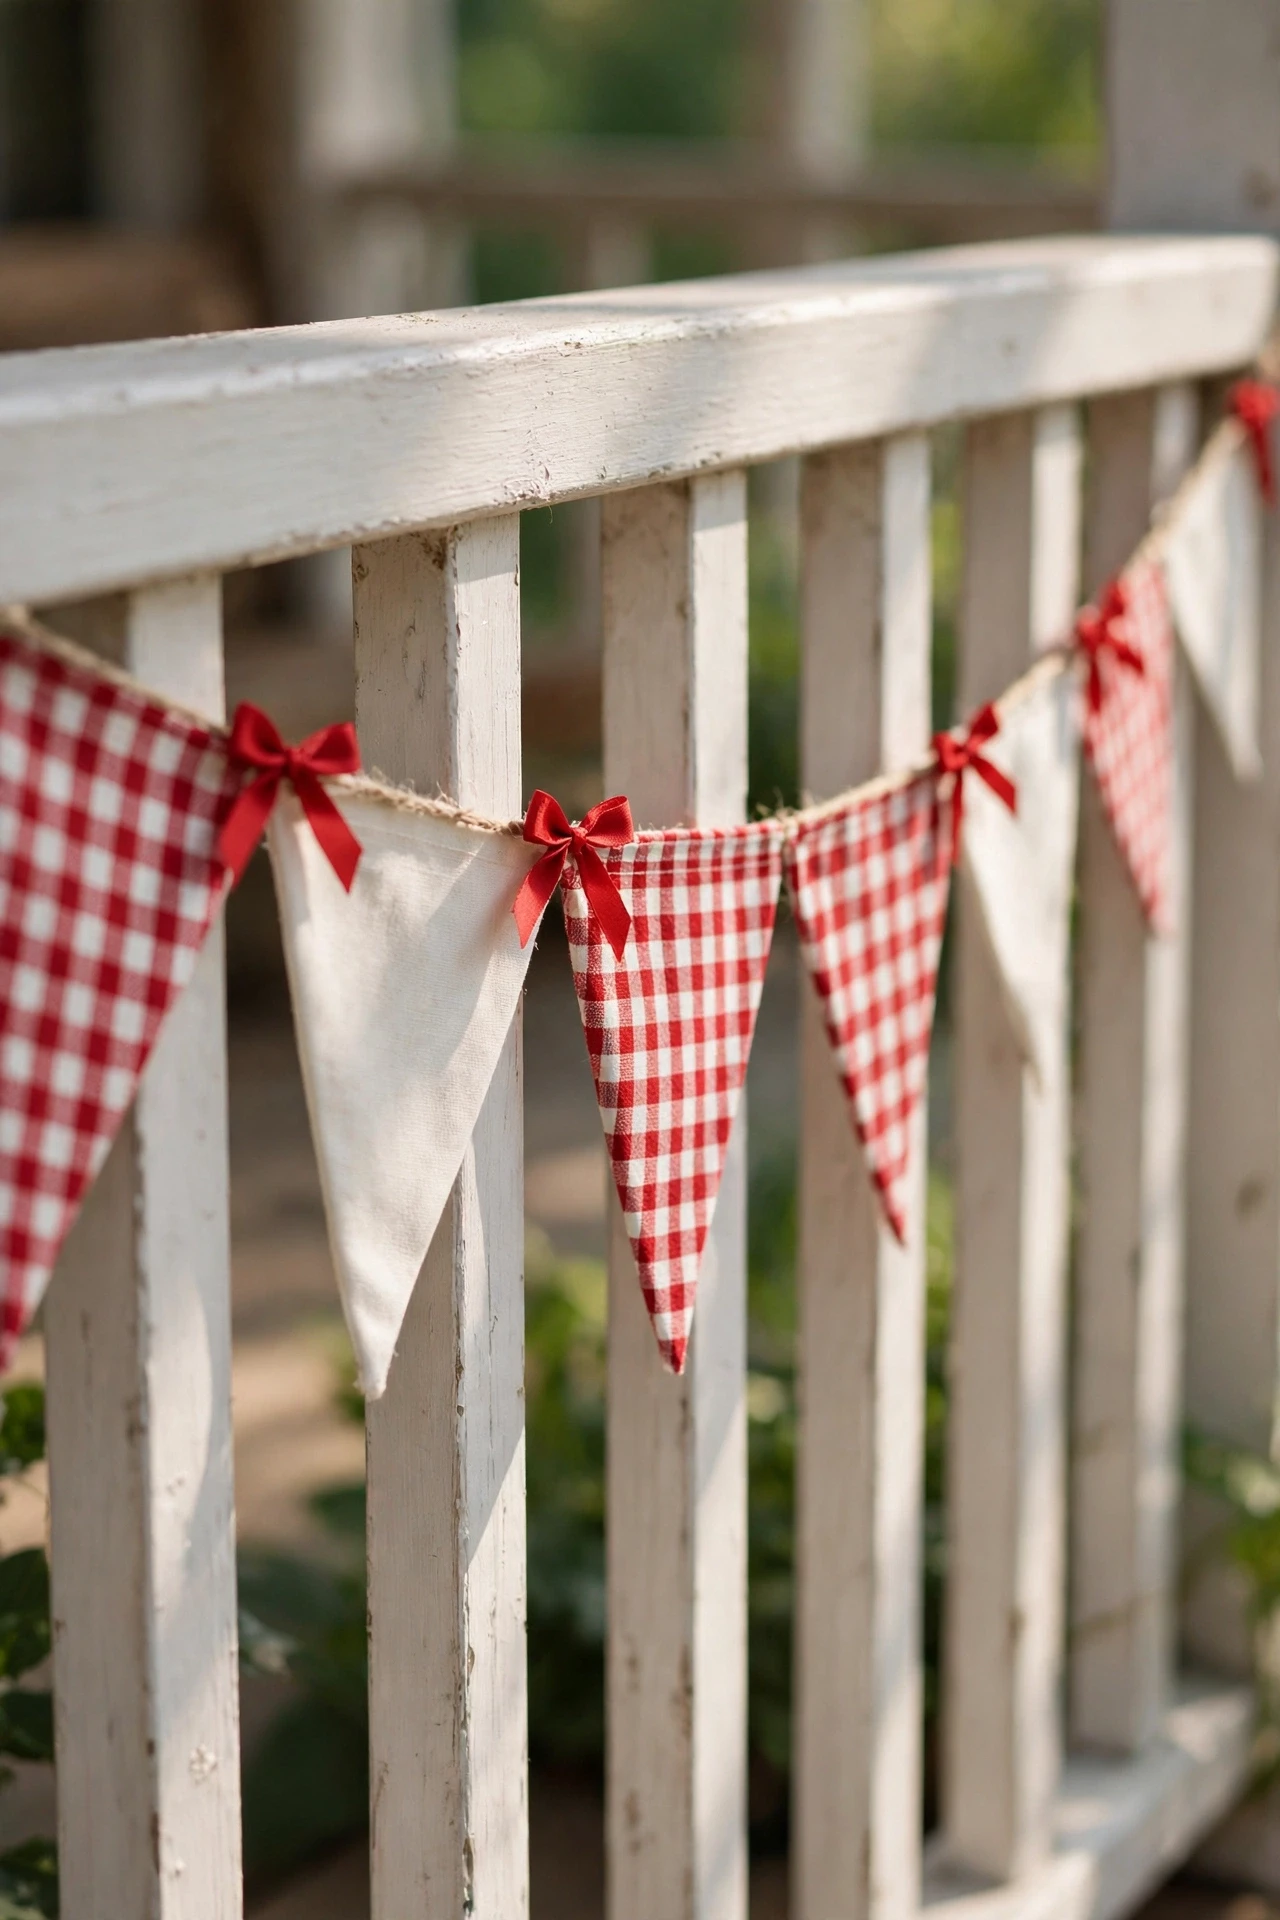
Simple Red and White Color Scheme Ribbon Bunting
Committing to a single simple color scheme, like classic red and white, across every element of a yard display is one of the most effective and least expensive ways to make a collection of budget decorations look cohesive and intentional rather than mismatched. A strand of triangular fabric or ribbon bunting, easily made from fabric scraps or inexpensive ribbon cut into flags, adds a festive line of color along a porch railing, fence, or garden bed border. Because the bunting is made from small fabric or ribbon pieces, it costs very little even when made in a length long enough to span a full railing or fence line. Repeating the same two colors throughout every other idea on this list, from bows to ribbon to painted silhouettes, ties an entire budget-built display together into one clear, recognizable look. This discipline around color, more than any single expensive item, is often what separates a yard display that reads as professionally styled from one that reads as a random collection of decorations.
Styling Tips
Commit to one simple color palette across the entire yard, like red and white or all-white lights with gold accents, so budget pieces read as one cohesive display.
Group similar DIY elements, like the tomato cage trees or mason jar luminaries, in clusters or repeated lines rather than scattering single pieces around the yard.
Layer lighting at different heights, from ground-level pathway lights to tree-level string lights to a porch-level canopy or fixture, for a fuller look after dark.
Use warm white lights as your default choice, since they tend to photograph better and look more expensive than cool white or multicolor options.
Fill visual gaps with inexpensive natural elements, like real or faux greenery clippings and pinecones, rather than leaving empty space around larger DIY pieces.
Practical Implementation Ideas
Build DIY structural pieces, like the pallet tree or tomato cage trees, over a weekend before the season starts, so only final styling and lights need to go up closer to the holidays.
Test all secondhand or older string lights indoors before hanging them outside, checking for damaged cords or burnt-out sections.
Use a timer on all major light displays to automate the nightly on and off schedule and reduce the manual effort of the display.
Store DIY builds like the pallet tree or wood silhouettes flat against a garage wall during the off-season so they can be reused for several years.
Take a phone photo of the finished display at dusk during setup, then adjust spacing or lighting gaps based on what actually reads well in low light, not just daylight.
Common Mistakes to Avoid
Buying single strands of thin garland and hanging them without layering, which reads as sparse and cheap rather than full and lush.
Mixing too many different colors and styles of decor across the yard, which can make even well-made individual pieces look like an unplanned collection.
Skipping a sealant or weatherproofing step on wood-based DIY projects, which shortens their lifespan considerably once exposed to rain and snow.
Overusing extension cords across walkways without securing or covering them, which creates both a tripping hazard and an eyesore in daylight photos.
Underestimating how much a display changes after dark, since a yard styled only with daytime visibility in mind can look flat and empty once the sun goes down.
Small-Space Alternatives
Use a small cluster of stackable mini trees or bottle brush trees instead of a full-size pallet tree for apartment patios or small entryways.
Focus lighting efforts on a single doorway or window rather than trying to light an entire yard when space or budget is limited.
Choose one or two of the boldest ideas on this list, like ribbon-wrapped lampposts and mason jar luminaries, rather than attempting all twenty in a small yard.
Use a single oversized present box or ornament planter as a focal point instead of a full grouping when floor space near the entry is limited.
Hang a small string light canopy over a compact patio or balcony rather than a full backyard version, scaling the number of strands to the smaller space.
Budget-Friendly Alternatives (Tiered by Price)
Under $10: Mason jar luminaries using jars already owned, a single strand of dollar store garland, or a small bottle brush tree cluster.
Under $25: A tomato cage Christmas tree built from a garden cage already on hand, a set of PVC candy canes, or wide ribbon and a bow for the mailbox and lamppost.
Under $50: A pallet wood Christmas tree built from a free or low-cost reclaimed pallet, a set of solar pathway lights, or a small string light canopy for a patio.
Related: 17 Effortless Vintage Christmas Decor Ideas for a Nostalgic Home Straight Out of a Magazine
Under $100: A full DIY present box display with plywood and wrapping paper, an upcycled tire snowman, or a larger cluster of chicken wire light balls with multiple light strands.
Pro Styling Recommendations
Spend slightly more on lights than on physical decor pieces, since lighting has the biggest overall impact on how a budget display reads after dark.
Build one or two larger DIY statement pieces, like the pallet tree or tire snowman, rather than spreading a small budget across many tiny individual decorations.
Reuse structural builds, like tomato cage trees or wood silhouettes, year after year, refreshing only the ribbon, paint, or lights for a low-cost seasonal update.
Photograph the display at dusk rather than full daylight or full darkness, since this transitional light shows both the physical decor and the lighting effect most clearly.
FAQs
Focus on a small number of DIY builds using inexpensive materials like PVC pipe, chicken wire, and reclaimed pallet wood, commit to one simple color scheme, and layer in dollar store lighting and garland to fill out the display.
Trunk-wrapped lights, solar-powered pathway lights, and layered dollar store garland with woven-in mini lights are among the least expensive lighting options, since they use less material or no ongoing electricity cost compared to full branch-wrapped trees.
Yes, especially when layered, painted a single cohesive color, or combined into larger structures like stackable tree clusters or bowl-based light fixtures, since the technique and styling matter more than the original cost of each piece.
Projects made from naturally weather-resistant materials, like PVC pipe, sealed wood, and tires, tend to last multiple seasons with minimal upkeep compared to paper, foam, or unsealed fabric-based decorations.
Choose one simple color palette, like red and white or all warm white lights with natural greenery, and repeat that palette across every individual decoration so the display reads as one planned look rather than several unrelated pieces.
Modern solar pathway and string lights are bright enough for walkway lining and accent lighting, though they generally work best as a supplement to a few plug-in string lights rather than the sole light source for a large, fully lit yard.
A pallet wood tree shape, a cluster of tomato cage trees, or a grouping of stackable mini trees all provide a tree-like focal point for a fraction of the cost of a large pre-lit outdoor tree.
Starting DIY builds, like the pallet tree or tomato cage trees, several weekends before the season begins allows time for painting, sealing, and drying, so only final assembly and lighting need to happen closer to the holidays.
Conclusion
The most memorable budget Christmas yards are rarely the ones with the most decorations. They are the ones built around a few strong, well-executed ideas, tied together with one clear color scheme and good lighting. Start with one or two DIY builds from this list, add lighting layered at different heights, and let the rest of the yard fill in slowly over the coming seasons. That is how a genuinely small budget still produces a display people slow down to look at.