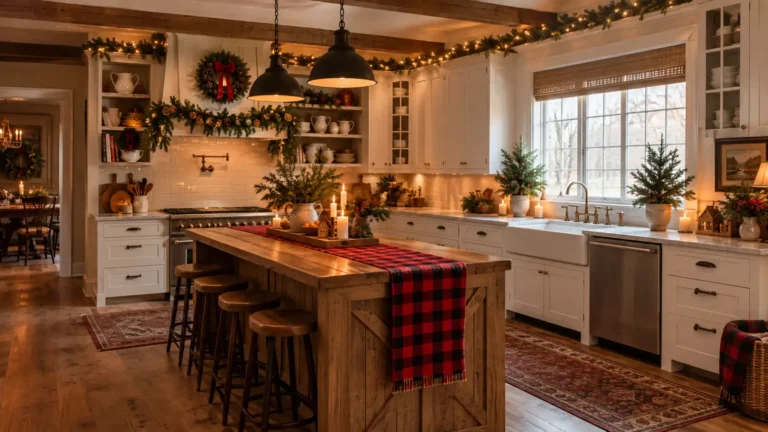
15 DIY Gingerbread Christmas Tree Ideas to Try This Year

Every gingerbread-themed tree you’ve pinned probably came from the same handful of craft stores. This one’s going to look like yours.
There’s something about a gingerbread Christmas tree that feels different from a typical red-and-green setup — warmer, cozier, a little nostalgic, like the tree itself smells like cinnamon. The trouble is most “gingerbread tree” roundups just link out to ornaments you can buy, which means everyone’s tree ends up looking the same.
This guide skips that. Below are 15 actual DIY ideas — salt dough ornaments, no-sew felt cookies, paper cutouts, Dollar Tree hacks, and real styling logic for color palette and ornament placement — so your tree looks handmade because it is, not because it came from the same big-box aisle as everyone else’s.
Table of Contents
Salt Dough Gingerbread Ornaments
A simple mix of flour, salt, and water rolled out and pressed into a wooden cookie mold creates ornaments that look and smell like the real thing without any baking risk of them attracting pests over the years. Roll the dough to about a quarter-inch thickness, press it firmly into the mold to pick up all the detail, then bake low and slow at around 200°F until fully hardened rather than browned. Once cooled, a coat of matte varnish protects the surface, and a thin ribbon threaded through a hole poked before baking turns each one into a hanging ornament. Add a light wash of brown acrylic paint into the mold’s grooves for extra dimension, wiping the raised surface clean so the detail pops. These are the closest thing to a real cookie ornament your tree will get, and they last for years instead of one season.

No-Sew Felt Gingerbread Men
Felt gingerbread men are one of the most forgiving beginner ornaments, since fabric glue replaces stitching entirely. Cut two matching gingerbread man shapes from brown felt, glue a thin layer of stuffing or cotton batting between them for a soft, dimensional shape, then seal the edges with fabric glue instead of thread. Cream-colored puffy paint or a hot glue gun piped in a thin zigzag mimics royal icing detail along the arms, legs, and collar, and two small buttons make quick eyes. A loop of twine glued to the back top corner turns it into a hanging ornament in under fifteen minutes total. This is the project to hand to kids at a craft table, since there’s no sharp needle and very little room for it to go wrong.

Paper Gingerbread Cutout Ornaments
For a nearly free option, cut gingerbread shapes from brown cardstock using a printable template or a punch, then decorate with white gel pen or paint pen lines to mimic icing detail. Layering two shades of brown cardstock, one slightly darker behind the main cutout offset by a few millimeters, adds a subtle shadow effect that makes flat paper read as more dimensional under tree lighting. A thin gold or red cord threaded through a hole punch finishes the hanging loop. These hold up surprisingly well for a full season and take almost no storage space afterward, which makes them a smart choice for a first gingerbread tree before committing to sturdier ornaments. They’re also an easy one to mail as part of a handmade holiday card.
Related: 16 Country Style Christmas Tree Ideas With Rustic Charm

Clay Pot Mini Gingerbread Houses
Small terracotta pots turned upside down and topped with a matching saucer as a roof make a surprisingly convincing miniature gingerbread house ornament. Paint the pot a warm gingerbread brown, let it dry completely, then use a white paint pen to draw on a door, windows, and icing trim along the roofline. A tiny dab of hot glue holds a small pom-pom or bead “wreath” on the door, and a loop of ribbon glued to the top of the saucer roof turns the whole thing into an ornament. Because the base shape is so simple, this is one of the fastest projects on this list to batch — a dozen can be painted and detailed in a single sitting. Cluster a few of these together near the base of the tree instead of only hanging them, and they double as a mini village display.

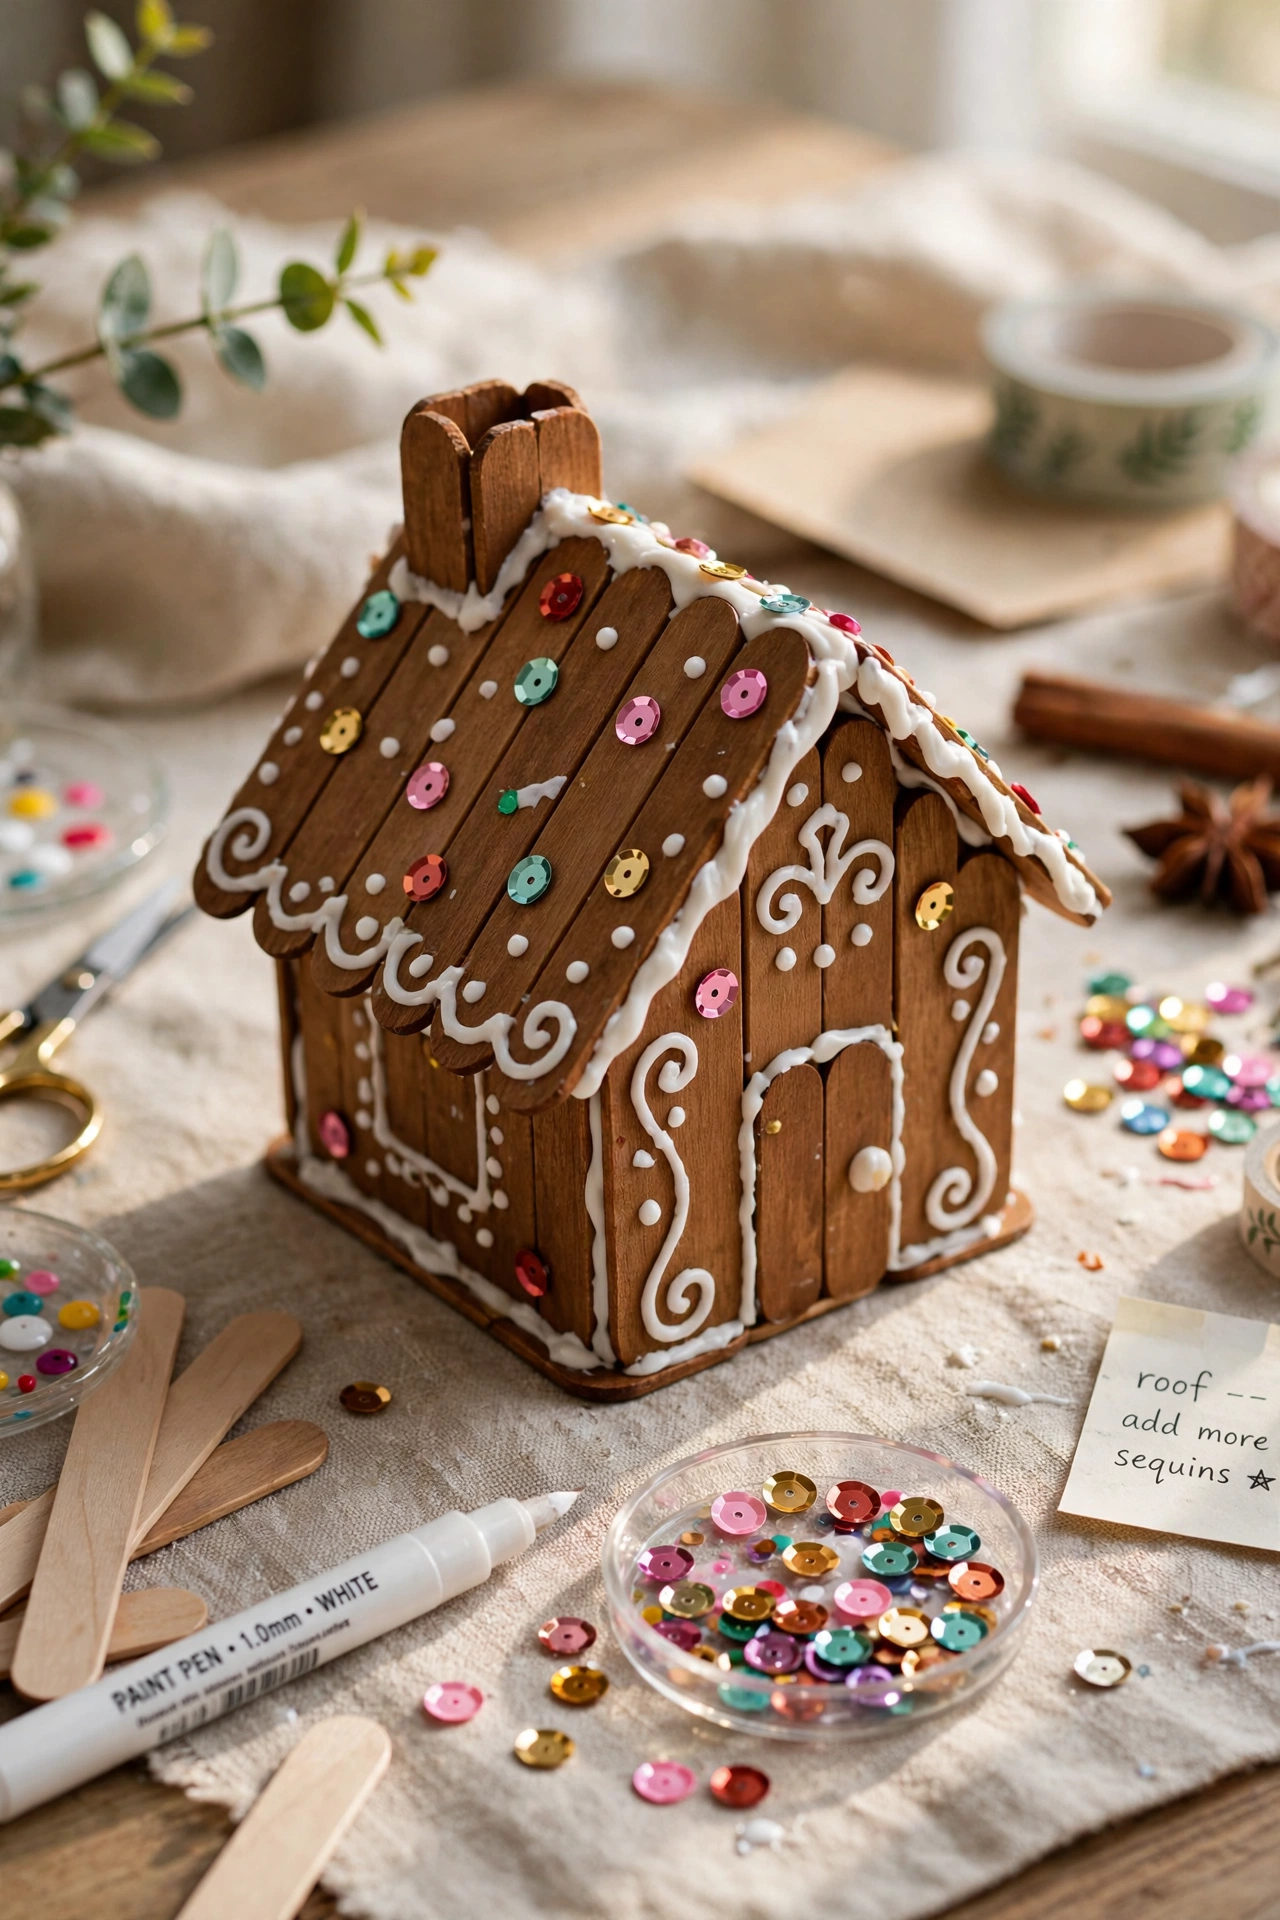
Popsicle Stick Gingerbread Houses
Flat wooden popsicle sticks glued into a simple house shape — a square base with two angled sticks meeting at a peak for the roof — give kids an easy 3D building project that doubles as tree decor. Stain the sticks a warm brown before assembly so the wood tone reads as gingerbread rather than raw craft wood. Once the glue sets, white paint pen lines along every seam mimic piped icing, and mini pom-poms or sequins stand in for candy details. A ribbon loop glued to the back of the roof peak makes it hangable, or leave the loop off entirely and use these as tabletop accents instead. This project teaches basic building and gluing skills, which makes it a favorite for classroom or scout troop craft sessions around the holidays.
Painted Wood Slice Ornaments
Thin wood slice discs, sold at most craft stores or cut from a fallen branch, become rustic gingerbread ornaments with just a coat of paint and a stencil. Base-coat each slice in a warm gingerbread brown, then use a gingerbread man or star stencil with white acrylic paint to add the shape once the base coat is dry. A small drill hole at the top threaded with jute twine keeps the rustic material story consistent all the way through the ornament. Because the wood grain shows through the paint slightly, no two ornaments look identical, which gives a handmade tree far more texture than a set of matching store-bought pieces. These pair especially well with a neutral, farmhouse-leaning gingerbread color palette.

Cinnamon Stick Bundle Accents
Small bundles of three or four cinnamon sticks tied together with red-and-white baker’s twine or thin ribbon add real texture and actual holiday scent to the tree, something no plastic ornament can replicate. Trim the sticks to roughly the same length before bundling so they sit evenly together, then tie the twine in a simple bow with tails long enough to double as the hanging loop. Tuck these bundles between other ornaments rather than spacing them evenly, since they work best as a textural accent layered throughout the tree instead of a repeating pattern. A few tucked near eye level means guests catch the scent as they walk past. This is one of the cheapest ideas on the entire list if you already have cinnamon sticks in the pantry for holiday drinks.

Ric-Rac & Ribbon Garland
Instead of a typical bead or popcorn garland, wind wide cream ric-rac trim or scalloped ribbon around the tree in loose loops to mimic a line of piped icing zigzagging across gingerbread. Layer a second, thinner strand of red-and-white baker’s twine garland just beneath it for a two-tone effect that reads as icing over a warm brown base once it’s against the tree’s greenery. Let the ric-rac drape a little looser than a typical straight garland so it catches shadow and light the way real icing would. This is a fast way to unify a mixed collection of ornaments from different projects on this list, since the garland acts as a visual thread tying everything back to the same gingerbread color story.
Related: 19 Christmas Tree Charcuterie Board Ideas for Your Party

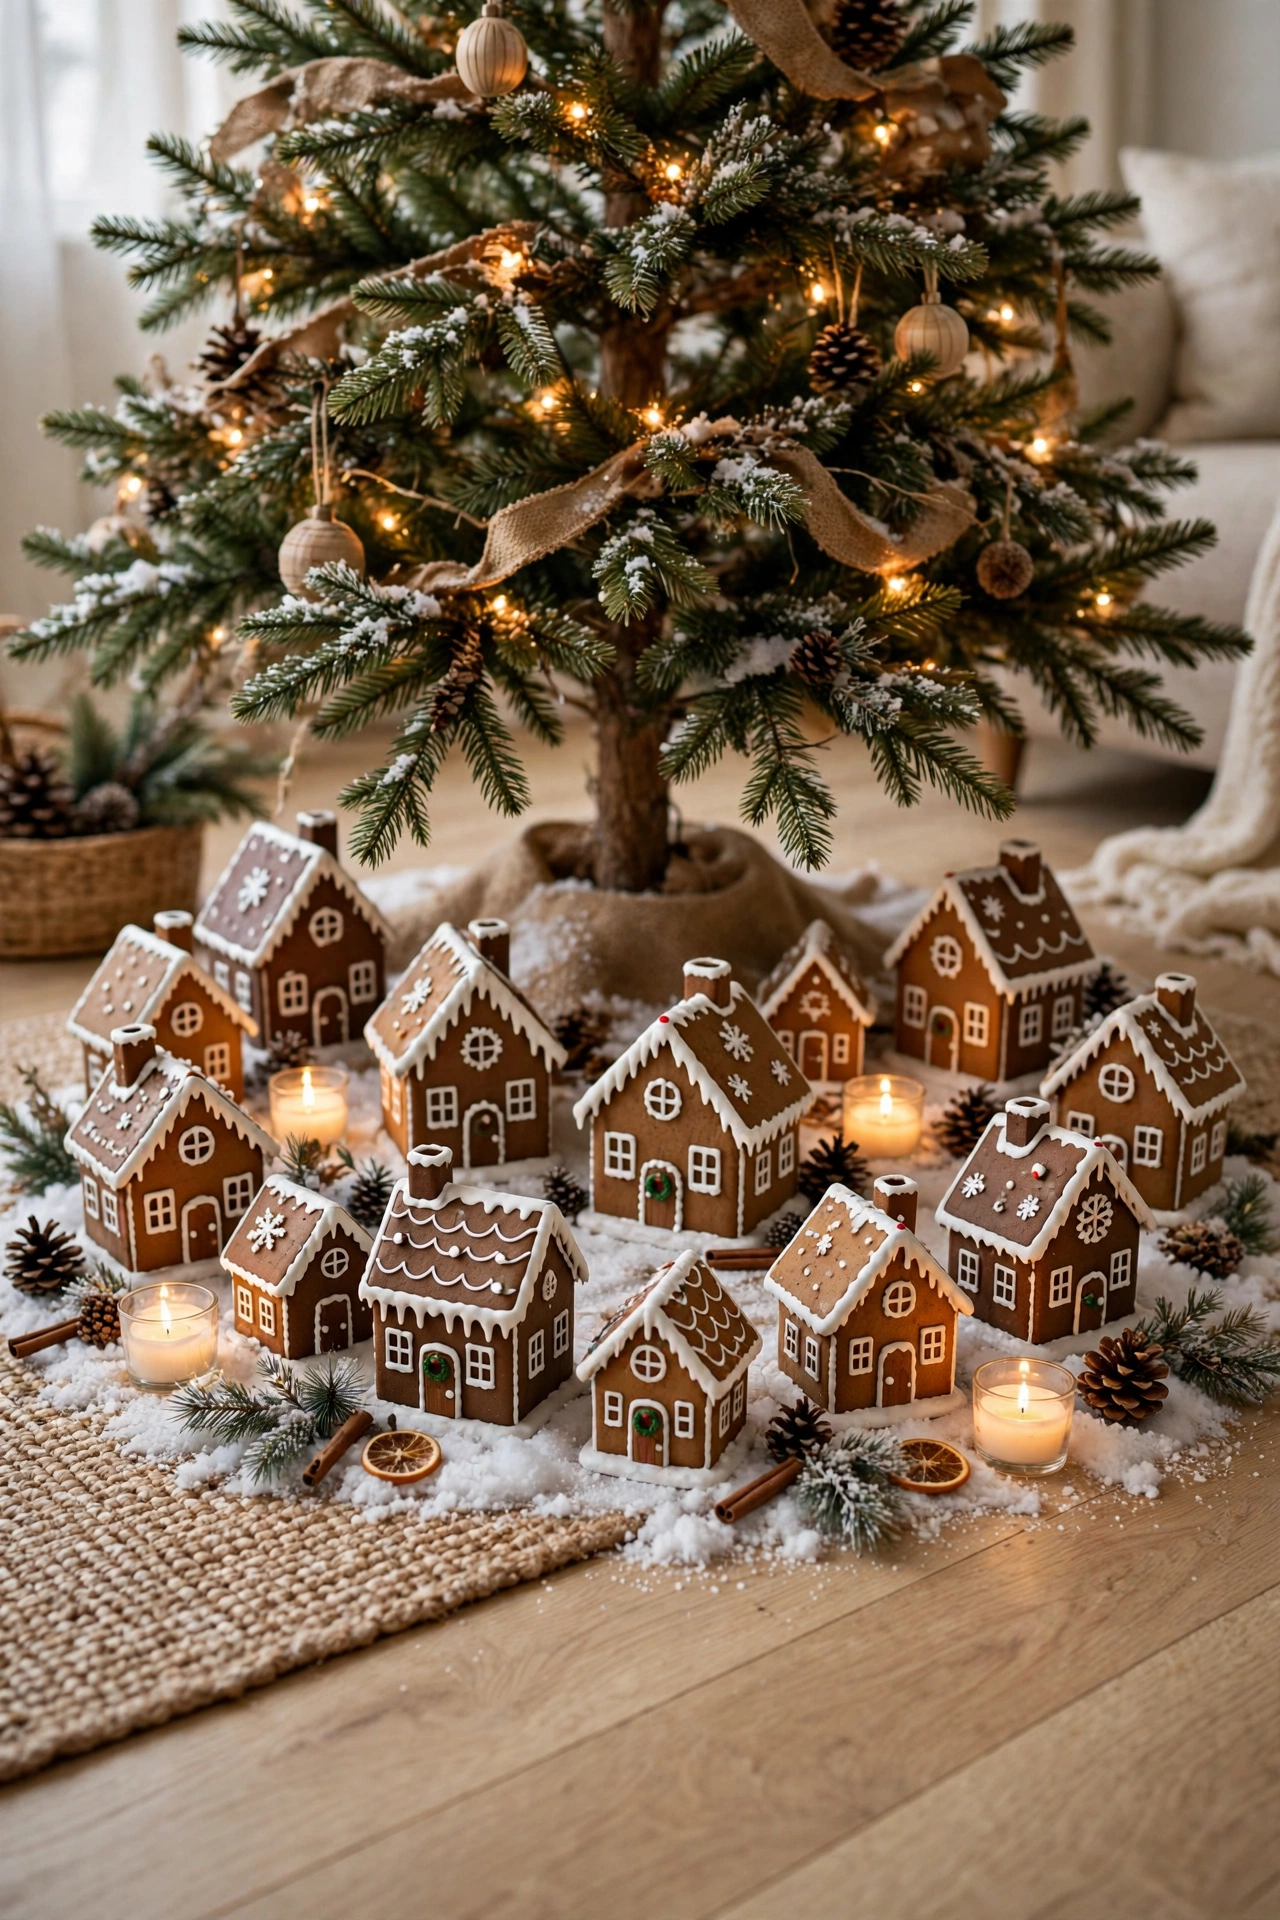
Dollar Tree Gingerbread Village Tree Collar
Small plastic or ceramic dollhouse-style toy houses from the dollar store, stained or painted brown with white “icing” trim, make a surprisingly charming tree collar when clustered in a ring around the base of the tree instead of hung as ornaments. Paint each little house a slightly different shade of brown so the cluster has variation, then use a white paint pen for roofline icing detail and tiny painted-on candy shapes. Arrange them in a loose circle around the tree skirt, tucking in faux snow or cotton batting between houses to hide gaps and mimic drifted snow. A few battery tea lights placed behind the houses make the whole collar glow after dark. This idea solves the “empty space under the tree” problem while staying completely in theme.
Neutral Gingerbread Color Palette
For a more elevated, less costume-y take on the theme, build the entire tree around warm browns, creamy whites, and a touch of champagne or copper instead of the traditional red and green. Swap red ribbon for cream or copper-toned ribbon, and choose ornaments — including several ideas from this list — with white or gold icing detail instead of bright red dots. This palette photographs beautifully in natural light and blends into a broader neutral holiday decor scheme rather than feeling like a standalone “kids’ theme” tree. It’s the version to choose if your gingerbread tree needs to coexist with an otherwise modern or minimalist living room. Keep any pops of color to a single accent, like one strand of dried orange slices, rather than mixing several bright tones in.

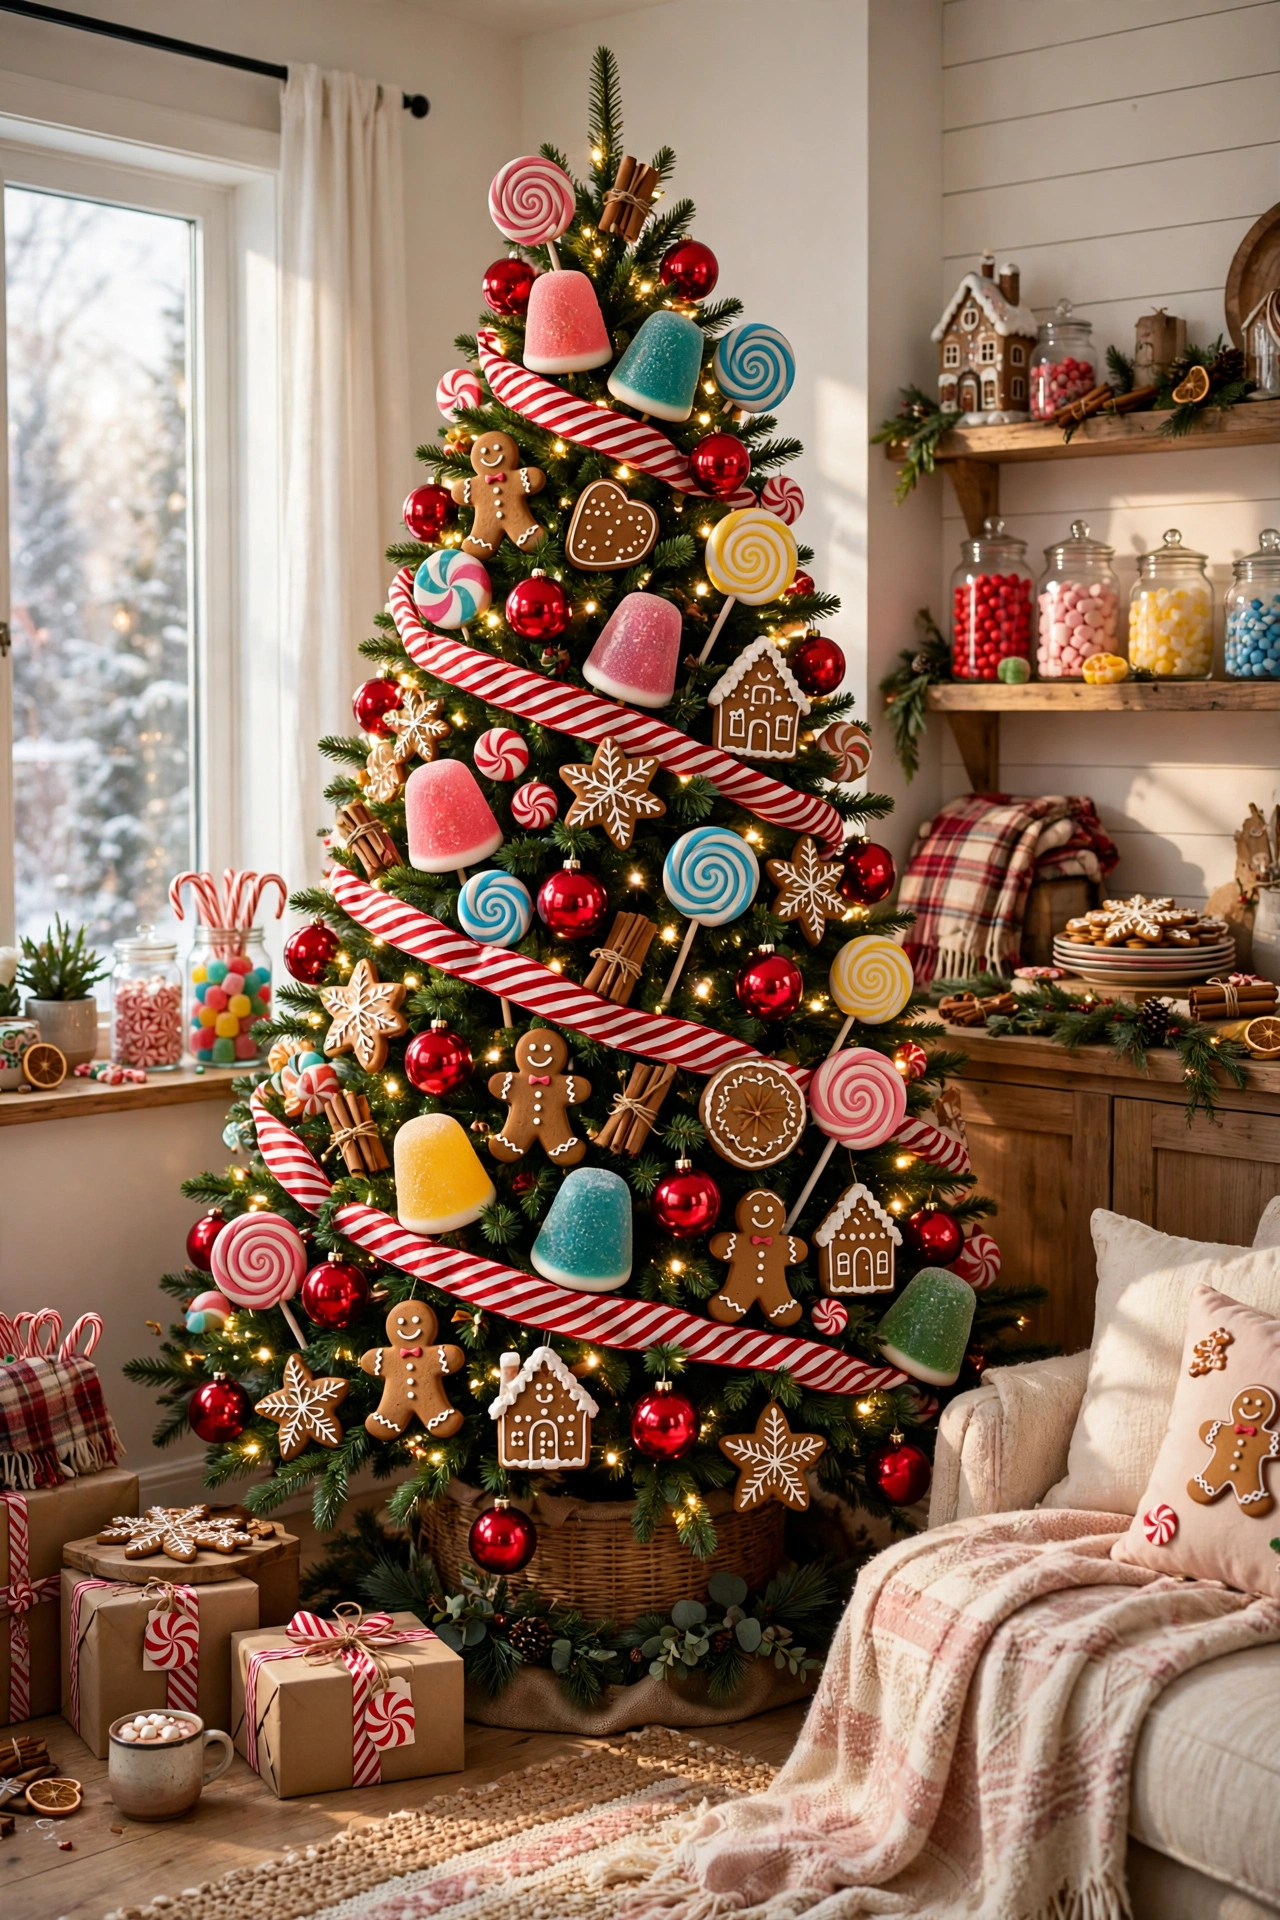
Colorful Candy-Shop Palette
On the opposite end, a full candy-shop gingerbread tree leans into bright red, white, and peppermint stripes with gumdrop and lollipop-shaped ornaments mixed throughout the branches. Use glossy red ornaments alongside the matte brown gingerbread pieces so the shine contrast reads as candy against cookie. Peppermint-striped ribbon woven through the branches and a scattering of oversized faux gumdrop or lollipop picks pushed directly into the greenery add a playful, almost edible-looking layer. This version works especially well for a kids’ playroom or a family room tree, since it photographs as bold and cheerful rather than subtle. Balance the brightness by keeping the base gingerbread-brown ornaments as the majority, with the bright candy pieces as accents rather than half the tree.
Gingerbread Man Tree Topper
Swap the traditional star or angel topper for an oversized gingerbread man, either a purchased plush or fabric figure or a scaled-up version of the felt ornament project above made three or four times larger. Bend the arms slightly and secure them with a hidden wire or pipe cleaner inside the fabric so the figure looks like it’s mid-wave rather than stiff and flat against the top branch. A small bow tied at the neck in whatever ribbon color matches your chosen palette ties the topper visually back to the rest of the tree. This single swap is one of the most effective ways to signal the theme immediately, since a topper is the first thing most people notice about a decorated tree. It also tends to be the ornament kids remember most fondly years later.

Wood Bead Garland
A long strand of natural and painted wood beads, alternating raw wood tones with beads painted warm brown and cream, gives the tree a textural garland option that reads as handmade rather than mass-produced. String the beads onto sturdy cord or thin jute twine using a large needle, spacing the colors in a repeating pattern of three or four beads at a time rather than randomly, so the rhythm is visible once it’s draped on the tree. Let the garland hang a little looser than a typical tight wrap, in soft swags rather than a straight diagonal line, for a more relaxed, cottage-style finish. This garland also works beautifully layered underneath the ric-rac and twine garland from earlier in this list for extra texture depth. It’s a project that’s easy to make in bulk while watching a holiday movie, since the actual stringing requires very little attention once you get a rhythm going.

Mini Tabletop Cone Tree Makeover
For anyone short on space or looking for a second smaller tree, a thrifted or dollar-store cone-shaped tabletop tree can be repainted and restyled into a mini gingerbread version in an afternoon. Strip off any existing berries or decor, then spray paint the cone shape itself a warm gingerbread brown if it isn’t already, and repaint the base pot in a coordinating cream or copper tone. Hot glue small faux icing details directly onto the cone in a zigzag pattern using thick white puffy paint or piped hot glue, then add a handful of miniature ornaments from this list scaled down in size. Because it’s small, this tabletop tree makes an ideal centerpiece for an entryway table, kitchen island, or mantel if you’d rather not commit a whole full-size tree to the theme. It’s also the fastest project on this entire list if you already own or can thrift the base cone shape.

Layered Height Styling With Picks & Risers
However many DIY ornaments you make from this list, the tree will look unfinished if everything hangs at exactly the same depth on the branch. Push a portion of your gingerbread accents on floral picks or wired stems directly into the greenery at varying depths, some close to the trunk and some near the branch tip, rather than hanging every single piece from a hook at the very end of a branch. Group two or three coordinating ornaments together in one spot occasionally instead of spacing everything in perfectly even intervals, the same layering principle that makes a mantel display feel curated rather than scattered. Step back every few minutes while decorating and look at the tree from across the room, since gaps and clumps are far more visible from a distance than up close. This single styling habit does more to make a handmade tree look intentional than any individual ornament on this list.
Related: 15 Easy DIY Christmas Front Door Decor Ideas

Styling Tips
- Pick one color story first — neutral or candy-shop — before making a single ornament, so every project matches by the time the tree is decorated.
- Mix matte (felt, salt dough, wood) and glossy (painted ceramic, glass) finishes for texture contrast instead of an all-matte or all-shiny tree.
- Vary ornament depth on the branch, not just spacing, using the picks and risers technique above.
- Let handmade imperfection show — slightly uneven icing lines or a lopsided felt gingerbread man read as charming, not messy, in this particular theme.
Practical Implementation Ideas
- Batch similar projects in one sitting (all the salt dough, or all the felt ornaments) rather than switching techniques constantly, since setup and cleanup take longer than the actual craft time for most of these.
- Let paint and glue fully cure for 24 hours before hanging anything, especially heavier clay pot or wood slice ornaments, so nothing pulls apart on the branch.
- Photograph the tree in progress every few ornaments so you can spot bare patches before you’ve used up all your materials.
Common Mistakes to Avoid
- Making every ornament the exact same size, which flattens the visual rhythm of the tree.
- Skipping a garland or ribbon layer, which leaves individual ornaments feeling disconnected from each other.
- Using bright white paint instead of warm cream or off-white for icing details, which can look stark and cold against warm brown gingerbread tones.
- Overcrowding a small tabletop tree with full-size ornaments meant for a larger tree.
Small-Space Alternatives
The mini tabletop cone tree idea above is the obvious swap for anyone without room for a full-size tree, but a gingerbread garland alone, strung along a mantel, doorway, or stair railing, carries the same theme without needing a tree at all. A small wreath decorated with a handful of the felt or salt dough ornaments from this list works well on an apartment door or wall when floor space is limited.
Budget-Friendly Alternatives
Salt dough, paper, and cinnamon stick ideas cost next to nothing if you already bake or keep a stocked pantry. Dollar Tree houses, wood slices, and plain wood beads keep the clay pot, wood slice, and garland projects well under ten dollars total. Thrifted tabletop trees and dollhouses, repainted, replace the most expensive single purchase on this list — a store-bought mini gingerbread tree — for a fraction of the cost.
Pro Styling Recommendations
Treat your gingerbread ornaments the way a baker treats a real cookie tray: vary the size, let a little imperfection show, and cluster similar pieces together rather than spacing everything with mathematical precision. Layer garland before ornaments, ornaments before picks and accents, and step back to check the overall silhouette often. A tree built this way, even entirely from dollar-store and pantry materials, reads as considered rather than thrown together.
FAQs
Conclusion
A gingerbread Christmas tree doesn’t need to come from a single store display to feel cohesive — it needs a color story, a mix of textures, and ornaments that were actually made rather than only bought. Start with two or three projects from this list that fit your skill level and timeline, build out from there, and let a little handmade imperfection stay exactly where it is. That’s what makes this theme feel warm instead of manufactured, and it’s the difference guests actually notice.