19 Traditional Christmas Tree Ideas for a Timeless Look
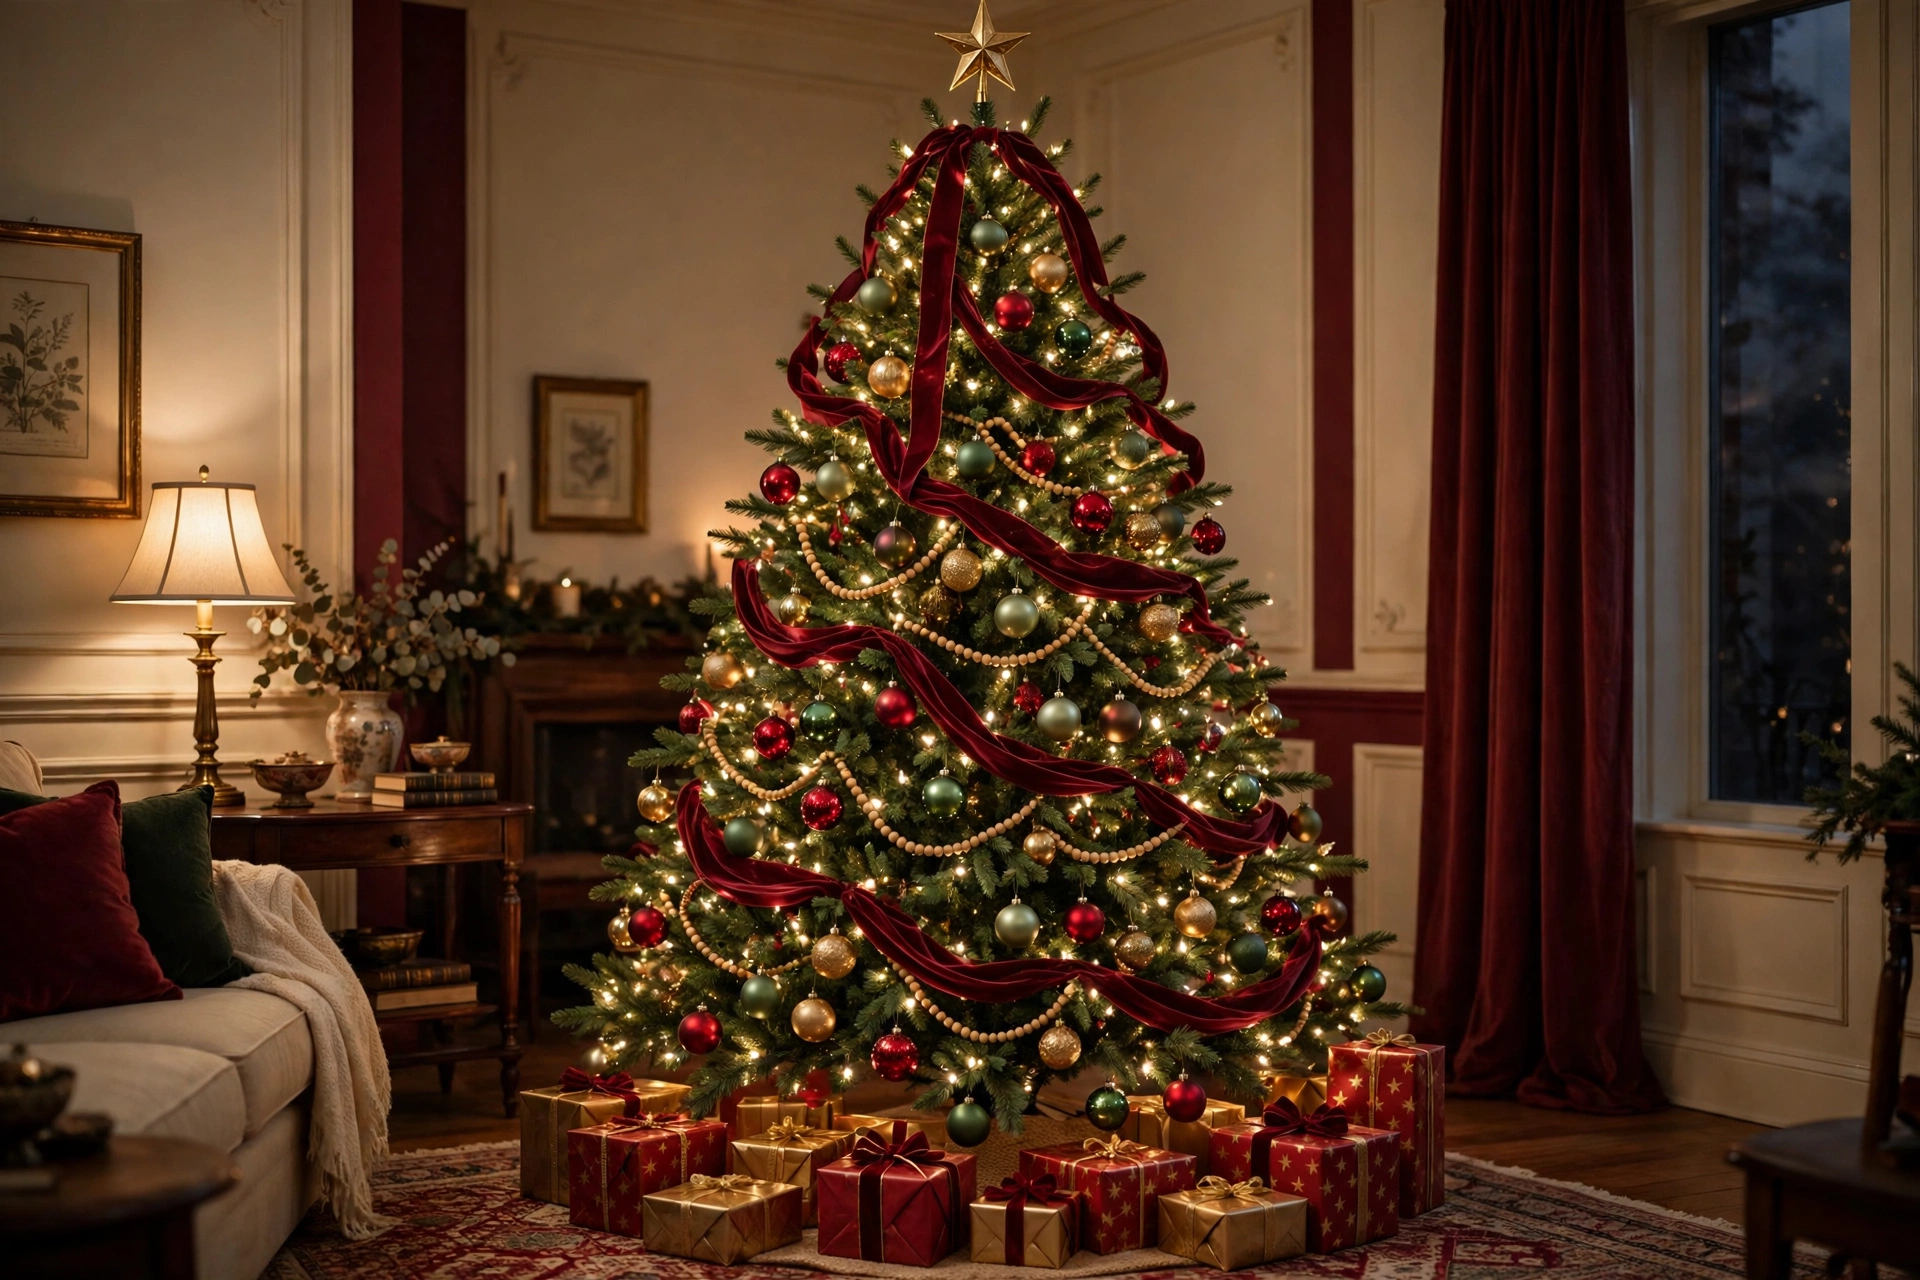
Some Christmas trees chase a theme. The traditional tree doesn’t have to — it already knows exactly what it is. Deep red glass balls catching lamplight. Gold ribbon cascading down through the branches like it’s always been there. A topper that’s been used since before anyone in the room was born.
If you’ve been scrolling Pinterest for a Christmas tree that looks like it belongs in a holiday movie — not a themed showroom — this guide is built for you. Below are 19 traditional Christmas tree ideas, pulling from the techniques real designers use (ribbon cascades, ornament clustering, layered lighting) and the entities collectors actually search for, from mouth-blown European glass ornaments to old-fashioned popcorn garland. Every idea includes the styling logic behind it and a matching image so you can see exactly how it comes together.
Table of Contents
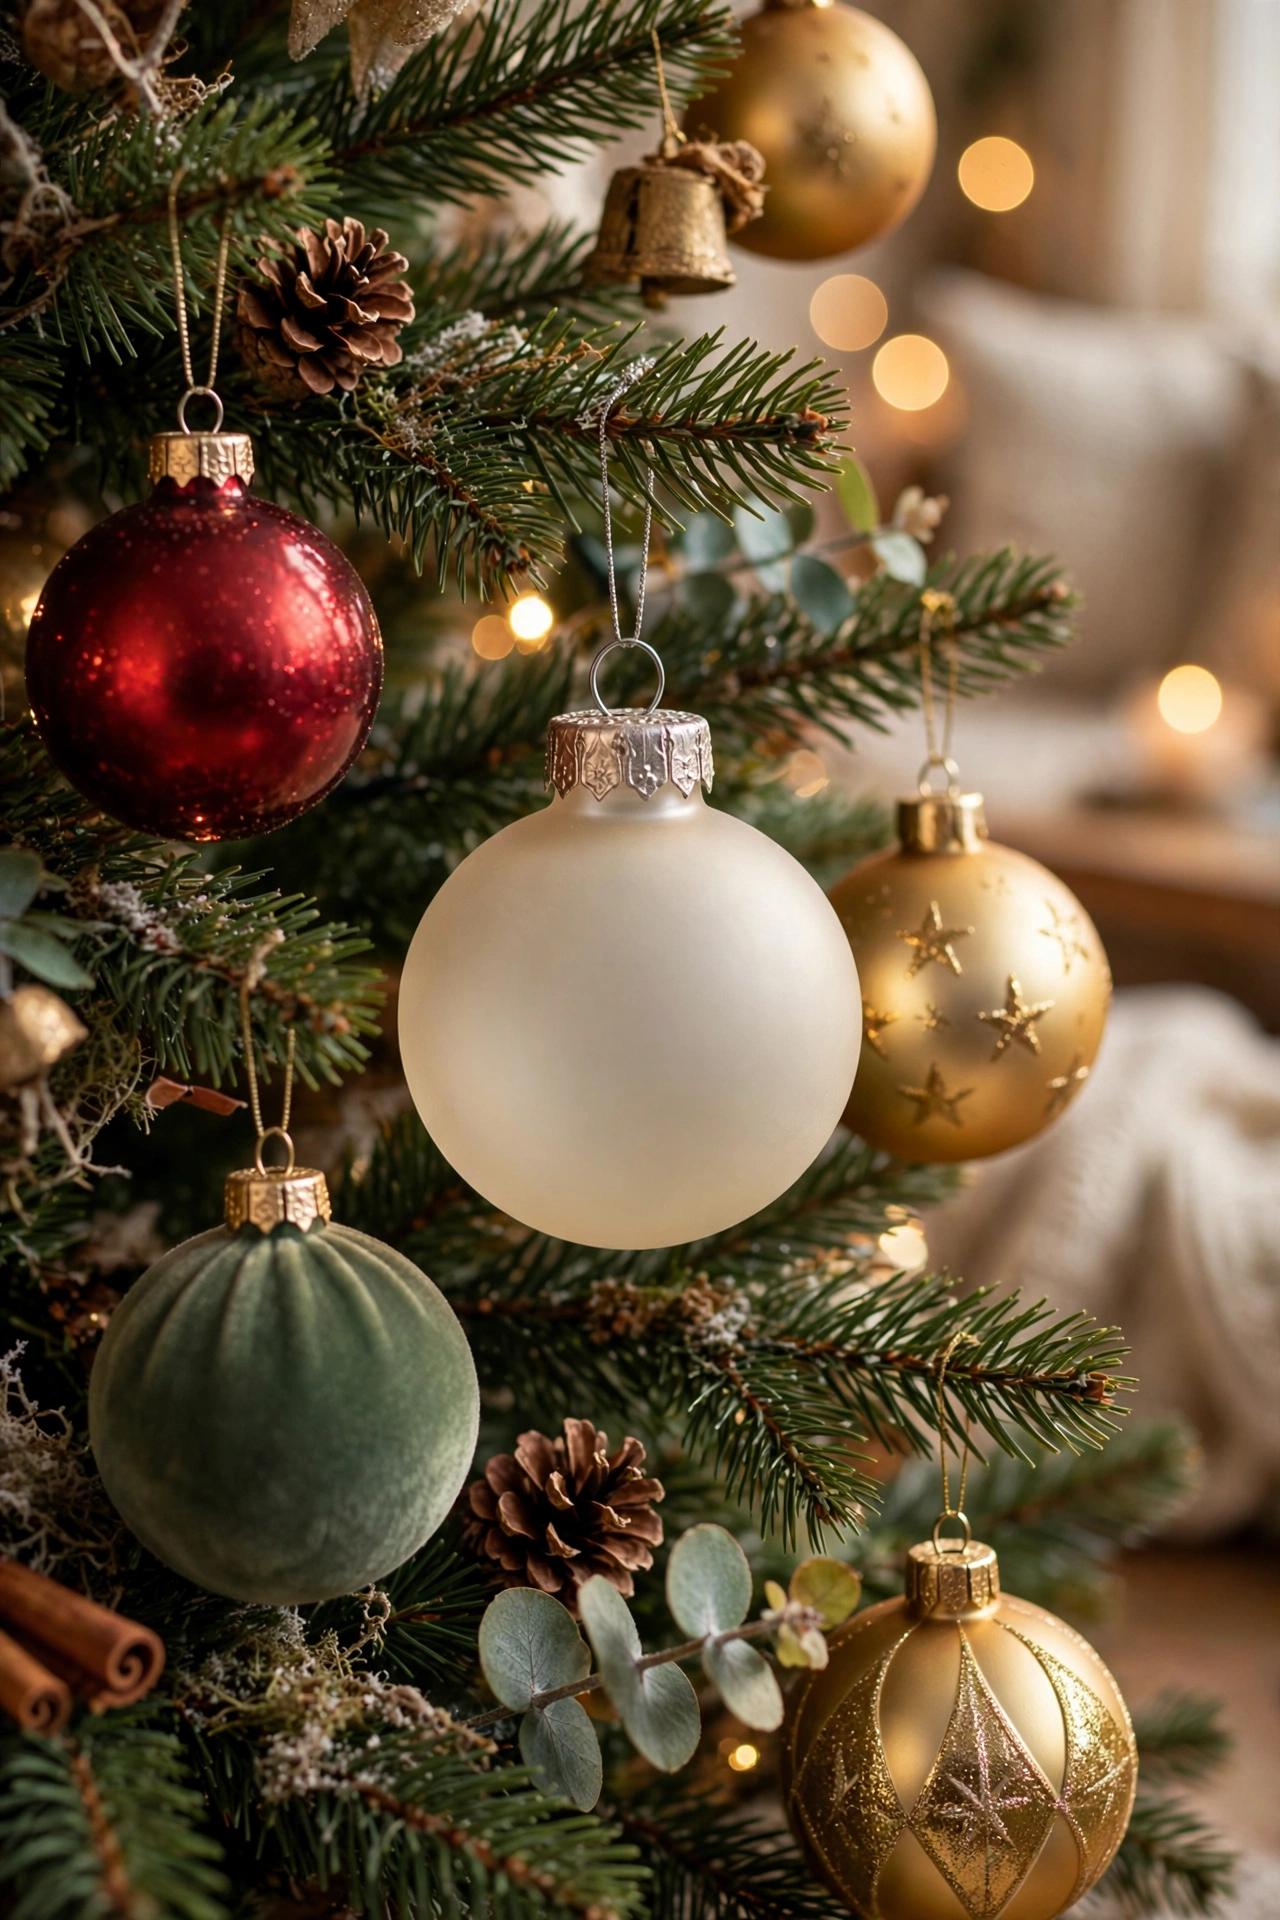
Red, Green & Gold Base Ornament Layer
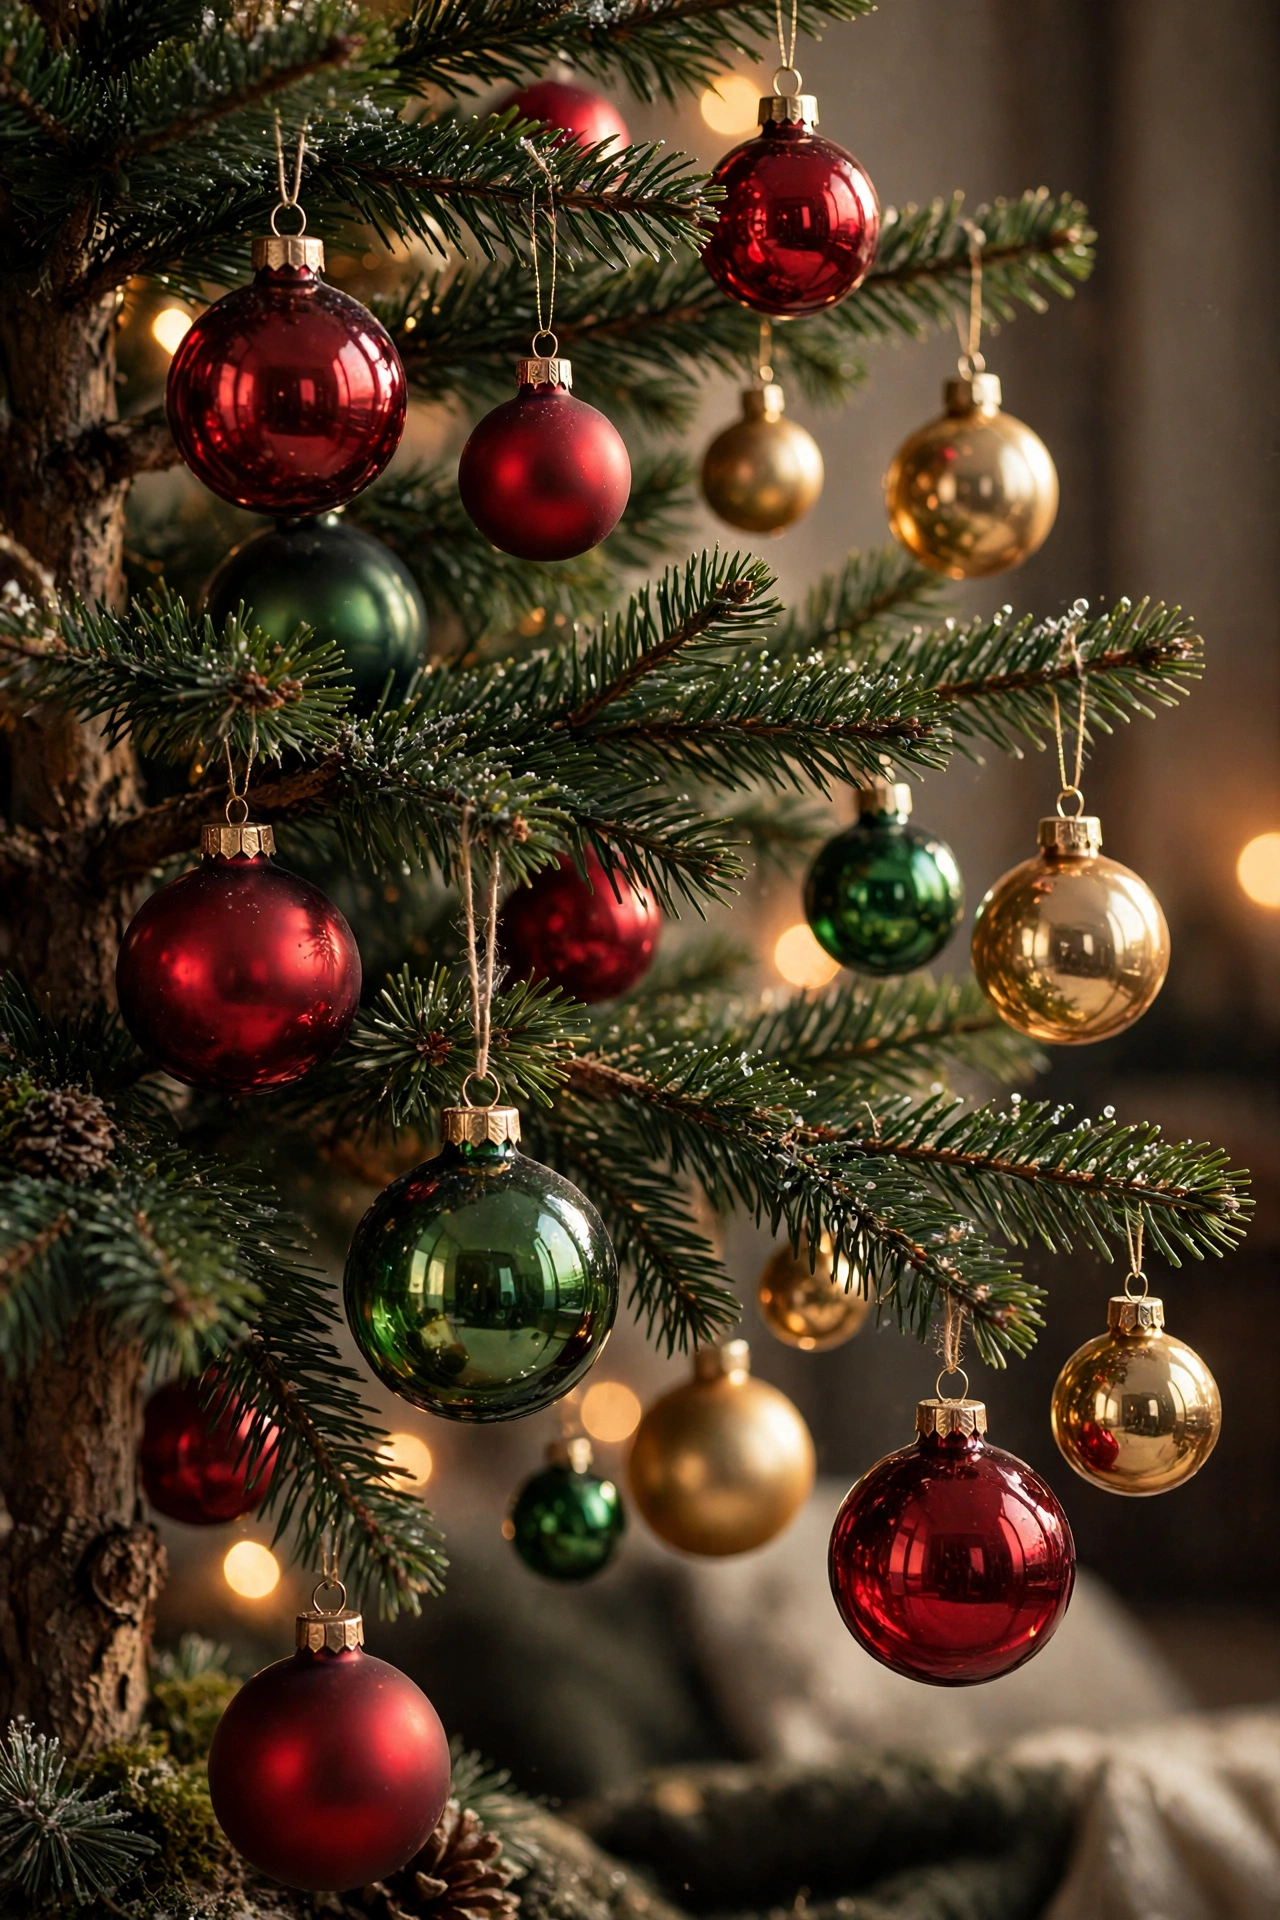
Start your entire tree with a foundation of round glass ornaments in red, green, and gold — the three colors that have anchored traditional Christmas decorating for generations because they never look dated. Buy these in a range of sizes rather than one uniform size, since varying scale is what gives a tree real depth instead of a flat, repetitive pattern. Hang the largest ornaments first, deep in the tree near the trunk, then work outward with progressively smaller ones toward the branch tips. This base layer becomes the color story that every other layer — ribbon, garland, topper — gets built on top of, which is why it has to go on first and evenly. Getting this layer right is what makes a traditional tree feel cohesive even before a single accent piece goes on.
Mouth-Blown European Glass Ornaments
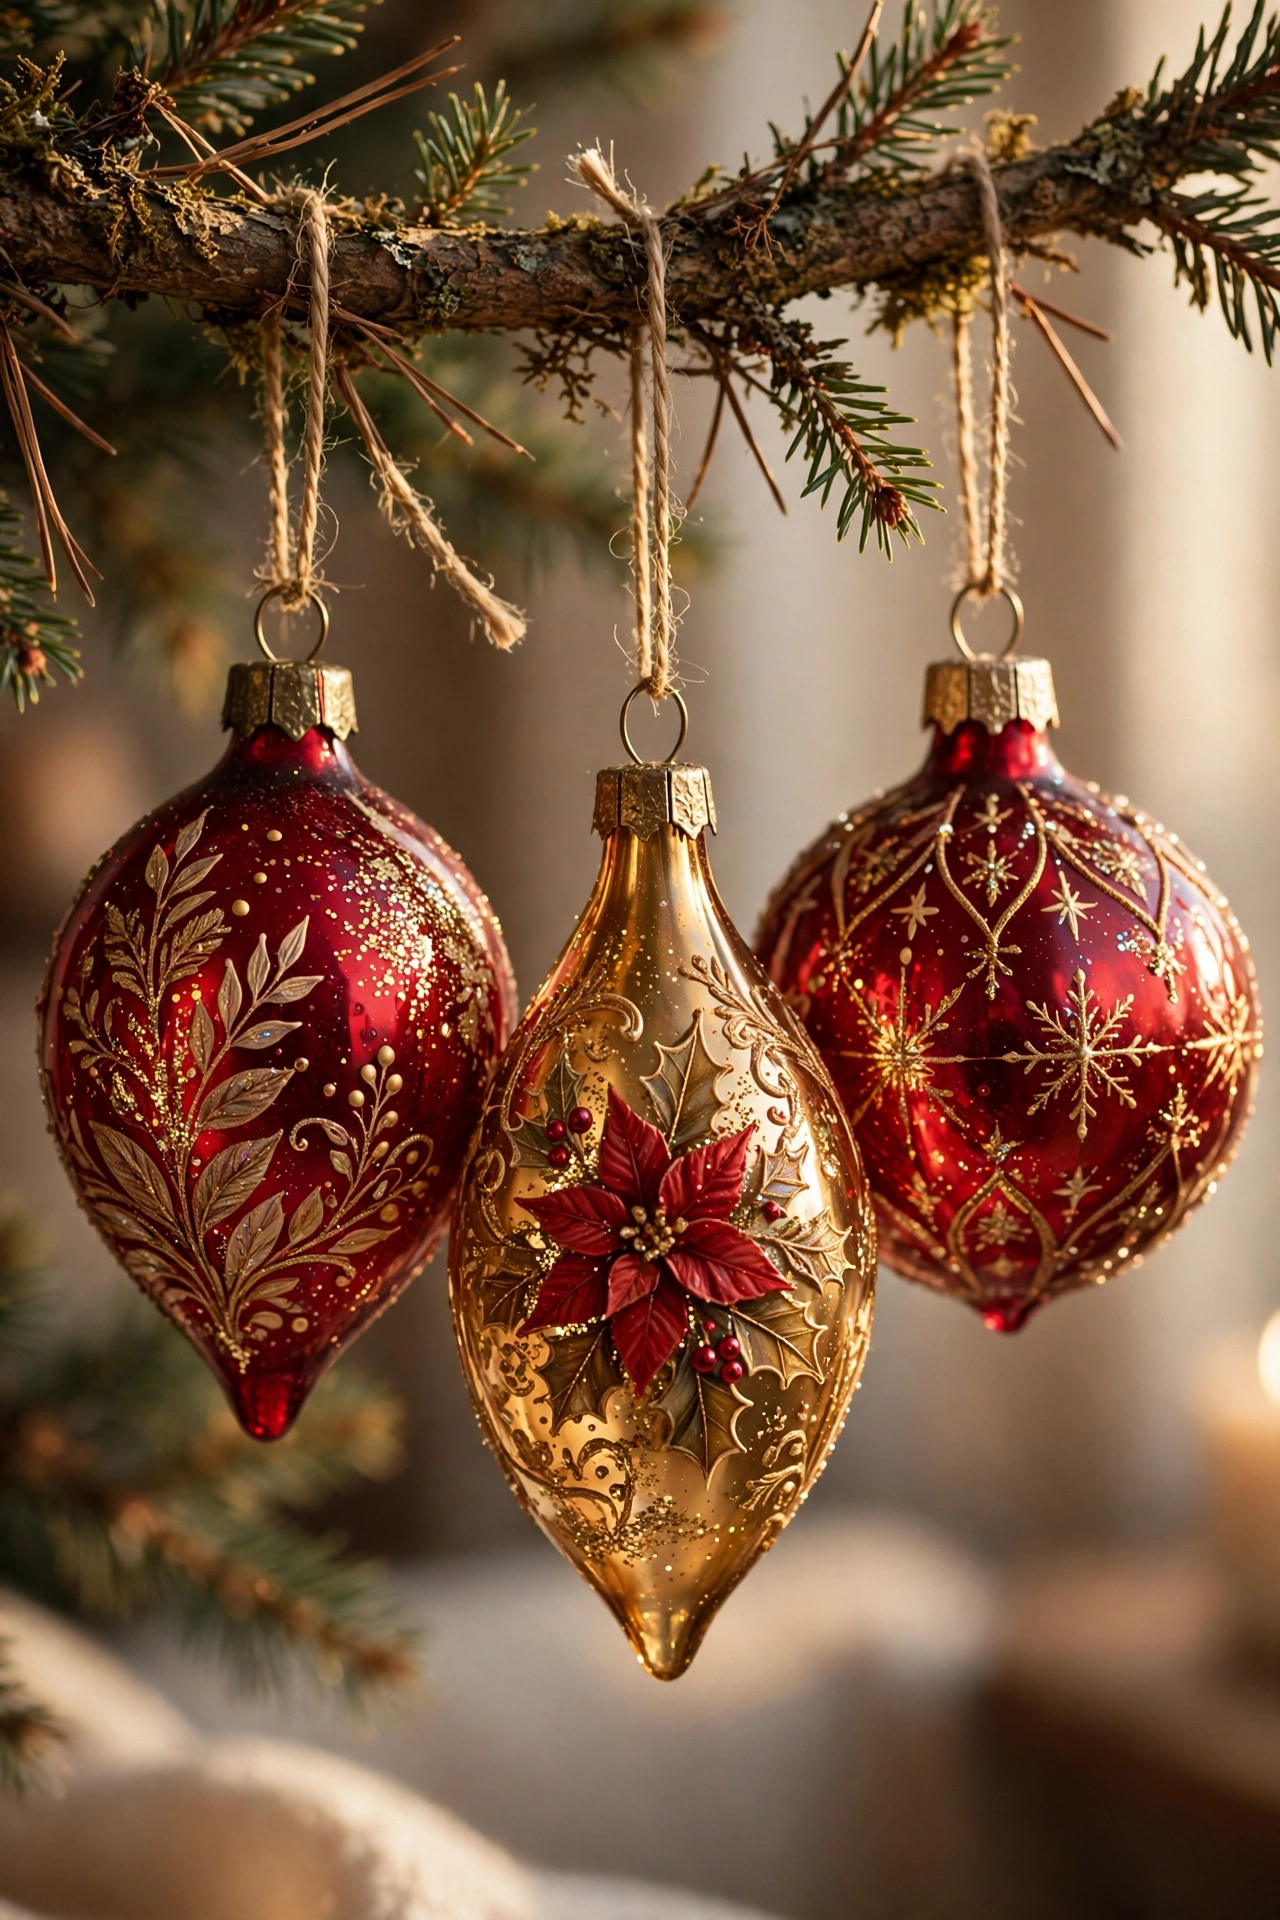
Add a handful of mouth-blown European glass ornaments — the kind made using the same hand-painted, hand-glittered techniques associated with brands like Christopher Radko and Old World Christmas — as accent pieces scattered through the tree rather than mixed in with basic ornaments. These glass pieces have a thinner, more delicate wall and a richer painted finish than mass-produced plastic baubles, so they catch and reflect light in a way that adds real sparkle depth. Place them at eye level and slightly forward on the branches so their detail is actually visible instead of buried inside the tree. Because these ornaments carry more visual weight, a handful spread throughout does more than dozens of plainer ones would. This is the detail that makes a traditional tree look curated by someone who collects rather than just decorates.
Warm White Lights Woven Deep Into the Branches
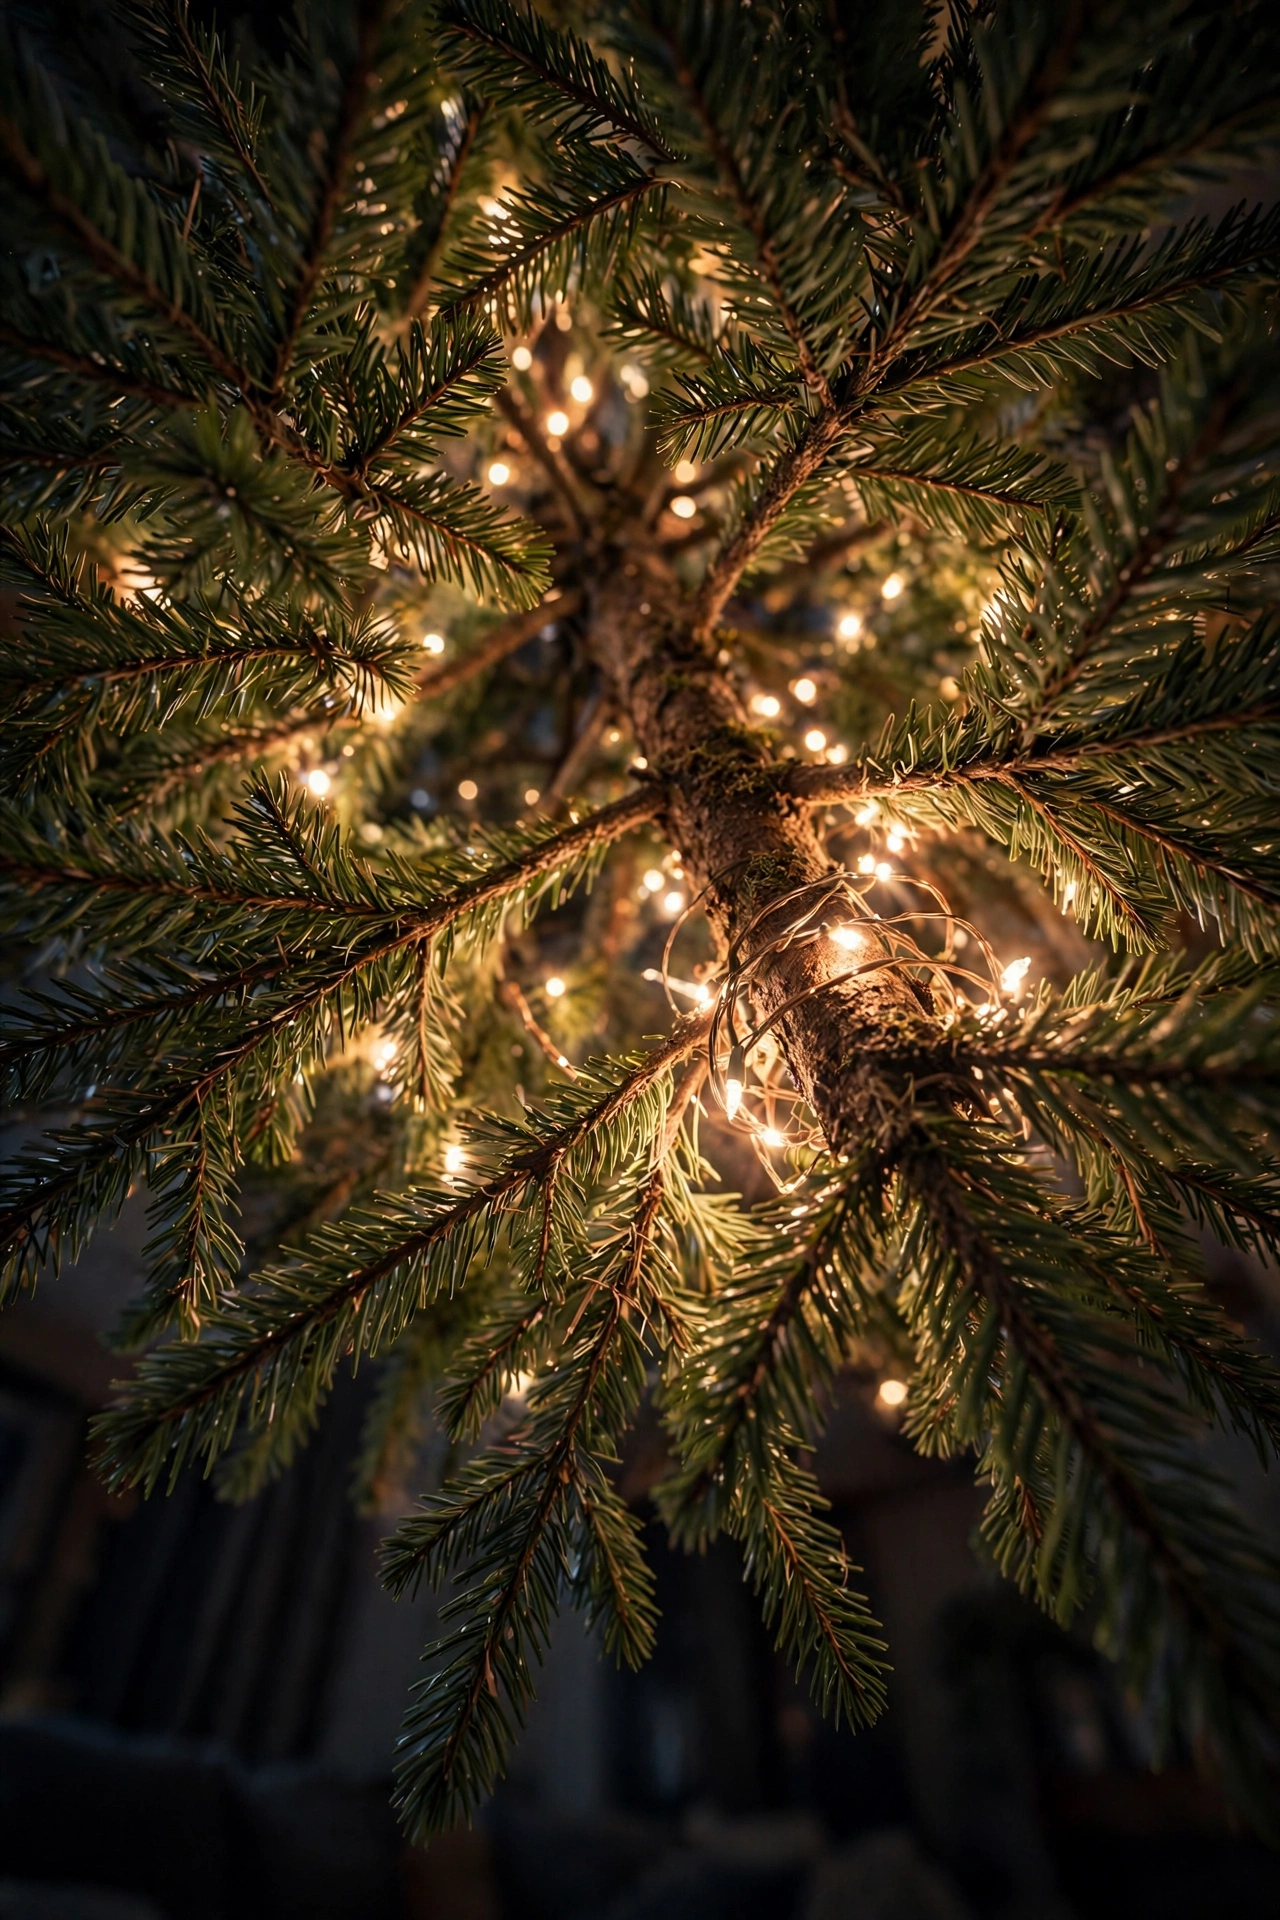
String warm white lights starting at the trunk and working outward in a back-and-forth weave through the inner branches, not just wrapped around the outer surface. Tucking lights deep into the tree rather than draping them only on top creates a soft, glowing warmth that comes from within the tree instead of sitting on it like a layer, which is the single biggest difference between a flat-looking tree and a genuinely luminous one. As a general guideline, aim for roughly 100 lights per foot of tree height for a classic look, or up to 150–200 per foot for a fuller, more dramatic glow. Always plug in and test every strand before you start wrapping, since finding one dead strand halfway through is a frustration every decorator has learned to avoid the hard way. This step has to happen before ribbon, garland, or ornaments go on, since everything else gets layered around the light structure.
Cascading Velvet Ribbon Waterfall
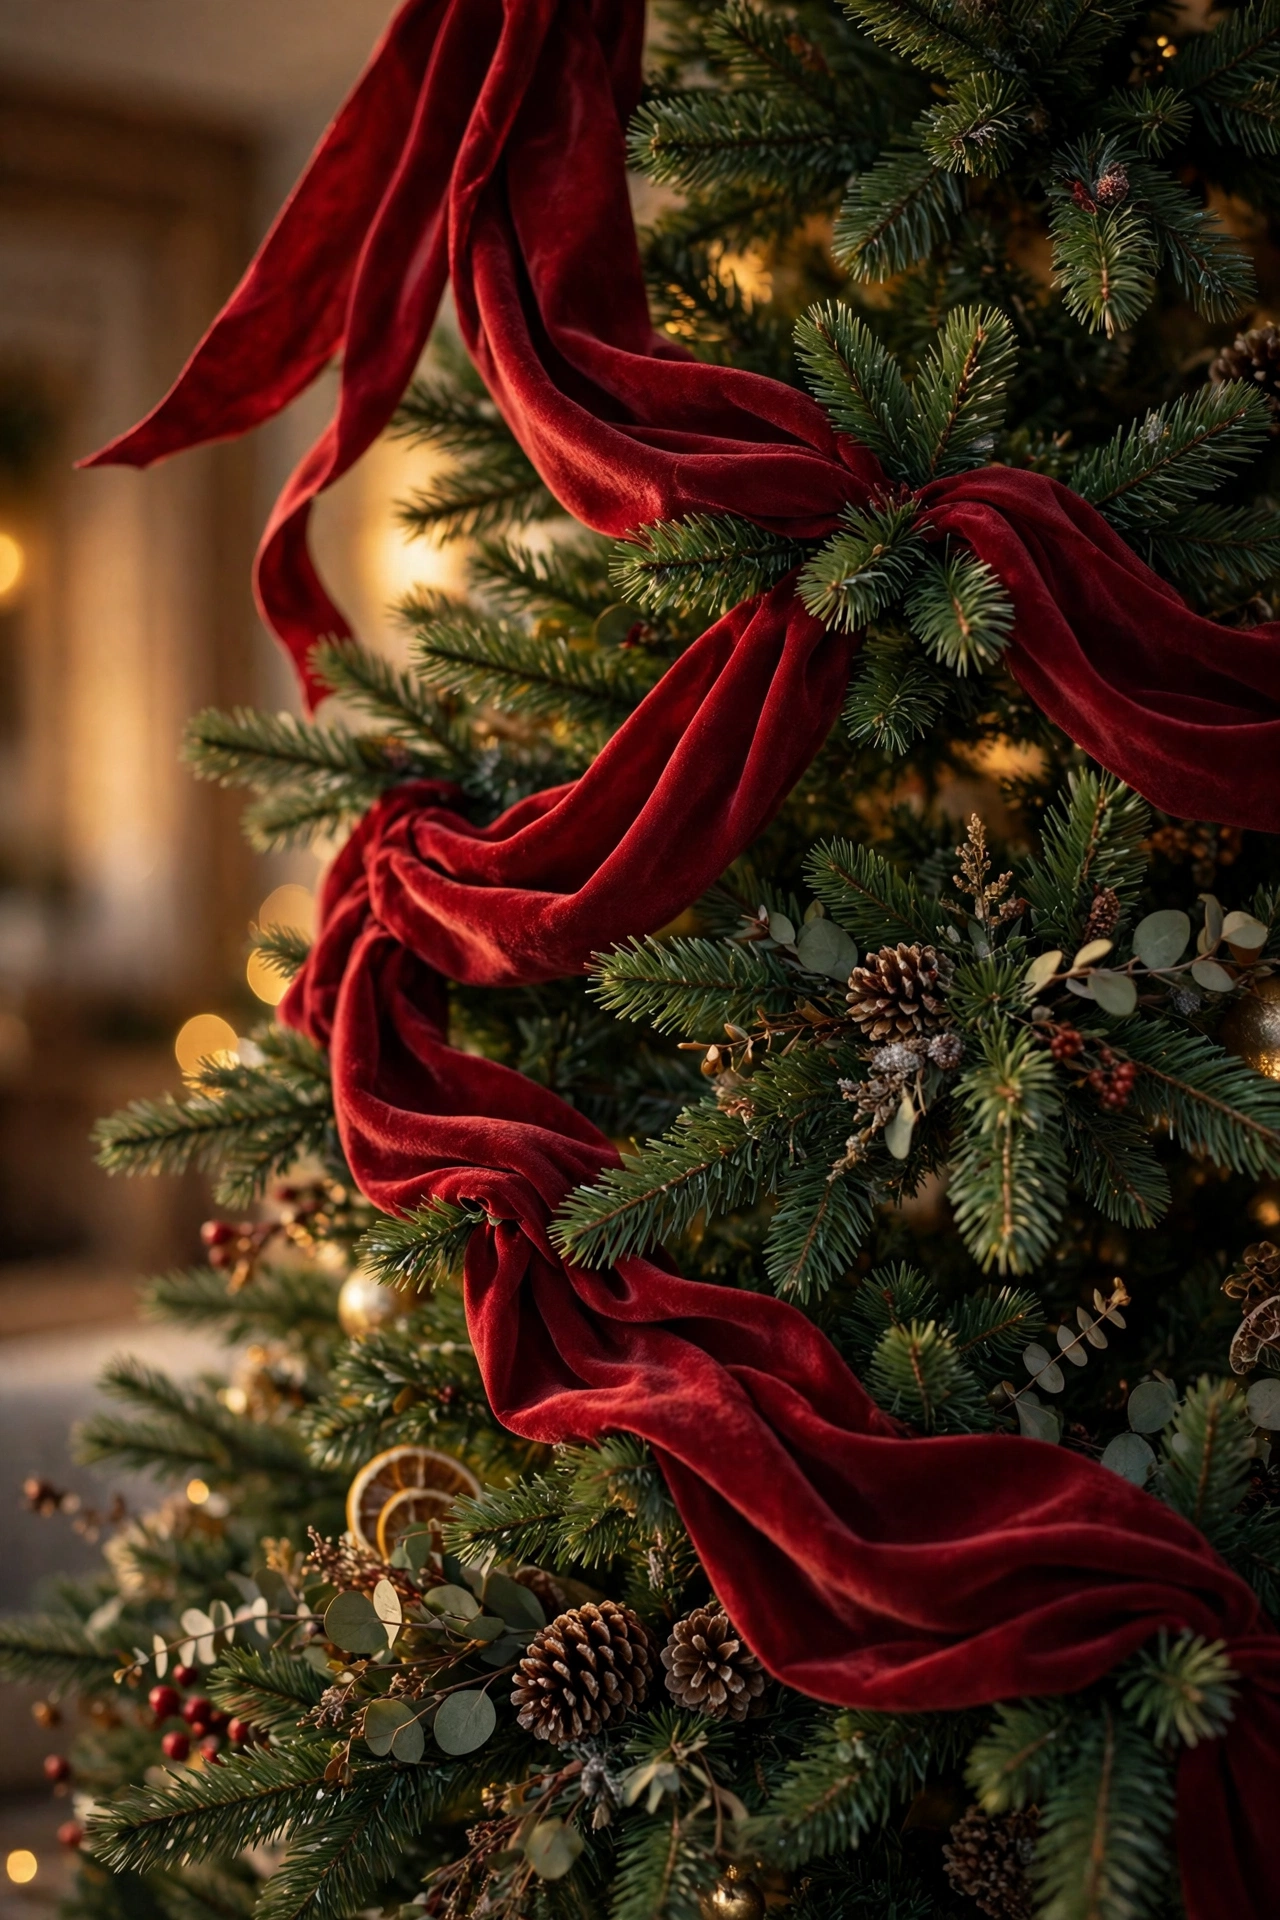
Cut long strips of velvet ribbon and tuck one end near the top of the tree, letting each strip cascade downward in loose waves and tucking sections into the branches as you go, rather than wrapping the ribbon tightly around the tree in circles. This waterfall technique creates a natural, flowing movement that mimics how ribbon actually falls, and it reads as far more elegant than a rigid spiral. Distribute several ribbon strips evenly around the tree rather than clustering them all on one side, so the finished tree looks balanced when viewed from any angle in the room. Velvet specifically adds a soft, light-absorbing texture that contrasts beautifully against the shine of glass ornaments nearby. This is one of the techniques that separates a designer-styled traditional tree from one that just has ornaments hung on it.
Related: 15 DIY Gingerbread Christmas Tree Ideas to Try This Year
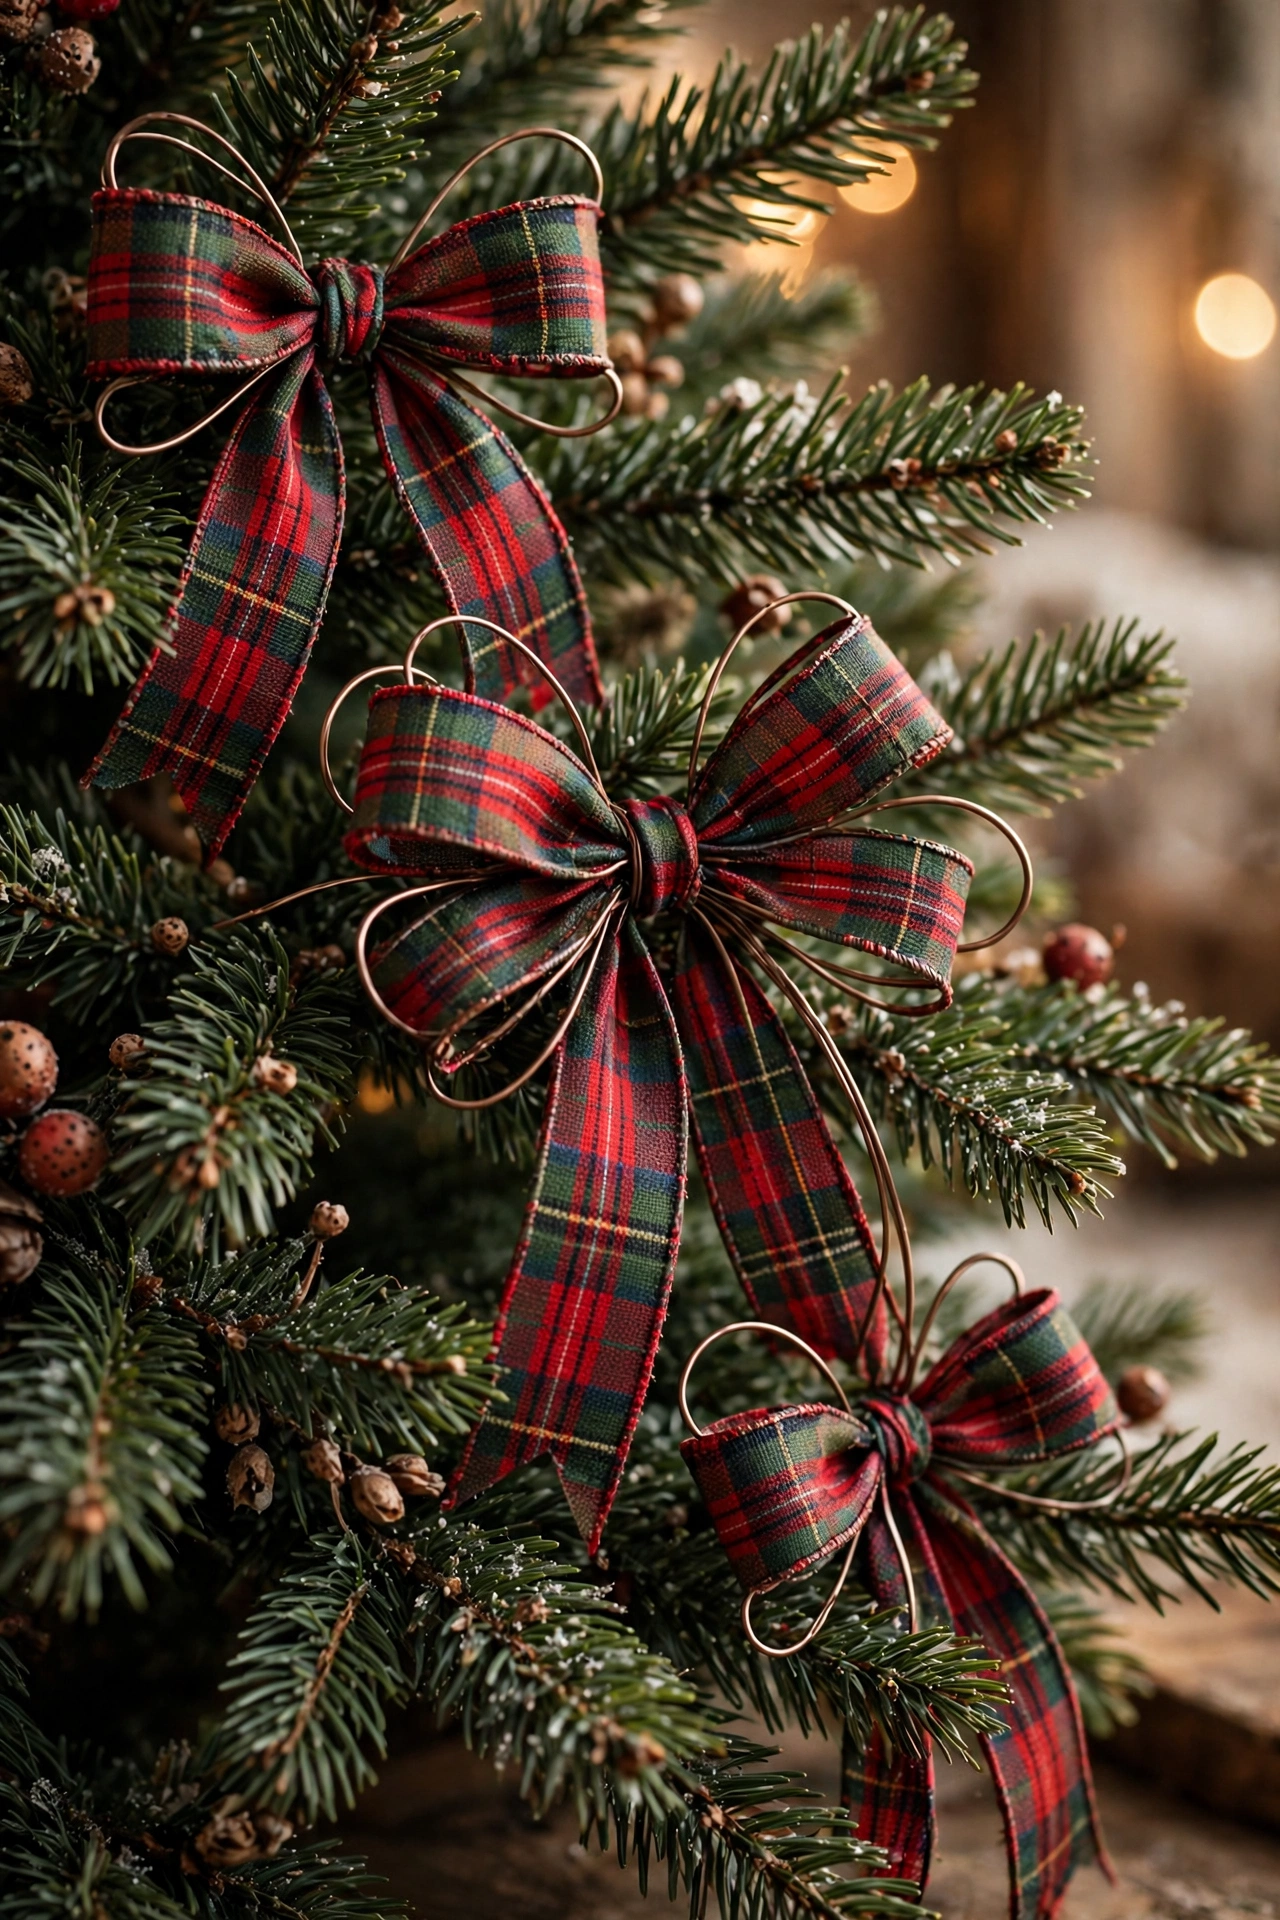
Wired Tartan Plaid Ribbon Bows
Tie a series of wired tartan or plaid ribbon bows and tuck them into the branches at varying heights, using the wire edge to shape each bow’s loops so they hold their form instead of flopping flat. Plaid ribbon is one of the defining materials of classic Christmas decorating because the pattern reads as instantly traditional, especially in black watch or red-and-green tartan. Space the bows unevenly rather than in a perfect grid, concentrating slightly more near the top third of the tree where the eye naturally lands first. Twist a small branch around the wire stem of each bow if it won’t sit securely on its own, which keeps the bows from slipping or drooping over the course of the season. This is a low-cost, high-impact addition that can transform a plain ornament-only tree into one that feels fully finished.
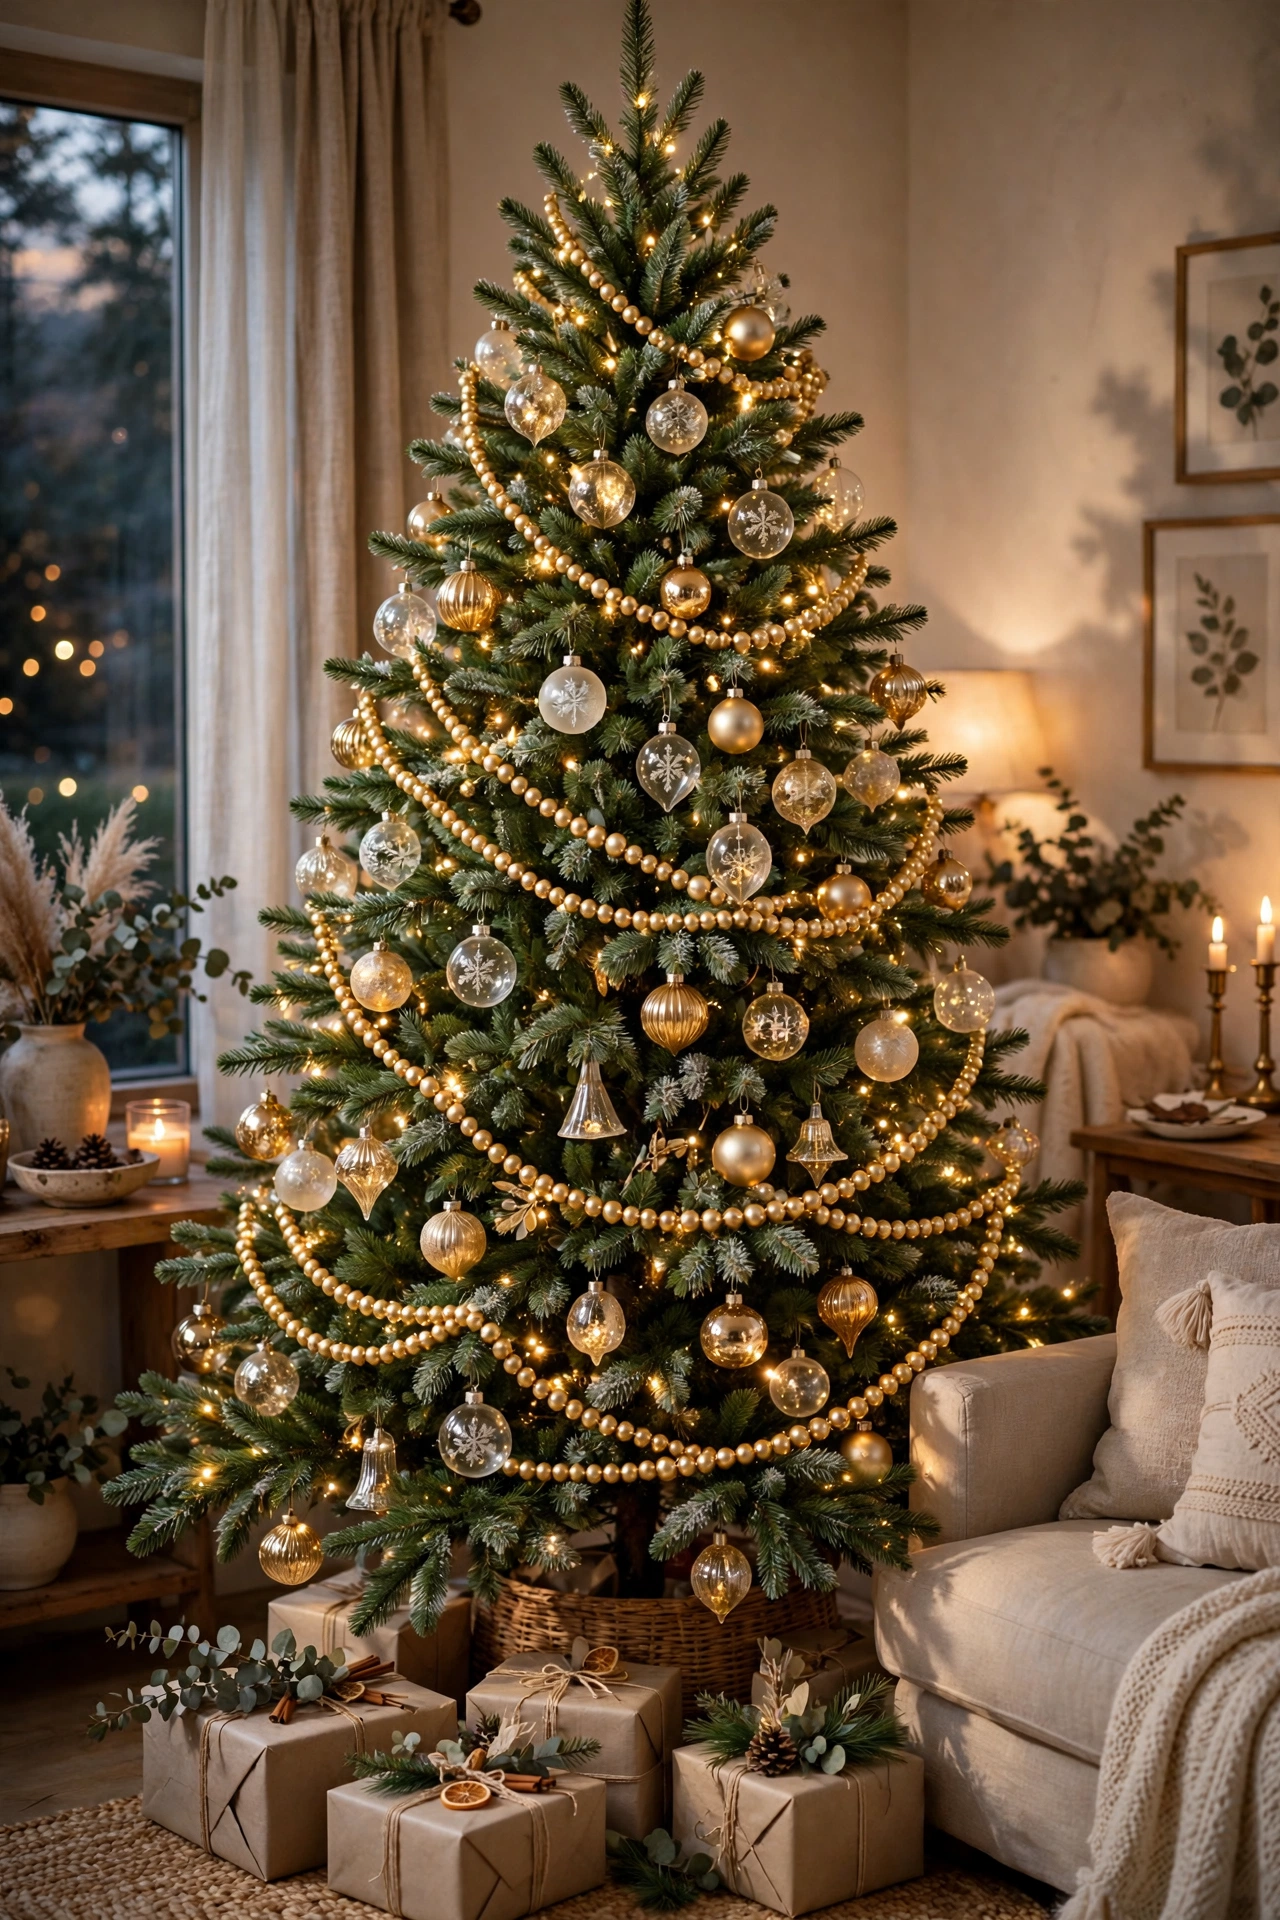
Gold Beaded Garland
Drape strands of gold beaded garland loosely around the tree in gentle arcs rather than pulling them tight, letting each strand dip naturally between sections instead of sitting rigidly straight. Beaded garland catches and reflects light differently than glass ornaments or ribbon, adding a fine, continuous line of shimmer that ties the whole tree together visually. Layer it either underneath or alongside a ribbon layer rather than as the only accent, since garland alone can look thin on a full-sized tree. Keep the drape depth consistent from top to bottom so the arcs feel intentional rather than randomly placed. This is one of the most classic Christmas tree materials precisely because it does a lot of visual work for very little cost or effort.
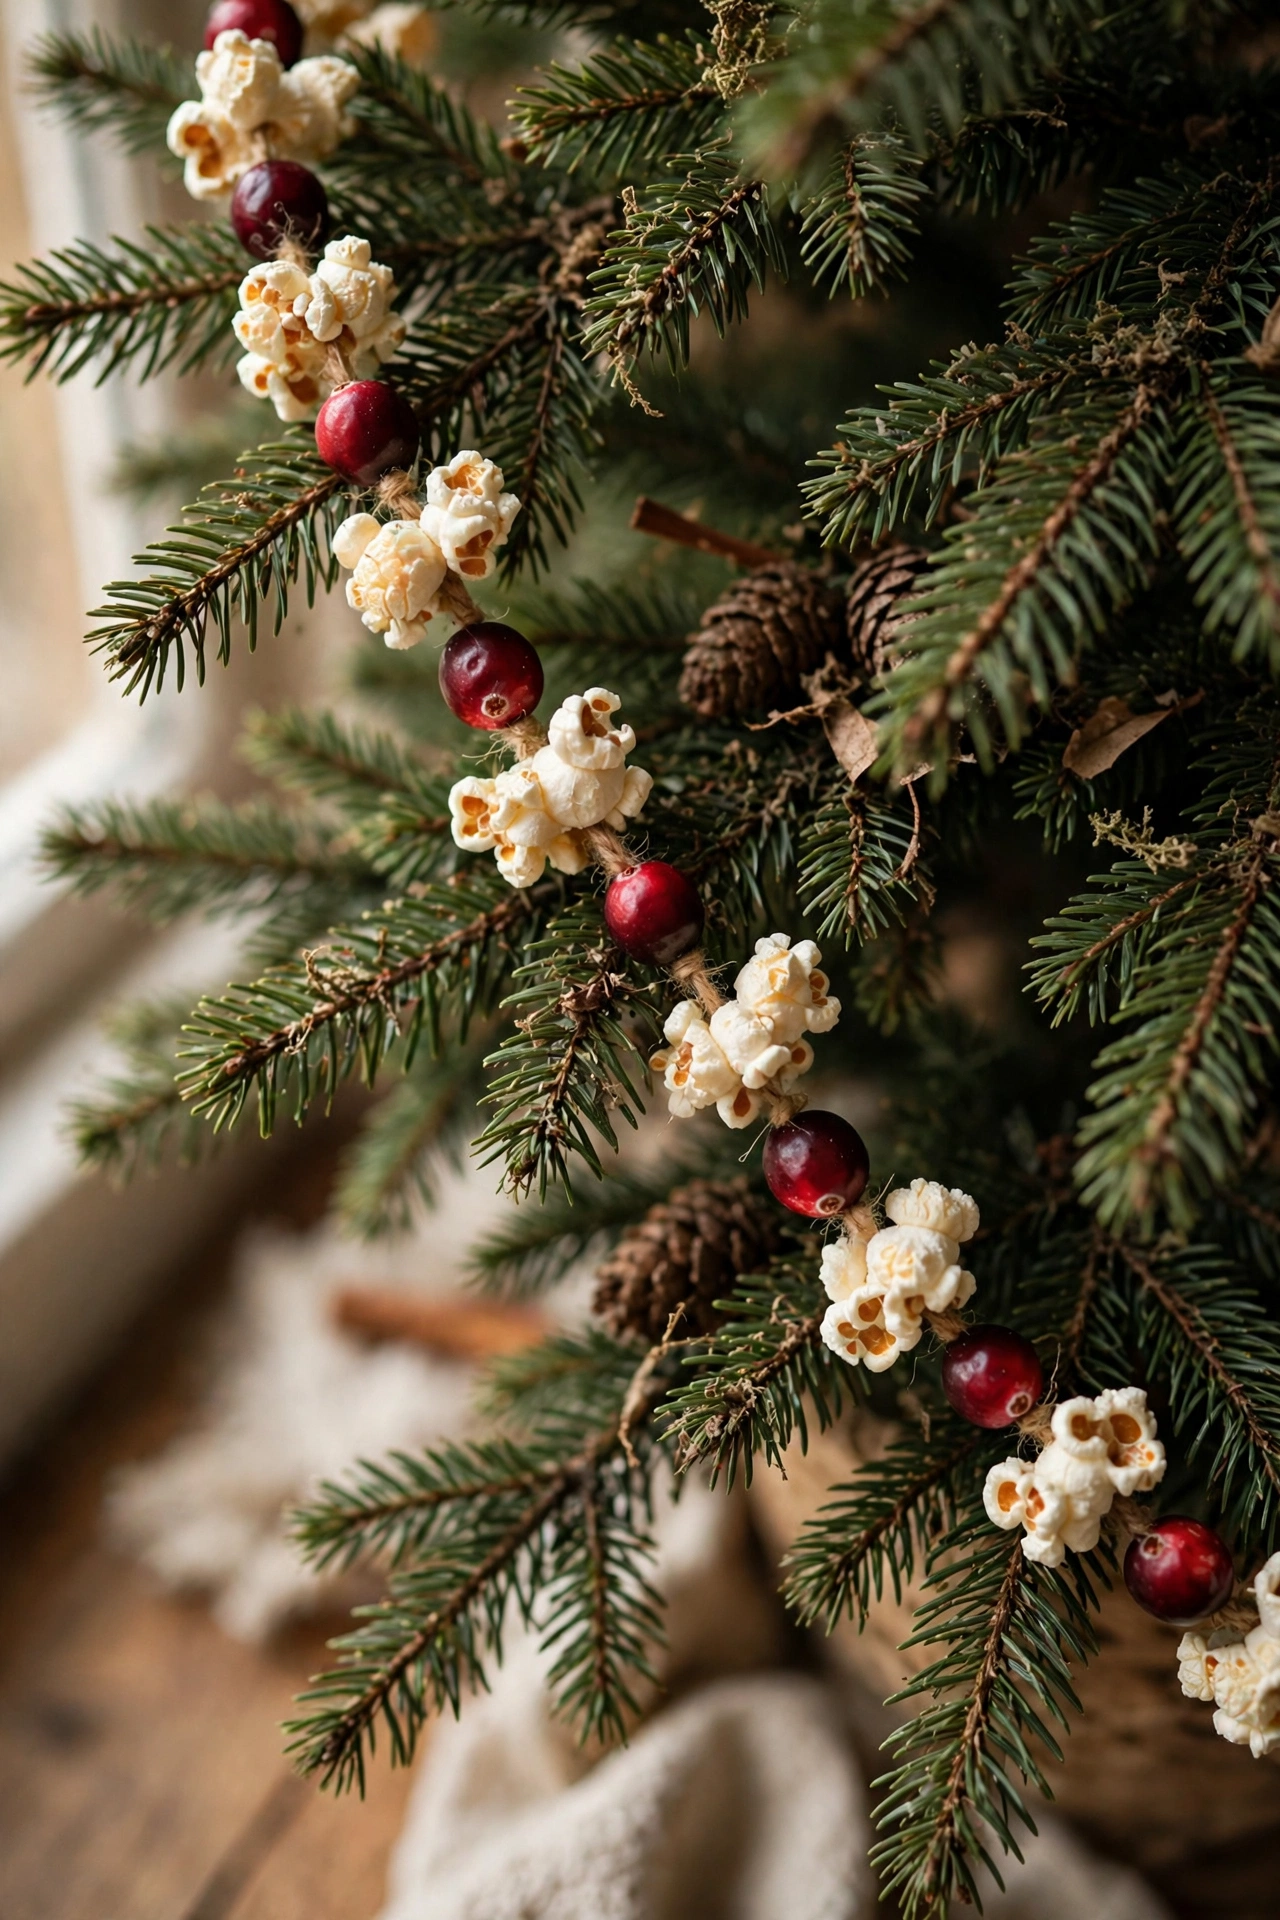
Old-Fashioned Popcorn & Cranberry Garland
String popcorn and dried cranberries onto heavy-duty thread using a long needle, then loop the finished garland loosely around the tree the way it was strung by hand for generations before store-bought garland existed. The uneven, slightly rustic texture of popcorn garland is one of the most nostalgic details you can add to a traditional tree, and stringing it as a family activity often becomes part of the tradition itself. Mix it with a plainer garland or ribbon layer so the popcorn’s neutral tone has some color contrast nearby, since cranberries alone can read as sparse against a full tree. Space the loops with slightly more slack than beaded garland, letting it drape a bit lower for a relaxed, handmade look. This idea is worth doing even once, since it’s genuinely one of the only decorations on this list you make from scratch rather than buy.
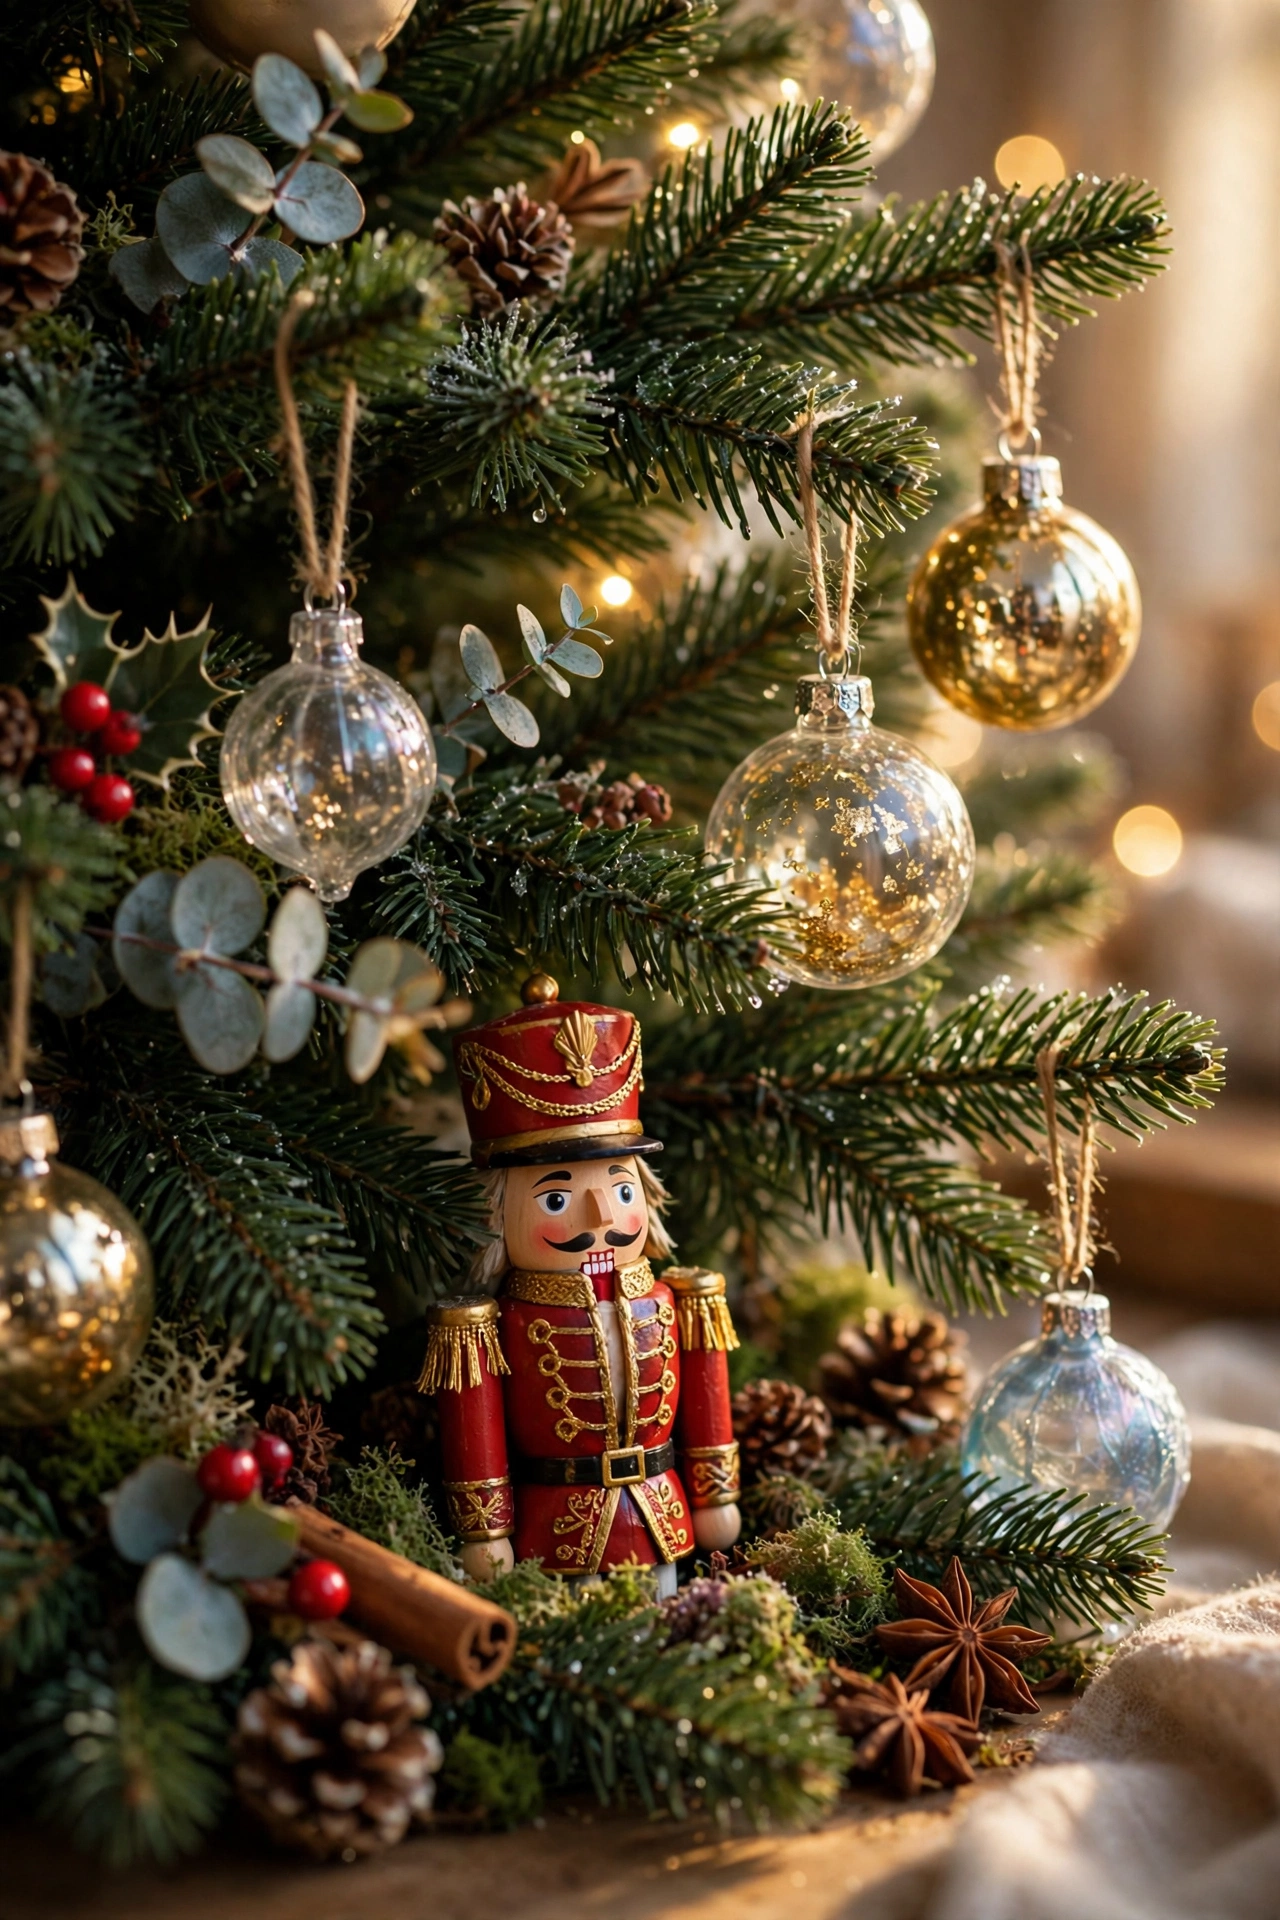
Nutcracker Figurines Tucked Into the Branches
Tuck a few small nutcracker figurines directly into the lower and middle branches of the tree, nestled among the ornaments rather than displayed only on a shelf nearby. Nutcrackers are one of the most recognizable symbols of traditional Christmas styling, and placing them inside the tree rather than around its base gives the whole display a three-dimensional, storybook quality. Choose nutcrackers in a color palette that matches your ornaments — red, green, and gold uniforms tend to blend seamlessly into a classic tree — rather than mixing in bright, mismatched characters. Angle each figure slightly outward so its painted face is visible from the main viewing side of the tree. This detail consistently reads as one of the most charming, most-commented-on elements by anyone who sees the finished tree in person.
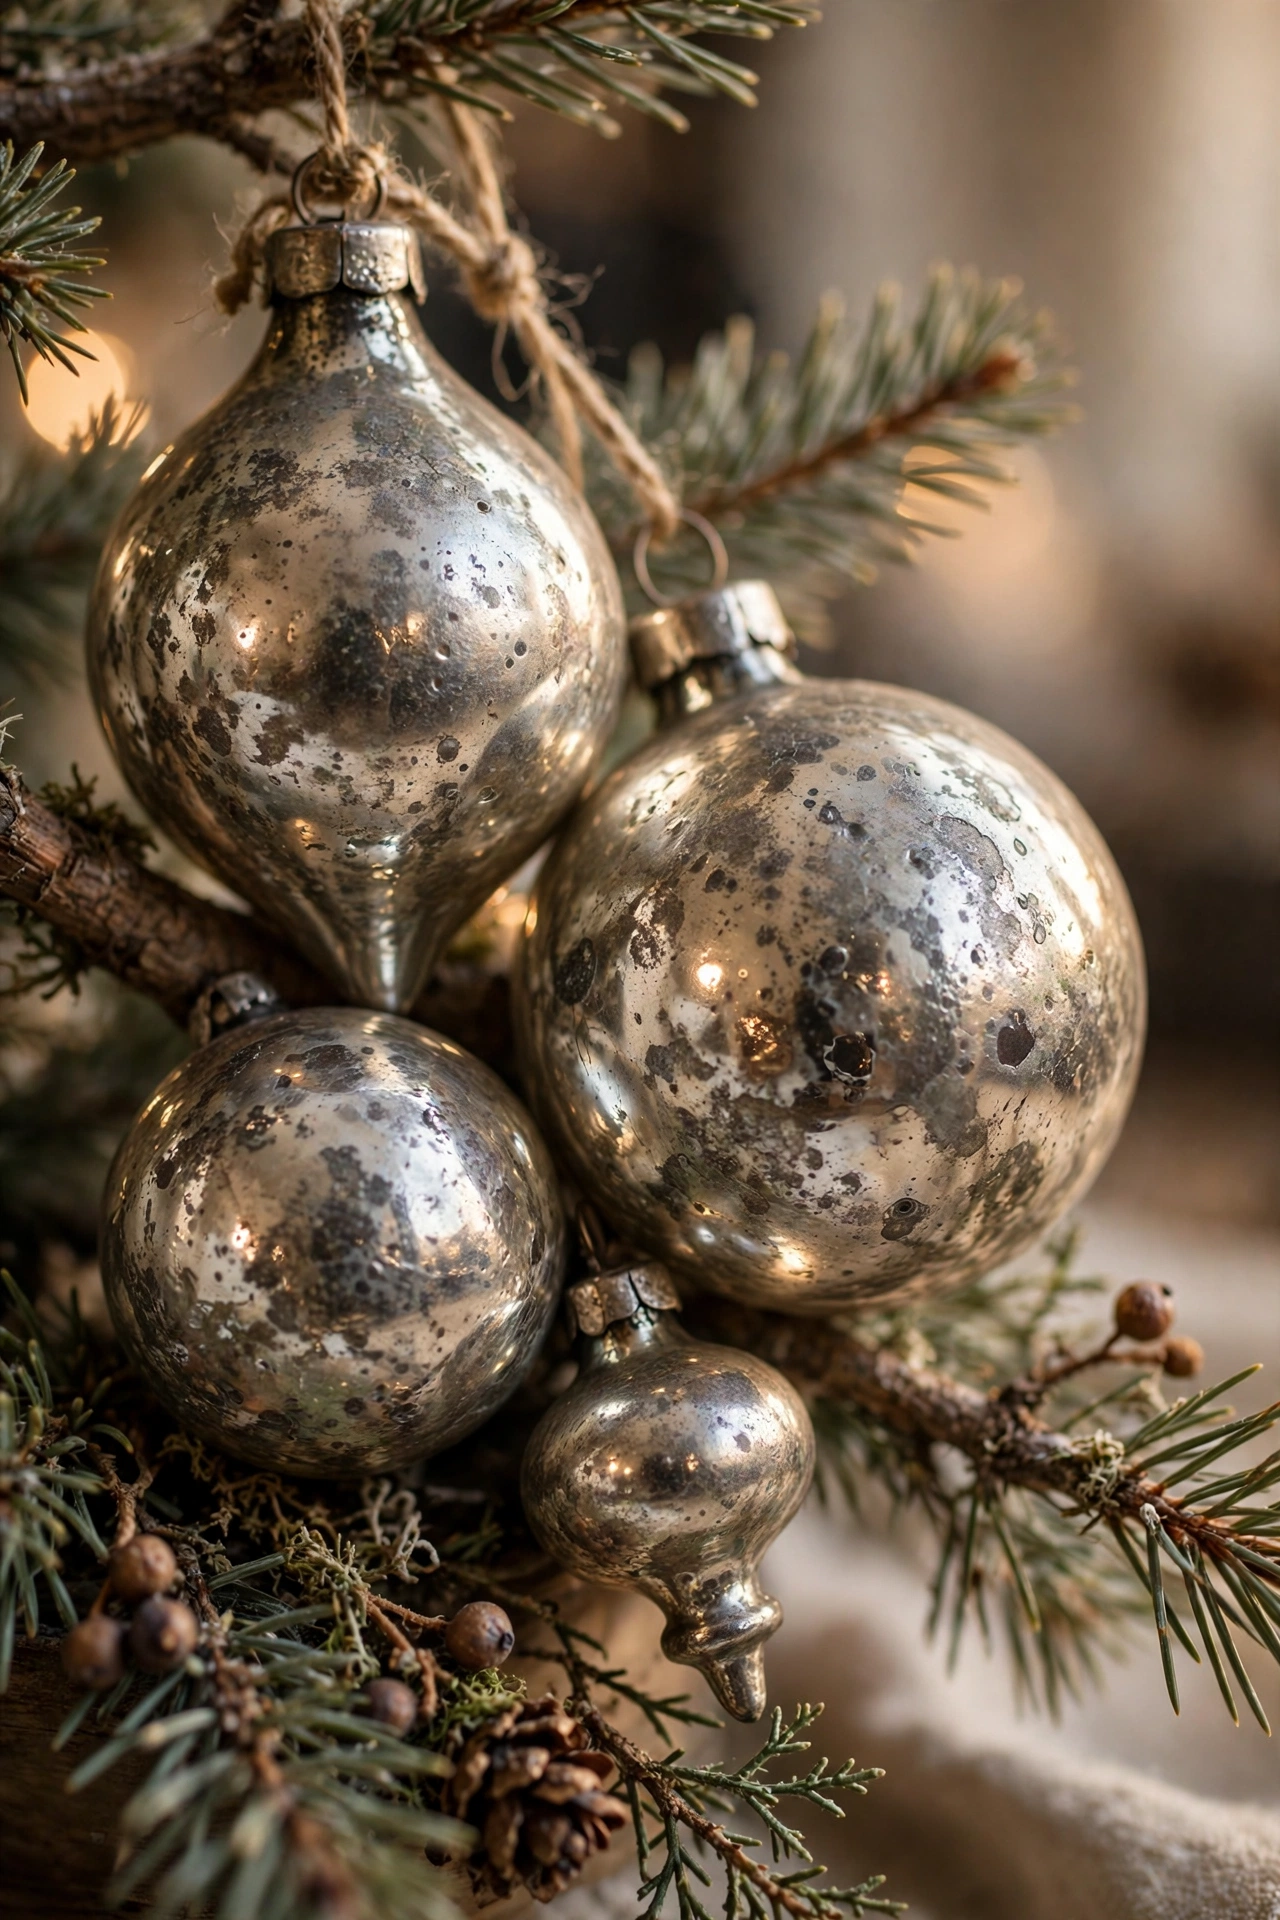
Vintage-Style Mercury Glass Ornaments
Add a cluster of vintage-style mercury glass ornaments — the ones with a softly mottled, antiqued silver finish — near the front of the tree where their unique texture won’t get lost among shinier pieces. Mercury glass, sometimes called kugel-style glass, has an aged, slightly cloudy reflective quality that’s completely different from modern glossy ornaments, and it instantly adds a sense of history to the tree. Group several mercury glass pieces together in one section rather than scattering them evenly, since their subtle texture needs concentration to actually register visually against bolder red and gold ornaments. Pair them with warm lighting rather than cool white, since warm light brings out the antique silver tone far better than a cooler bulb temperature does. This idea is especially effective for anyone building toward a more heirloom, collected-over-decades look.
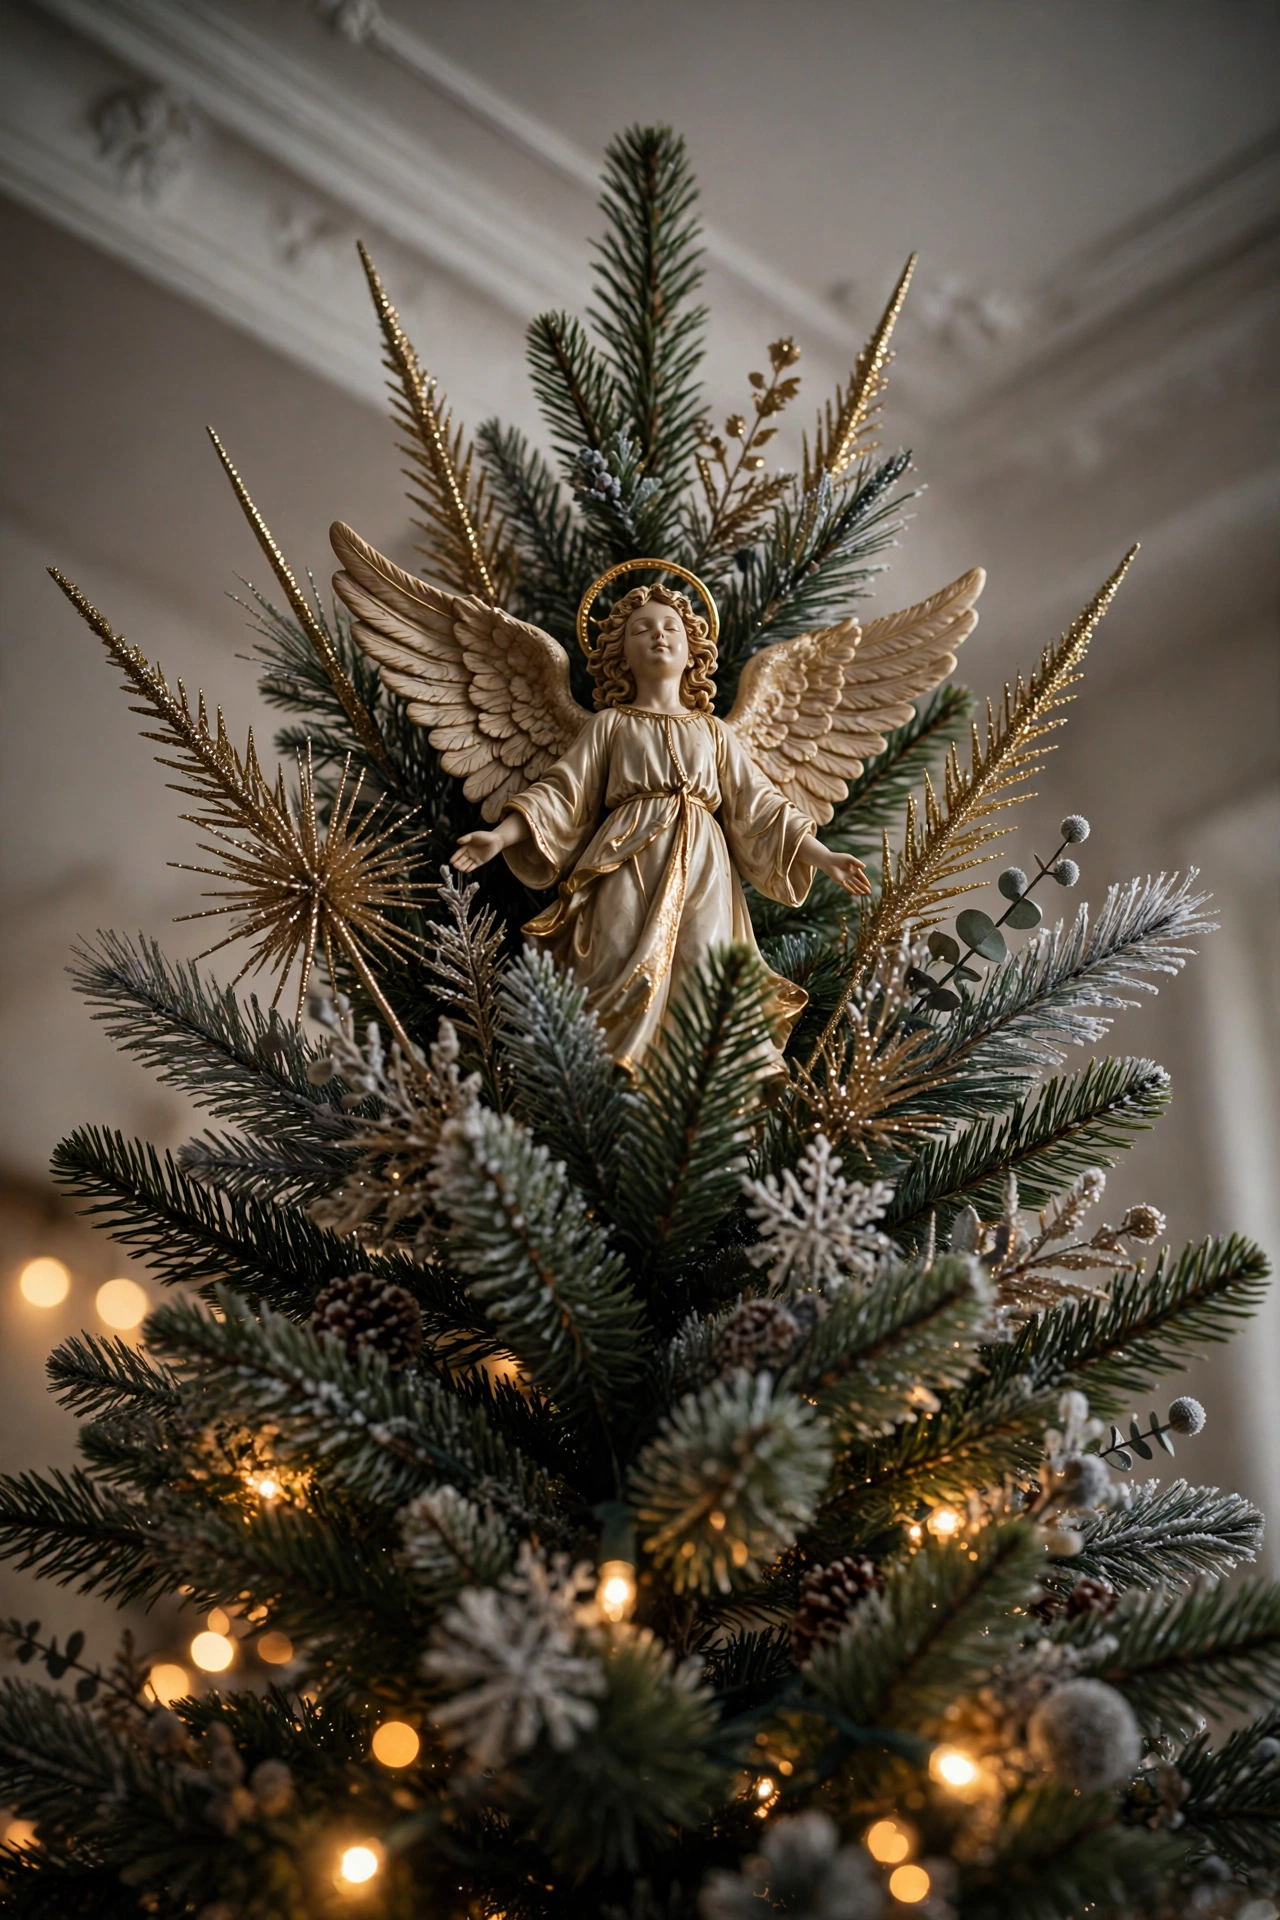
Classic Angel Tree Topper
Top the tree with a classic angel figure, positioned slightly down into the top branches rather than perched right on the very tip, so she looks nestled into the tree rather than floating above it. The angel topper has remained one of the most enduring choices in traditional Christmas decorating because of its long association with the nativity story and the sense of watchfulness it brings to the top of the tree. Secure her with floral wire or zip ties around the central trunk for stability, especially on taller trees where a lightweight topper can shift over the course of the season. Add a few long, spiky tree picks just beneath her for support and to help her catch the light from below. Measure the space between your ceiling and tree beforehand, since angel toppers with wings can require more clearance than a simple star.
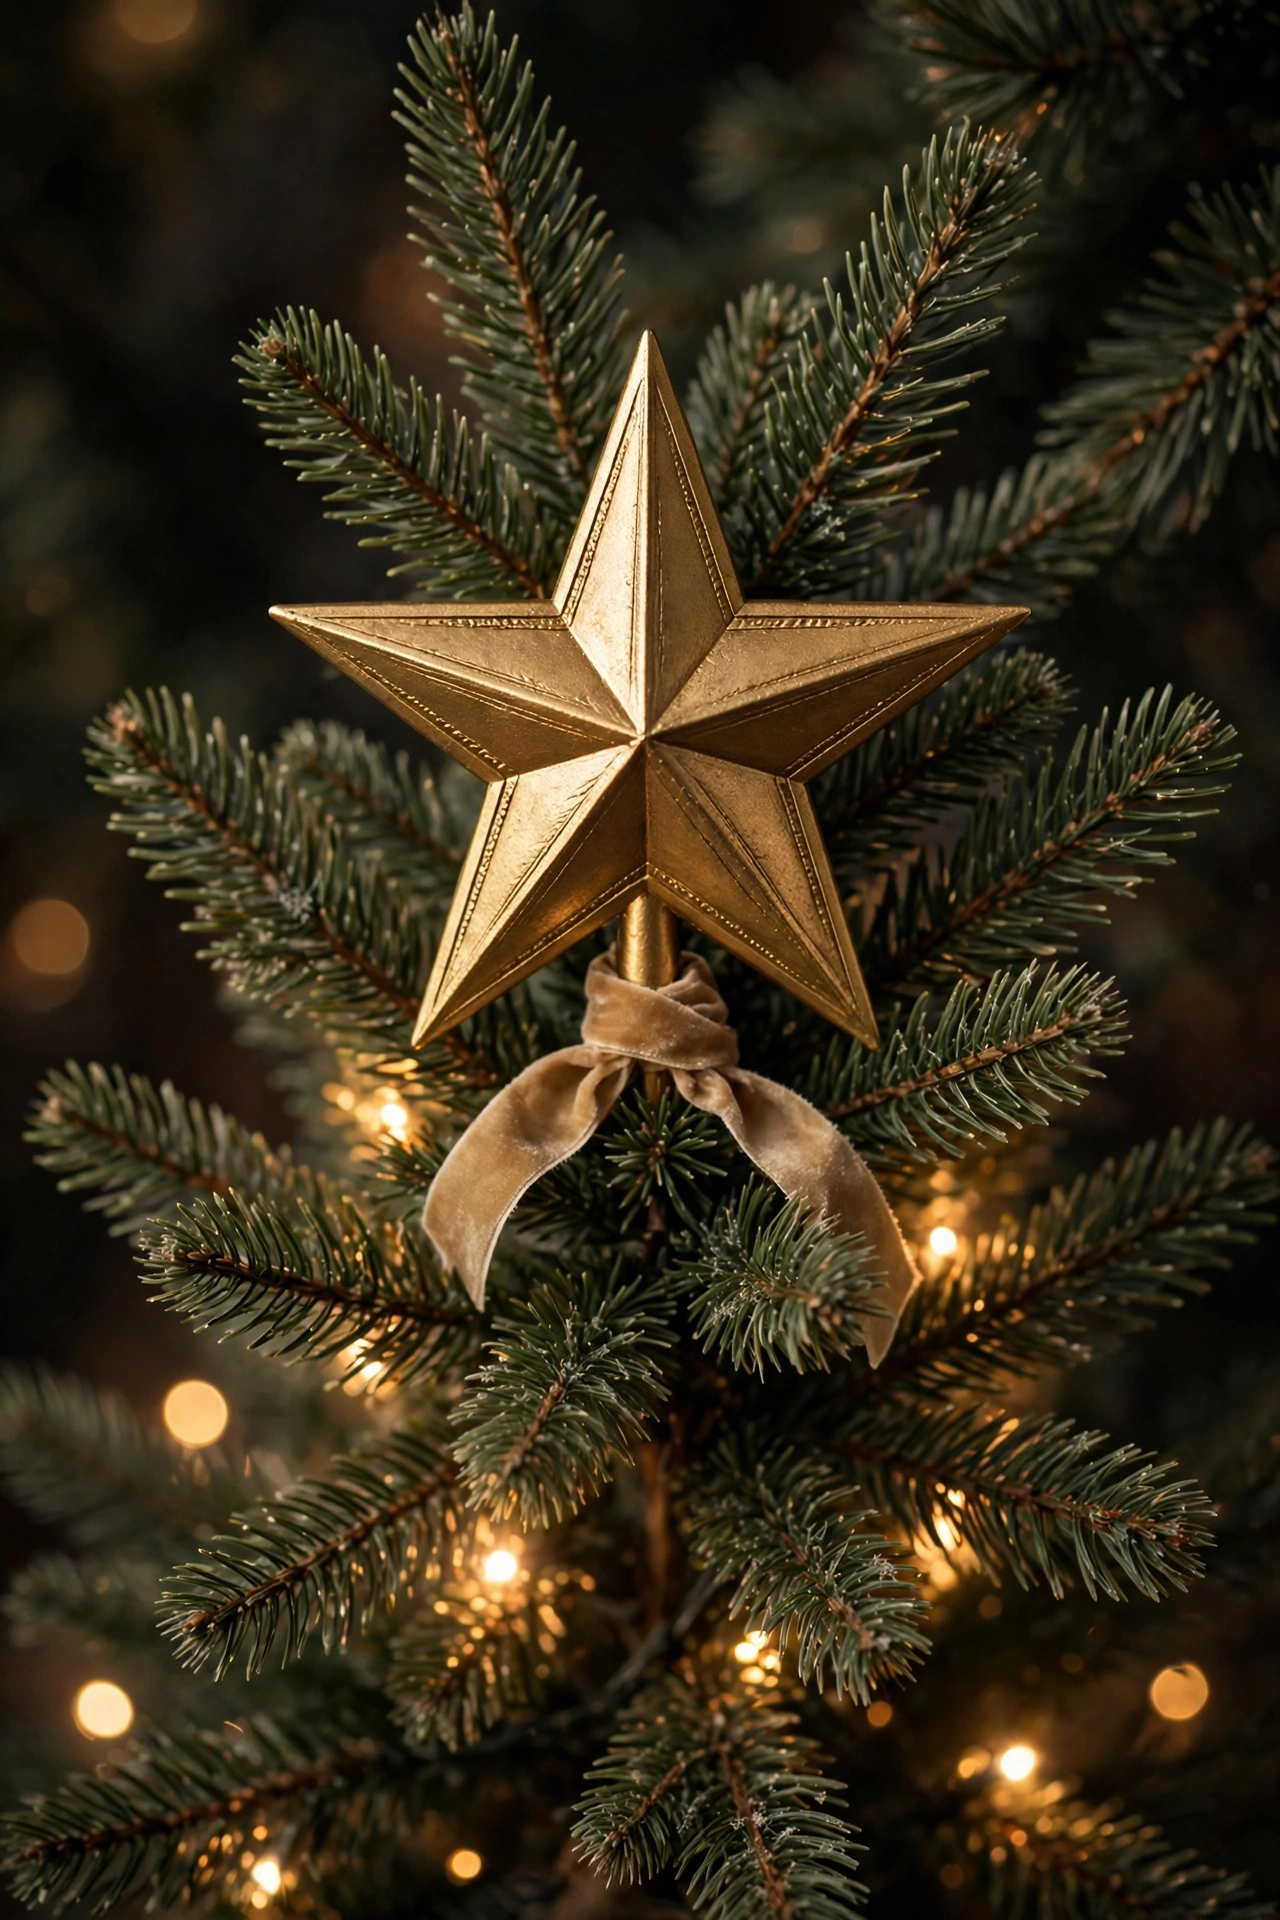
Star or Finial Tree Topper
Choose a gold or silver star, or a slim decorative finial, to top the tree if you want a more streamlined silhouette than an angel provides, especially on a narrow or slim-profile tree where a finial’s tapered shape fits the tree’s natural line. Stars in particular have symbolic ties to the Christmas story and remain one of the two most searched traditional topper choices alongside the angel. Attach the topper about a hand’s width down from the very top rather than right at the tip, which lets it settle into the branches instead of appearing to hover above them. Wrap the base in a bit of coordinating ribbon or a few tree picks to visually connect the topper to the rest of the tree instead of leaving it looking like a separate object stuck on top. A finial is generally the better match for slim or pencil-style trees, while a full star or angel suits a fuller, more traditional tree shape.
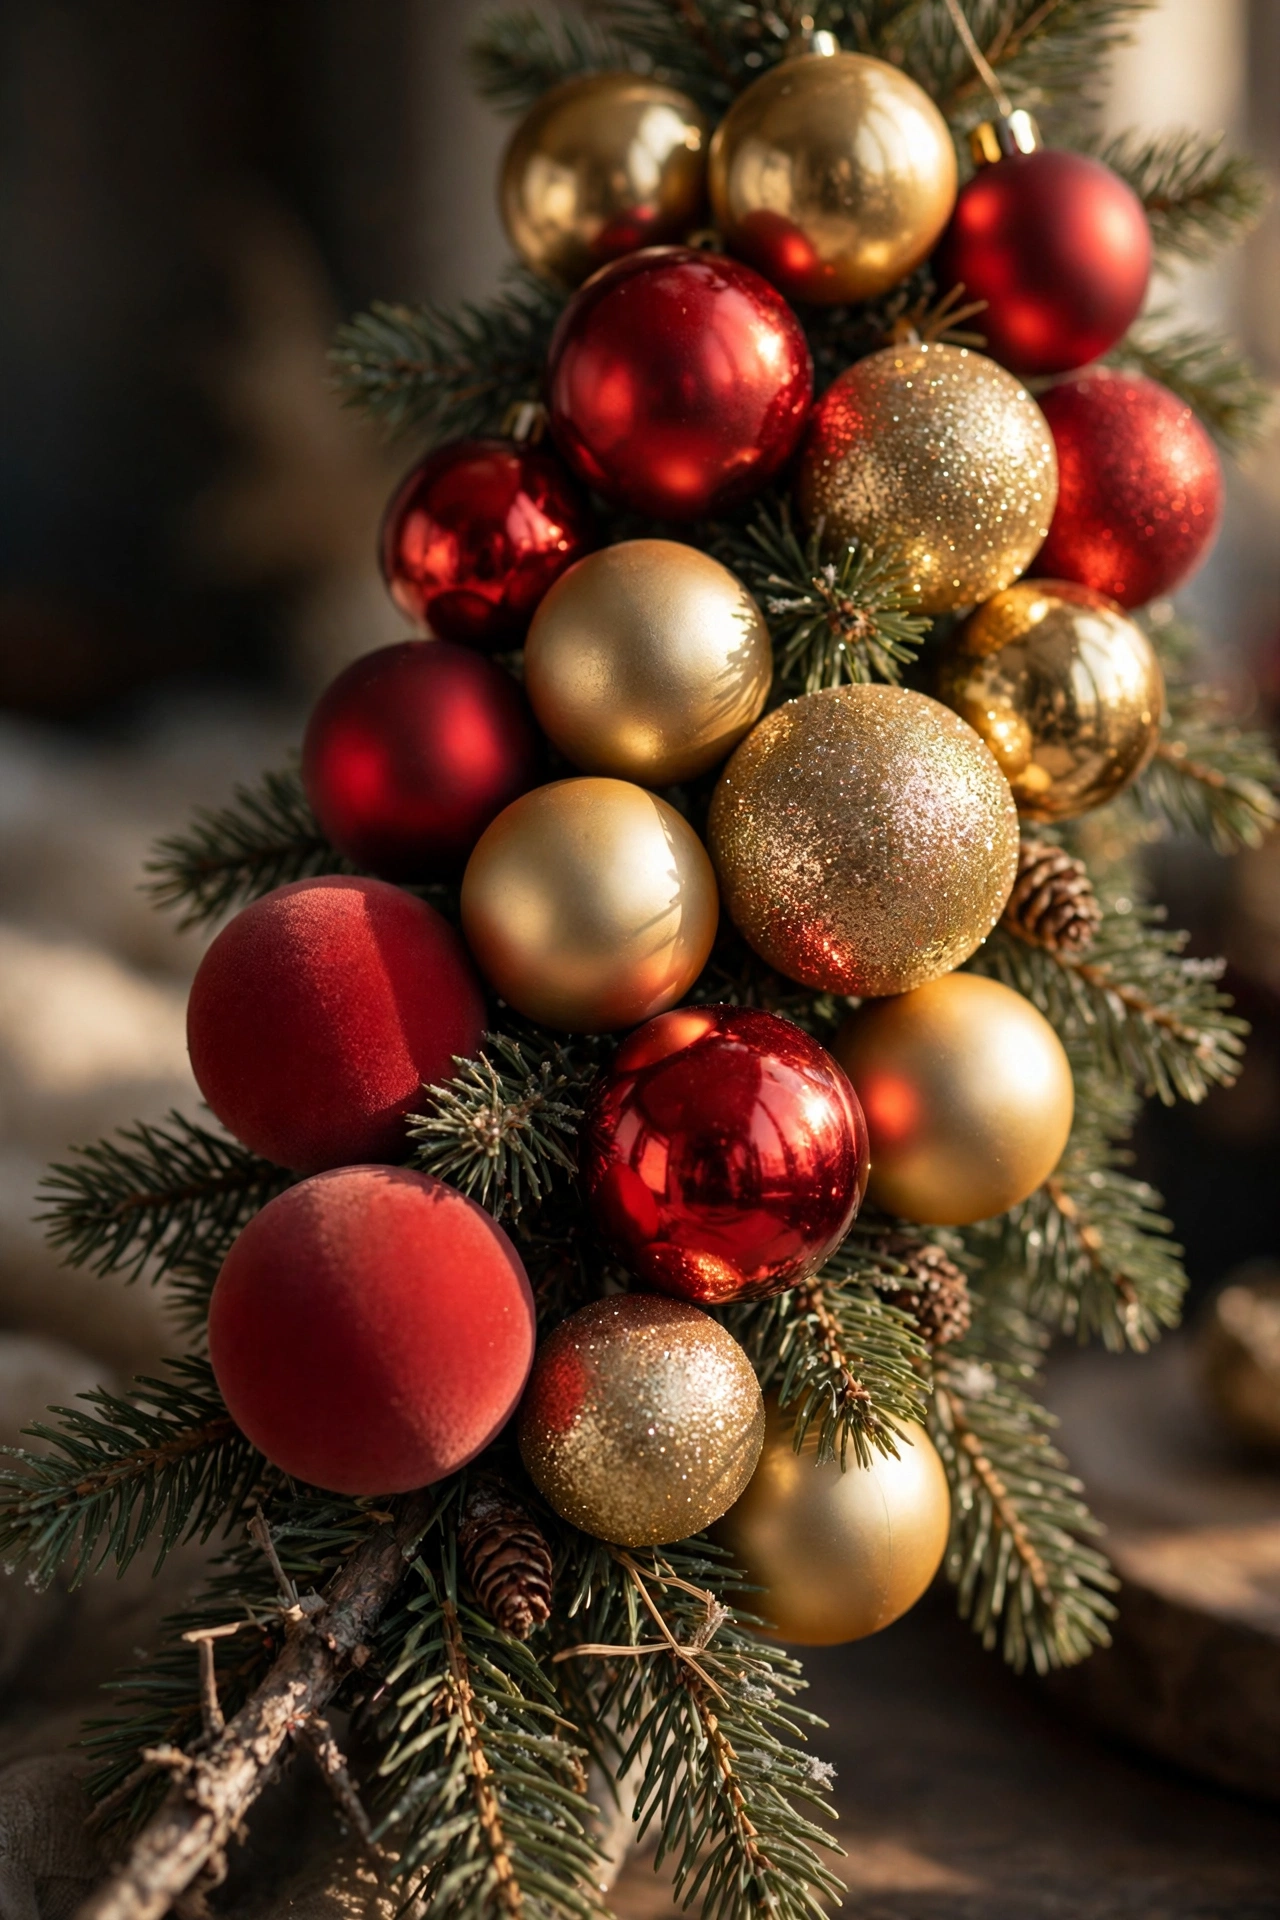
Ornaments Clustered in Odd Numbers
Instead of spacing every ornament evenly across the tree, cluster ornaments together in small groups of three or five at intervals, leaving slightly more open branch space between each cluster. Odd-numbered groupings are a styling principle borrowed directly from professional visual merchandising, since the eye finds asymmetrical groupings more naturally pleasing than perfectly even spacing. Vary the sizes within each cluster — one larger ornament with two smaller ones works especially well — so each grouping has its own sense of depth rather than reading as a flat repeated unit. This technique also solves a common problem on artificial trees, where evenly spaced ornaments can end up looking sparse or mechanical. Once you start clustering rather than spacing, a tree that used the exact same number of ornaments as before will suddenly look noticeably fuller and more professionally styled.

Mixed-Finish Ornaments for Depth
Combine matte, glossy, and glittered ornaments within the same red, green, and gold color story rather than choosing only one finish throughout the tree. Each finish catches and bounces light differently — matte absorbs it softly, glossy reflects it sharply, and glitter scatters it — so mixing all three within one color palette creates real visual depth that a single-finish tree can’t achieve. Distribute the finishes fairly evenly rather than grouping all the glossy pieces in one area and all the matte pieces in another, so no single section of the tree reads as flatter than the rest. This is a favorite technique among professional tree decorators specifically because it makes a tree look layered and expensive without requiring any additional colors or materials. It’s also one of the easiest upgrades if you already own a full set of same-finish ornaments — a small supplemental set in a different finish can transform the whole tree.
Related: 23 Classic Christmas Tree Ideas That Never Go Out of Style
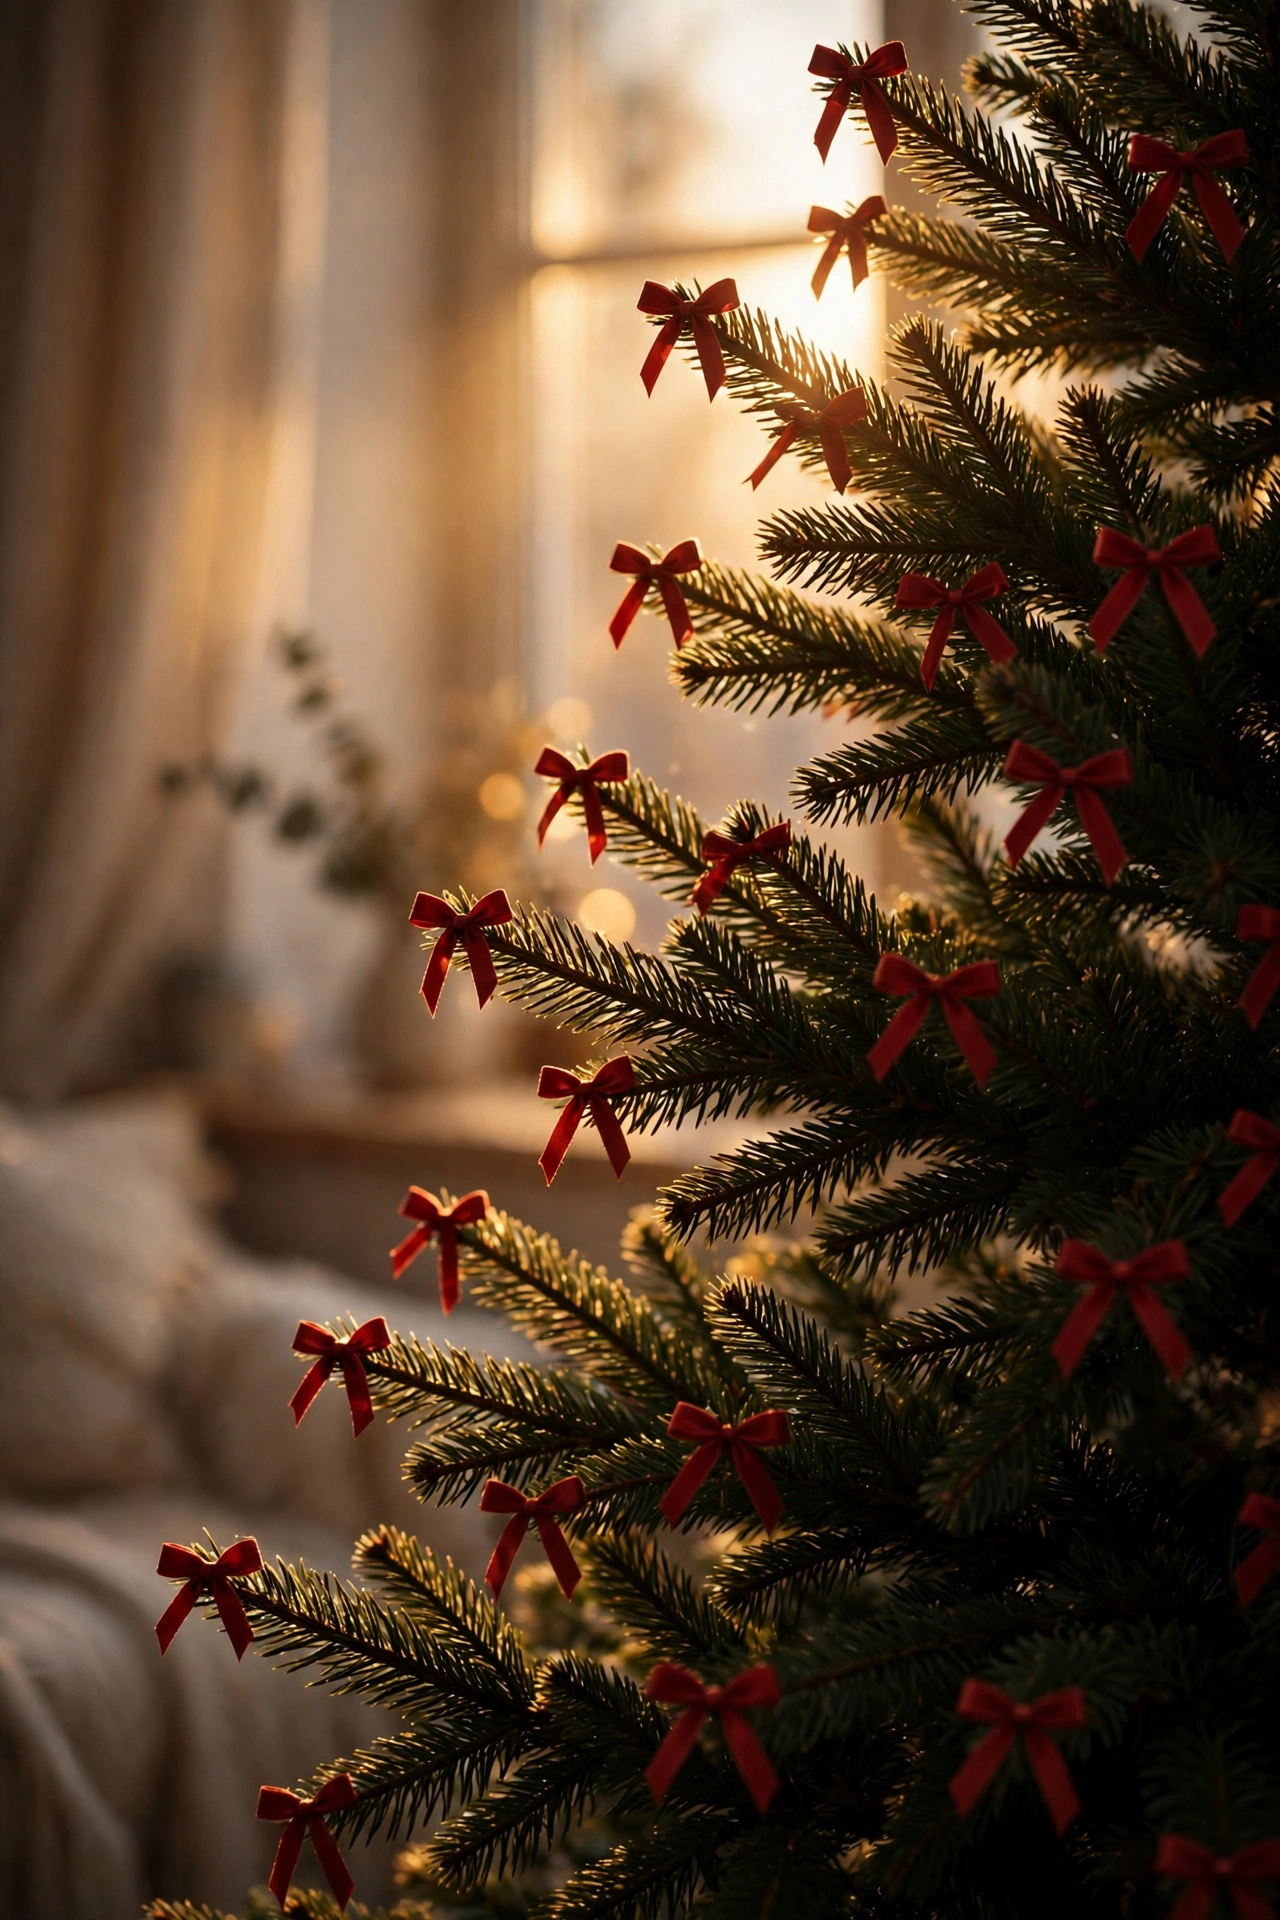
Red Bow Accents at the Branch Tips
Tie small, simple red ribbon bows directly onto individual branch tips scattered throughout the tree, rather than reserving bows only for larger statement placements. These small bow accents add a repeated pop of color at the very outer edge of the tree, which helps balance the visual weight of ornaments and garland that tend to sit deeper in the branches. Keep the bows relatively small and uniform in size for this particular placement, since the goal here is a consistent rhythm of color rather than a series of individual focal points. Space them with enough gap between each one that they read as a pattern rather than clutter, roughly one small bow for every foot or so of branch tip. This is a simple, inexpensive way to add a traditional, almost storybook-illustration quality to the very silhouette of the tree.
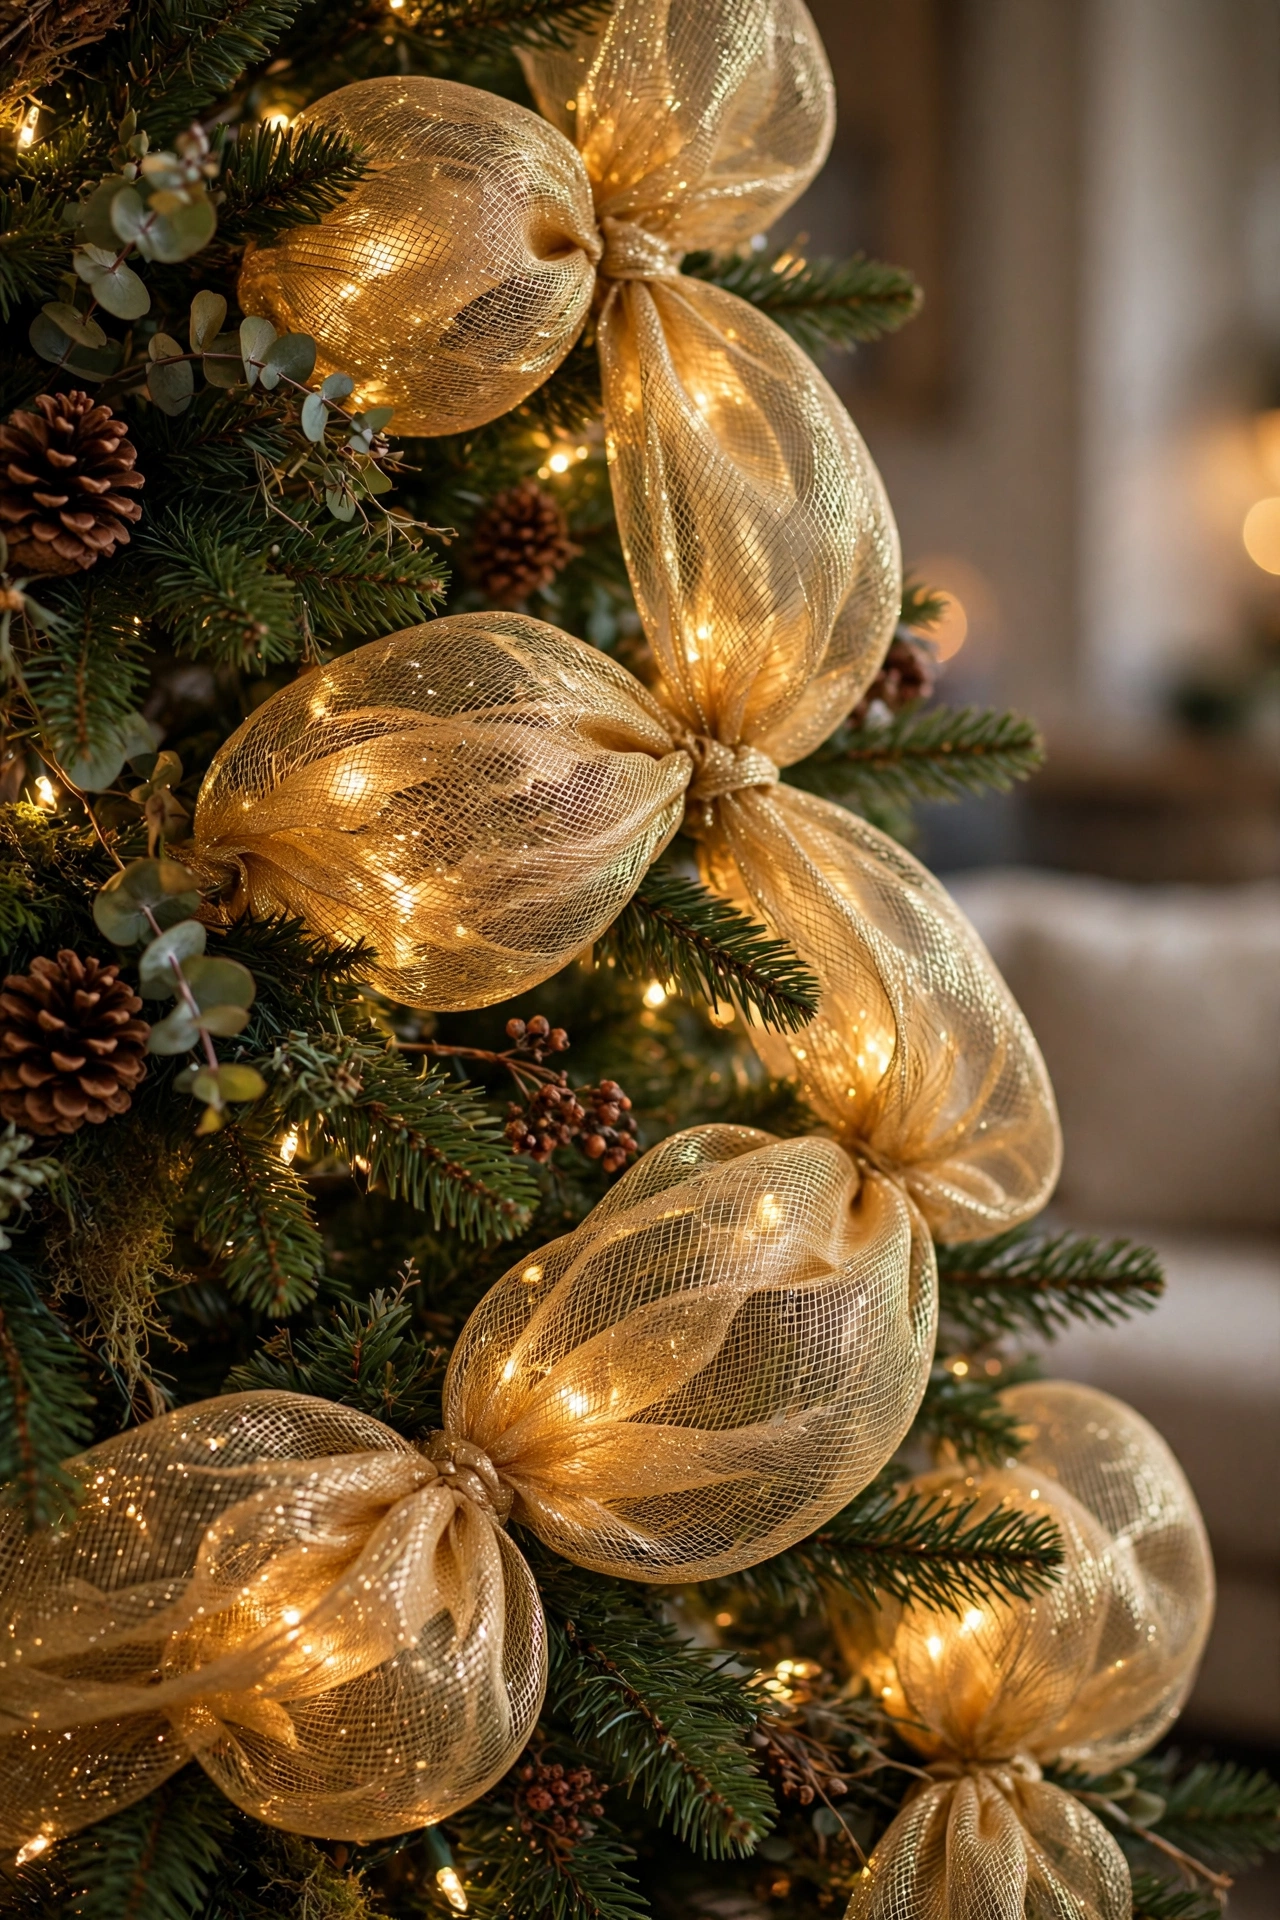
Gold Mesh Ribbon Poufing Technique
Starting at the top of the tree, gather sections of gold mesh ribbon into soft, rounded poufs as you work your way down, securing each pouf with floral wire or by tucking it directly into the branches. Mesh ribbon has an airy, dimensional quality that behaves differently from flat satin or velvet ribbon, and the poufing technique takes advantage of that by creating rounded pockets of texture rather than flat draped lines. Distribute the poufs at roughly even intervals down the tree, alternating sides so the fullness reads as balanced from the front. This technique pairs particularly well with a gold-and-red color story, since the mesh catches light in a diffused, glowing way that plays beautifully against glossy glass ornaments nearby. It takes a bit more time than a simple ribbon drape, but the resulting texture is distinct enough that it’s worth the extra effort on a statement tree.
Personalized Heirloom Keepsake Ornaments
Set aside a visible section of the tree, often toward the front and at eye level, for personalized keepsake ornaments — pieces marking a baby’s first Christmas, a wedding year, or a family milestone. These ornaments are typically the most meaningful pieces on any traditional tree, and giving them a prominent, easy-to-see placement rather than burying them among decorative-only pieces honors that meaning visually. Add one new keepsake ornament each year if this isn’t already a family habit, since a tree that grows a little more personal annually is part of what makes traditional decorating feel different from simply buying a themed set. Mix keepsake pieces in with the surrounding color-coordinated ornaments rather than isolating them in their own separate cluster, so they feel woven into the tree rather than set apart from it. This is less a decorating technique and more the emotional core that makes a traditional tree feel like your traditional tree rather than a generic one.
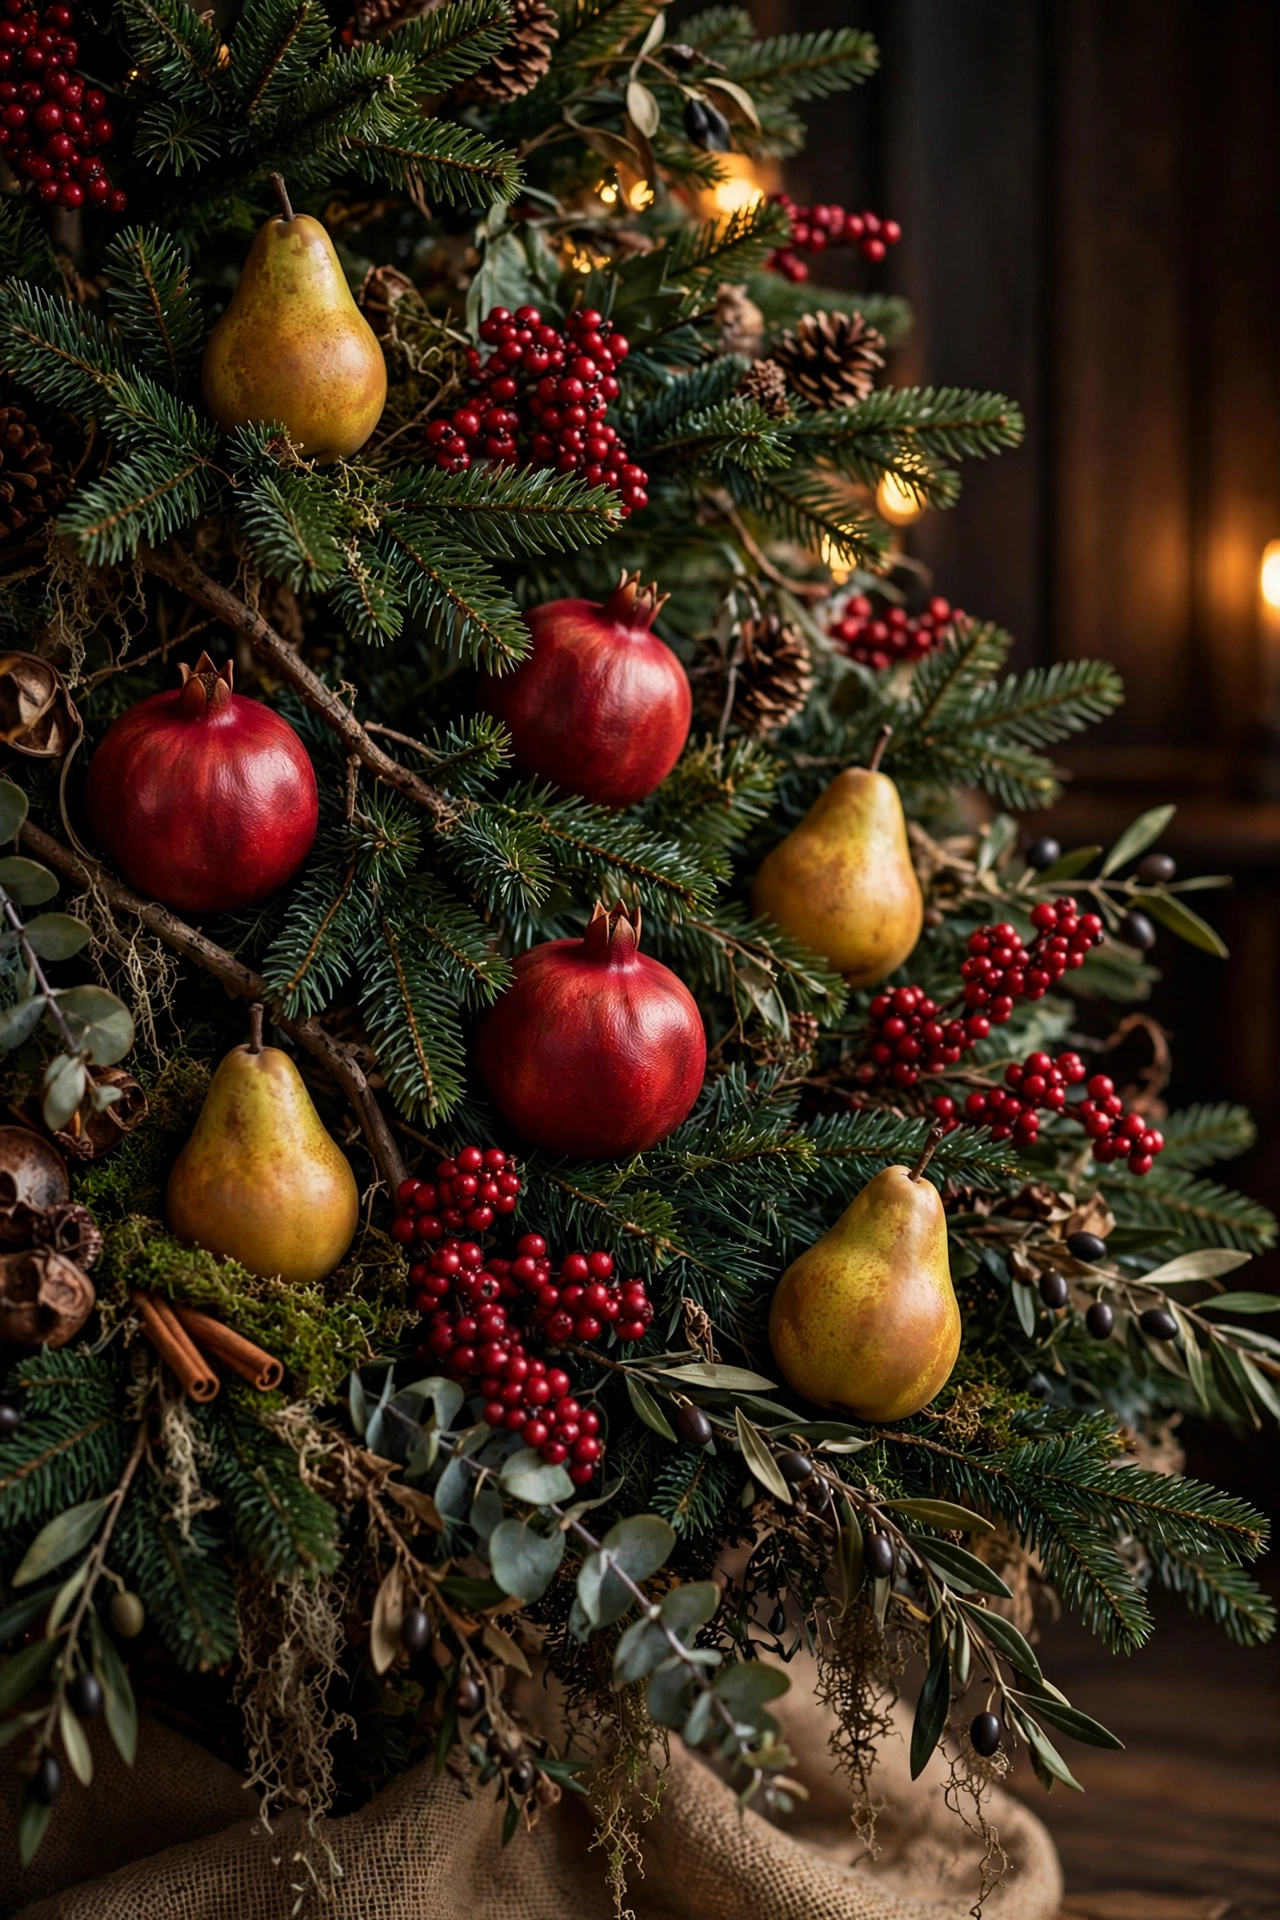
Berry & Fruit Garland Clusters
Tuck small clusters of faux berries and fruit — think pomegranates, pears, or clustered red berries — into the branches alongside the greenery, echoing the abundant, harvest-inspired styling associated with early American Christmas decorating. This look draws on a Colonial-style tradition of using real fruit as festive decoration, and it pairs a warm, jewel-toned pop of color with the tree’s greenery in a way that feels organic rather than manufactured. Concentrate the fruit clusters near the base and lower third of the tree, where they visually anchor the display, tapering off as you move upward so the effect doesn’t feel evenly scattered. Mix berry stems with a few gilded leaf picks nearby for added richness. This idea has been trending back into popularity recently and offers a distinctive alternative to the more common all-glass, all-ribbon traditional tree.
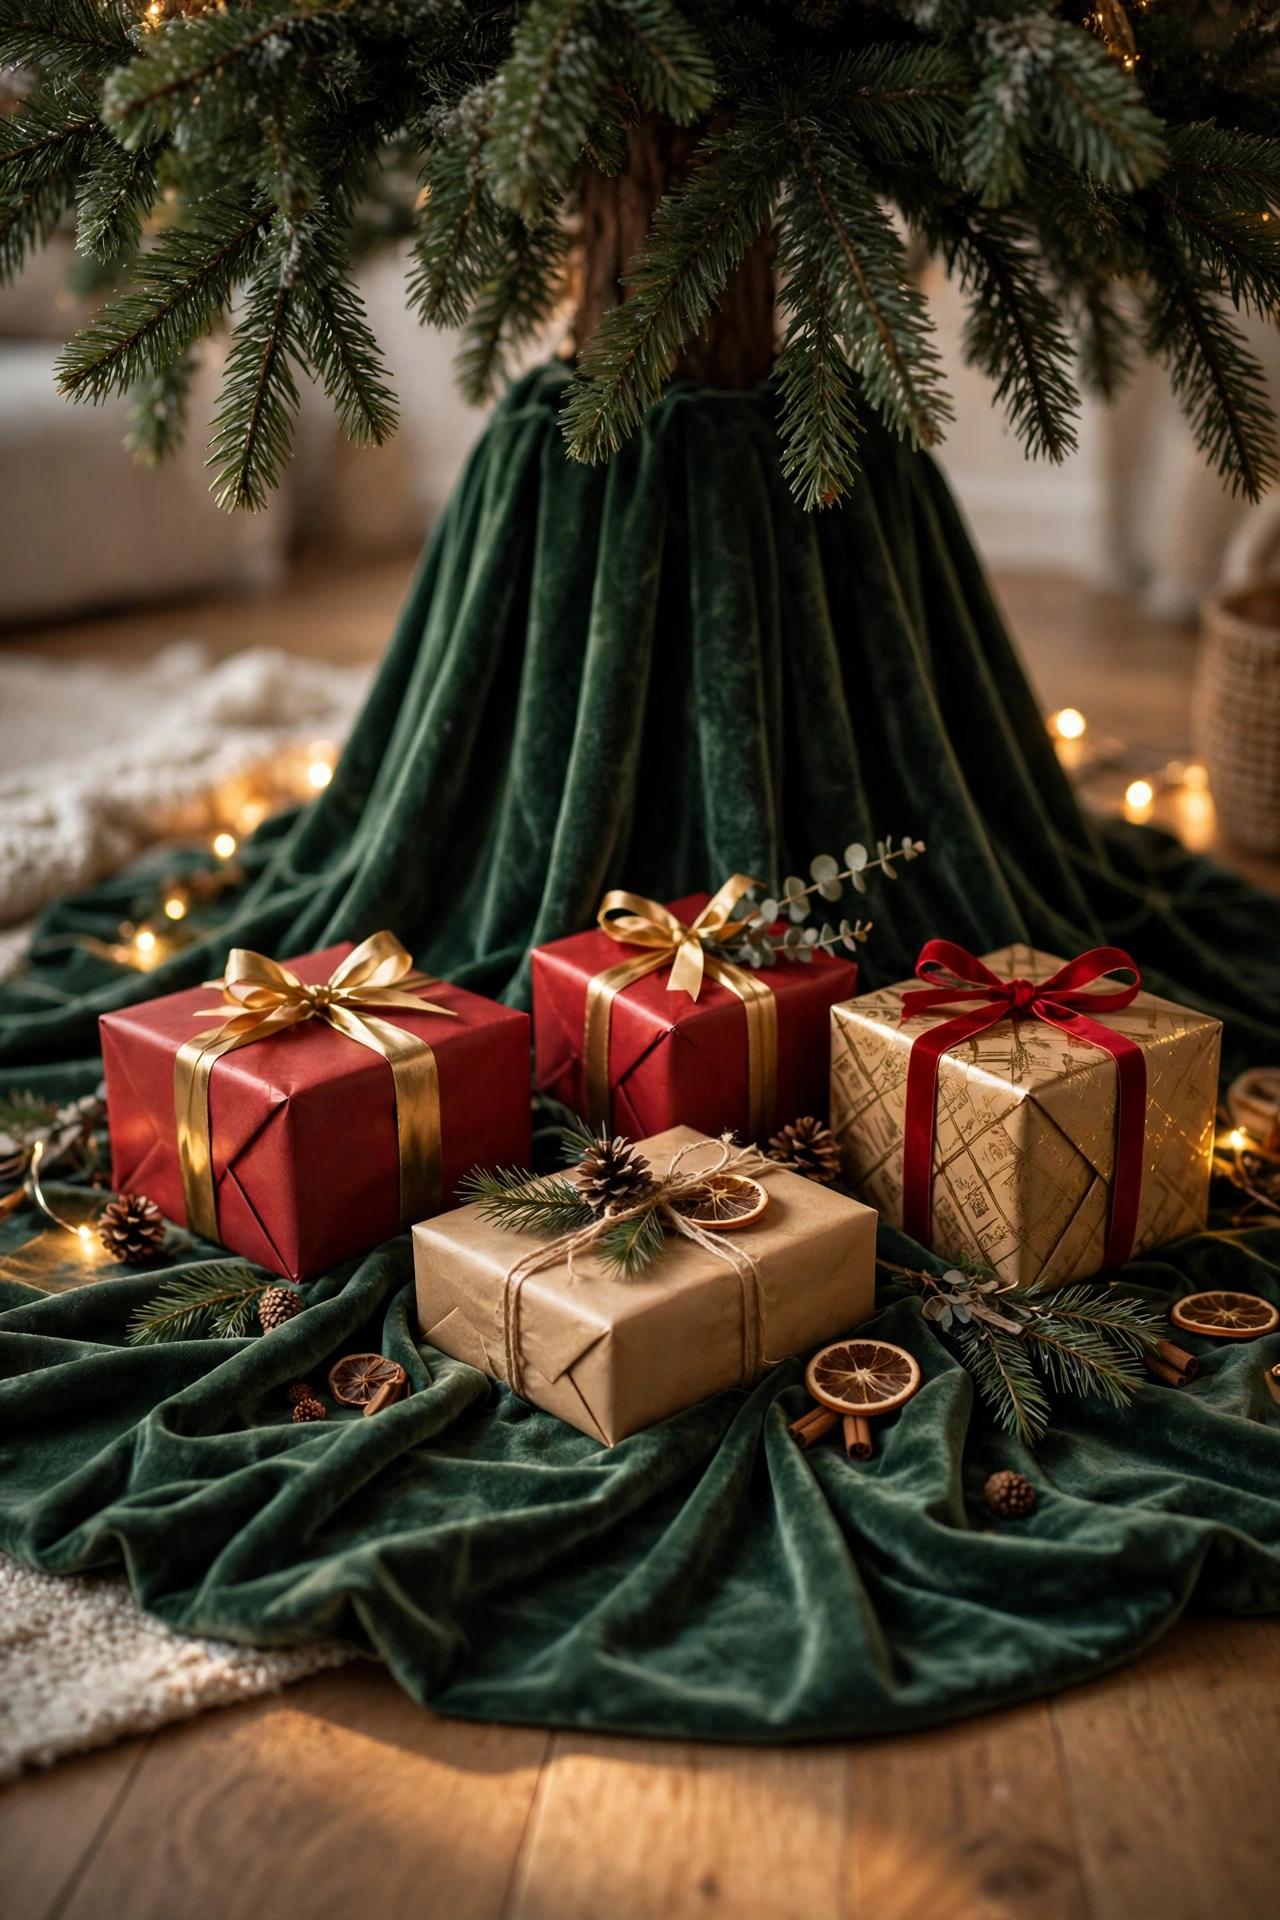
Classic Plaid or Velvet Tree Skirt
Finish the base of the tree with a full, generously sized tree skirt in classic plaid or rich velvet, rather than a thin, undersized skirt that leaves the tree stand visible around the edges. The skirt is one of the most overlooked elements of a traditional tree, but an ill-fitting or plain skirt can undercut an otherwise beautifully decorated tree the moment someone’s eye drops to the floor. Choose a skirt that echoes one of the tree’s accent materials — plaid if you used tartan ribbon higher up, or velvet if you used a velvet ribbon cascade — so the whole display feels connected from top to bottom. Let it pool slightly rather than pulling it perfectly taut, which softens the transition between the tree and the floor. Layer wrapped gifts in coordinating colors on top of the skirt to extend the color story all the way to the ground.
Icicle Tinsel on the Branch Tips
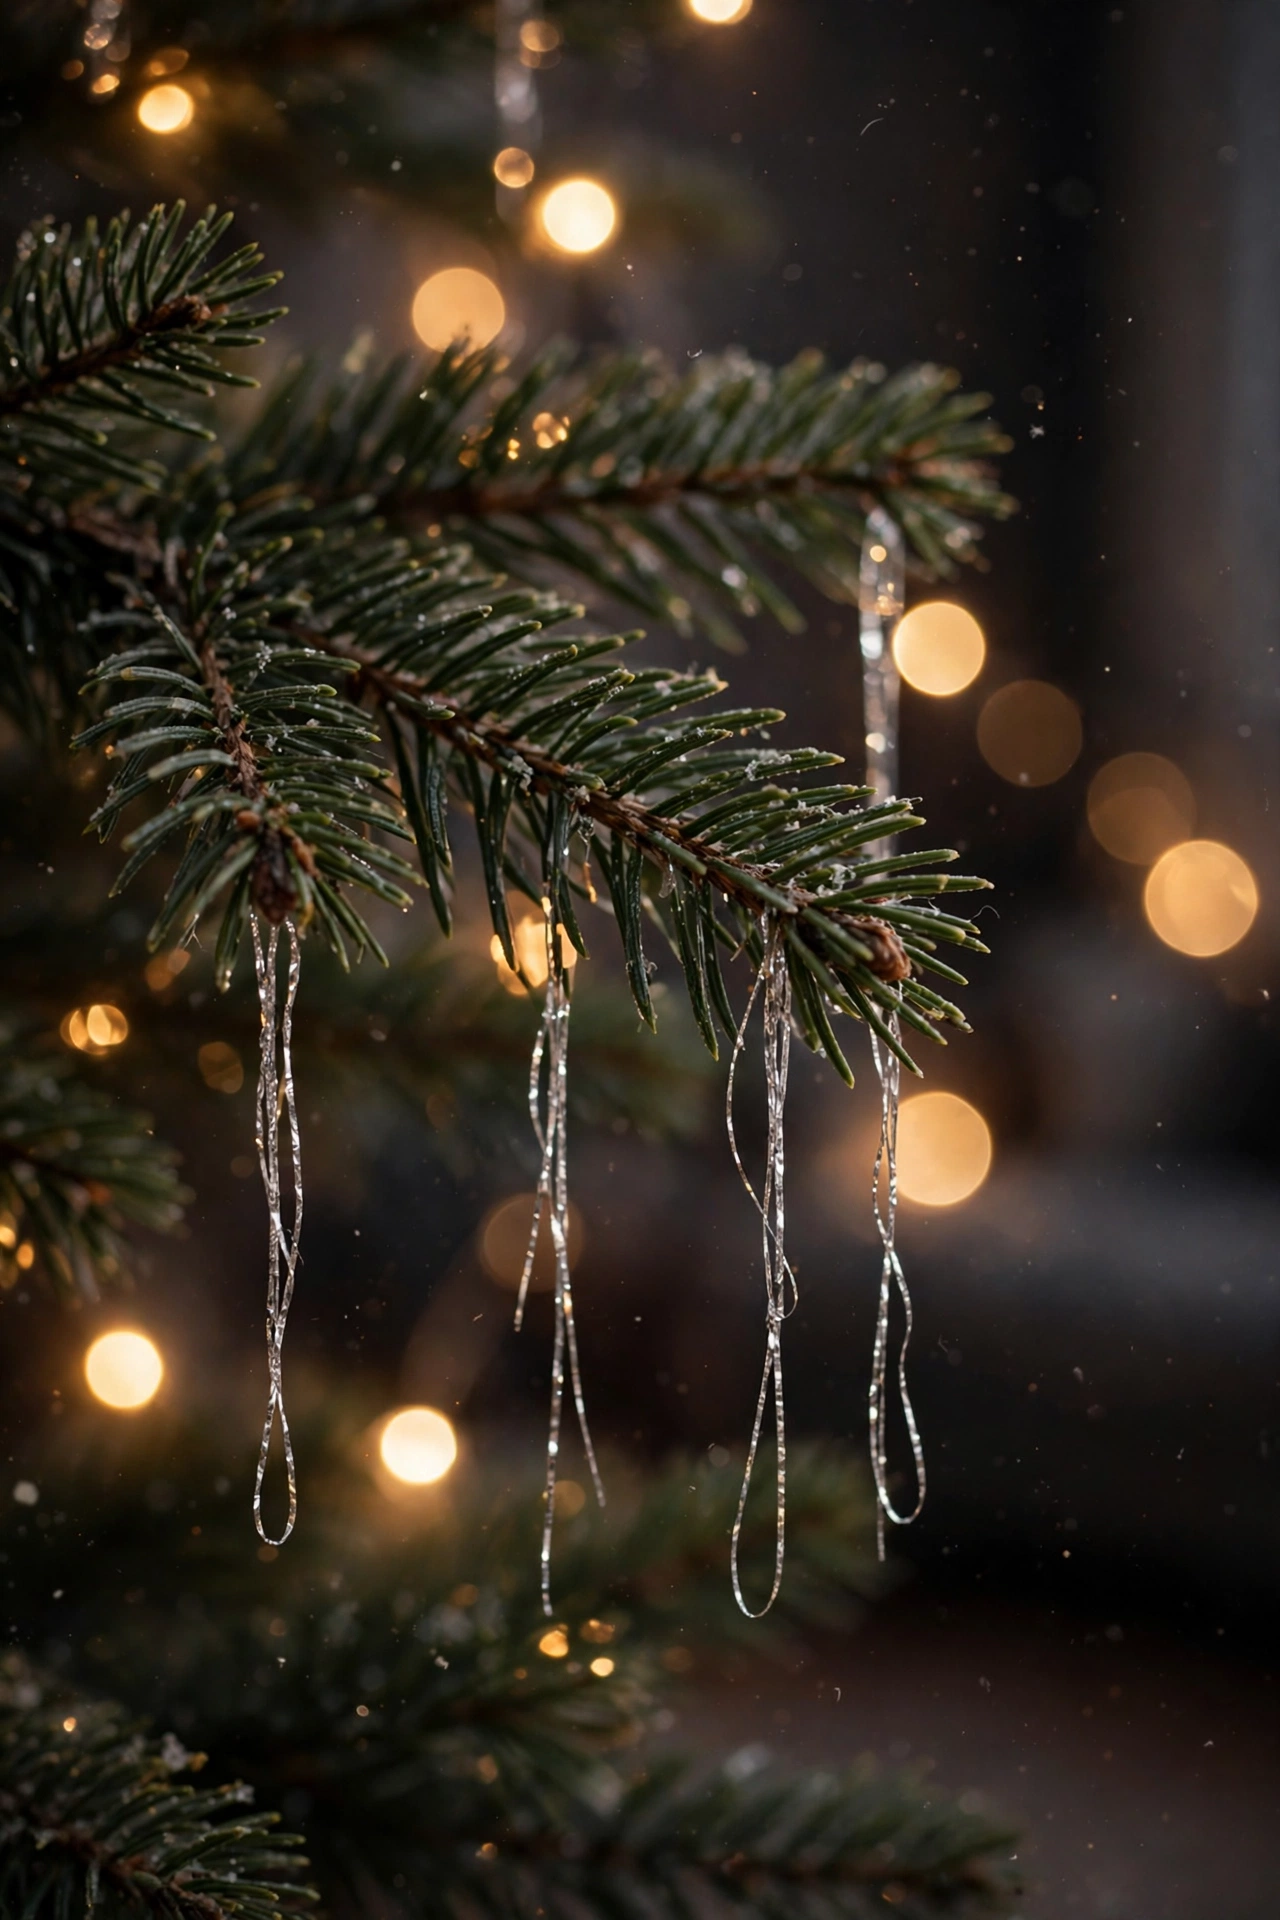
Hang individual strands of icicle tinsel one at a time directly onto the very tips of the outer branches, rather than draping large clumps across the whole tree the way tinsel was often used decades ago. This more restrained, modern approach to tinsel creates a subtle shimmer and movement at the edges of the tree without overwhelming the ornaments and ribbon underneath it. Work section by section, hanging just a few strands per branch tip so the light effect reads as gentle sparkle rather than heavy coverage. Save tinsel for the very last step of decorating, after lights, garland, ornaments, and topper are already in place, since it’s the one material that’s genuinely easier to add sparingly at the end than to work around later. This small, careful touch is what gives a fully decorated traditional tree that last bit of movement and glimmer, especially when the tree lights are on in a dim room.
Styling Tips
Decorate in the correct order — lights first, then garland or ribbon, then ornaments, then the topper, then the tree skirt — since each layer is built to sit around the one before it. Stick to a maximum of two accent metals, like gold and silver, or gold and copper, rather than mixing several metallics that compete with each other. Step back from the tree every so often during decorating and view it from across the room, since details that look uneven up close often read as perfectly balanced from a normal viewing distance.
Practical Implementation Ideas
Lay out your ornaments, ribbon, and garland on a table before you start, sorted loosely by color and finish, so you’re not searching through boxes mid-decorating. Decorate in sections rather than working randomly around the tree, completing one full vertical third before moving to the next so the color and texture stay balanced top to bottom. Keep a small step stool nearby for the top third of the tree, since rushing that section from below is one of the most common reasons trees end up looking heavier at the bottom than the top.
Common Mistakes to Avoid
Wrapping ribbon in tight, even spirals around the tree tends to look stiff and artificial compared to the natural cascading or poufing techniques described above. Hanging all the ornaments at a uniform depth on the branches, rather than pushing some further back toward the trunk, flattens the tree and removes the sense of dimension a traditional tree should have. Skipping the step of testing lights before wrapping them is one of the most common and most avoidable mistakes, since finding a dead strand halfway through means undoing work you’ve already finished.
Related: 15 Black and Pink Christmas Tree Ideas for a Bold Look
Small-Space Alternatives
A slim or pencil-style tree can carry the same traditional color story and ribbon technique in a fraction of the floor space, especially with a finial topper instead of a full star or angel. A tabletop tree, decorated with miniature versions of the same ornament clusters and a small bow-tip technique, brings the same look to an apartment or a single shelf. For very tight spaces, focus your effort on just two or three of the ideas above — glass ornaments and a ribbon cascade, for example — rather than trying to layer all nineteen onto a small tree.
Budget-Friendly Alternatives
Popcorn and cranberry garland costs almost nothing beyond the popcorn itself and can fill a large amount of visual space on a budget. Mixing a small number of real mouth-blown glass ornaments with a larger base of simpler glass or plastic ornaments in the same colors gets you most of the visual impact of a fully collectible tree at a fraction of the cost. Buying ribbon, garland, and tree picks at the end of the previous holiday season, when they’re heavily discounted, is one of the most effective ways experienced decorators build up a traditional tree’s supporting materials over time without paying full price.
Pro Styling Recommendations
Mix ornament finishes deliberately rather than buying a single boxed set, since the contrast between matte, glossy, and glittered pieces is what creates real depth. Treat ribbon as a structural layer that goes on early, not a final accent added at the end, since ribbon added after ornaments almost always looks flat and stuck-on. Choose one “hero” element — a particularly detailed glass ornament collection, a dramatic ribbon cascade, or a striking topper — and let the rest of the tree support it rather than competing with it for attention.
FAQs
Conclusion
A traditional Christmas tree isn’t really about following a strict formula — it’s about layering a handful of techniques (lights woven deep, ribbon that cascades instead of wraps, ornaments clustered instead of spaced) until the tree feels lived-in rather than staged. Start with the base color layer, build outward one technique at a time, and let a few heirloom or collectible pieces do the emotional heavy lifting. That’s how a tree stops looking decorated and starts looking like the one your family actually gathers around every year.