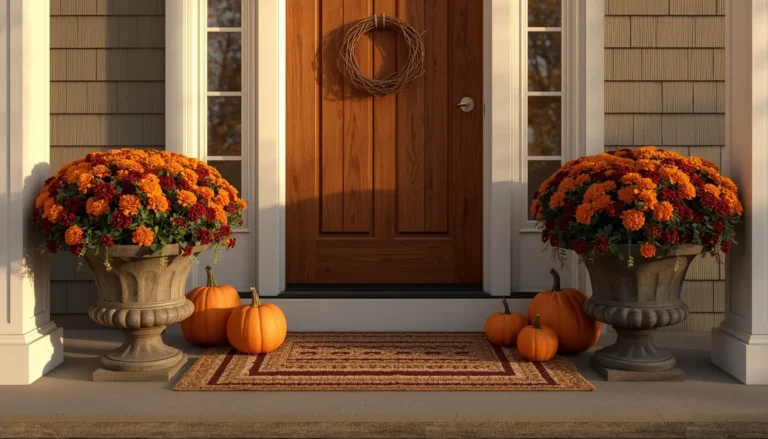
18 Easy Outdoor Halloween Decoration Ideas Anyone Can Copy
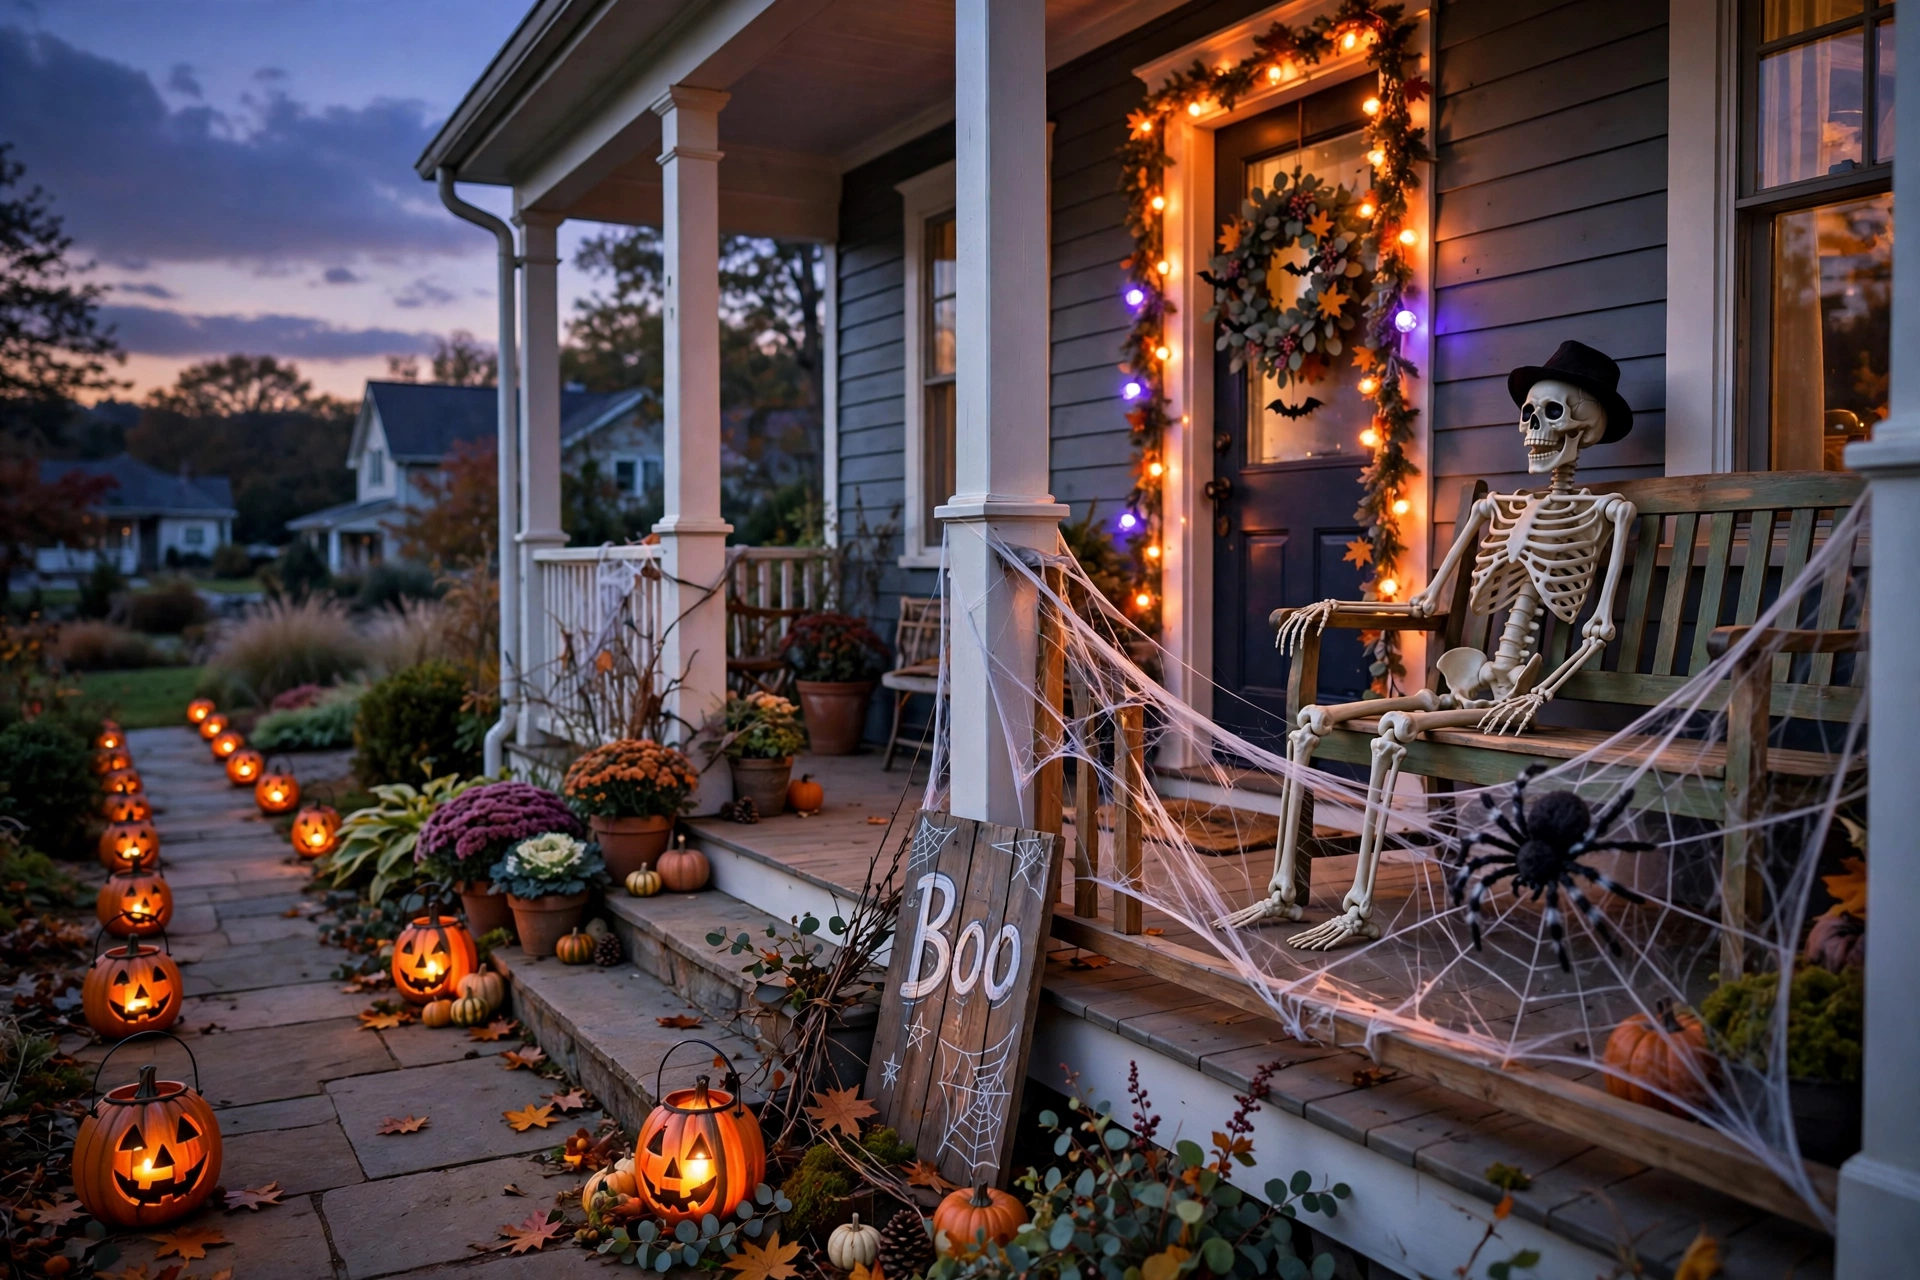
The best Halloween porches aren’t the ones with the most decorations. They’re the ones where a handful of ideas actually work together, a lit pathway, a stretched web, one good prop, instead of a yard full of unrelated pieces competing for attention.
Most outdoor Halloween decor breaks down into the same short list of moves: something that glows once it’s dark, something that looks like it’s been there for years even if it went up yesterday, and something anchored well enough that it survives the wind between now and October 31st. Everything else, tombstones, skeletons, string lights, is just personality layered on top of that structure.
This list runs through 18 easy outdoor Halloween decoration ideas, from classic dollar-store spiderwebs to a few things most guides skip entirely, like keeping your walkway safe for trick-or-treaters and actually anchoring your props against wind, so your porch looks great and survives the whole season.
Table of Contents
Classic DIY Builds (Ideas 1–5)
1. Stretched Spiderweb With a Giant Spider
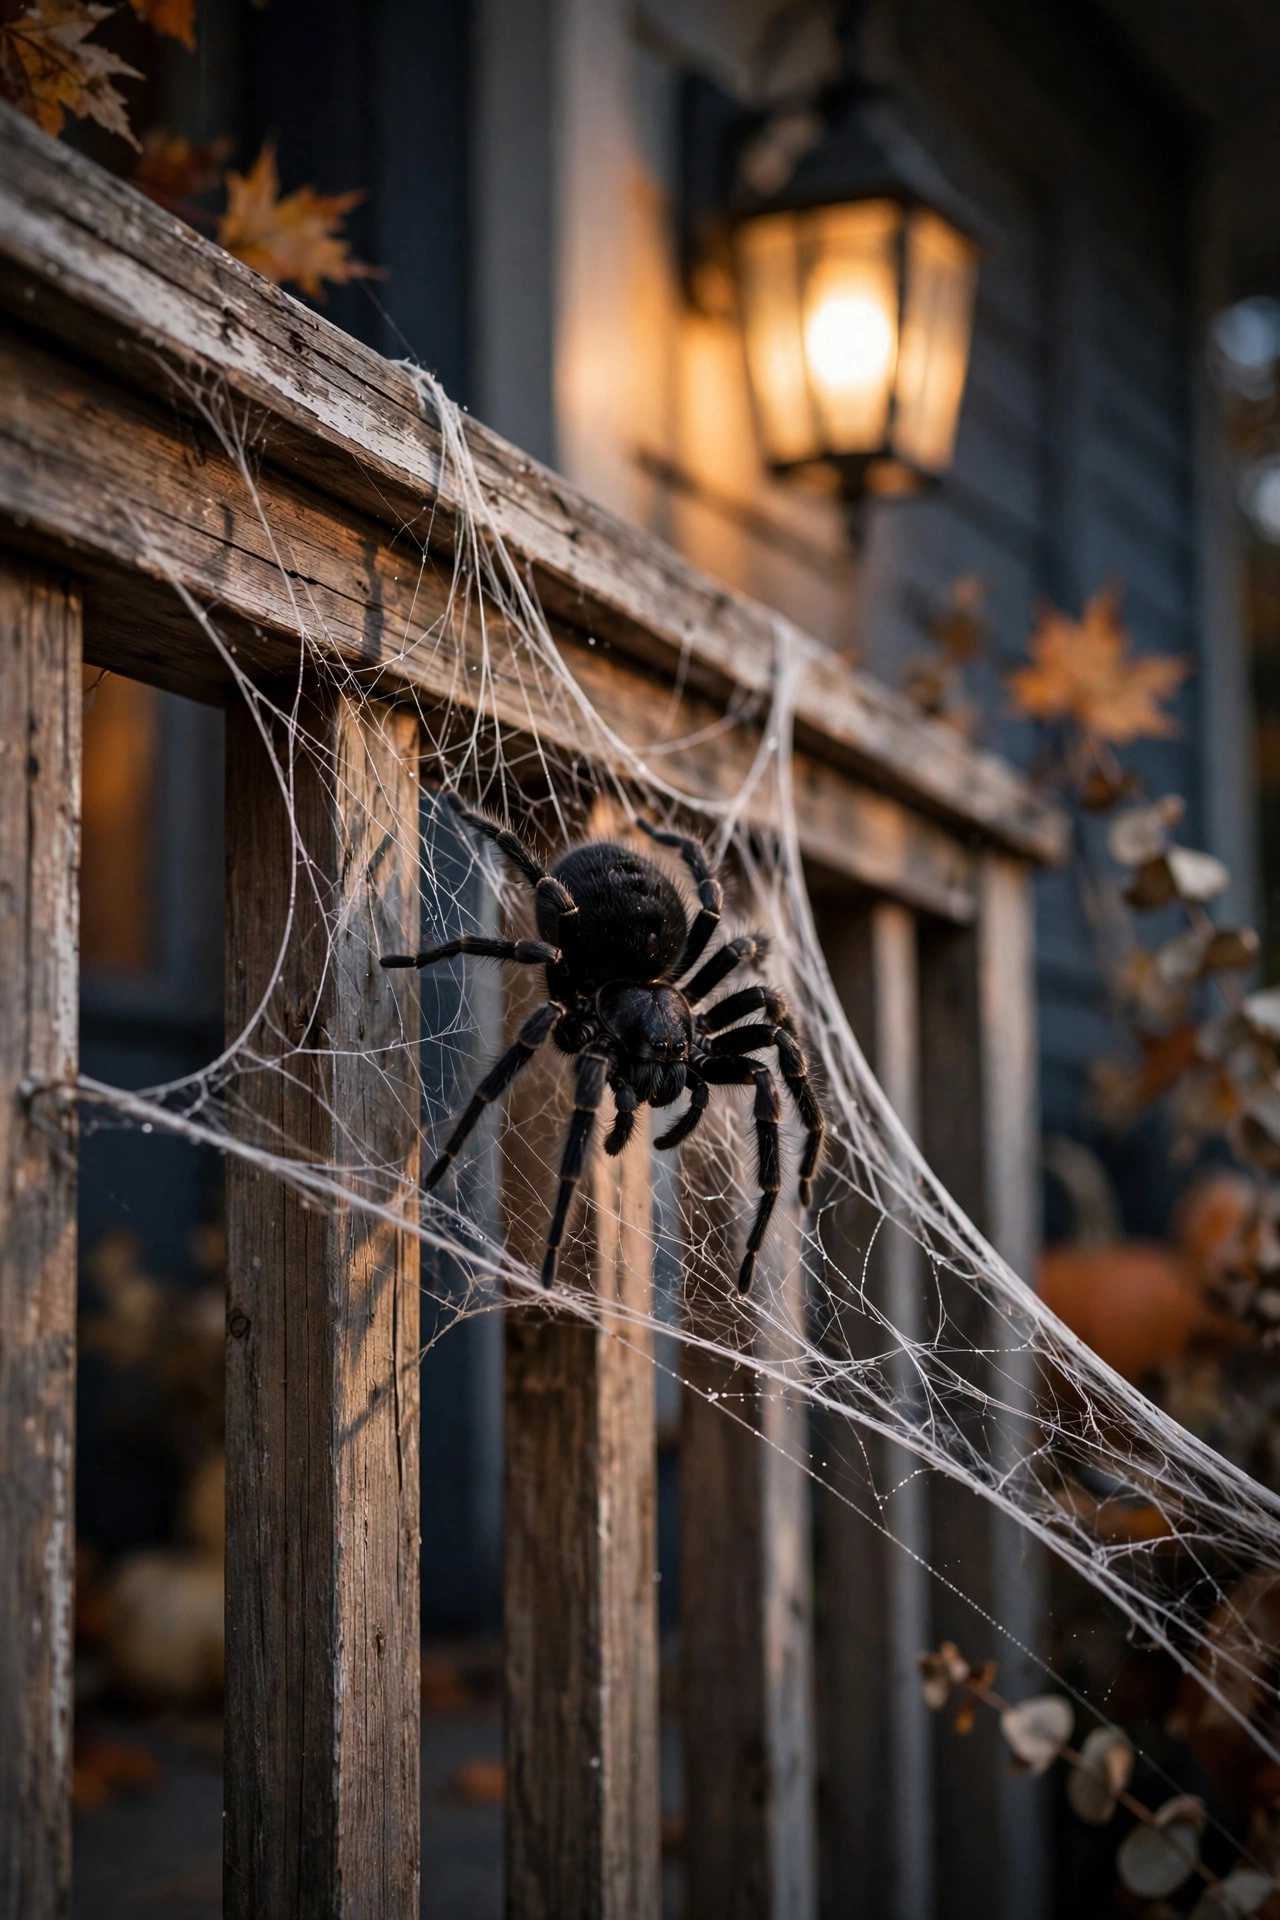
Stretch white spiderweb material, or a length of thin white rope pulled into a web pattern, across a porch railing, doorway, or bush, then anchor a large fuzzy or foam spider somewhere in the middle. This idea works because it’s one of the most recognizable, low-cost Halloween visuals available, and it scales easily from a single small web near the door to a full porch draped in webbing. Pull the fibers apart gently after stretching them into place, since fluffed webbing reads as far more convincing than the tightly packed material straight out of the bag. Secure the web at multiple points with small nails, hooks, or clear tape so it holds its shape rather than sagging into a shapeless clump after a day or two outside. This idea works particularly well combined with orange or purple lighting nearby, since backlighting a web at night makes the whole effect noticeably more dramatic.
2. Foam Board Tombstones
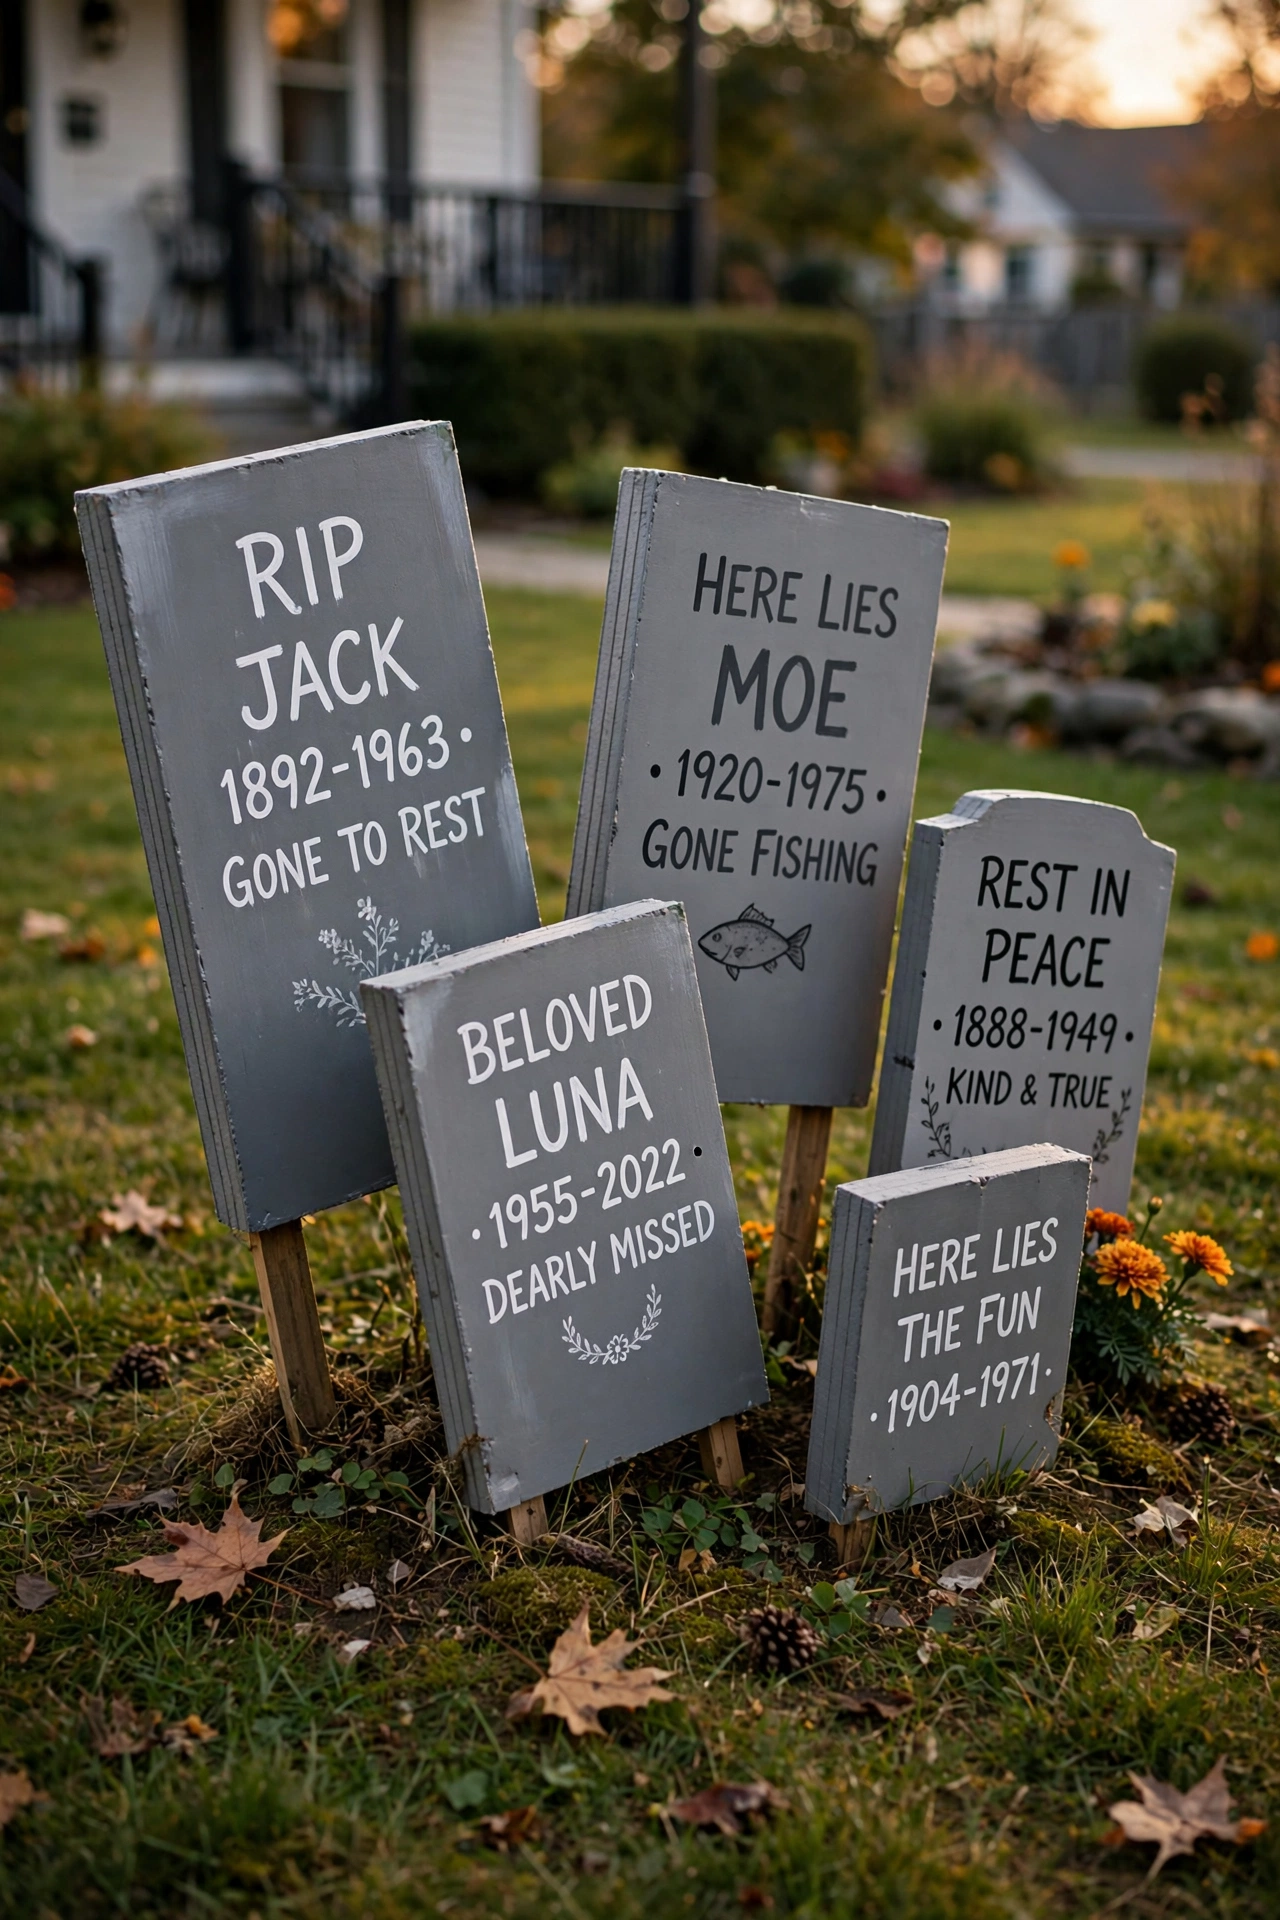
Cut simple tombstone shapes from foam insulation board, then paint them gray with dark washes in the recessed areas to add depth, and add a short, punny epitaph with a paint pen or stencil. Foam board is lightweight, inexpensive, and easy to cut into the classic rounded tombstone silhouette, which makes this one of the more approachable large-prop builds for a beginner. Stake each tombstone into the ground using a wood or metal support glued or screwed to the back, since foam board alone won’t stand upright on its own once it’s outside. Group three to five tombstones together at slightly different heights and angles for a small graveyard scene, rather than lining them up in a perfectly even row. This idea works particularly well as a focal point for a front lawn, since a cluster of tombstones reads clearly even from the street and gives trick-or-treaters something to notice before they reach the porch.
3. Tomato Cage Ghost
Turn an upside-down tomato cage into a ghost by draping a white sheet, tablecloth, or fabric remnant over the frame, then cutting or taping on simple eye shapes for a face. The cage gives the fabric real shape and volume, which reads as far more convincing than a flat sheet pinned to a wall or door. Add a small solar light or battery-operated LED inside the cage before draping the fabric over it, so the ghost glows softly from within once it gets dark. Weight the base of the cage with a brick or a bag of sand so it doesn’t tip or blow over, especially if it’s placed somewhere exposed to wind. This idea works particularly well repeated in a small group, three or four ghost shapes of slightly different heights clustered near the front walkway, since a single ghost can look a little sparse on its own.
Related: 16 Easy Halloween Door Decorations for Instant Spooky Charm

4. Hanging Witch Hats From Trees or a Porch Overhang
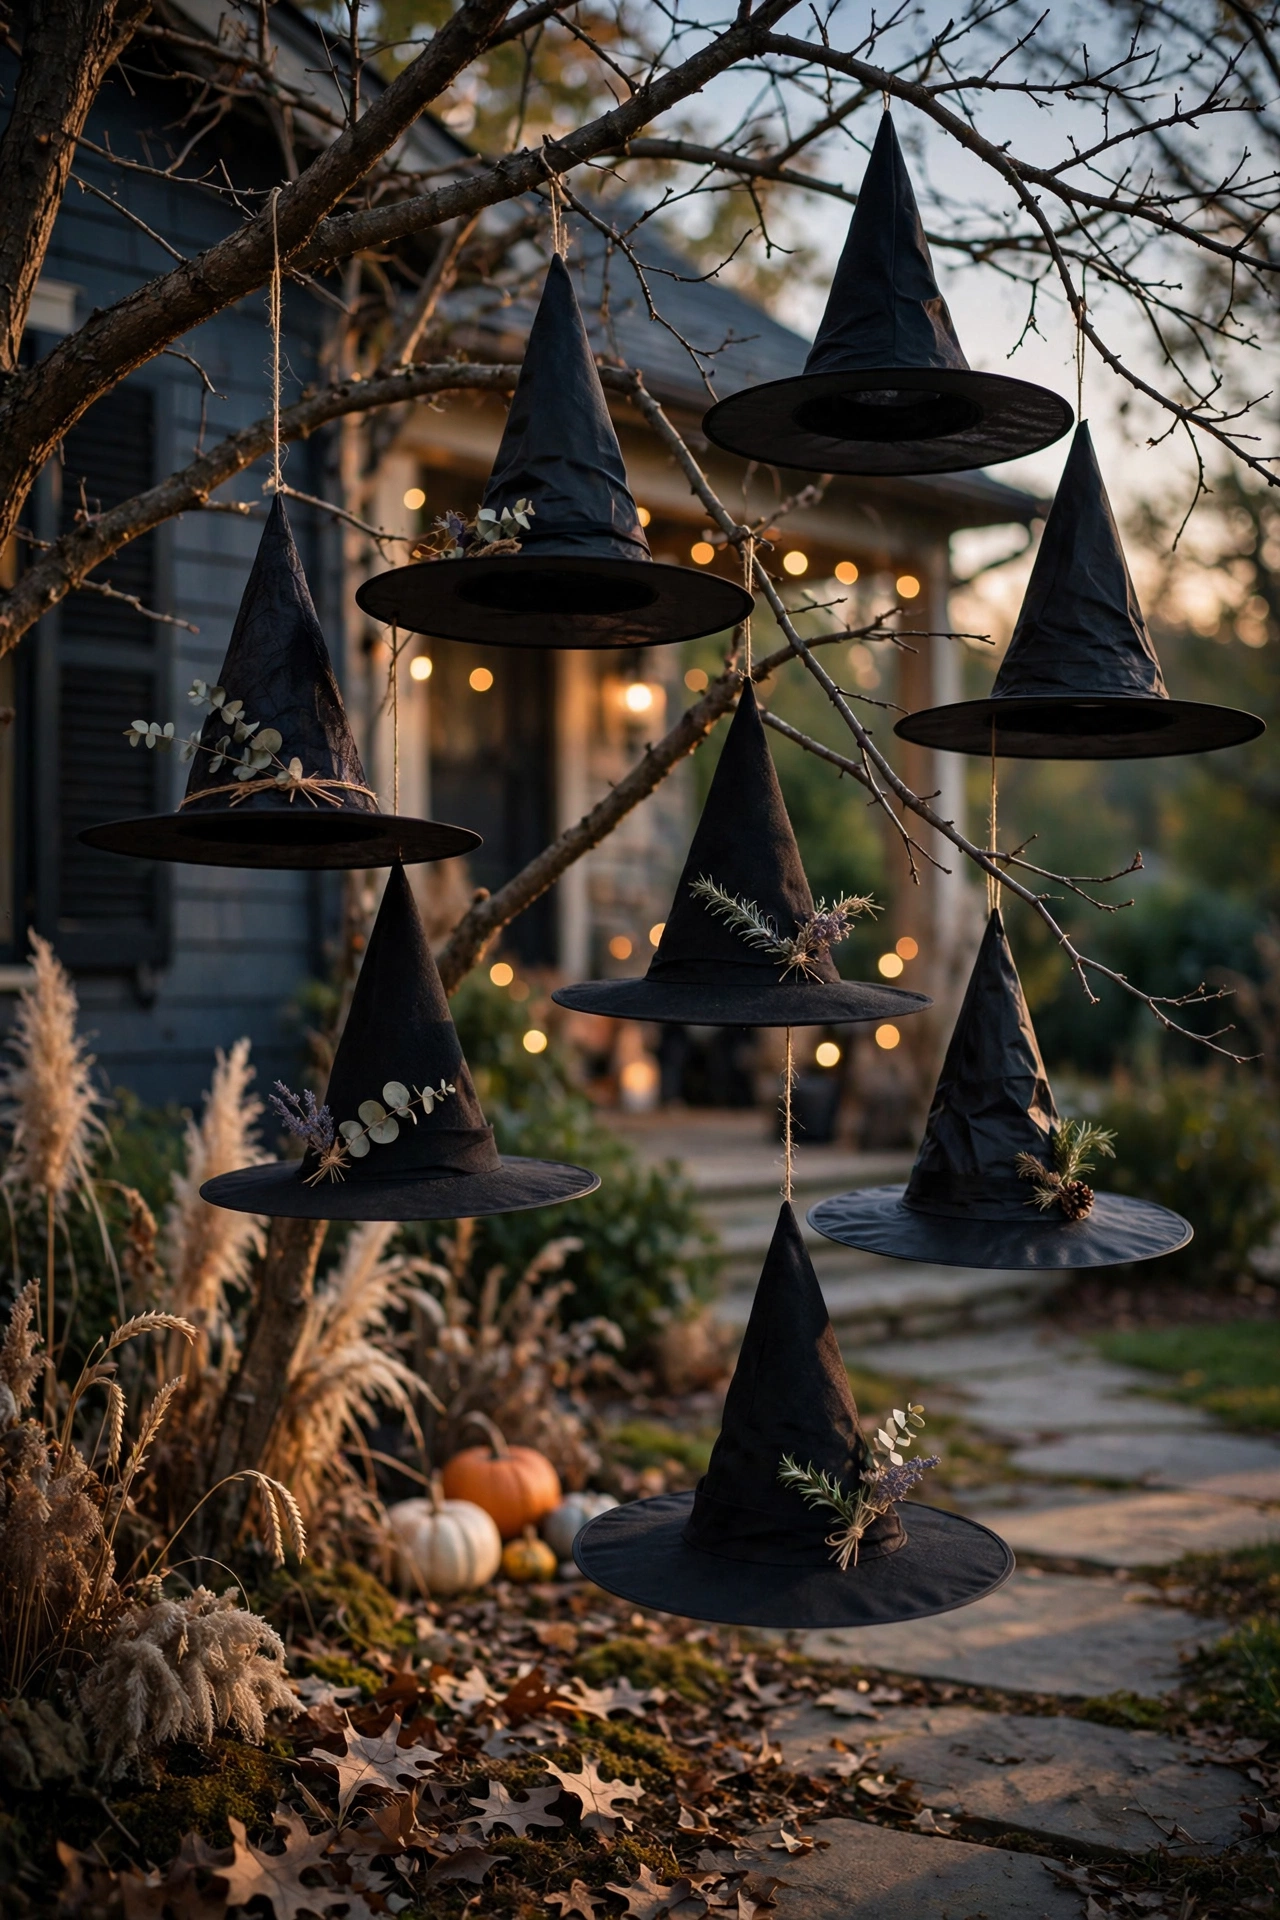
Hang a handful of pointed witch hats at different heights from tree branches, a porch overhang, or a pergola beam, letting them sway slightly in the breeze. This idea takes up very little storage space compared to bulkier props, which makes it easy to reuse year after year without needing a dedicated bin for it. Choose hats in a mix of solid black and one or two with a subtle pattern or texture, so the grouping has a bit of visual variety rather than looking like a single matched set. Vary the hanging height noticeably, some low enough to brush against a tall adult’s head, others higher up in the branches, for a more dynamic, whimsical arrangement. This idea works particularly well for a yard with mature trees, since the hats read clearly against bare or lightly leaved branches in a way they wouldn’t against a busier background.
5. Black Foam Bat Cutouts
Cut simple bat silhouettes from black craft foam sheets, then attach them to a wall, garage door, or tree trunk in a loose, scattered flying pattern rather than a straight, even line. Foam is naturally rain-resistant, which makes this one of the more weather-durable budget decorations on this list, since it won’t disintegrate or lose its shape if it gets wet during the season. Vary the bat sizes across the grouping, mixing a few larger silhouettes with several smaller ones, to suggest bats at different distances rather than a flat, uniform pattern. Use outdoor-rated adhesive strips or small nails to attach them, since standard tape tends to fail once temperatures drop and humidity changes overnight. This idea works particularly well on a plain garage door or a blank exterior wall, since it gives an otherwise undecorated surface real Halloween personality for very little material cost.

Lighting Ideas (Ideas 6–8)
6. Silhouette Projection Lighting
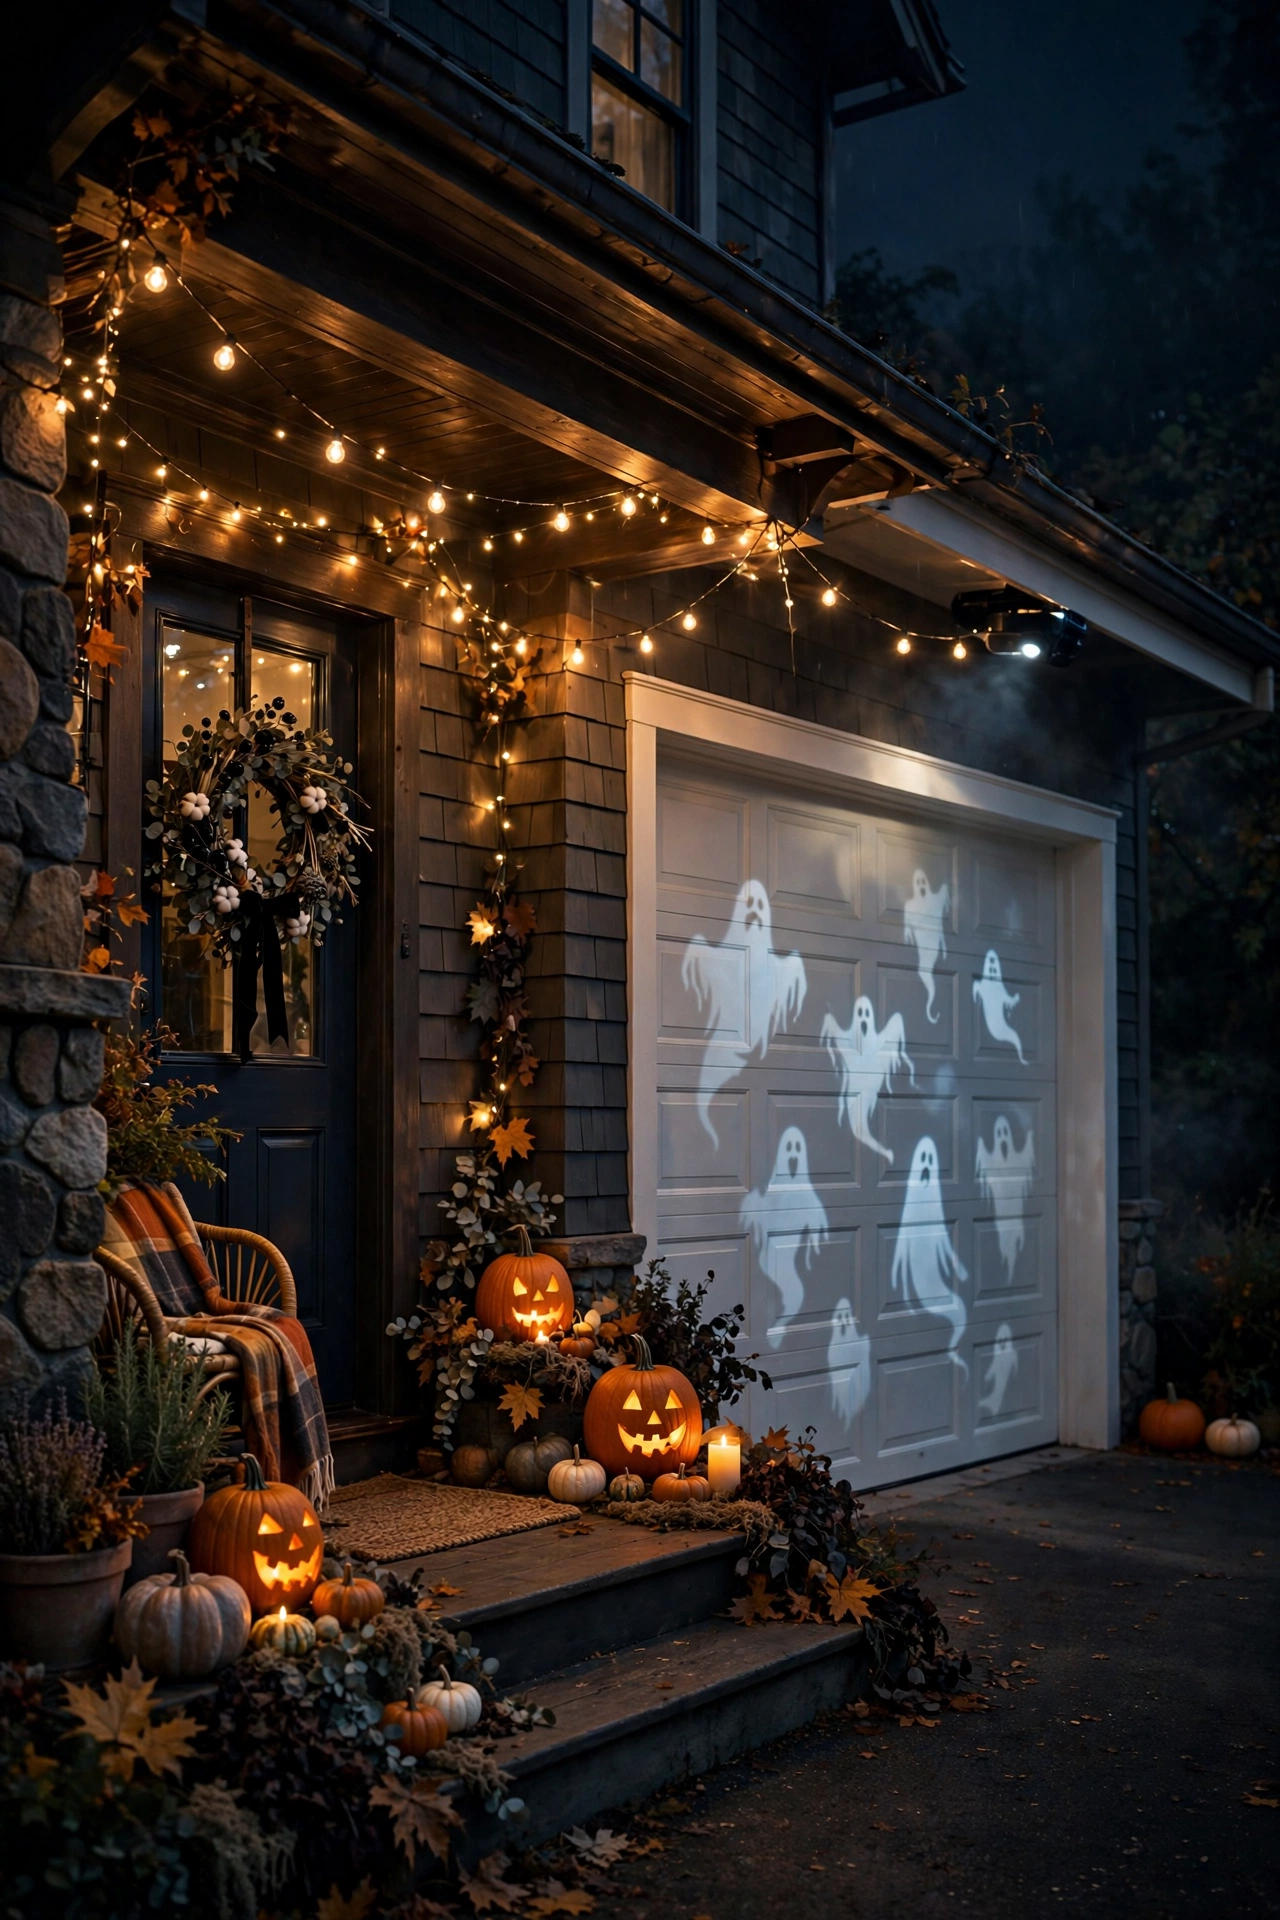
Set up a Halloween projection light on the lawn or porch, aimed at a blank wall, garage door, or porch siding, to cast moving silhouettes of witches, ghosts, or bats across the surface after dark. This idea delivers a genuinely dramatic effect for relatively little setup effort, since the projector does all the visual work once it’s positioned and plugged in. Choose a projector with interchangeable slides if you want the option to switch scenes throughout the season, or a simple single-image model if you’d rather keep things consistent. Position the projector far enough from the wall to fill a good amount of surface area, testing the distance and angle once it’s dark outside rather than guessing during the day. This idea works particularly well as a subtler alternative to a fully built prop scene, since it creates real atmosphere without requiring any large physical decorations at all.
7. Glowing Pumpkin Pail Walkway Lanterns
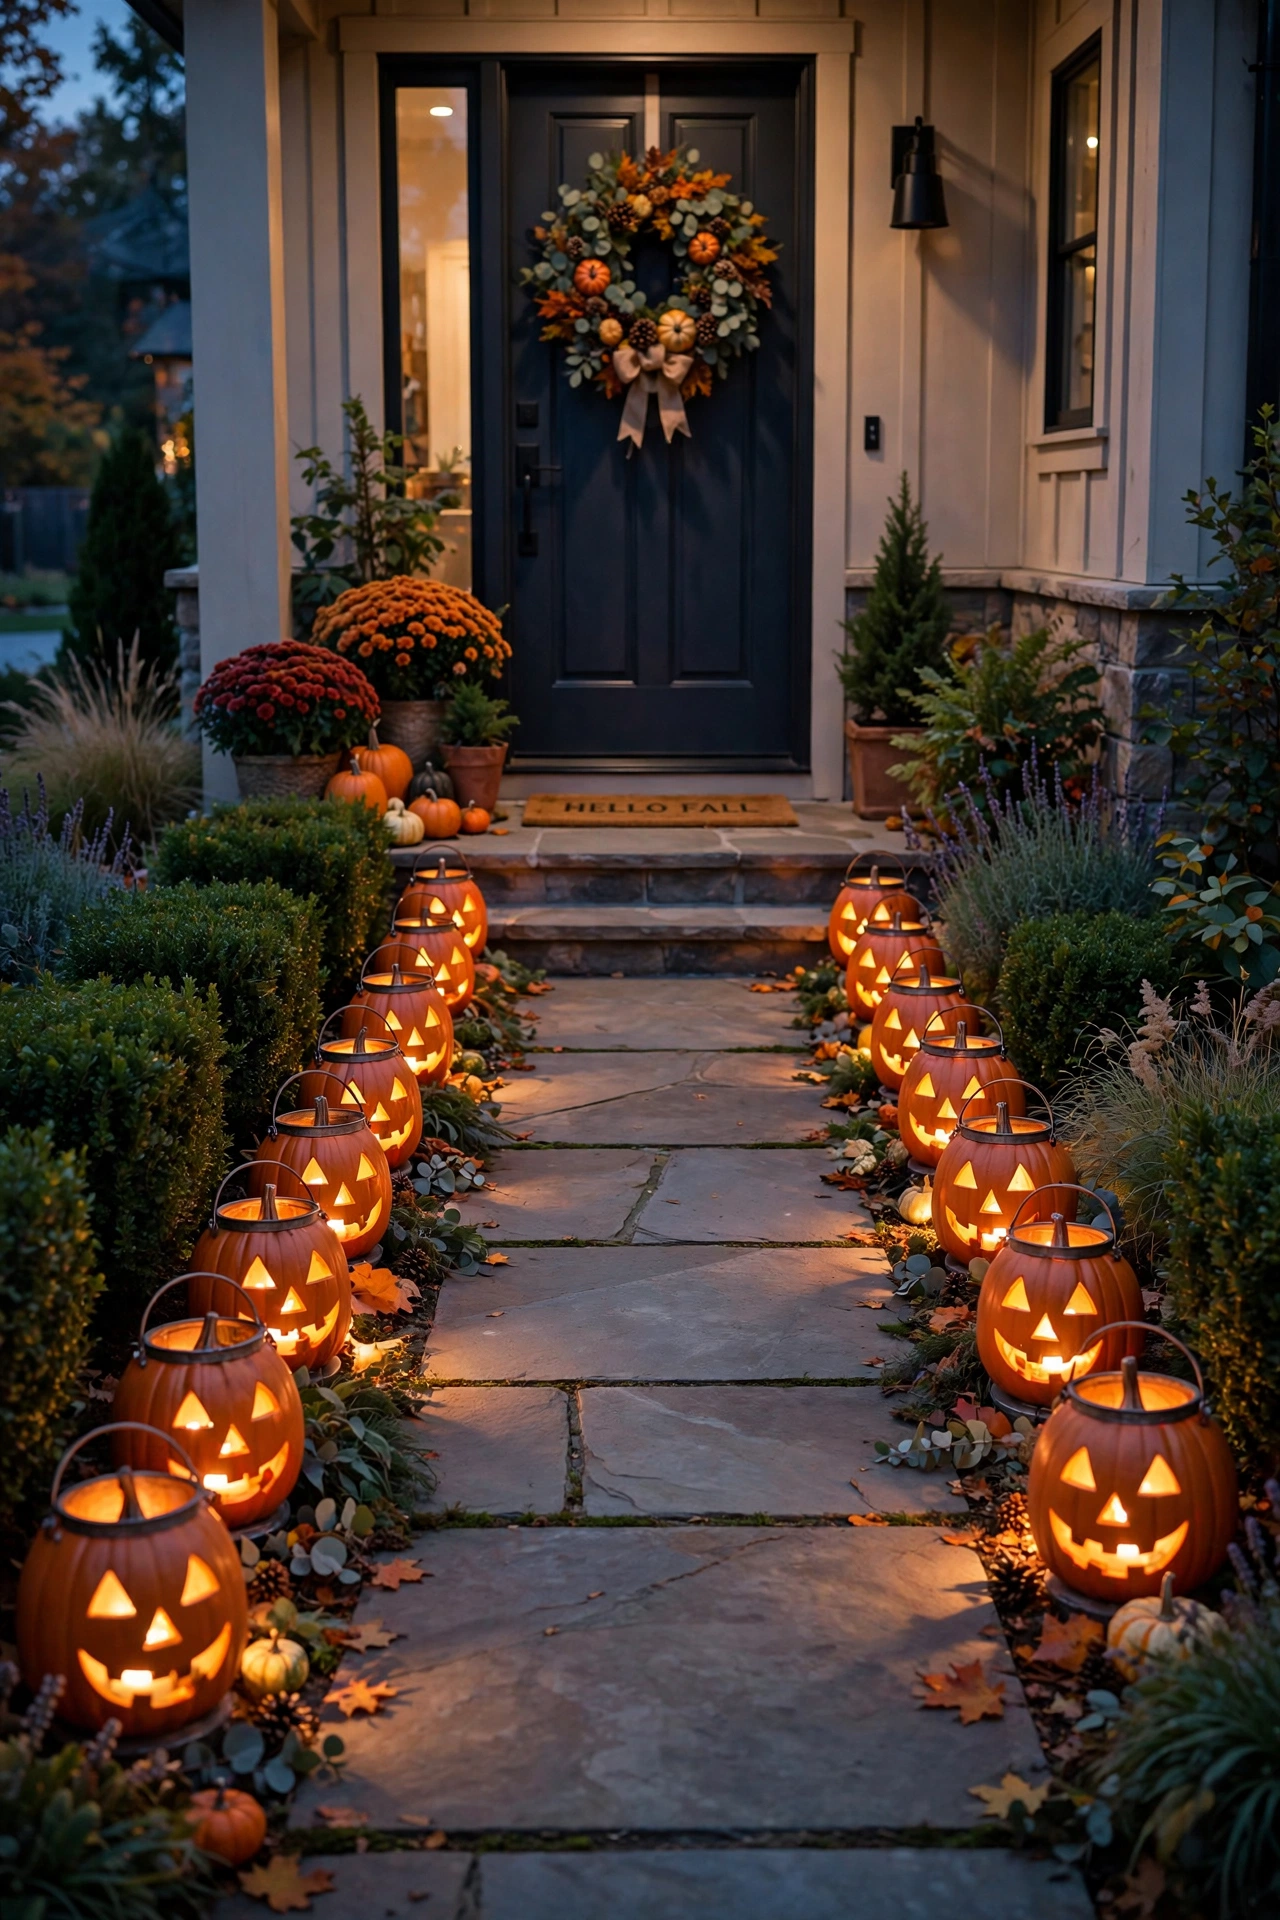
Place small battery-operated or solar lights inside plastic pumpkin pails, then line them along the front walkway to double as both decoration and functional path lighting for trick-or-treaters. This idea solves two problems at once, since it adds a clearly recognizable Halloween visual while also making sure the path to your door is actually visible after dark. Space the pails at even intervals along both sides of the walkway, rather than clustering them all on one side, so the light distributes evenly across the path. Choose flameless lights specifically, since a lit candle inside a plastic pail poses an obvious fire risk, especially with kids and costumes moving past them all evening. This idea works particularly well as a low-cost, low-effort addition to almost any other prop or theme on this list, since it functions well alongside tombstones, ghosts, or a fully built graveyard scene.
8. Orange and Purple String Lights
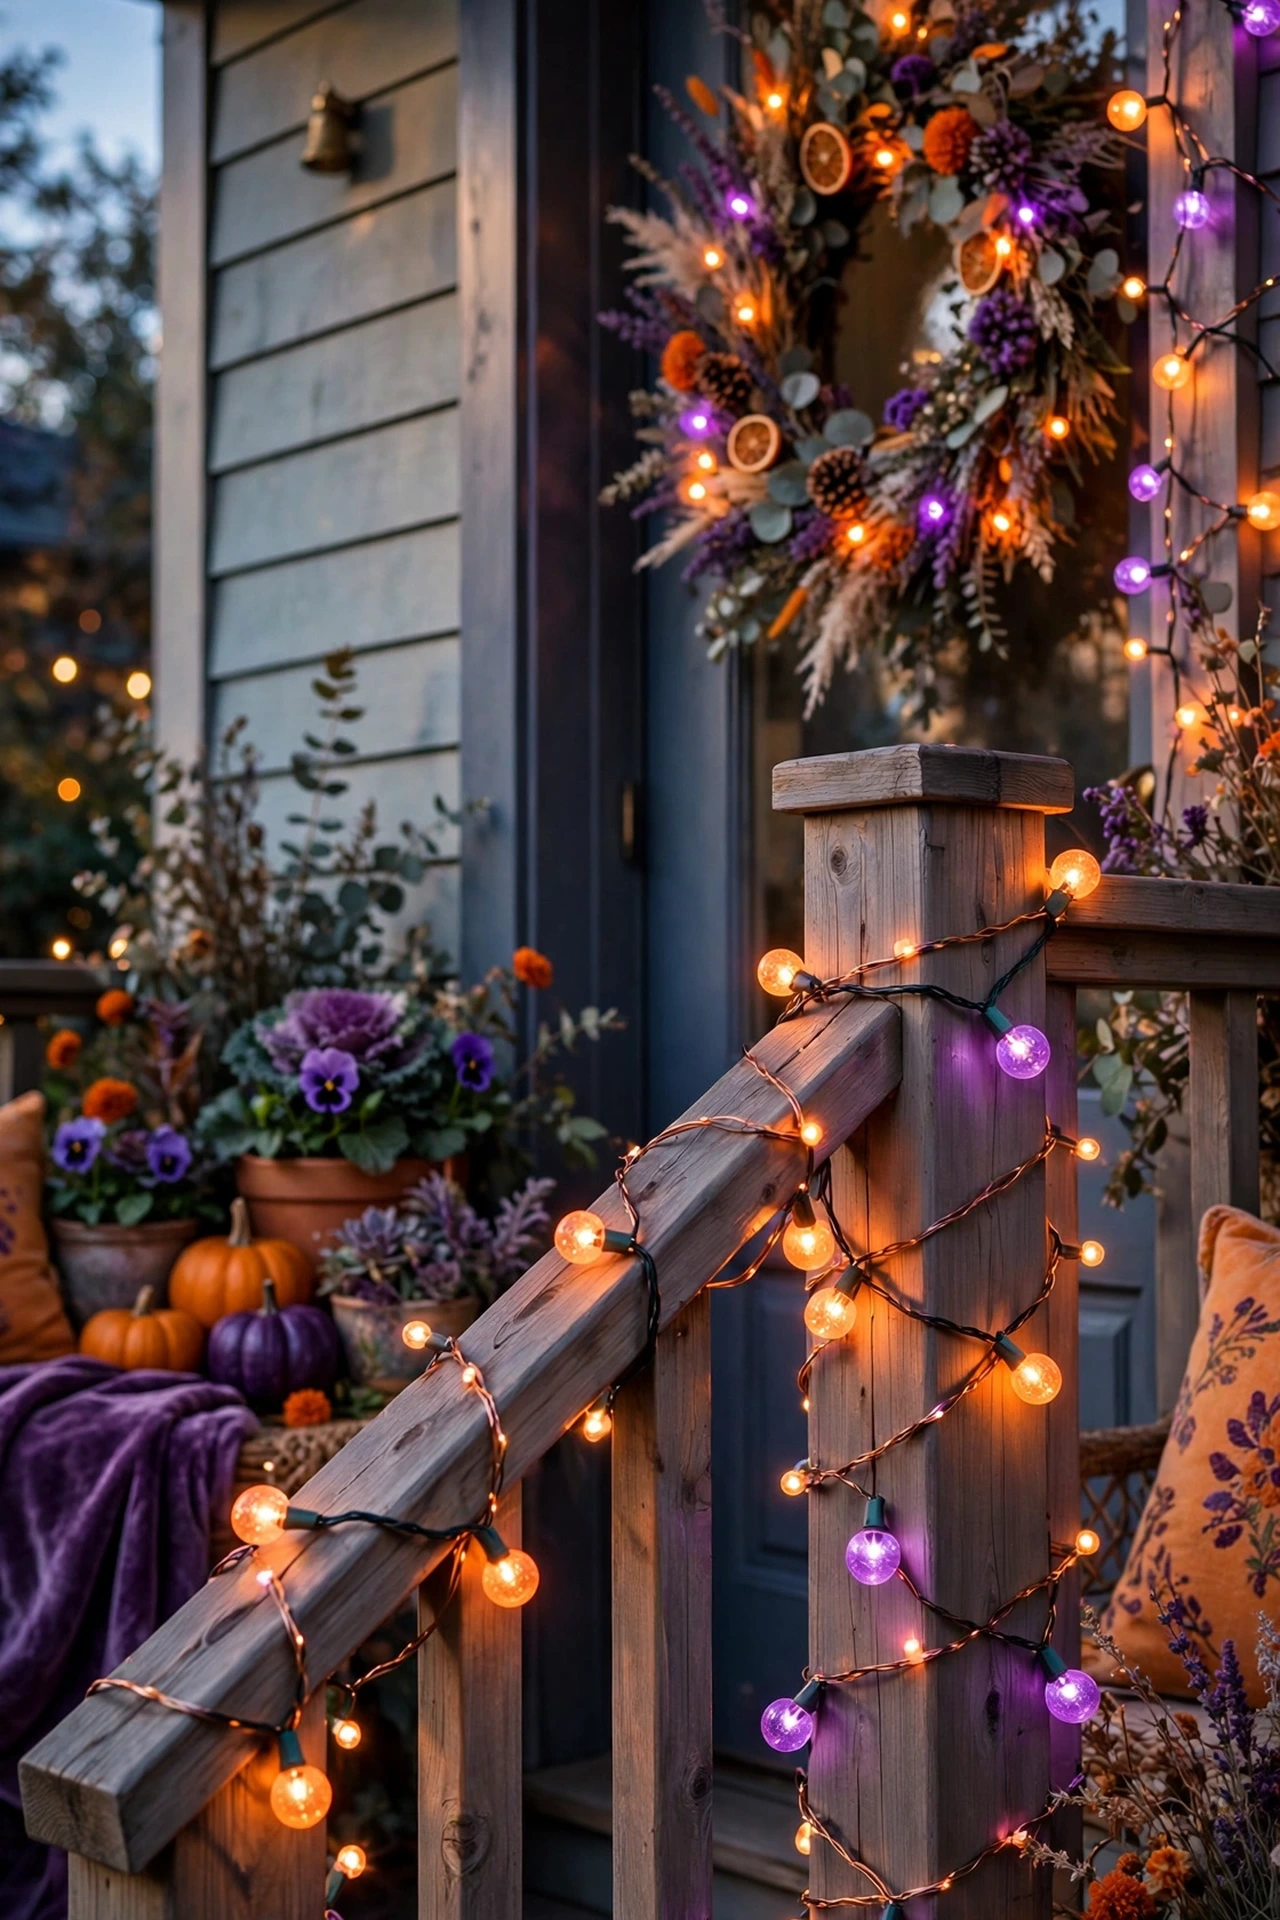
String orange, purple, or a mix of both colored lights around the porch railing, doorway, or roofline to establish an immediate Halloween mood as soon as the sun starts to set. Color does a lot of the emotional work in Halloween lighting, since orange and purple together read as festive and slightly eerie without needing any additional props to reinforce the mood. Choose LED string lights rated for outdoor use, since standard indoor string lights aren’t built to handle rain, dew, or dropping nighttime temperatures. Layer the colored string lights with warm white lights in a different spot, like along the walkway, so the overall lighting has some variation rather than a single flat wash of color across the whole porch. This idea works as one of the fastest updates on this list, since string lights typically take only a few minutes to hang and immediately transform how the whole exterior reads once evening comes.
Character & Prop Ideas (Ideas 9–11)
9. Posed Skeleton in a Casual Scene
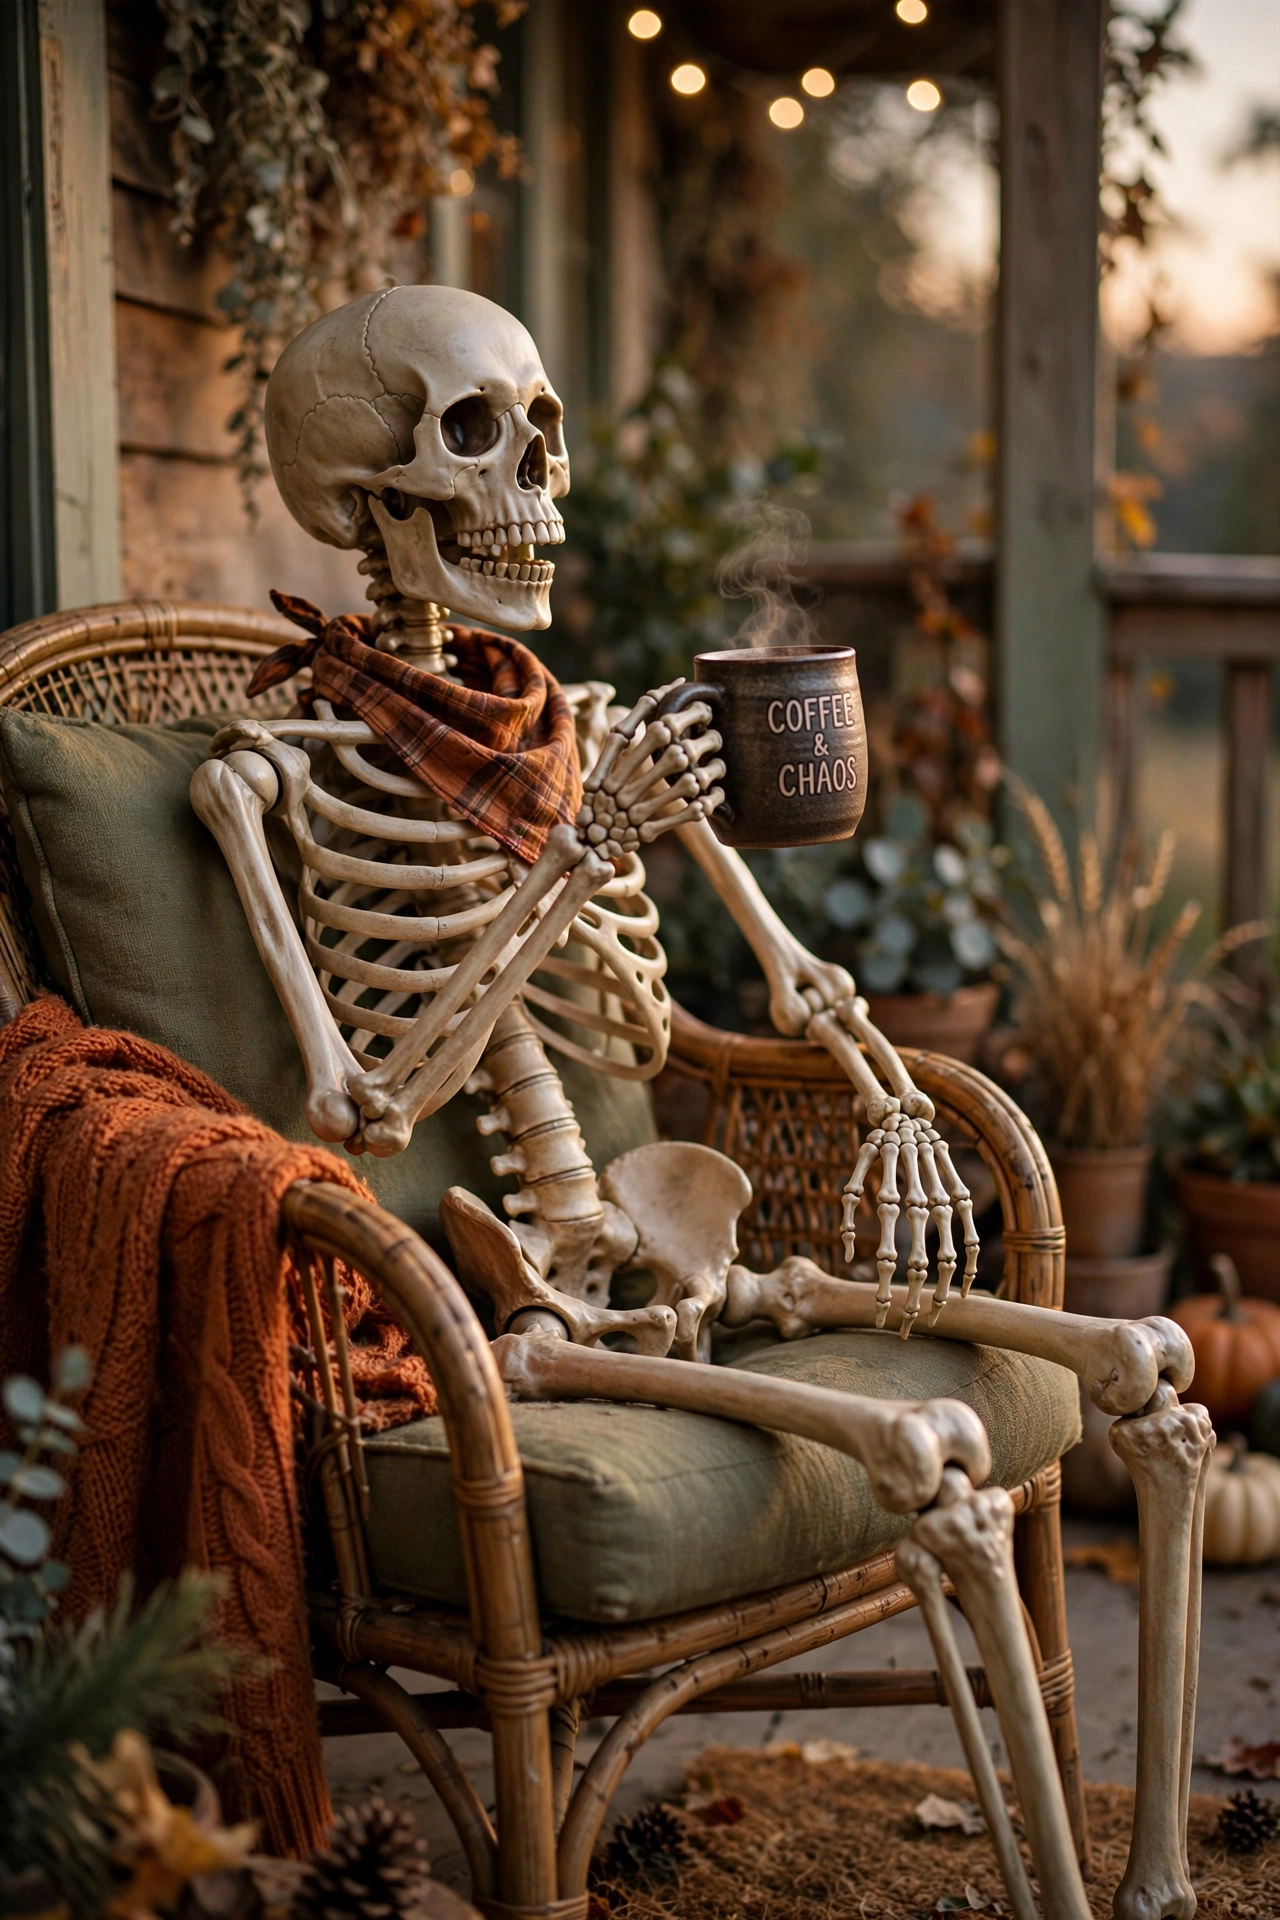
Position a posable skeleton prop somewhere unexpected, seated in a porch chair, leaning against a mailbox, or set up mid-activity, rather than standing it stiffly upright in a corner. A skeleton posed in a specific, slightly funny scenario tends to generate far more attention and conversation than the same prop simply propped against a wall. Choose a pose that fits your yard’s actual features, seated if you have a porch chair, leaning if there’s a railing or post nearby, so the scene looks like it was designed for that specific spot. Secure the skeleton’s joints in position with the included connectors or a bit of extra wire if the pose needs to hold firm against wind or curious hands. This idea works particularly well as a repeatable yearly tradition, since many households pose the same skeleton in a new scenario each season, giving neighbors something new to notice year after year.
10. Draped Fabric Frankenstein or Mummy Columns
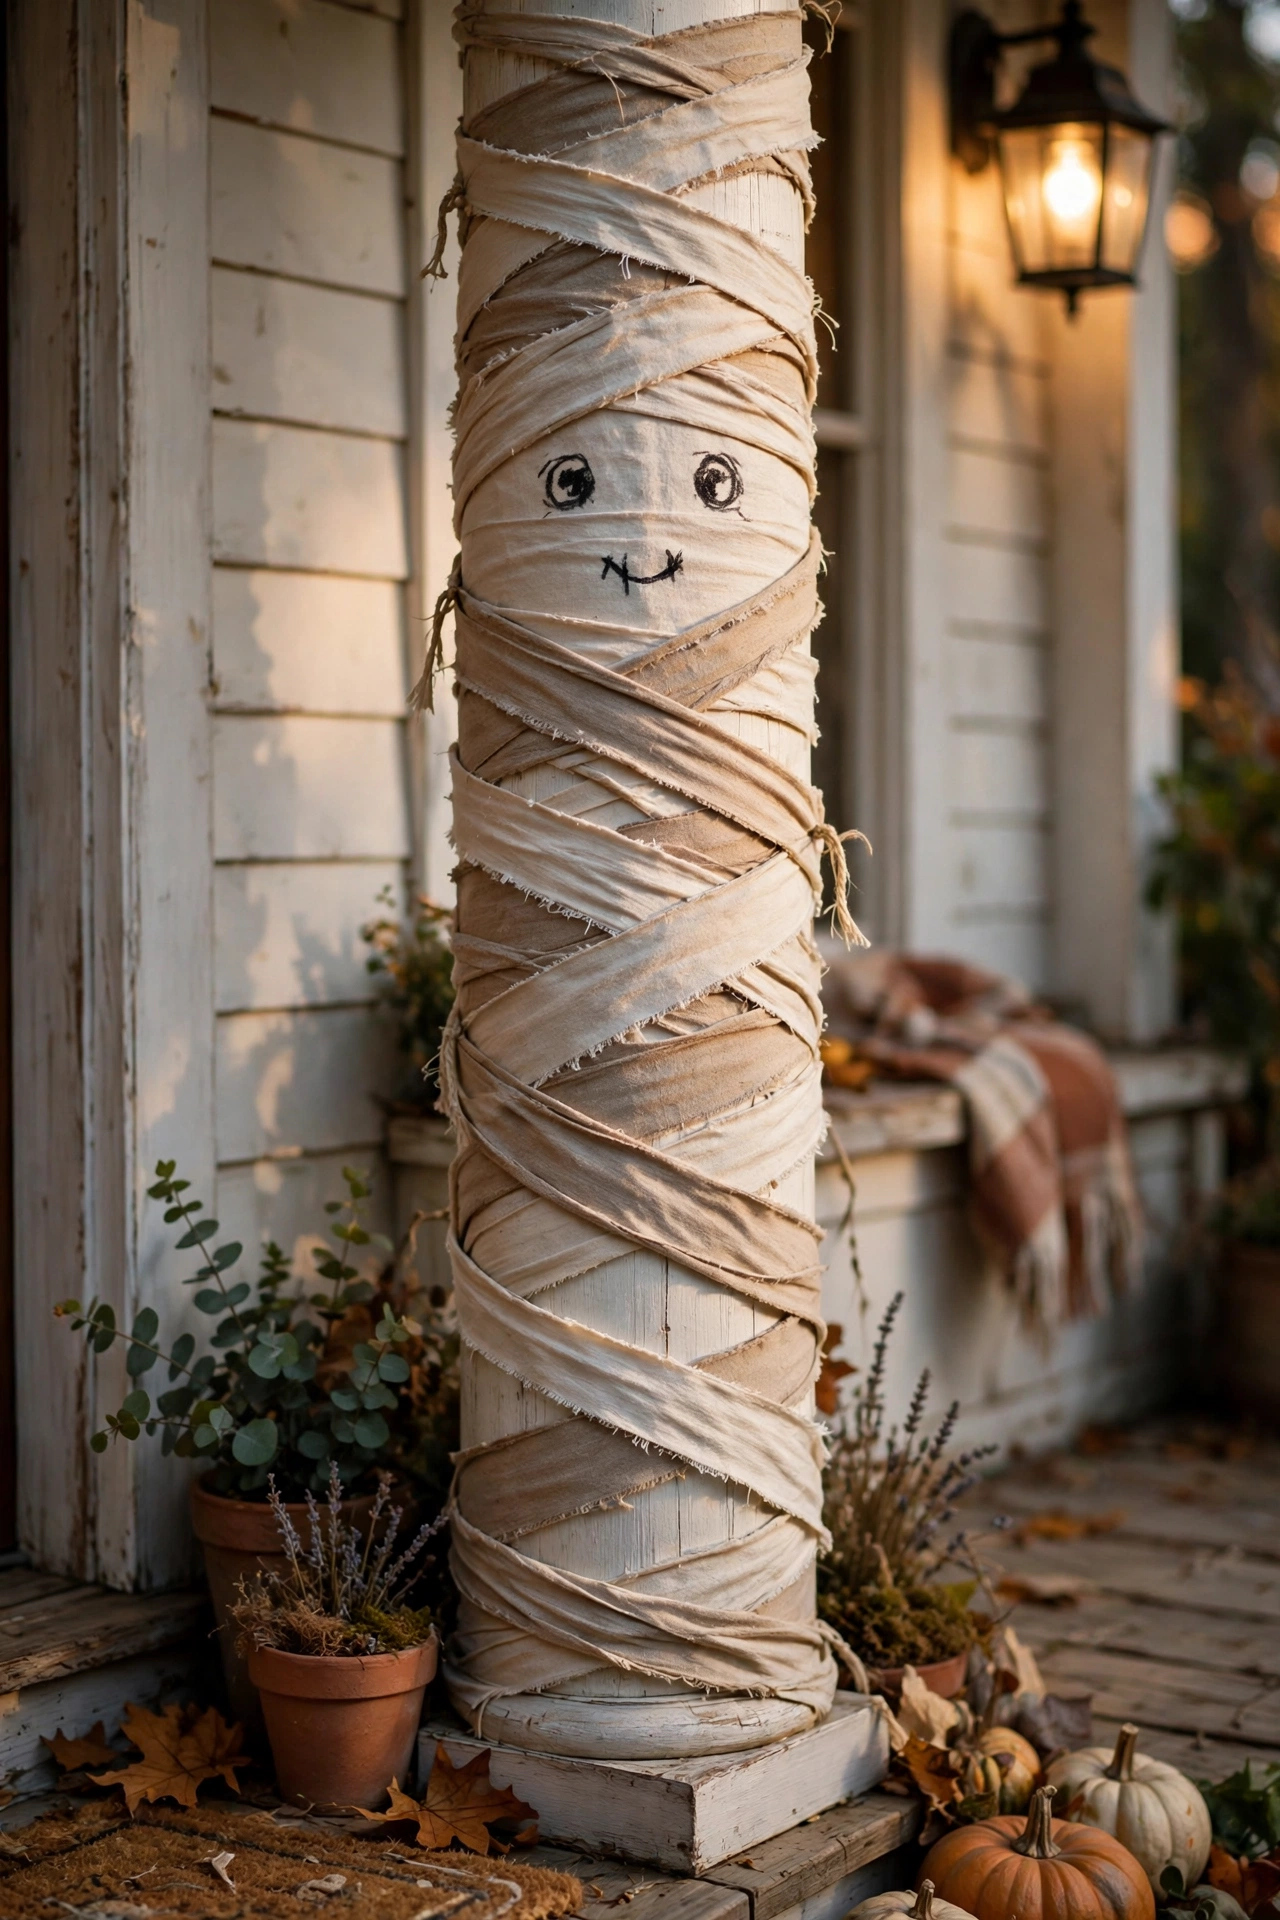
Wrap porch columns or posts in strips of fabric, gauze, or an old sheet torn into bands, then add simple facial features with tape or marker to turn ordinary architectural elements into mummy or Frankenstein-style characters. This idea works especially well because it uses parts of the house you already have, porch columns, posts, railings, rather than requiring a separate freestanding prop. Wrap the fabric strips at a slight diagonal rather than perfectly horizontal, since the angled wrap reads as more convincingly bandage-like once it’s finished. Choose weather-resistant fabric or a cheap fabric you don’t mind replacing if it gets rained on, since lightweight material left outside for weeks can fade or tear before the season ends. This idea works particularly well for a porch with two or more visible columns, since a matched pair of wrapped characters flanking the entrance creates a strong, symmetrical first impression.
11. Layer Halloween Onto Your Existing Fall Porch Decor
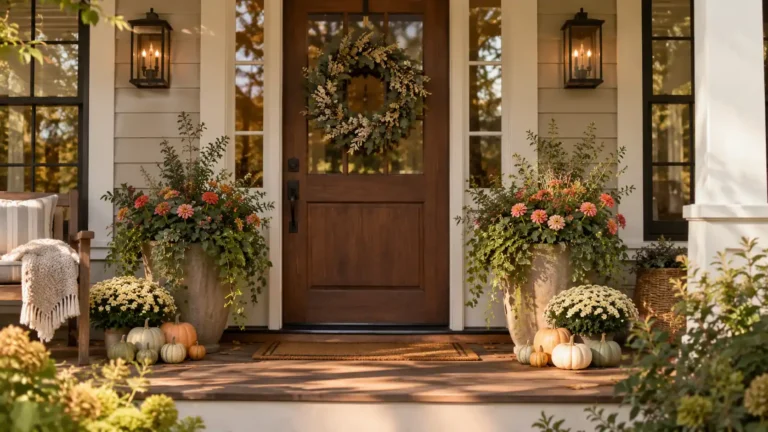
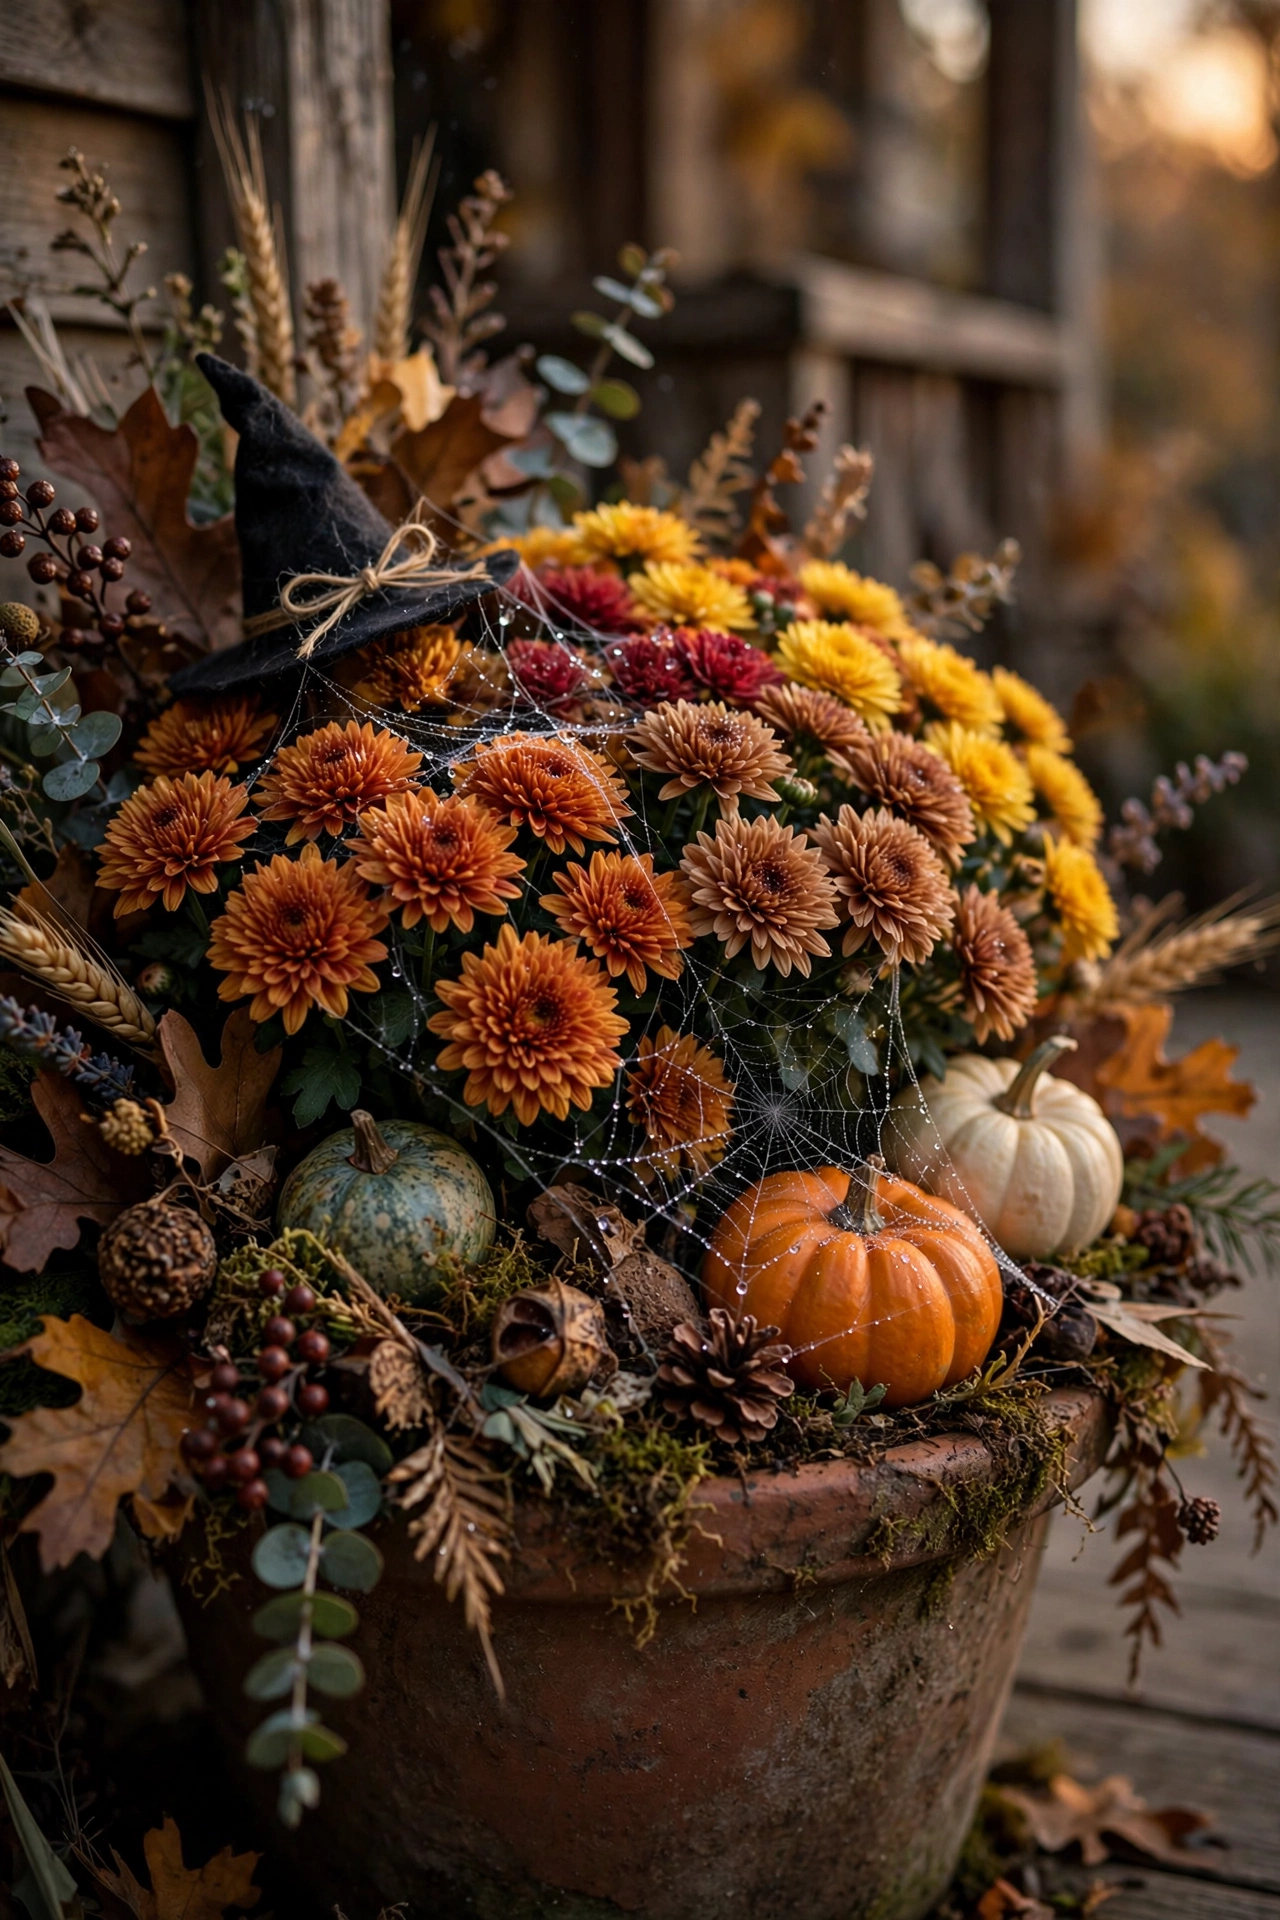
Add Halloween-specific accents, like a spiderweb, a witch hat, or a small skeleton, directly onto a fall porch setup you’ve already built, rather than tearing down existing pumpkins and mums to start over from scratch. This approach saves real time and effort, since the bulk of your seasonal styling, planters, a wreath, layered doormats, can stay exactly as it is while a few swappable pieces do the work of shifting the mood from general autumn to specifically Halloween. Tuck a small spider or a few fake cobwebs into an existing mum planter, or swap a neutral fall wreath for one with a slightly spookier color palette, rather than replacing the whole display. Keep any Halloween-specific items easy to remove, so the transition back to a purely Thanksgiving-appropriate look in early November takes just a few minutes rather than a full re-decorate. This idea works particularly well for anyone who already put together a simple fall porch setup earlier in the season and doesn’t want to duplicate that effort for Halloween specifically.
Sign & Detail Ideas (Ideas 12–13)
12. Hand-Painted Wood Sign
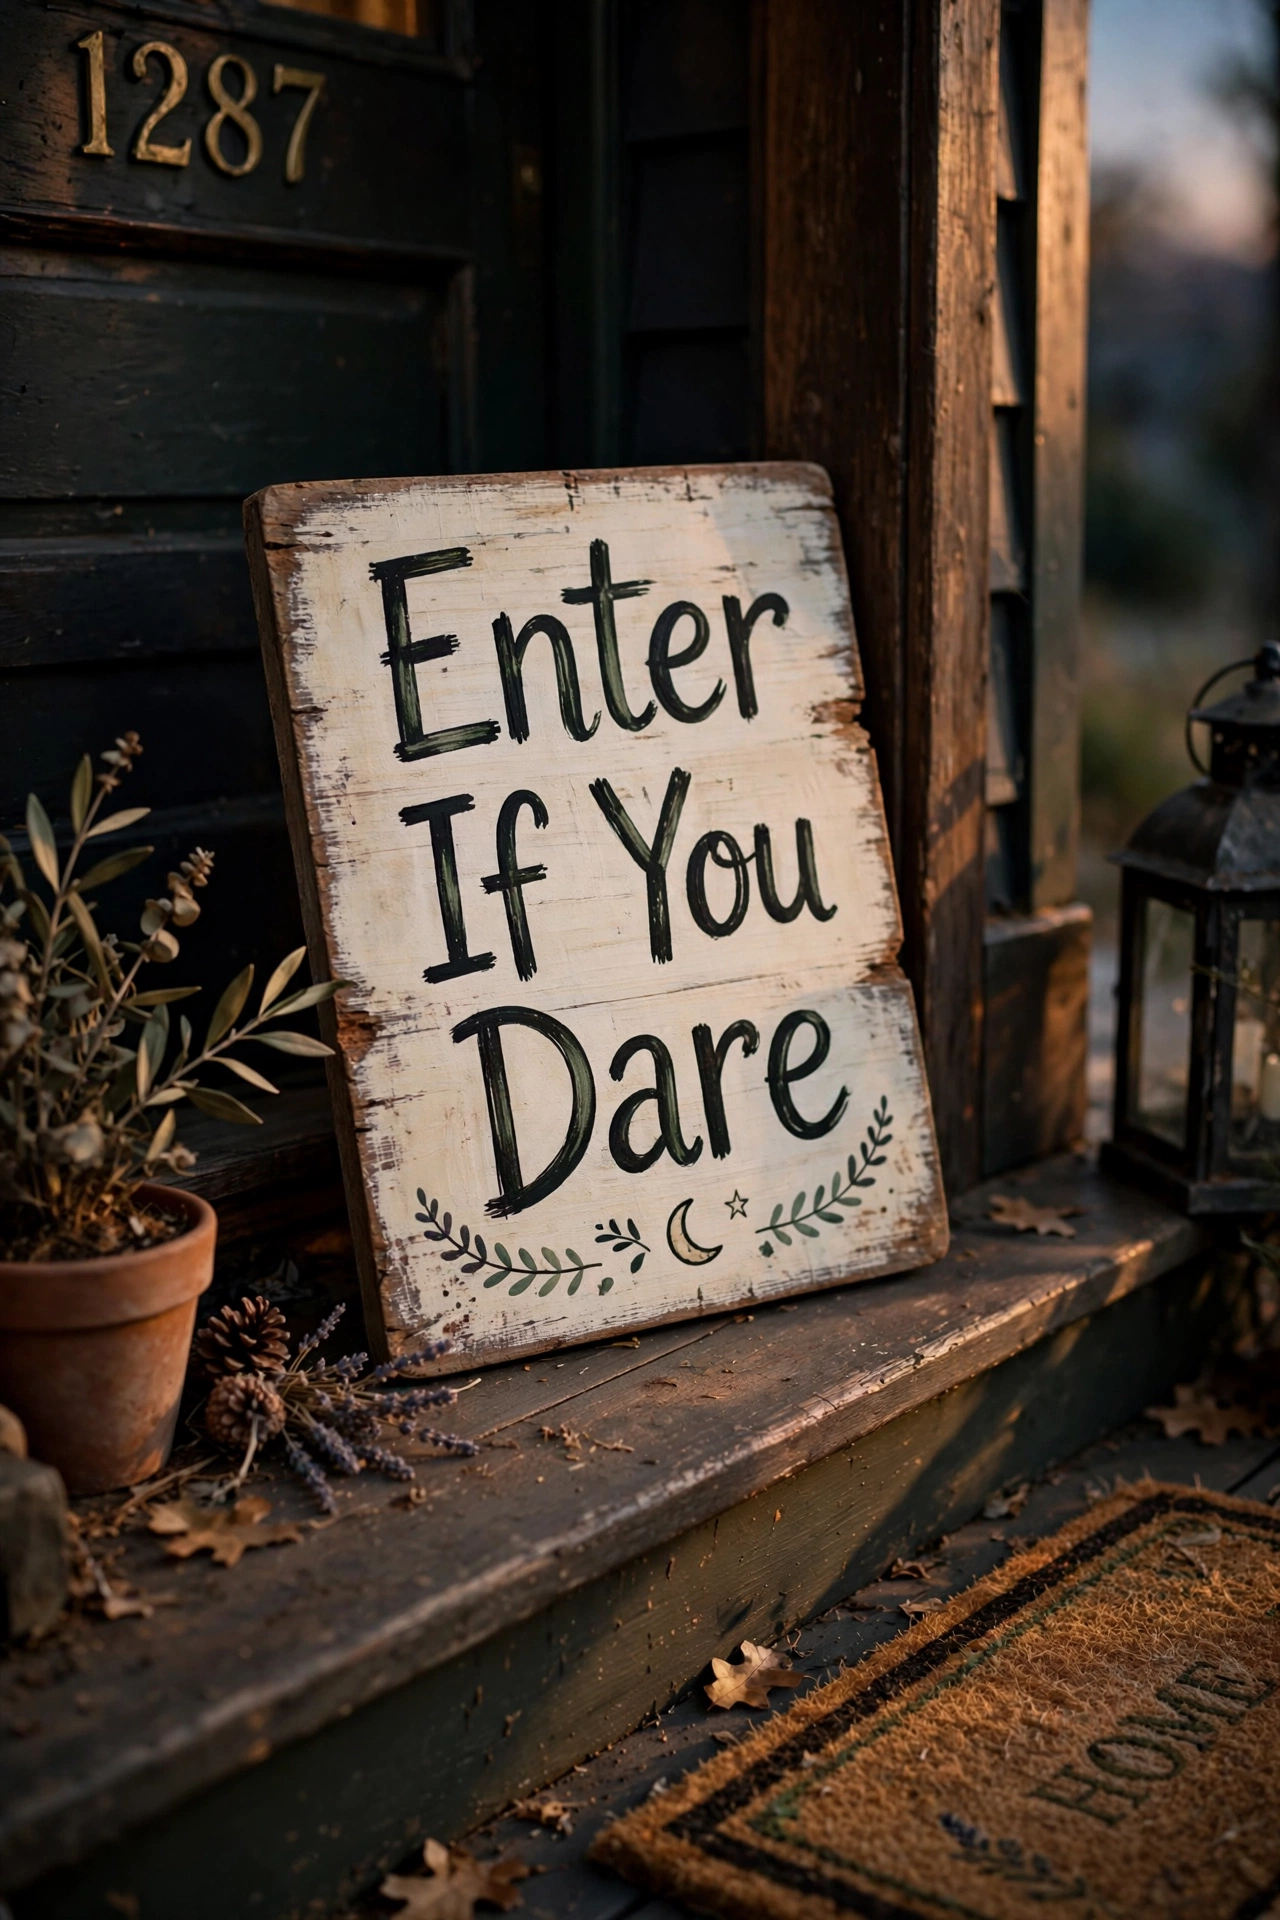
Paint a simple wood sign with a short Halloween phrase, like “Enter If You Dare” or “Boo,” and lean it near the front steps or hang it beside the door. A hand-painted sign adds a personal, slightly rustic touch that pairs well with almost any other idea on this list, from a full graveyard scene to a simpler string-light setup. Choose a legible, slightly distressed font style rather than an overly ornate script, since the sign needs to read clearly from a short distance in low evening light. Weatherproof the finished sign with a clear outdoor sealant if it will be left outside for the full month, since unsealed paint can streak or fade after exposure to dew and rain. This idea works particularly well as a finishing touch once the rest of the porch’s styling is in place, since the sign can tie the whole display together with a clear, simple message.
13. Dollar Store Doormat Spiderweb
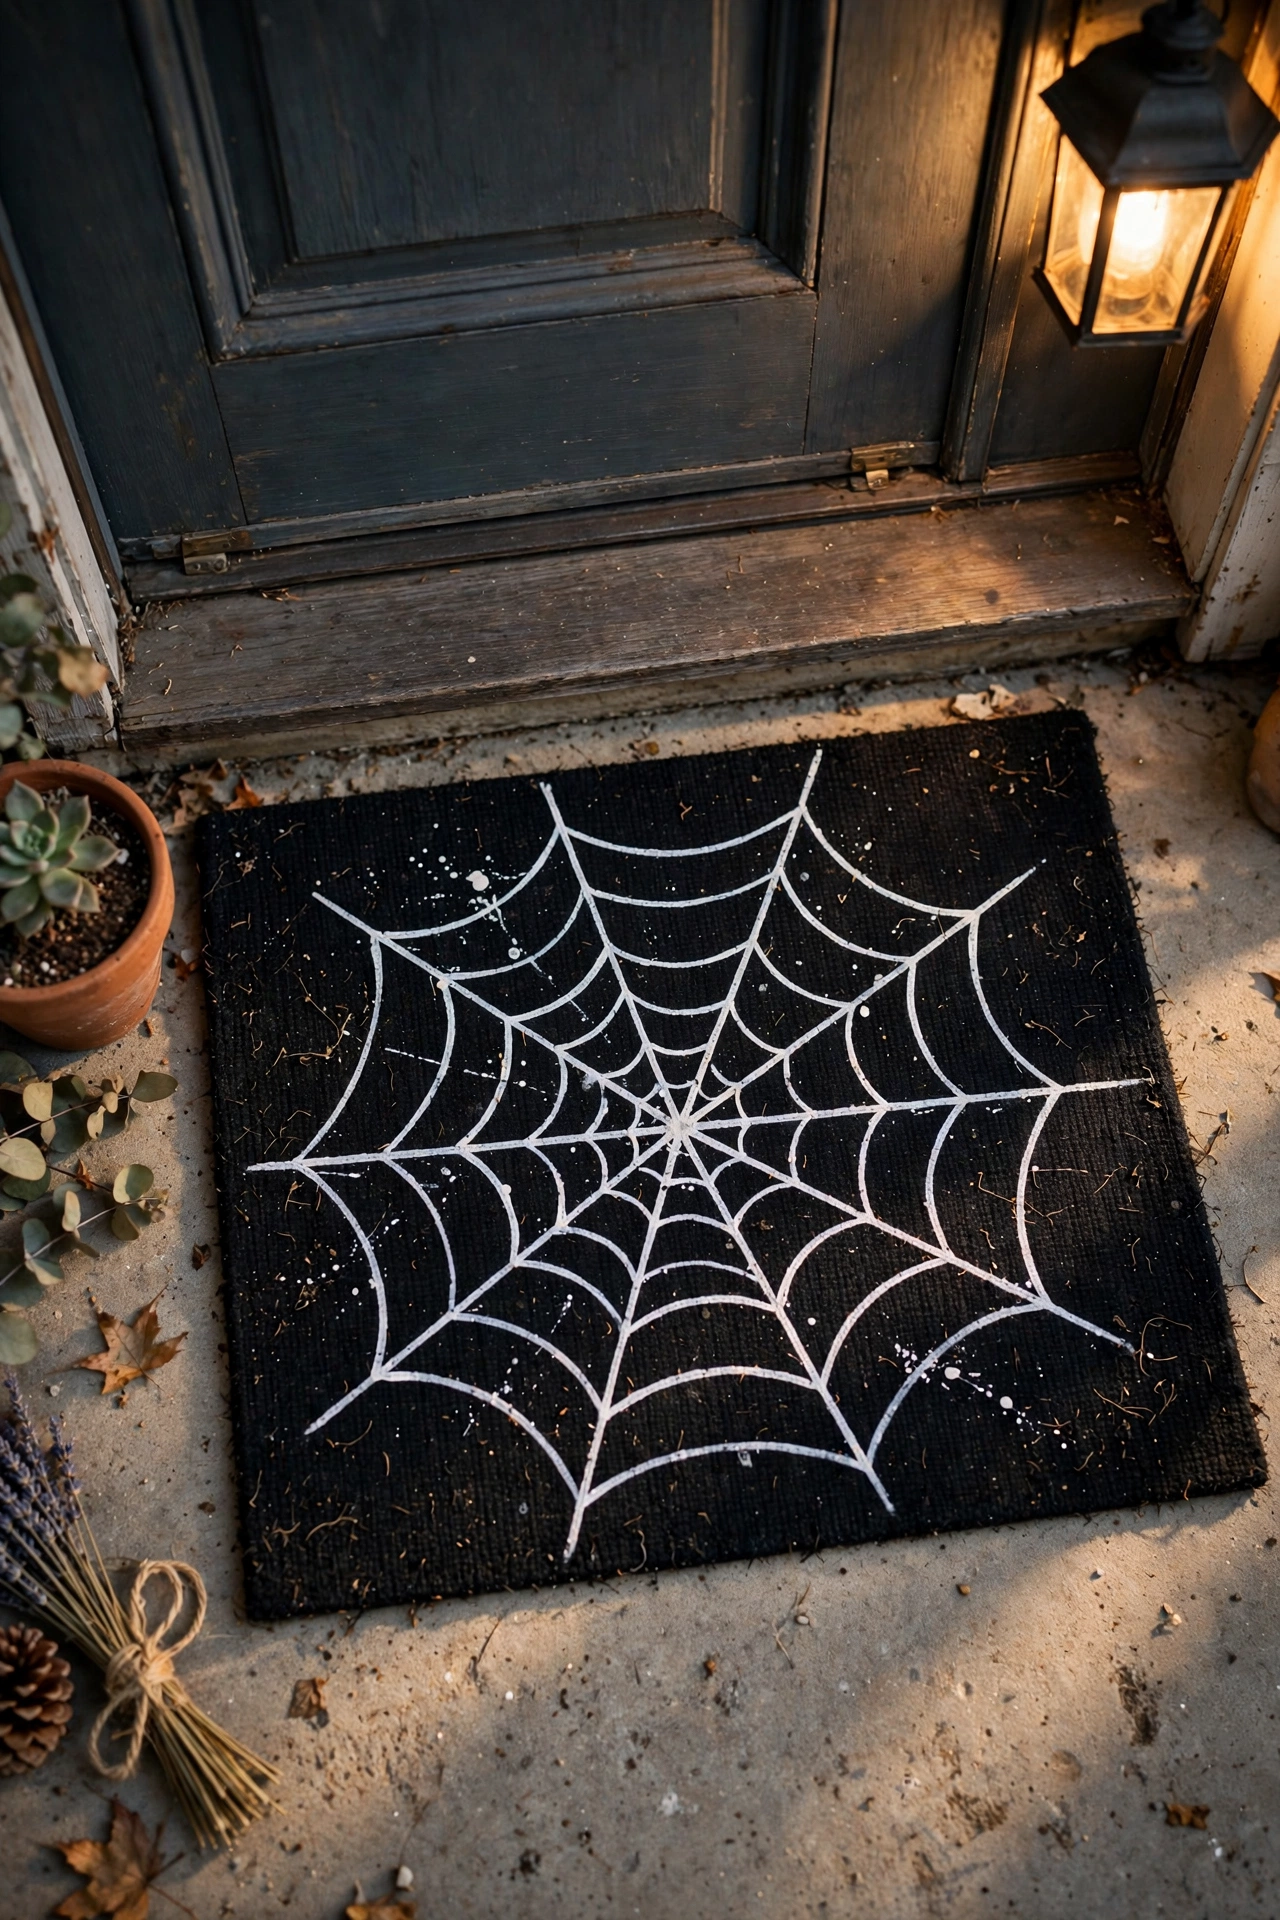
Draw a spiderweb design directly onto a plain black dollar store doormat using white or silver paint pen, creating a simple, unexpected detail right at the threshold. This idea works because it decorates a functional item that’s already sitting at your door, rather than adding an entirely new object to the porch. Sketch the web lightly in pencil first if you’re not confident freehanding the design directly in paint, since the doormat’s texture can make a marker line harder to correct once it’s down. Let the paint fully cure according to the product’s instructions before placing the mat back down for regular foot traffic, since a still-wet or tacky design can smear the first time someone steps on it. This idea works particularly well as a low-cost detail for a subtler Halloween look, since it adds a spooky touch without requiring any additional props or lighting.
Related: 17 Halloween Decoration Ideas Perfect for a Doctor’s Office
Style & Audience Ideas (Ideas 14–15)
14. Cute, Not Scary, Pumpkin Styling
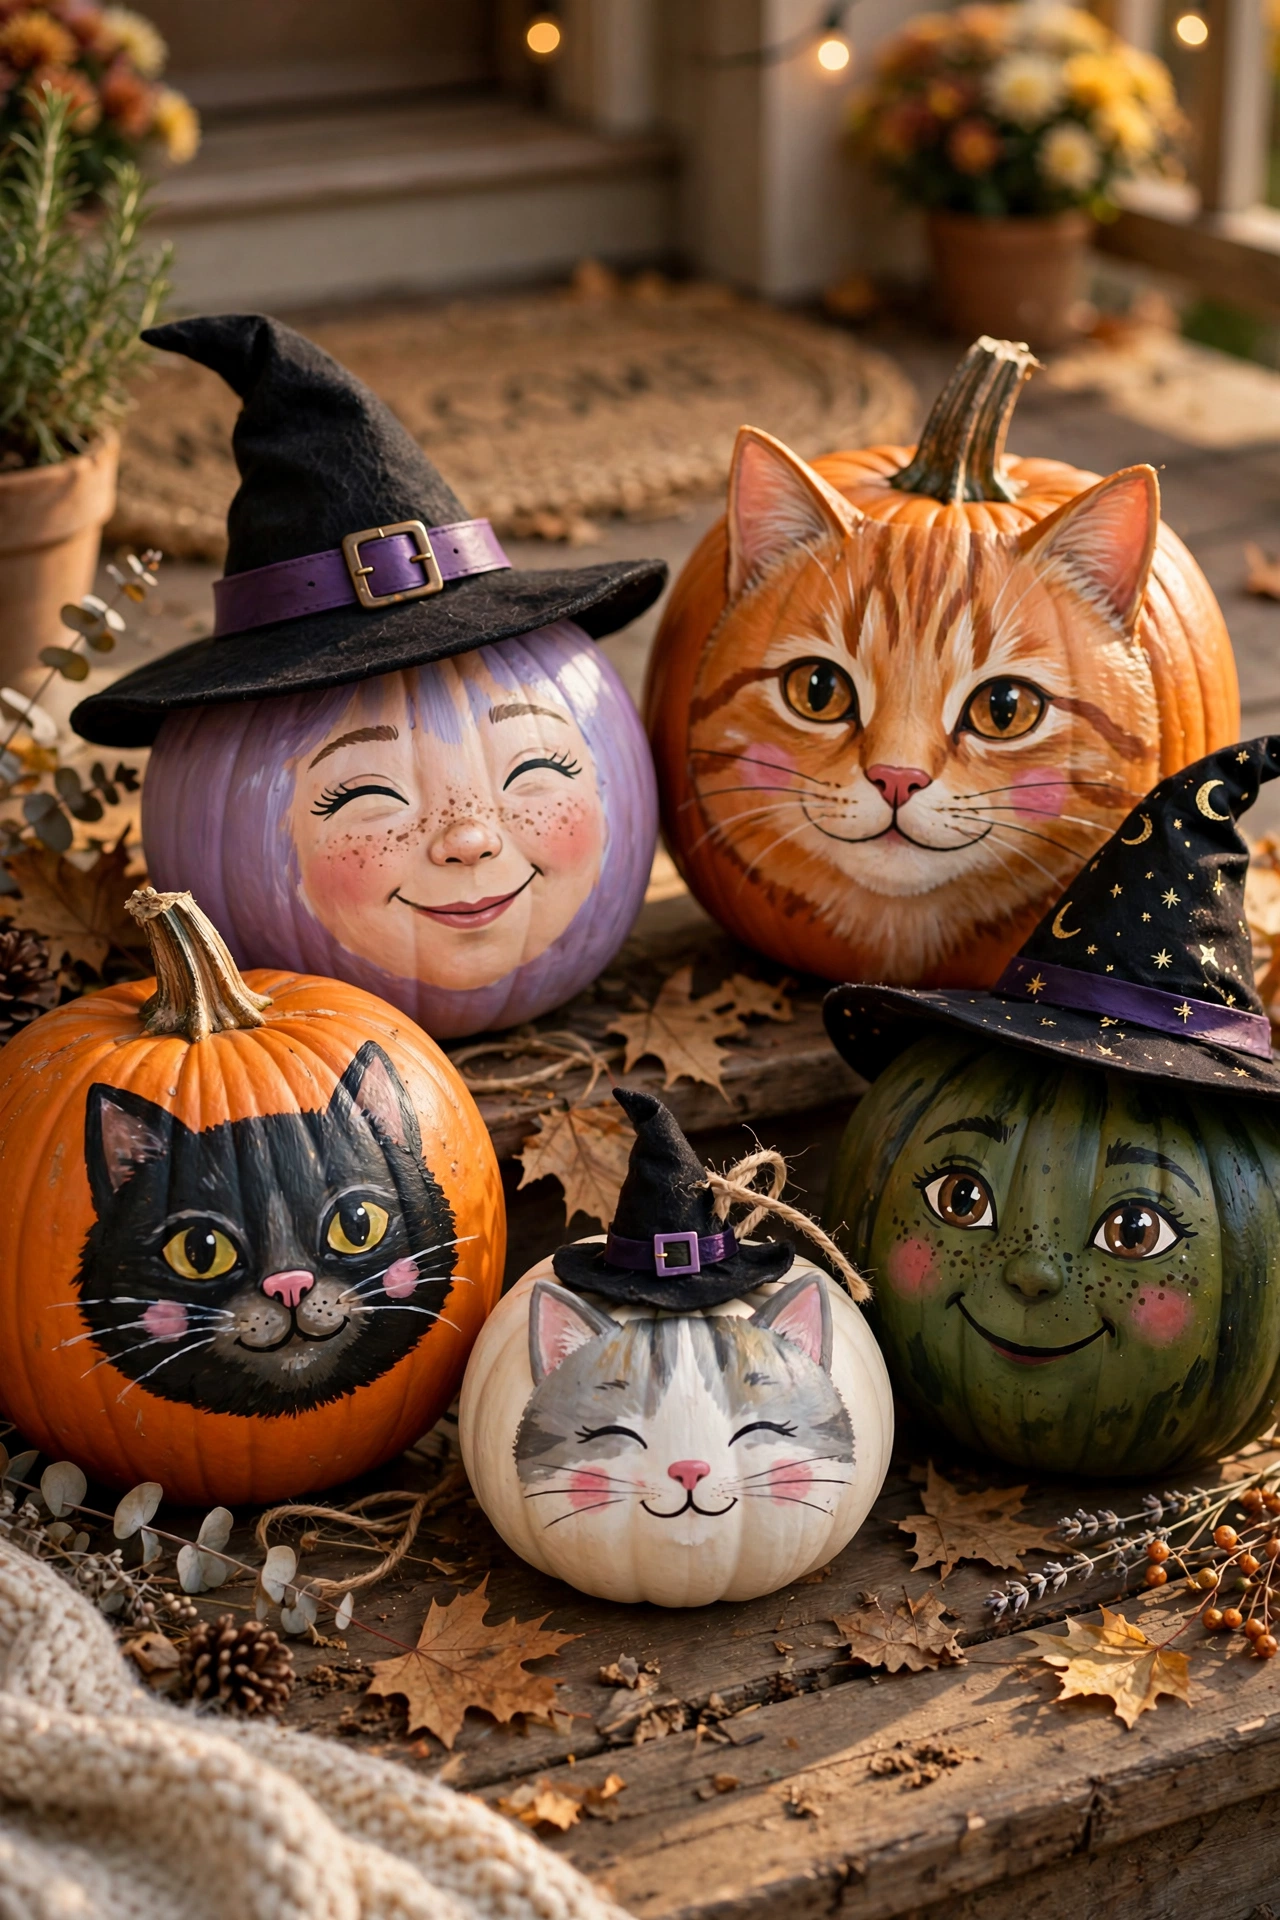
Paint a simple, friendly face on a real or faux pumpkin, like a cheerful witch or a smiling cat, using paint instead of carving, for a Halloween look that stays approachable for young trick-or-treaters. This idea works especially well for households with a lot of young children in the neighborhood, since a genuinely scary display can be upsetting for toddlers and very young kids even when older kids and adults find it fun. Group a few painted pumpkins together near the door in varying sizes, mixing designs so the display has some visual variety rather than one repeated face. This approach also solves a practical problem, since no-carve pumpkins last considerably longer outdoors than carved ones, which tend to soften and collapse within days depending on the weather. This idea works particularly well paired with warm, non-flickering lighting rather than dramatic colored spotlights, since the overall goal is a welcoming, cheerful mood rather than a spooky one.
15. Subtle, HOA-Friendly Halloween Styling
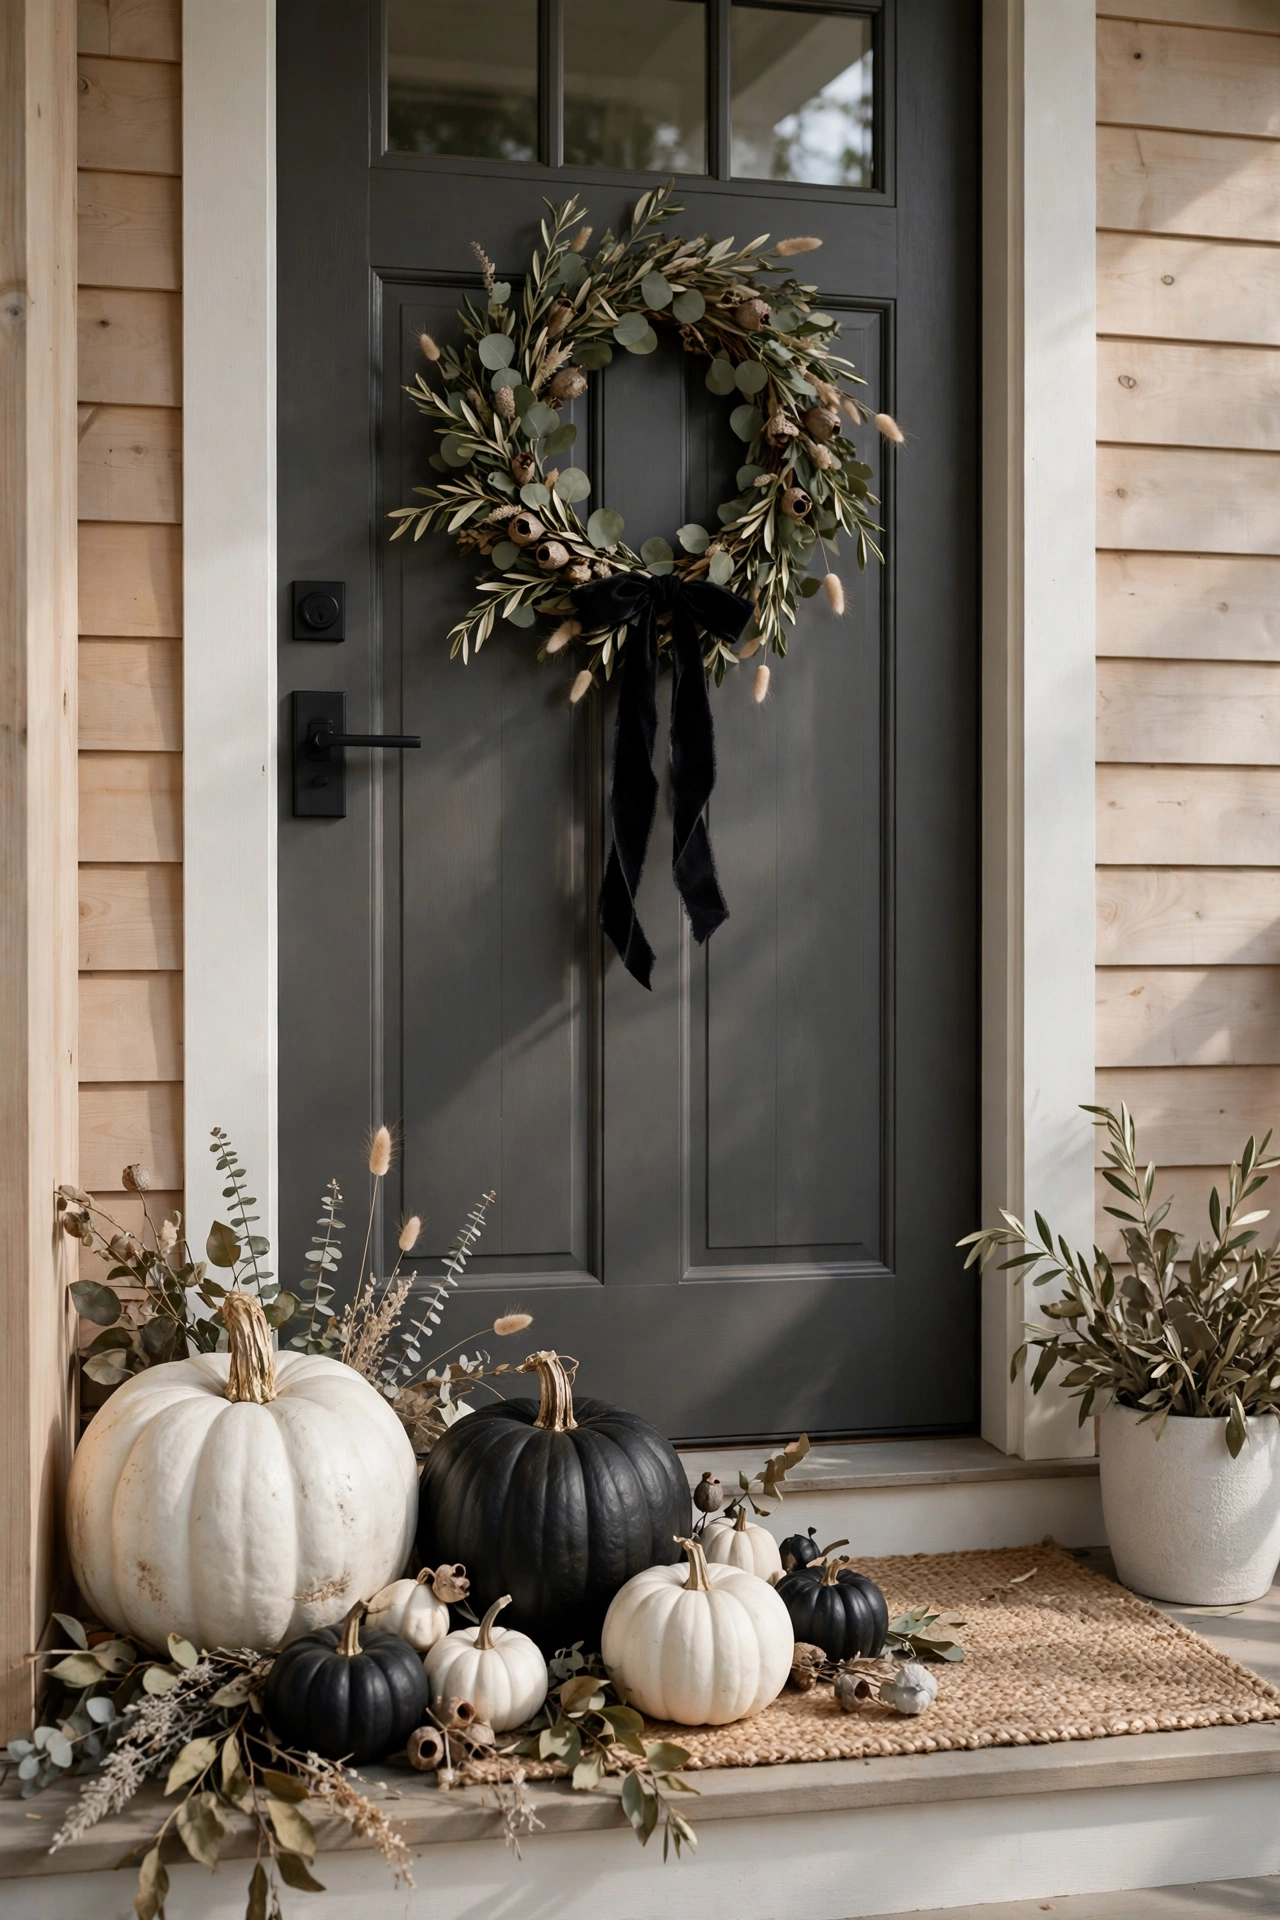
Build a Halloween look around neutral-toned pumpkins, a simple wreath, and understated black and white accents, skipping oversized props, inflatables, or anything that might run against a homeowners association’s decor guidelines. This idea works well for anyone living in a community with strict exterior decoration rules, since it delivers a clear seasonal mood through color and shape rather than large freestanding decorations. Choose black, white, and deep purple as the core palette, adding texture through natural materials like dried branches or a simple raffia bow rather than plastic props. A tasteful black ribbon on an existing fall wreath, or a small cluster of black and white pumpkins by the door, can shift a purely autumnal display into something clearly Halloween-appropriate without technically installing anything permanent or oversized. This idea works particularly well for renters as well, since nearly everything involved is easy to set up and remove without any lasting changes to the property.
Practical & Safety Ideas (Ideas 16–18)
16. Light the Walkway for Trick-or-Treater Safety
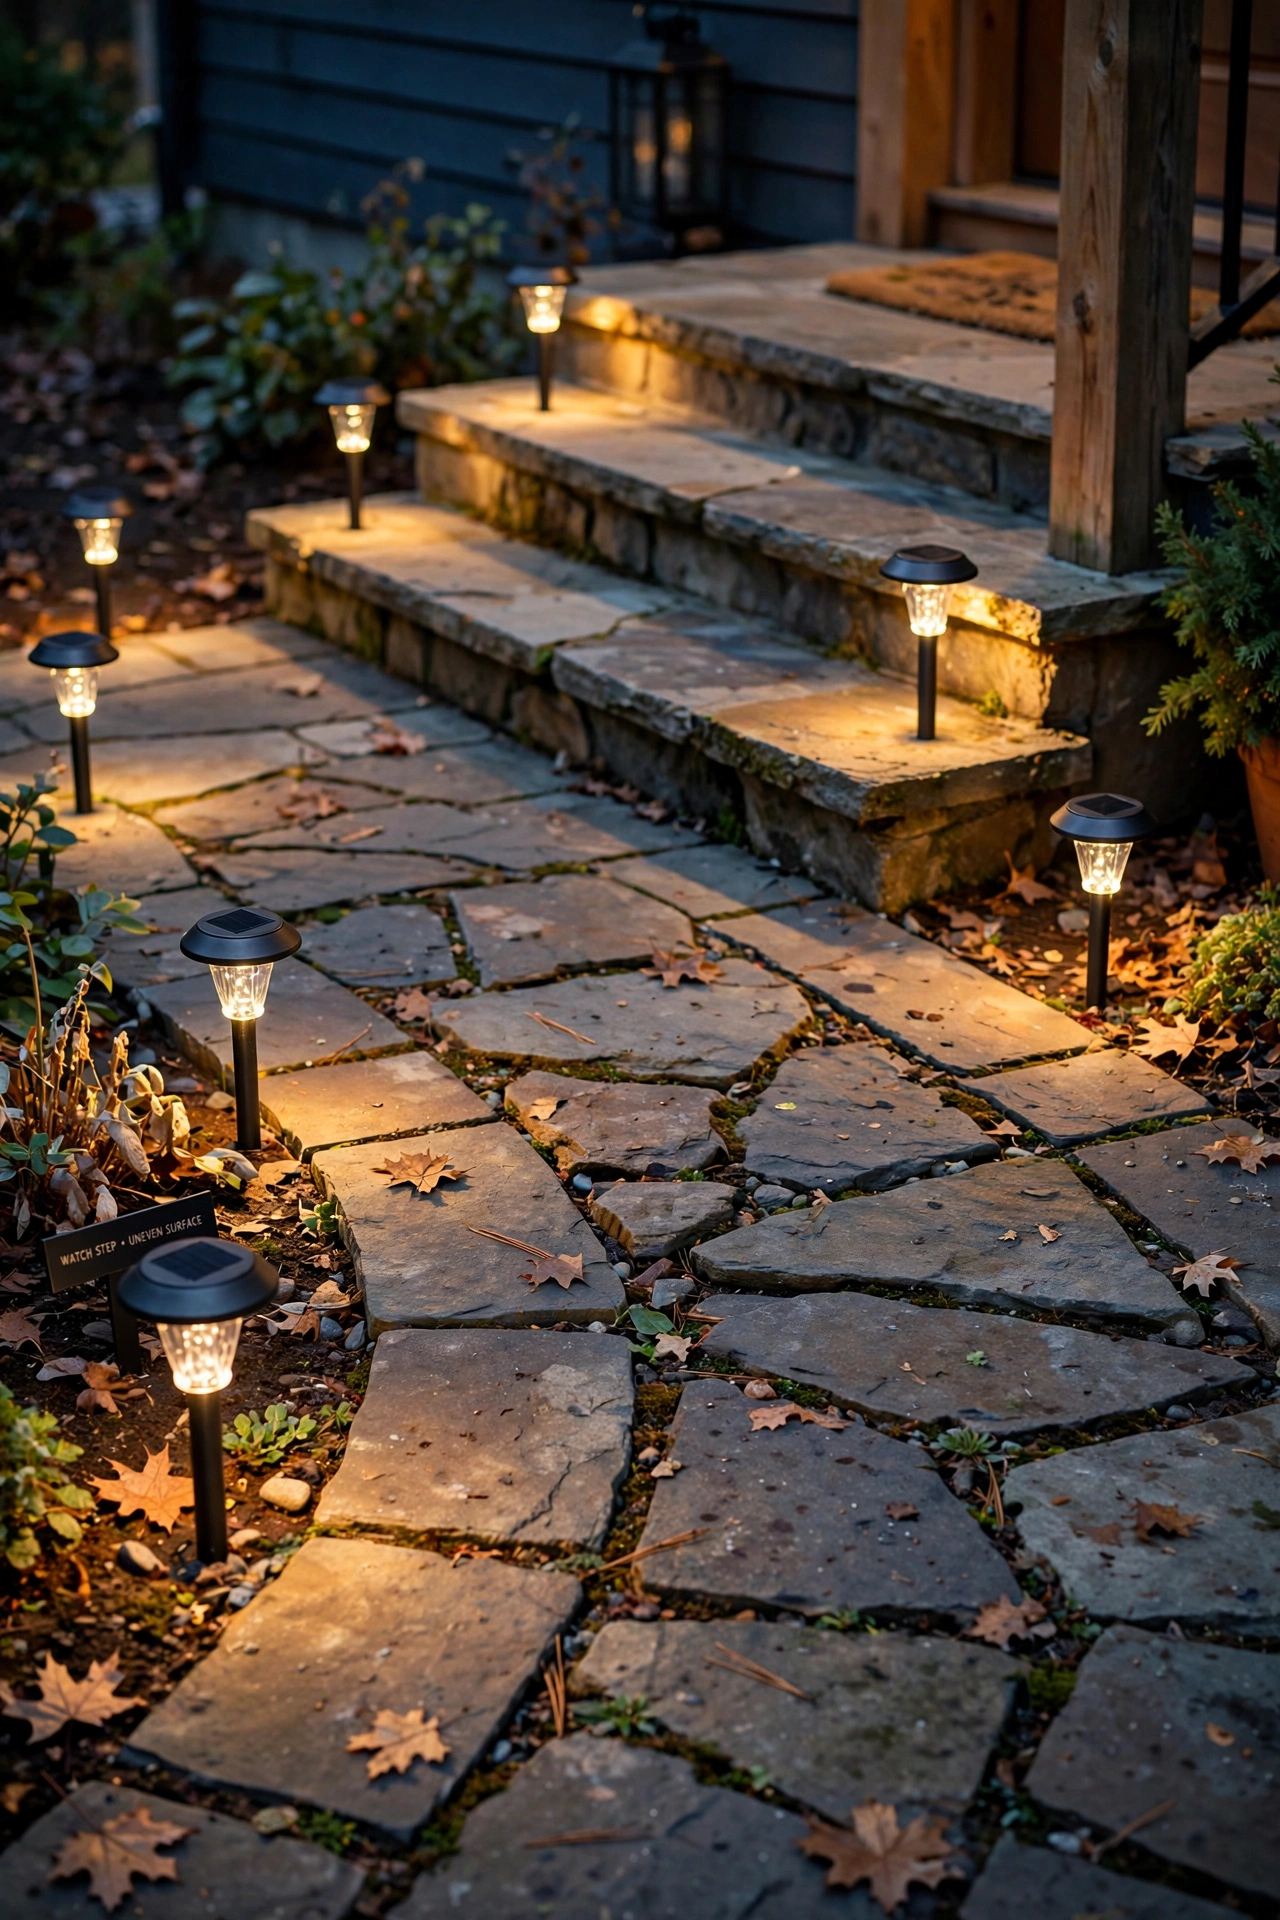
Add functional lighting, whether string lights, solar path lights, or the pumpkin pail lanterns from Idea 7, along any uneven steps, dark stretches of walkway, or spots where landscaping might create a tripping hazard. This idea matters beyond just style, since Halloween night brings dozens of kids in costumes, some with limited visibility from masks, moving through your yard after dark, which makes basic path lighting a genuine safety consideration rather than an optional decorative extra. Check your walkway in person once it’s fully dark, walking the actual path guests will take, to identify any spots that feel too dim or where a step isn’t clearly visible. Add extra light near any stairs specifically, since uneven or poorly lit steps are one of the most common tripping hazards during trick-or-treating. This idea works as an important addition to nearly every other idea on this list, since even the most elaborate prop display doesn’t matter much if a trick-or-treater can’t safely reach your door.
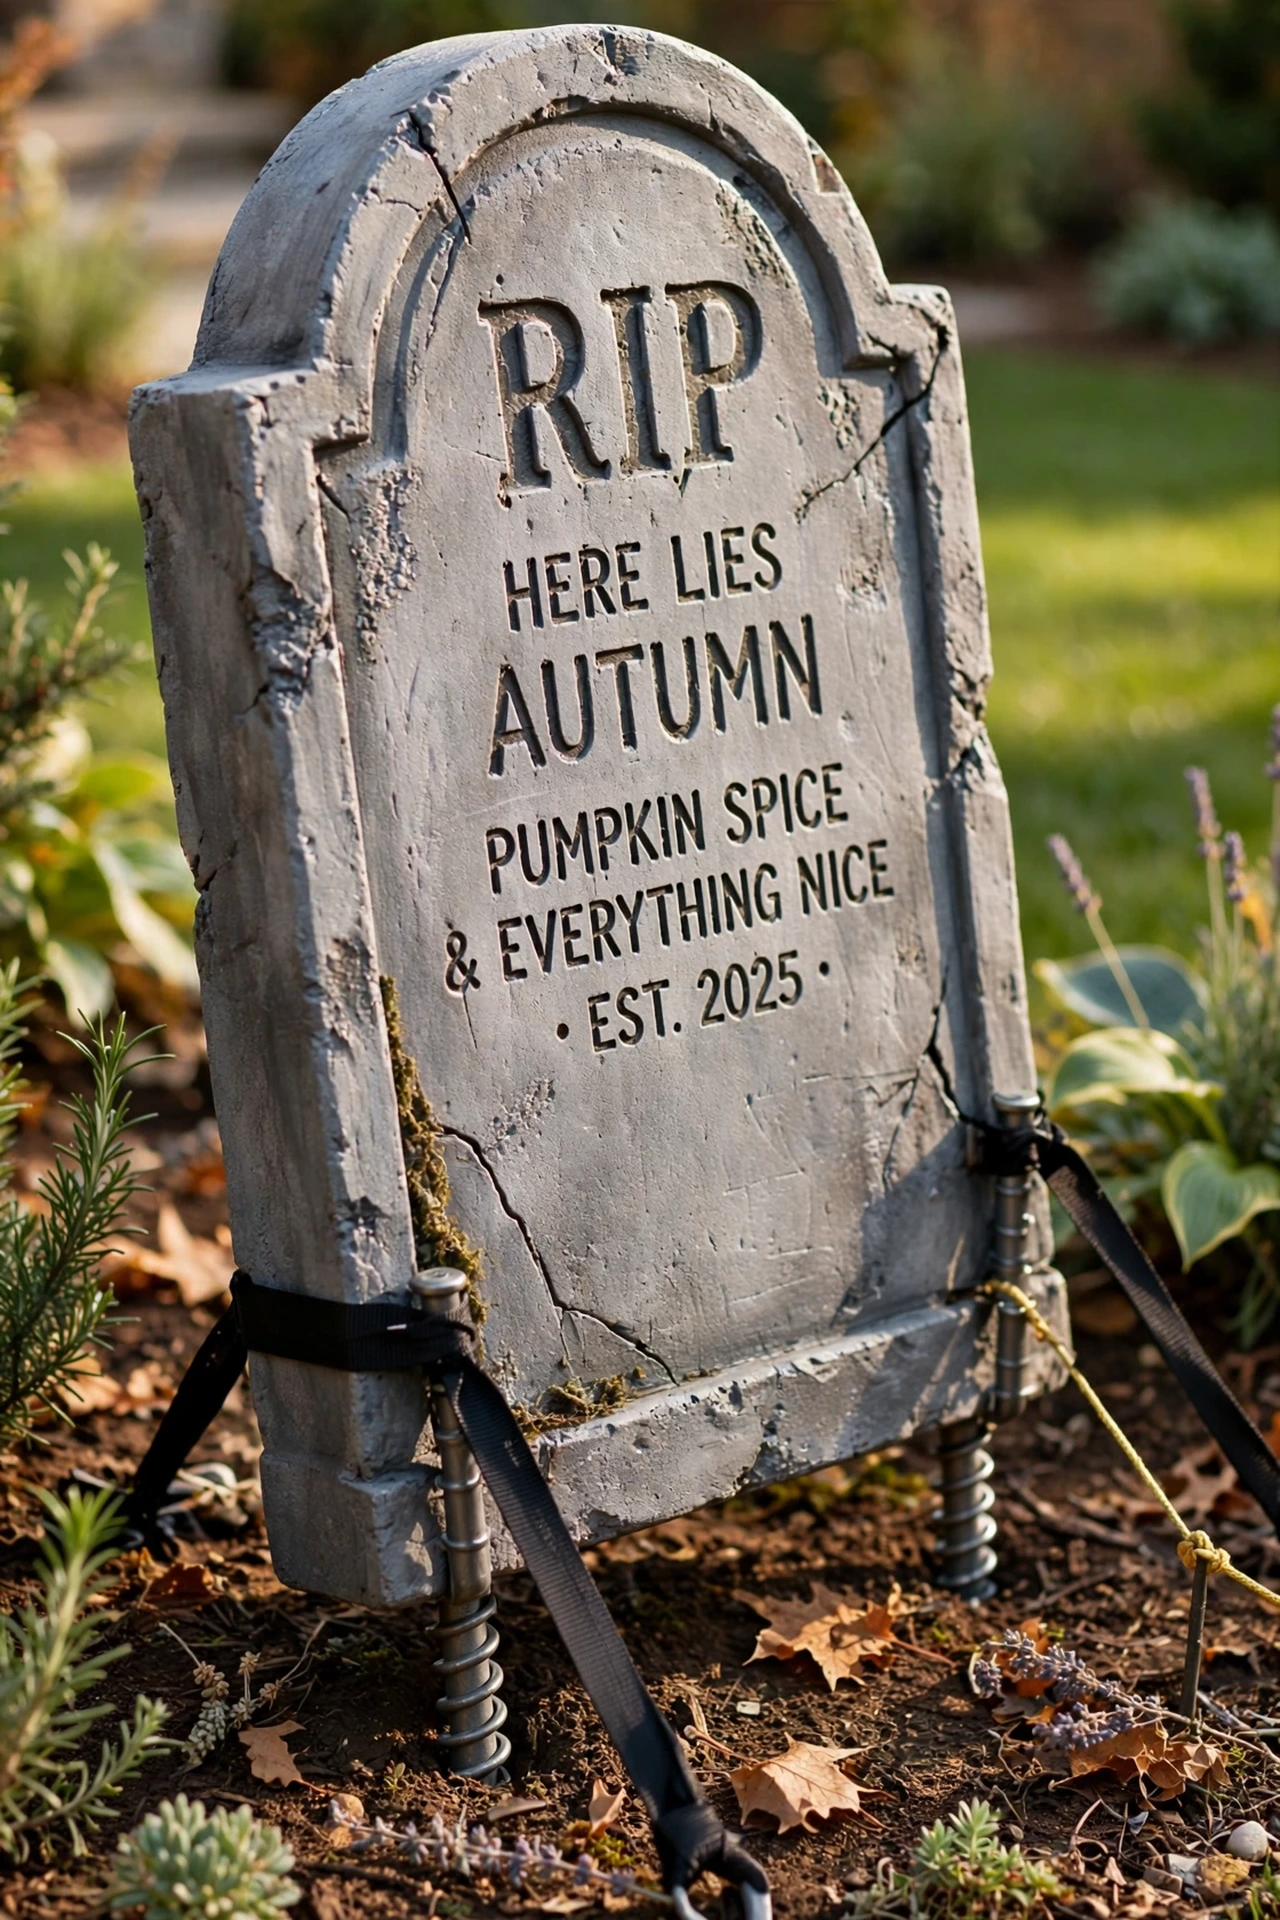
17. Anchor Large Props Against Wind
Secure any large or freestanding decorations, tombstones, inflatable figures, or tall props, with ground stakes, sandbags, or a weighted base like a bucket filled with gravel, rather than trusting the prop’s own weight to keep it upright. This step gets skipped constantly, but an unanchored prop that blows over mid-week not only looks messy, it can also become a genuine hazard if it lands somewhere a trick-or-treater might trip over it later. Choose stakes or rebar for props with a solid frame, and shift to sandbags or a weighted bucket base for lighter, hollow items like inflatables or foam builds. Test each prop’s stability by giving it a firm push in different directions once it’s set up, rather than assuming it will hold simply because it looks sturdy standing still. This idea works as an essential final step for nearly every larger build on this list, since even the best-looking prop isn’t worth much if it ends up face-down in the yard by the second week of October.
18. Choose Weatherproof Materials and Plan for Storage
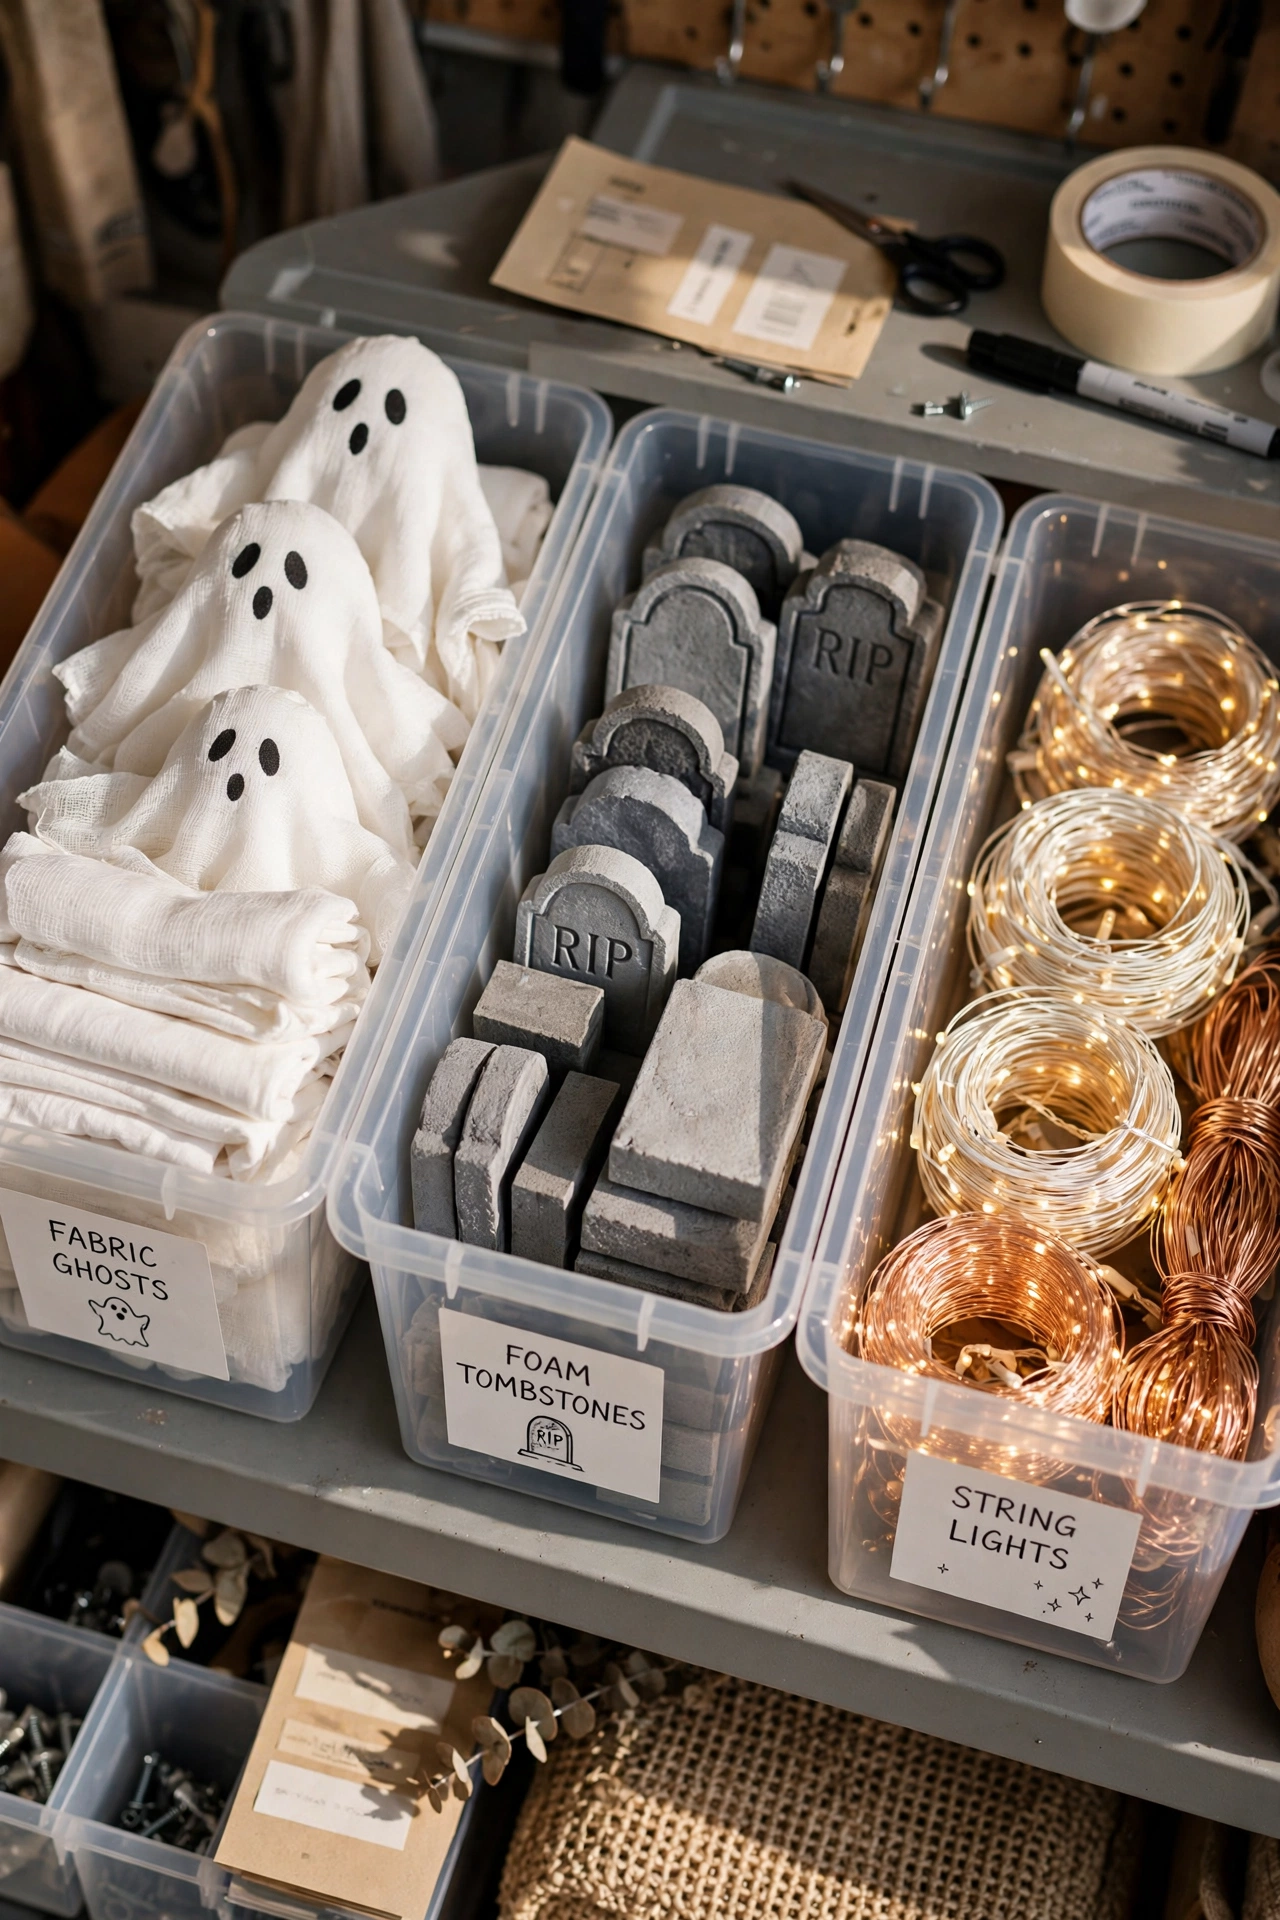
Build or buy Halloween decorations using materials suited to several weeks of outdoor exposure, like foam board, chicken wire, treated lumber, and outdoor-rated fabric or paint, rather than materials that will warp or fade after the first rain. Choosing the right material upfront saves real frustration partway through the season, since a prop that looks great on day one but disintegrates by week two undercuts the whole effort that went into building it. Plan for storage before the season even starts, since props built to collapse flat, like foam tombstones or fabric ghosts that can be folded, are far easier to keep and reuse the following year than bulky, rigid builds. Label and bag smaller items together by theme, all the bats in one bag, all the string lights in another, so next year’s setup starts with an organized bin rather than a tangled mess. This idea works as a practical foundation for the entire list, since materials and storage planning directly affect how much of this year’s effort actually carries over to next Halloween.
Styling Tips
Choose one dominant color story, classic orange and black, or a cooler purple and white, and repeat it across lighting, props, and signage for a cohesive look. Group smaller props, like ghosts or witch hats, in clusters of three or more rather than spacing single items evenly around the yard. Layer at least two types of lighting, colored string lights and functional path lighting, so the display works both as decoration and as usable illumination. Vary prop heights and placement rather than lining everything up in a straight row, since natural-looking clusters read as more intentional than a rigid display. Match your display’s intensity to your actual audience, leaning cuter and brighter for a street with young trick-or-treaters, or moodier and darker for an adult-focused Halloween party.
Related: 15 Gothic Christmas Decoration Ideas for a Darker Aesthetic
Practical Implementation Ideas
Start decorating a few weeks before Halloween itself, testing lighting and prop placement after dark before finalizing the full layout. Choose materials rated for outdoor use, foam board, treated lumber, outdoor paint and adhesive, for anything meant to stay up for the full month. Walk your own walkway and porch steps after dark once decorations are in place, checking specifically for tripping hazards or dim spots. Anchor every freestanding or hanging prop before the first windy night, using stakes, sandbags, or weighted bases as appropriate for each item’s size and weight. Photograph your finished setup at night before Halloween itself, so you can adjust lighting or prop placement with time to spare rather than discovering issues on the actual night.
Common Mistakes to Avoid
Leaving large or freestanding props unanchored, which risks them blowing over and becoming a tripping hazard later in the season. Using indoor-only string lights or paper decorations outside, where rain and humidity will damage them within days. Overcrowding the yard with too many unrelated props and colors, rather than choosing one cohesive theme and building around it. Skipping walkway lighting entirely, which can make it genuinely difficult for trick-or-treaters, especially those in costumes with limited visibility, to safely reach your door. Choosing an intensely scary display without considering that young children will also be visiting on Halloween night.
Small-Space Alternatives
For a small porch or apartment balcony, a stretched spiderweb (Idea 1), a doormat design (Idea 13), or a few painted pumpkins (Idea 14) deliver real Halloween character without needing yard space for larger props. String lights (Idea 8) and hanging witch hats (Idea 4) both add height and color vertically rather than taking up floor space. A subtle, HOA-friendly approach (Idea 15) also tends to scale down naturally, since its restrained palette works just as well in a compact entryway as it does across a full front yard.
Budget-Friendly Alternatives
A dollar store spiderweb and spider (Idea 1), a painted doormat (Idea 13), and foam board tombstones (Idea 2) are among the least expensive builds on this list, often costing just a few dollars in materials. Reusing items already on hand, an old sheet for a tomato cage ghost (Idea 3) or fabric scraps for wrapped porch columns (Idea 10), keeps costs low while still delivering a genuinely styled display. Layering Halloween accents onto an existing fall porch setup (Idea 11) is also one of the most cost-effective approaches on this list, since it avoids duplicating decor you’ve already purchased for the season.
Pro Styling Recommendations
Decide on your display’s overall tone, cute and family-friendly or moody and dramatic, before choosing individual props, since that decision affects everything from color palette to lighting choices down the line. Build in layers, starting with lighting and a base layer of props, then adding smaller details like signs and doormat designs once the larger structure is in place. Anchor and weatherproof everything as you go rather than treating it as an afterthought, since a prop that survives the full month looks far better in photos taken on October 31st than one that’s already sagging or tipped by the third week. Finally, walk your own display after dark from a trick-or-treater’s perspective, checking that the path is safe, the lighting is sufficient, and the overall effect actually reads the way you intended once the sun goes down.
FAQs
Conclusion
The easiest outdoor Halloween decorations all come back to the same short list of moves: pick one clear mood, layer in some lighting that actually does double duty as both decoration and safety, and anchor anything freestanding well enough that it’s still standing on October 31st. None of it requires a big budget or a garage full of props. A dollar store web, a few painted pumpkins, and a lit walkway can look just as intentional as an elaborate build, especially once it’s dark and the string lights are doing their job. Pick a few ideas from this list that fit your yard, your budget, and your street, and build outward from there.