20 Halloween Door Decorations That Are Spooky, Creative & So Easy to DIY
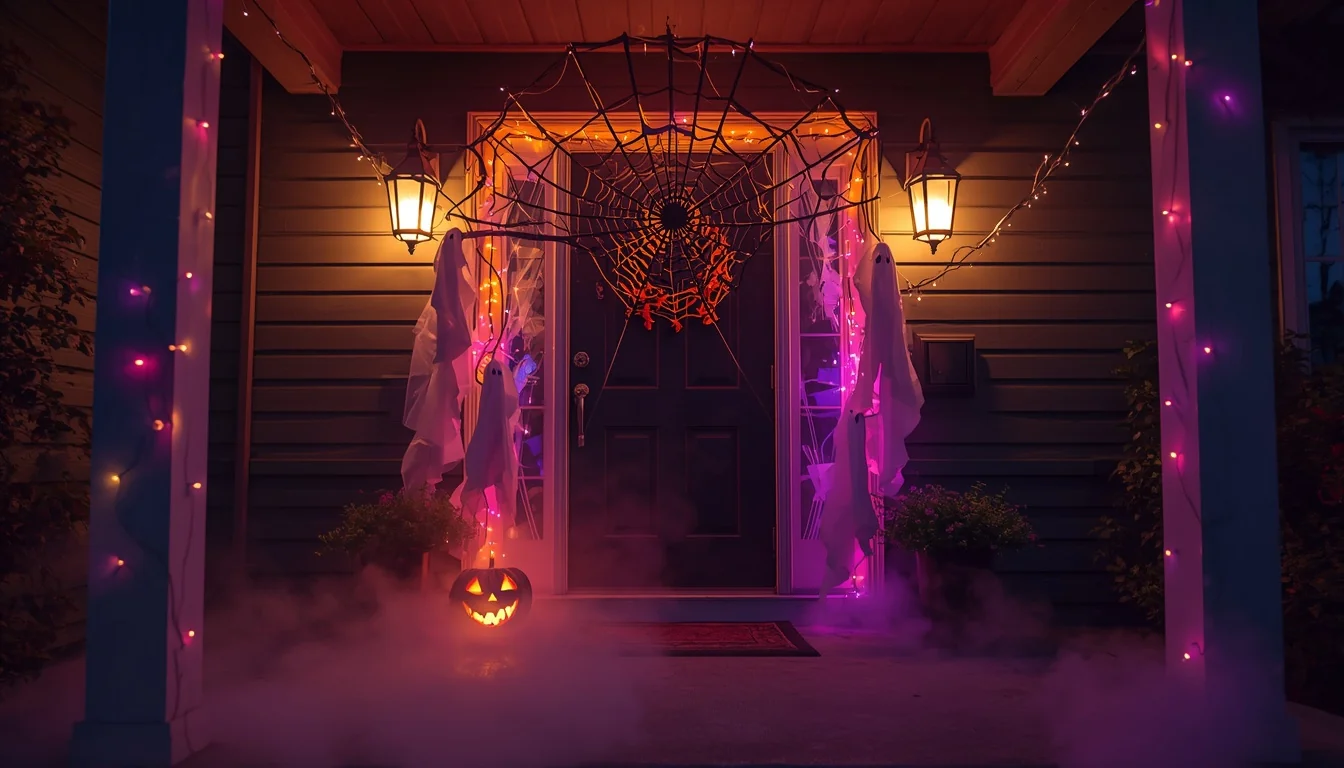
There’s a specific thrill kids get walking up to a house that actually tried for Halloween. Not the house with one sad plastic pumpkin propped by the mat, the one where the door itself has clearly been through something. A giant spider crawling across it. A ghost peeking out. A monster with teeth bigger than the doorbell.
The good news is that door doesn’t need a professional haunted house budget to get there. Most of the best Halloween door decorations use stuff you already have, cardboard, paper, an old sheet, string lights, and just a little bit of intention. This list has 20 ideas ranging from five-minute paper cutouts to weekend-long builds, so whether you’ve got an hour or a whole Saturday, there’s a version here that turns your front door into the one everyone stops for a photo in front of.
Table of Contents
1. Giant Pumpkin-Face Door
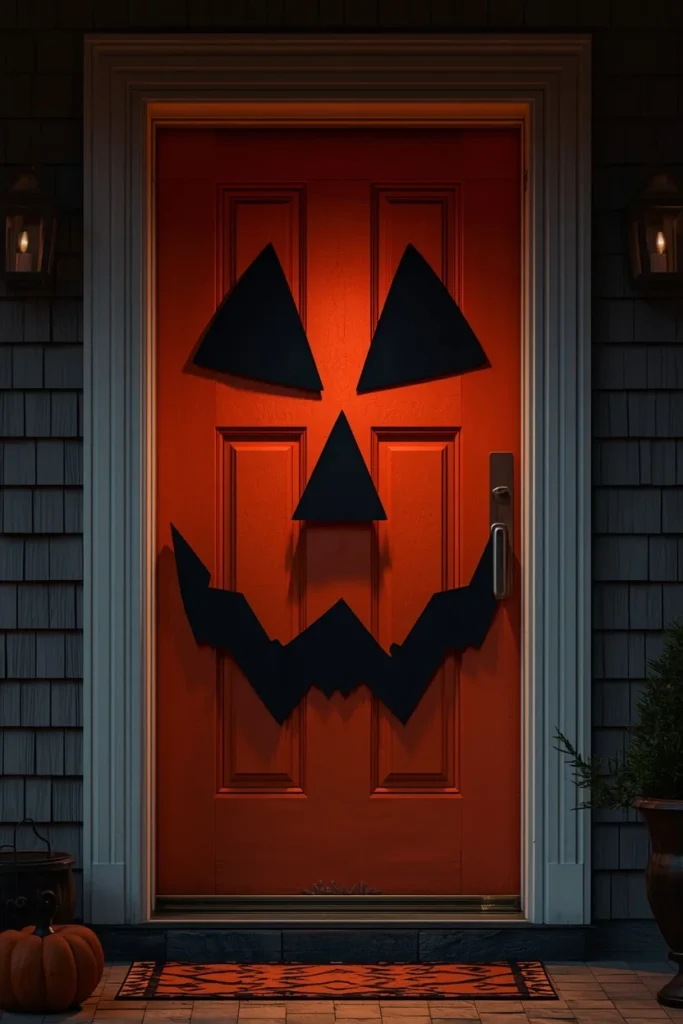
Turning your entire front door into one giant jack-o’-lantern is one of the boldest, most photographed Halloween door ideas because it transforms the whole entrance instead of just adding a small accent. Cut jagged triangle eyes, a nose, and a zigzag mouth out of black craft paper or poster board, then arrange them directly onto an orange-painted door or an orange fabric or paper backdrop taped over the door itself. Keep the proportions slightly oversized and uneven rather than perfectly symmetrical, since real jack-o’-lantern faces are never quite even and that imperfection is what sells the look. Use removable poster tape or painter’s tape so the door’s actual finish isn’t damaged once November rolls around. Adding a small light source behind or beside the door after dark makes the whole face glow, turning a daytime paper craft into a genuinely eerie nighttime display.
2. Floating Ghost Door Display
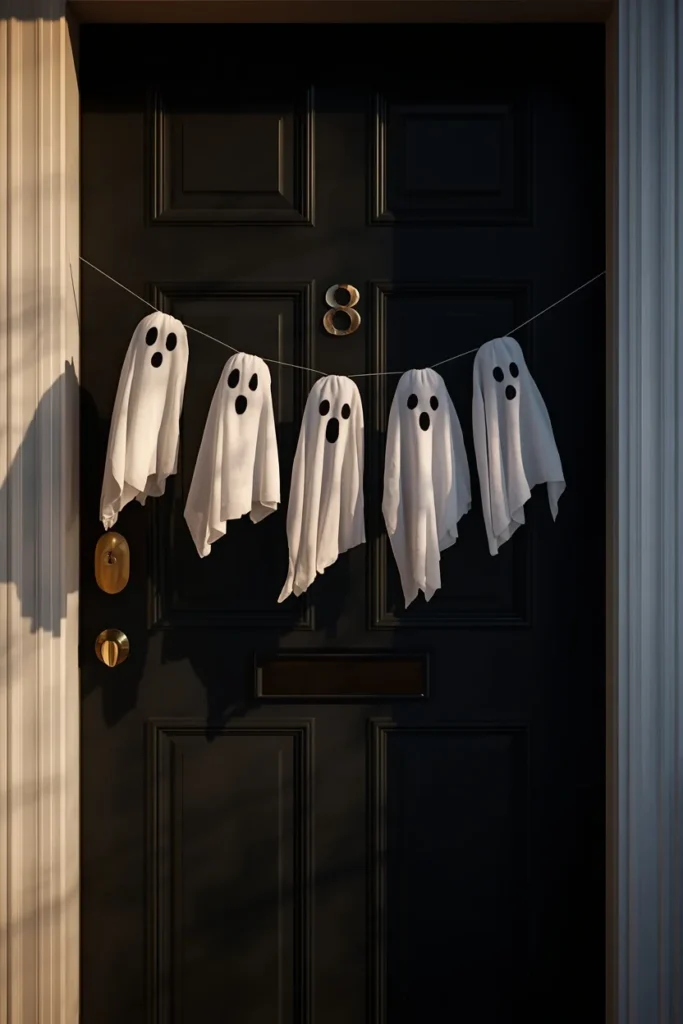
A cluster of simple white ghosts hung at different heights across a door creates instant movement and depth, and it remains one of the most recognizable, kid-friendly Halloween looks precisely because it’s so easy to execute well. Cut ghost shapes from white craft paper, fabric, or an old bedsheet, then add black paper or felt eyes and a simple round mouth to each one for expression. Vary the sizes and hanging heights across three to five ghosts rather than lining them up evenly, which gives the display a sense of floating movement instead of looking like a static row. Attach each ghost with a strip of clear fishing line or thin ribbon looped over a small removable hook, letting them drift slightly whenever the door opens or the wind picks up. This idea scales easily from a minimal two-ghost version for a quick weekday project to a full dozen-ghost cluster for a more dramatic entrance.
3. Mummy-Wrapped Door
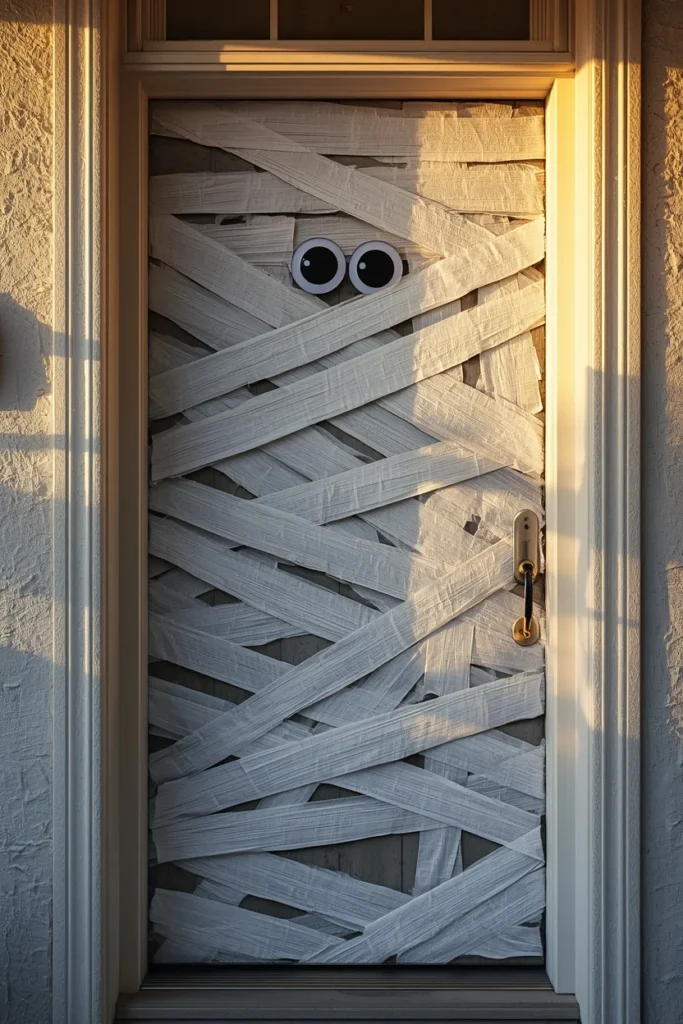
Wrapping your entire front door in overlapping strips of white crepe paper or gauze instantly reads as mummy bandages, and the effect is far more dramatic than the five minutes of actual effort it takes to create. Starting at one top corner, tape long strips diagonally across the door in a loose, criss-crossing pattern, leaving gaps and uneven overlaps rather than covering the surface perfectly, since real bandage wrapping is never tidy. Finish the look with one oversized pair of googly eyes peeking out from somewhere in the middle of the wrapped strips, which adds a genuinely funny, slightly unsettling focal point. Use non-damaging adhesive putty rather than strong tape at each anchor point so the door’s paint or finish stays protected. This is one of the fastest full-door transformations on this list, making it a strong choice for last-minute decorating or a rental home where permanent changes aren’t an option.
4. Headless Horseman Door Greeter
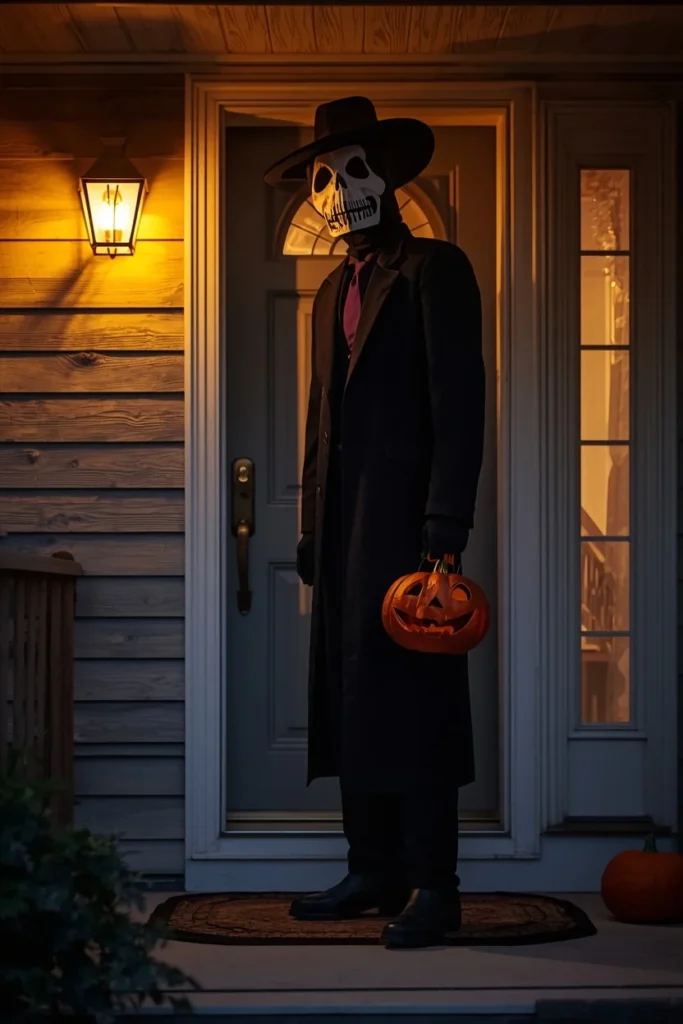
Bringing a life-sized Headless Horseman figure to stand or lean beside the door creates one of the most striking, story-driven displays on this entire list, and it requires far less sewing or building skill than it looks like it would. Stuff an old dark jacket and pants with shredded newspaper or straw to build the figure’s body, mounting it on a simple wooden stake or pole anchored into a planter or the ground near the entrance. Leave the neckline empty and dark, tucking a black hood or collar upward to create the illusion of a missing head, then place a carved or painted pumpkin either tucked under one arm or resting nearby as the classic finishing detail. A wide-brimmed hat and a pair of old boots at the base complete the silhouette even from a distance down the street. This project takes a bit more assembly time than most others on this list, but it delivers a genuinely showstopping, story-based display that trick-or-treaters will talk about.
5. Giant Monster Teeth Door
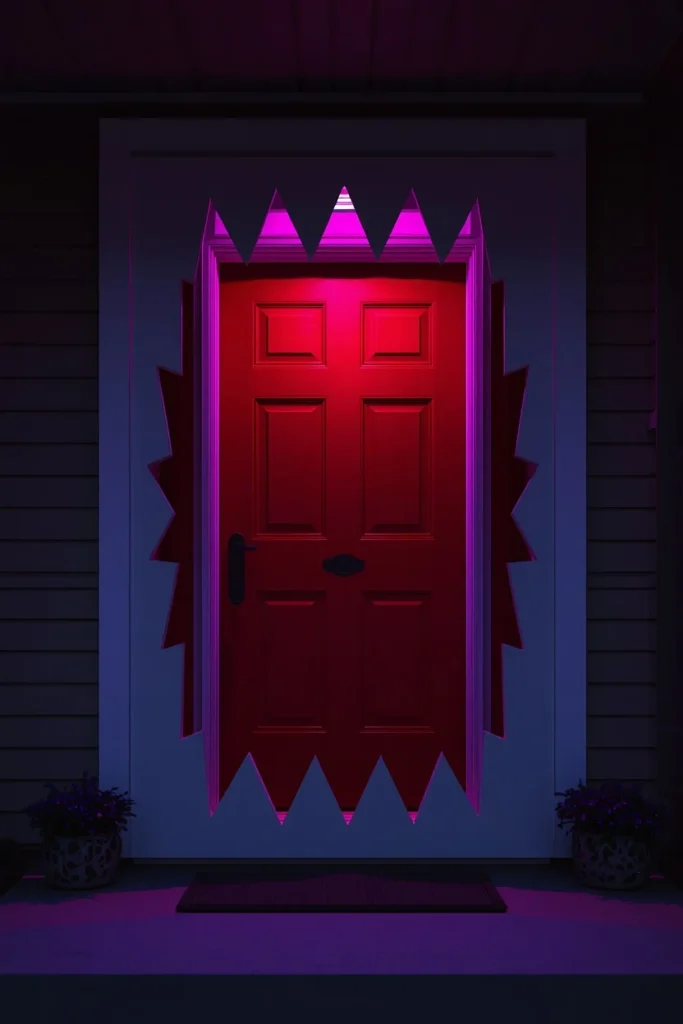
Turning a door into a giant open monster mouth is a bold, graphic look that reads clearly even from far down the street, making it especially effective for trick-or-treat night when visibility matters. Cut large triangular teeth shapes out of white or cream craft foam or plywood, arranging them along the top and bottom edges of the door frame so they appear to bite down around the doorway itself. Paint the door’s visible surface a deep red or dark pink to suggest the inside of a mouth, and add a rough black or purple border framing the whole design for extra definition. Keep the teeth slightly uneven in size and spacing, since perfectly matched teeth read as far less monstrous than a jagged, irregular set. This idea works particularly well for households that want their door to feel genuinely transformed rather than simply accessorized, and it holds up well under exterior lighting after dark.
6. Googly-Eyed Monster Door
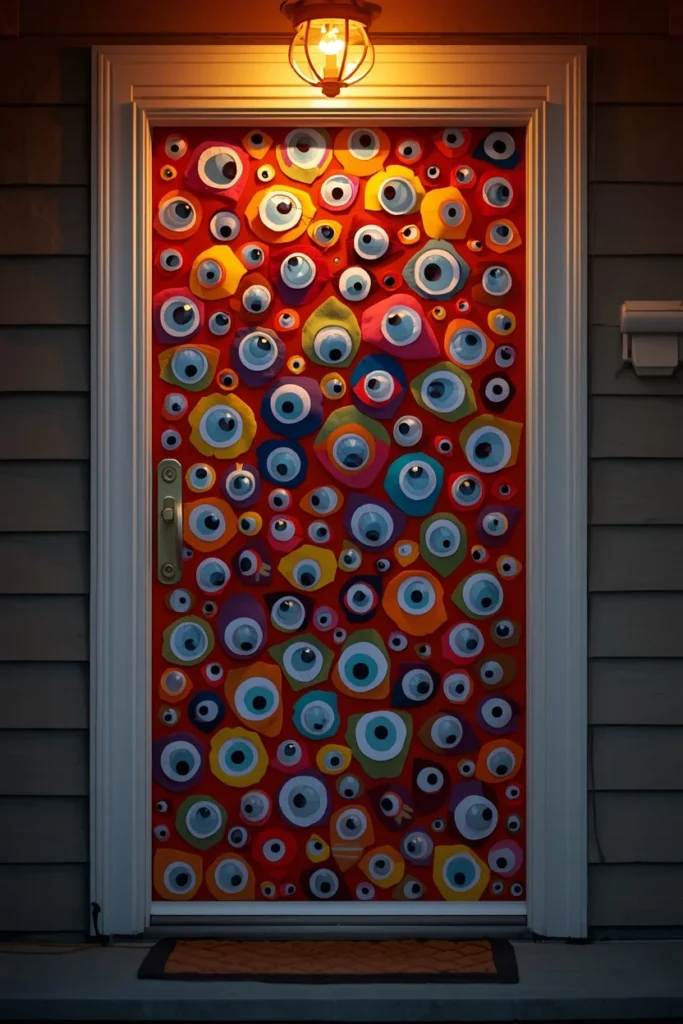
Covering a door in dozens of oversized googly eyes is one of the most purely fun, kid-friendly Halloween decorations on this list, since it reads as silly rather than scary while still being unmistakably Halloween-themed. Hot glue felt shapes in varying colors and sizes across the door’s surface first to build a loose monster or blob silhouette, then attach large googly eyes, at least a few inches wide, across the felt shapes in uneven clusters. Mixing eye sizes and angling some slightly sideways gives the design a more animated, cartoonish energy than lining them up in neat rows. This project is genuinely approachable for young kids to help with, since the materials are soft, safe, and forgiving of imperfect placement. It also tends to be one of the most budget-friendly ideas here, since felt and googly eyes are inexpensive and widely available at any craft store.
7. Spiderweb & Spider Door
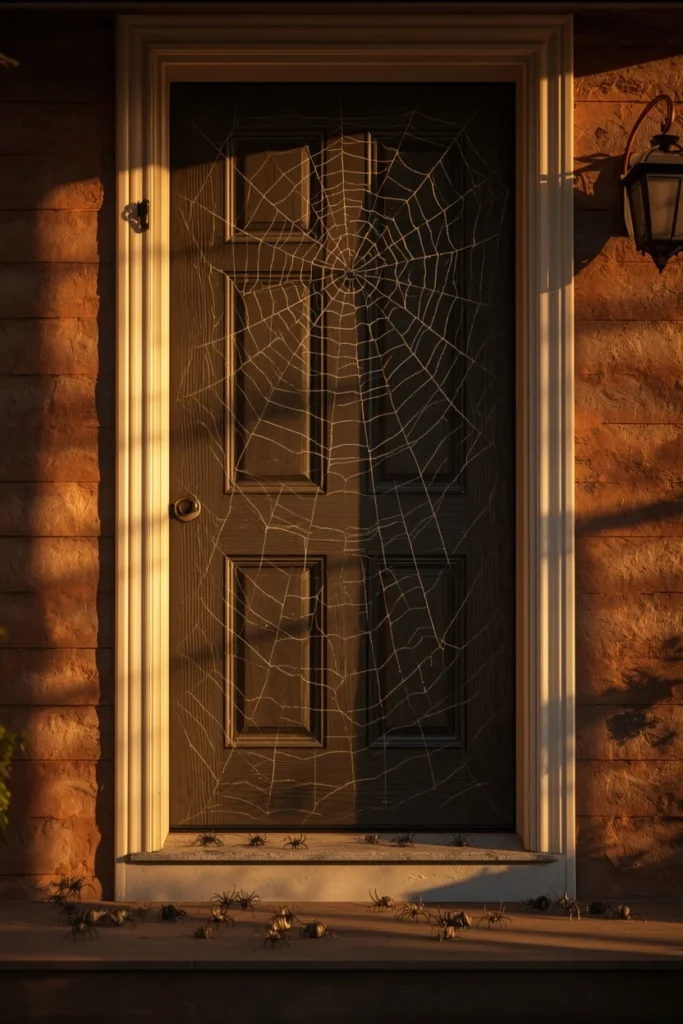
A large stretched spiderweb draped across the doorframe, paired with a scattering of plastic spiders in varying sizes, remains one of the most classic and reliably effective Halloween door looks because it works at every budget and skill level. Stretch a store-bought cotton or synthetic web material diagonally across one corner of the door, pulling and thinning sections by hand so it looks naturally spun rather than stiff and uniform. Add spiders in at least three different sizes, tucking the largest one near the center of the web and scattering smaller ones toward the edges and even down onto the porch floor or steps. A thin layer of black spray paint lightly misted over the web’s edges can add subtle depth and shadow for an even more realistic texture. This idea is one of the most flexible on the entire list, easily scaled up with more webbing and spiders for a dramatic look or kept minimal for a quick, understated touch.
8. Cheesecloth Ghost Web Door
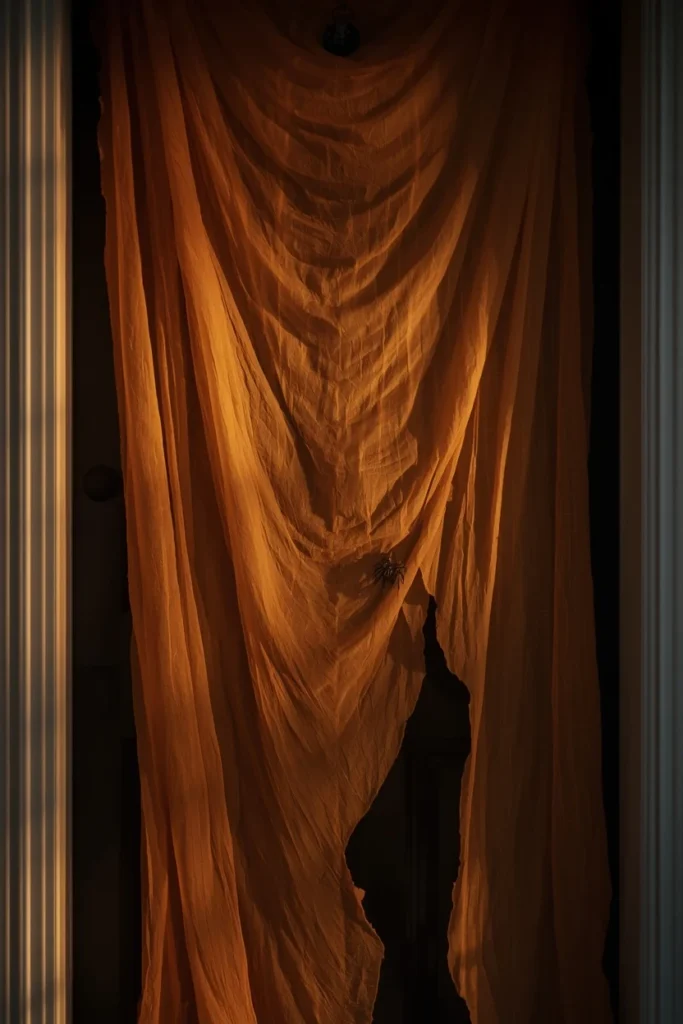
Stretching and draping cheesecloth across a door frame creates a hauntingly tattered, cobweb-like texture that’s far softer and more atmospheric than synthetic spiderweb material, giving the entrance a genuinely eerie, abandoned-house quality. Soak the cheesecloth in a weak tea or coffee mixture beforehand and let it dry for a naturally aged, yellowed tint before draping it loosely across the door and surrounding frame. Pull and stretch sections by hand to create thin, torn-looking gaps, then tuck a few plastic spiders or a single small ghost shape into the folds for added detail. This texture photographs beautifully in both daylight and porch lighting, since the loose weave catches shadow in a way that flat paper or fabric can’t replicate. It’s a particularly strong choice for anyone leaning into a more elegant, gothic Halloween aesthetic rather than a bright, cartoonish one.
9. “Keep Out” Warning Sign Door
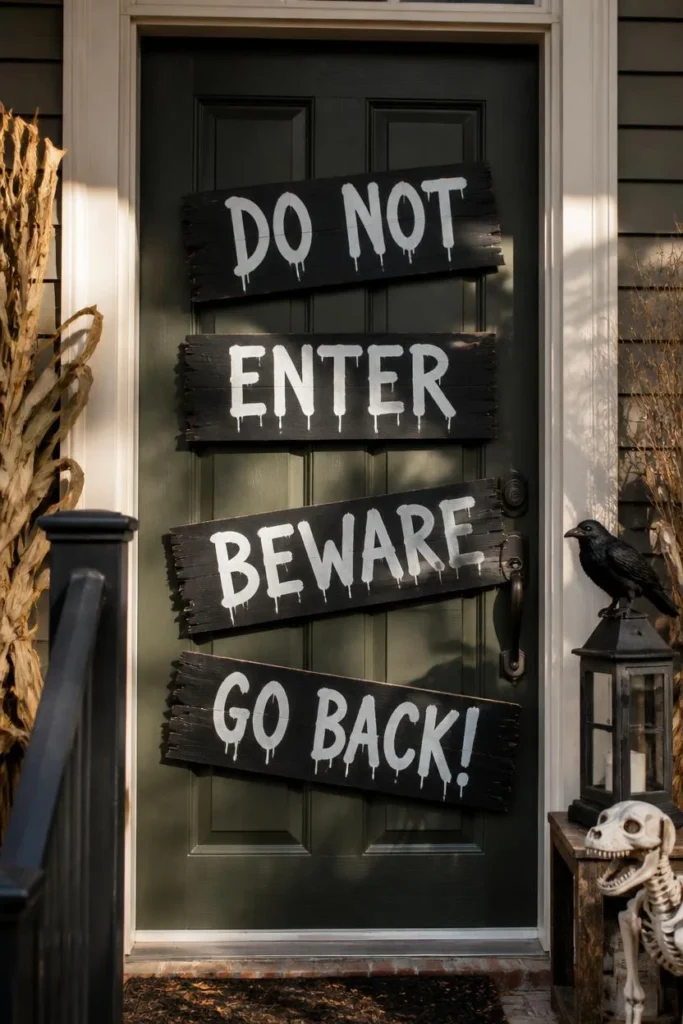
A hand-painted “Keep Out” sign made from scrap cardboard cut into rough wooden plank shapes adds a playful, low-effort scare that works especially well layered on top of another decoration rather than standing entirely alone. Cut a flattened cardboard box into several uneven plank shapes, then paint each one with a large black paintbrush to write out bold, dripping letters spelling the warning across two or three boards. Distress the edges slightly by tearing or roughing up the cardboard before painting, which sells the illusion of old, weathered wood far better than clean-cut edges would. Attach the planks to the door at slightly different angles rather than in a perfectly straight line, mimicking a hastily boarded-up entrance. This project requires only a box cutter, paint, and a bit of drying time, making it one of the fastest and cheapest ideas on this entire list.
10. Witch Legs & Broomstick Door
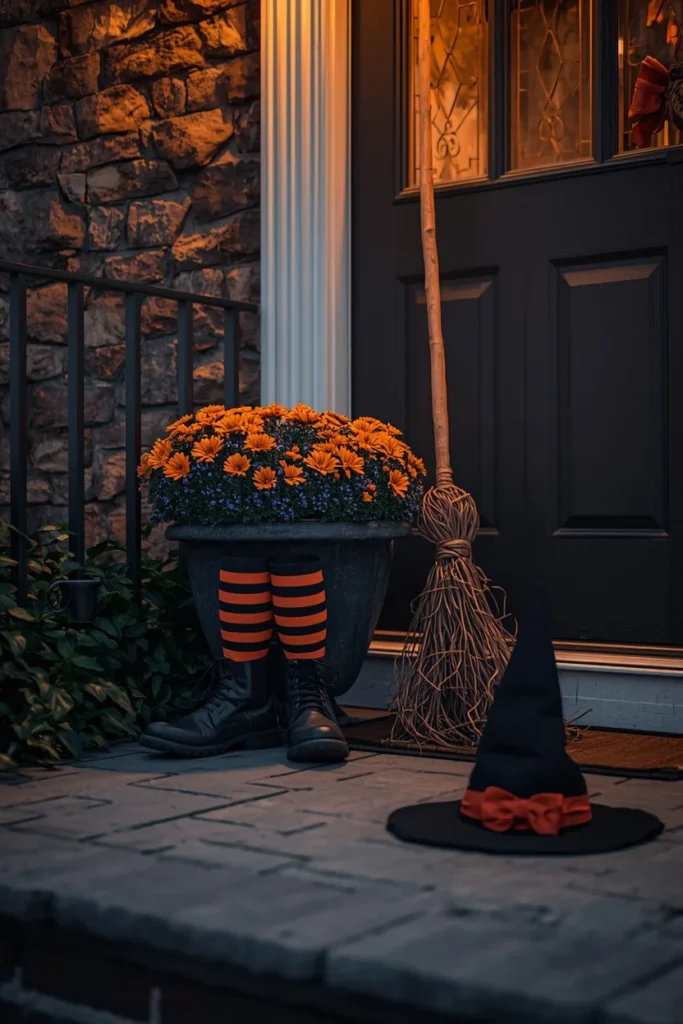
Positioning a pair of witch legs, striped tights and boots protruding from beneath the door or a nearby planter, alongside a broomstick leaned against the frame, tells a small visual story without requiring any elaborate construction. Stuff striped tights with newspaper or fabric scraps and attach a pair of boots or shoes at the bottom, then tuck the top edge under the door or into a flowerpot so the legs appear to be sticking straight up or pinned beneath something heavy. Lean an actual straw broom against the doorframe nearby, angled as though it fell during the commotion, to complete the visual gag. A witch’s hat placed on the ground a few feet away adds one more small detail suggesting she vanished mid-flight. This idea works particularly well combined with a simple wreath or minimal additional decor, since the legs and broom alone carry most of the visual interest.
11. Black Cat Silhouette Door
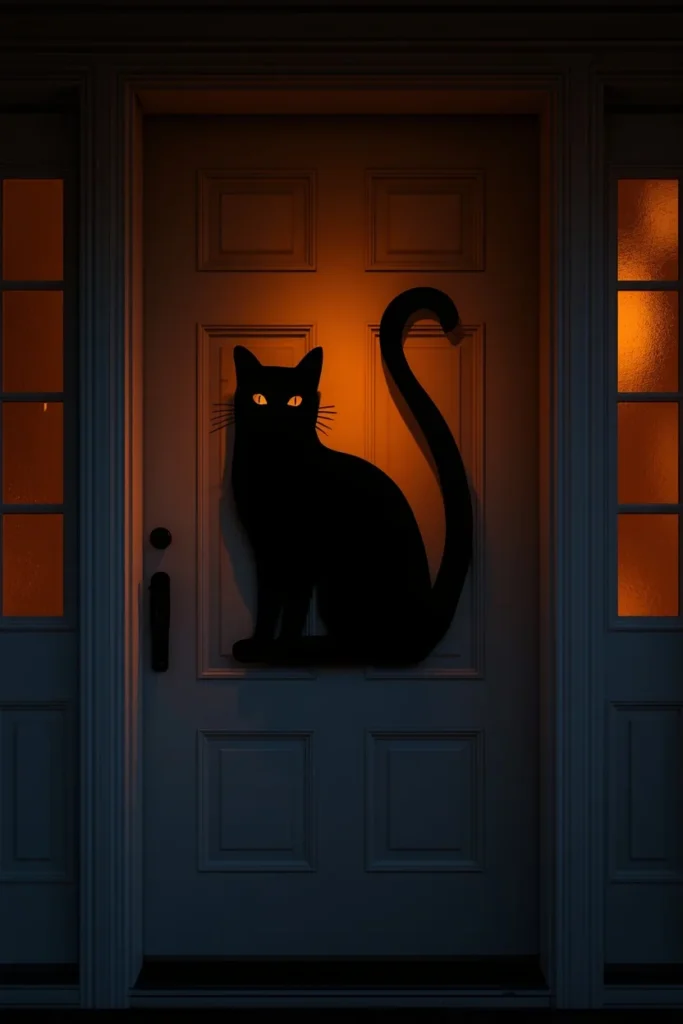
A single oversized black cat silhouette, arched back, tail raised, mounted directly onto the door delivers a graphic, high-contrast look that reads as instantly recognizable and genuinely stylish rather than cluttered. Cut the silhouette from black craft foam, cardboard, or thick poster board using a printed template enlarged to at least two or three feet tall for real visual impact. Mount the cutout with removable adhesive strips directly onto a lighter-colored door so the silhouette has strong contrast, or add a bright orange or white backdrop behind it if your door itself is dark. Add two small glowing yellow or green eyes using battery-powered LED lights or reflective paper for a subtle nighttime effect. This is one of the more design-forward, minimalist ideas on the list, well suited to households that want their Halloween decor to feel intentional and gallery-like rather than busy.
12. BOO Banner Door
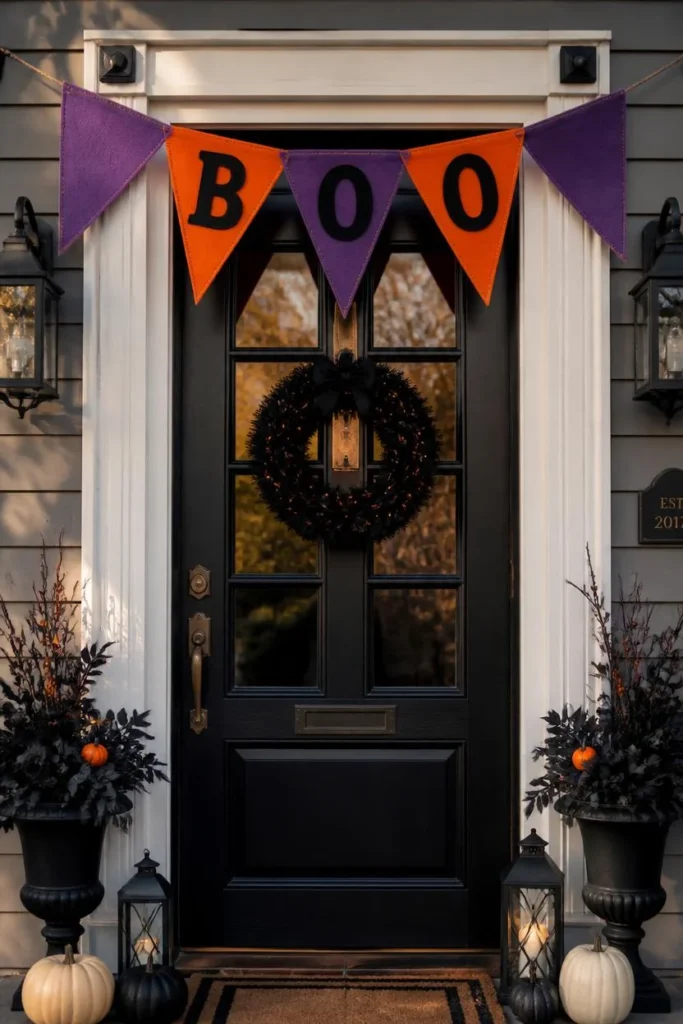
A simple fabric or cardstock banner spelling out “BOO” in bold block letters remains one of the most versatile, no-sew Halloween decorations because it works equally well on its own or layered above a wreath or other decor. Cut triangle pennant shapes from black, orange, and purple felt or cardstock, then attach one large letter to each flag using fabric glue or a hot glue gun. String the pennants along a length of twine or ribbon, spacing them evenly, then hang the finished banner across the top of the doorframe or just above eye level on the door itself. Adding small tassels or a fringe trim to each pennant’s bottom edge gives the banner a slightly more finished, boutique-made look without much extra effort. This project is genuinely one of the easiest on this list to make ahead of time and reuse year after year, since felt and cardstock hold up well in storage.
13. Bat Swarm Cutout Door
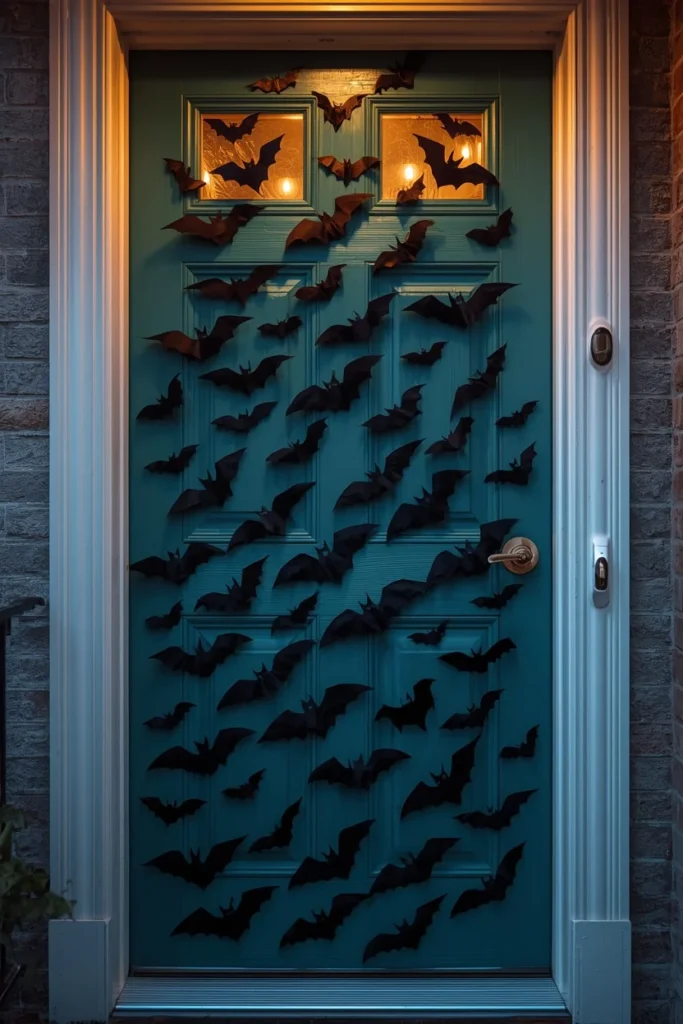
A scattered swarm of black paper bat silhouettes, varying in size and flight angle, taped directly to a door creates the illusion of movement and works beautifully on any door color since the bats themselves provide all the contrast needed. Cut bat shapes from black cardstock in at least three different sizes, then arrange them in a loose diagonal sweep across the door rather than a neat grid, angling several bats sideways or upside down to suggest mid-flight motion. Cluster more bats toward one corner and let the swarm thin out toward the opposite side, which creates a natural sense of direction and movement across the door’s surface. This is one of the fastest projects on the entire list, since bat templates can be traced and cut in bulk within twenty or thirty minutes. It also pairs exceptionally well layered over another decoration, like a wreath or a painted pumpkin face, adding motion without competing for attention.
14. No-Sew Fabric Spooky Sign Door
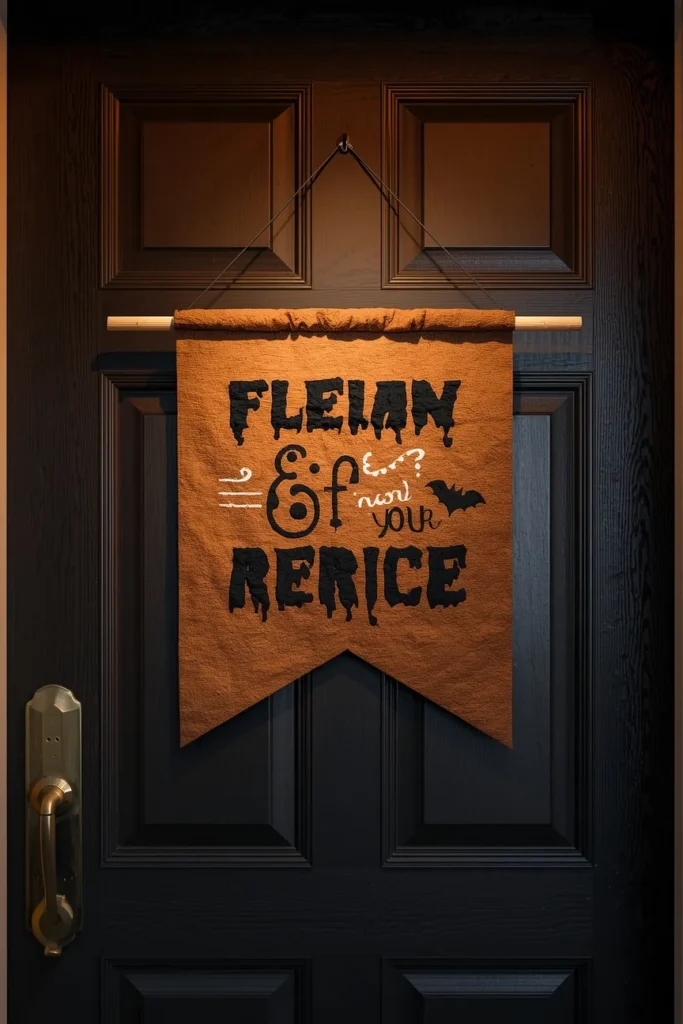
A soft fabric banner featuring a punny or spooky phrase, stitched or simply fused together without sewing, adds personality and a bit of humor to an entryway that might otherwise lean purely scary. Use fusible adhesive sheets to bond felt letters directly onto a canvas or burlap backdrop, skipping needle and thread entirely while still achieving a clean, finished edge. Choose a phrase with genuine personality, something playful rather than a generic “Happy Halloween,” since a specific pun or line tends to get remembered and photographed more than a standard greeting. Frame the finished sign with a simple wood dowel at the top and bottom, looping twine between them to create an easy hanging mechanism for the door. This project has real reuse value since fabric holds its shape and color across many seasons, making it a worthwhile one-time investment of crafting time.
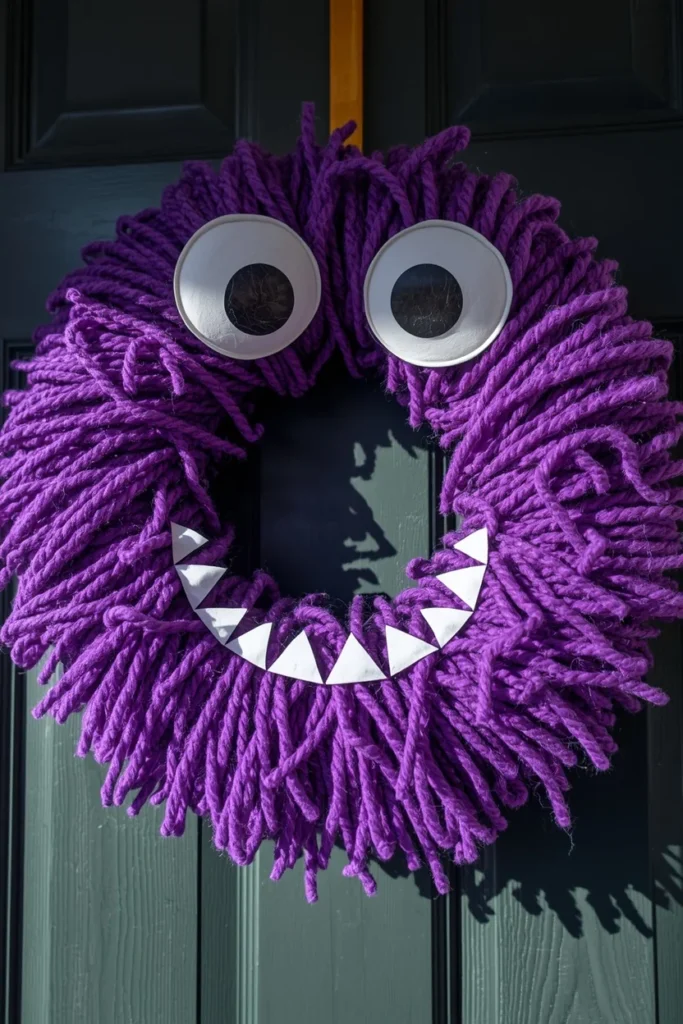
15. Yarn-Wrapped Monster Wreath Door
Wrapping a plain foam or straw wreath form in brightly colored yarn creates a soft, textural monster face that leans cute rather than scary, making it a strong choice for households prioritizing trick-or-treaters over full horror. Wrap the entire wreath base tightly and evenly in one bold yarn color, purple, green, or orange work especially well, securing the ends with hot glue at the back. Add felt or foam cutout eyes and a jagged tooth-filled mouth directly onto the yarn-wrapped surface, positioning them slightly off-center for a more animated, googly-eyed expression. A few short yarn tufts glued around the top edge can suggest hair or fur, adding another layer of texture to the design. This project is genuinely simple enough for kids to help with from start to finish, and the finished wreath is durable enough to store and reuse for several Halloween seasons.
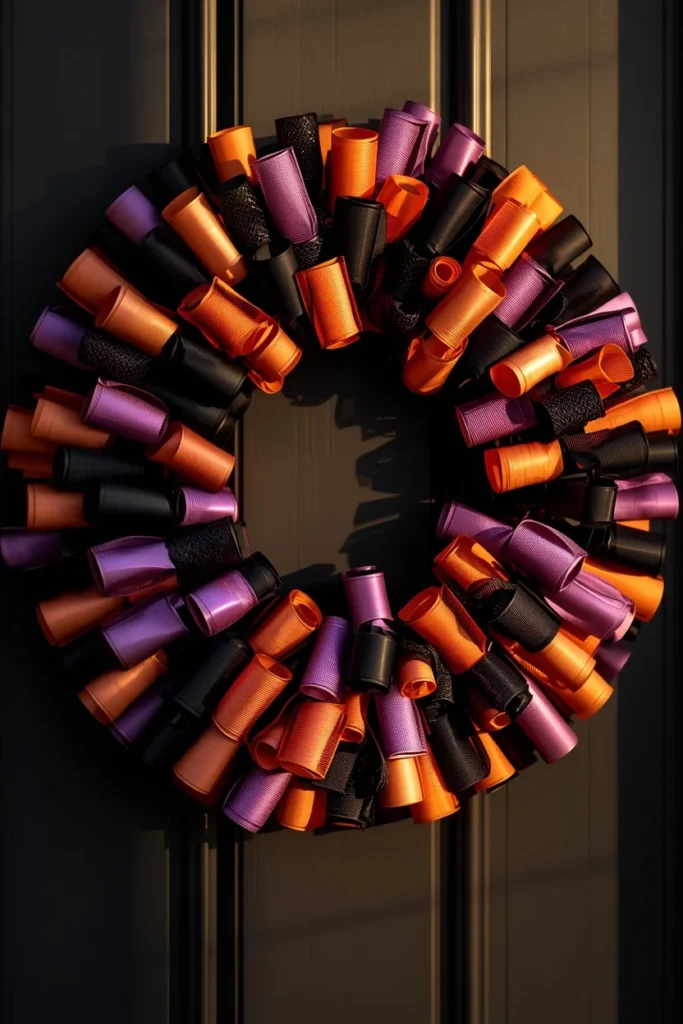
16. Ribbon Halloween Wreath Door
For a more polished, less overtly crafty look, a wreath built entirely from layered ribbon loops in classic Halloween colors, black, orange, purple, and deep green, offers texture and dimension without relying on any figural elements like ghosts or monsters. Cut ribbon into consistent loop lengths, then attach each loop individually around a wire wreath form using floral wire or hot glue, layering colors in small clusters rather than a strict repeating pattern. Mixing ribbon widths and finishes, some matte, some with a slight sheen or glitter edge, adds subtle visual interest without introducing any new colors to the palette. This style tends to suit more design-conscious households that still want a seasonal wreath but prefer something closer to a home decor piece than a costume prop. Because ribbon doesn’t fade or degrade the way paper or fabric can outdoors, this wreath also holds up exceptionally well across the full month leading up to Halloween.
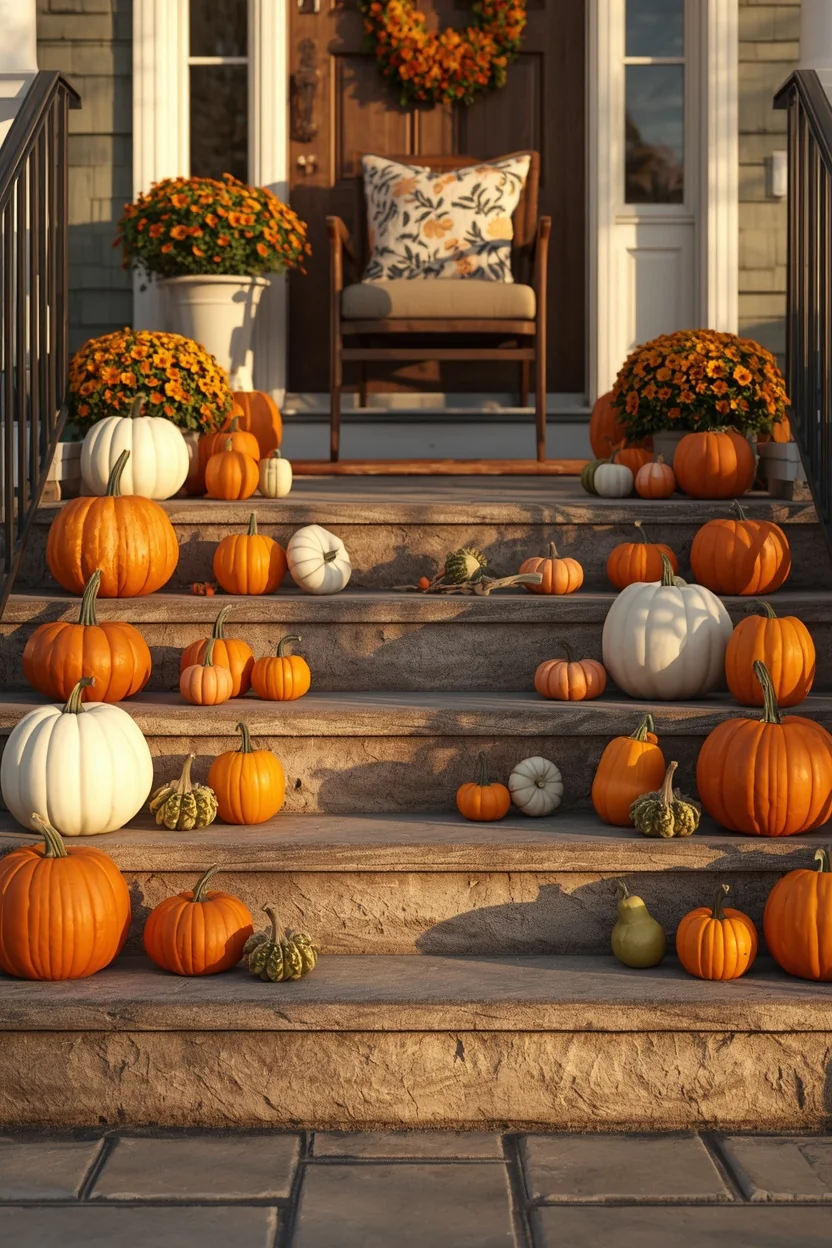
17. Tiered Pumpkin Steps Display
Rather than concentrating all the Halloween decor directly on the door itself, this idea builds layered visual interest by placing pumpkins, mums, and small gourds across each individual porch step leading up to the entrance. Vary pumpkin sizes and colors across the steps, mixing traditional orange with white, and deep green varieties for more visual range than a single uniform color would provide. Place taller elements, a stack of pumpkins or a mum in a raised planter, toward the back of each step and shorter items toward the front, creating a sense of depth as guests walk up. A single cozy accent, like a throw pillow on a porch chair, at the top of the steps ties the whole layered display together into one cohesive scene. This approach works especially well for homes with a multi-step entrance, since it uses the architecture itself to build drama before anyone even reaches the door.
18. Glowing Window Cling Door
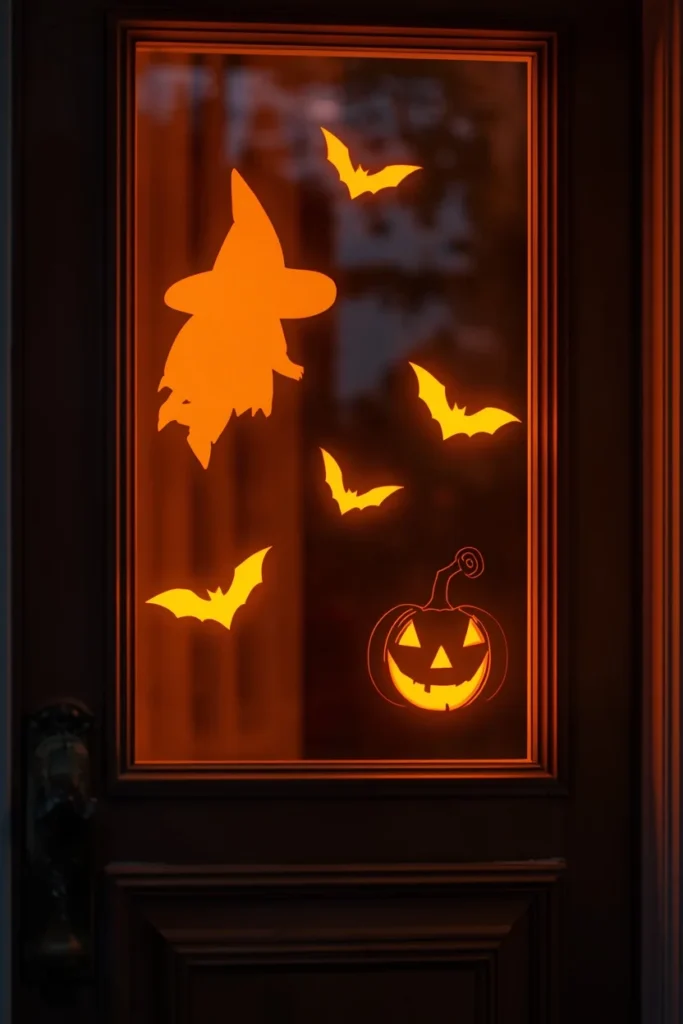
For front doors with a glass panel or nearby window, illuminated LED window clings offer one of the lowest-effort, highest-impact Halloween decorations available, since they suction directly onto glass and glow on their own after dark. Choose designs with real visual variety, a witch silhouette, a cluster of bats, a grinning jack-o’-lantern, arranged together rather than a single repeated image, for a fuller, more dynamic display across the glass. Layer the clings at slightly different heights and angles rather than lining them up in a straight row, which helps them read as a scene rather than a strip of stickers. Because these run on small batteries or simple adhesive LED strips, they require no wiring and can be removed in seconds once the season ends. This idea is particularly strong for renters or anyone who wants real nighttime impact without touching the door’s actual surface at all.
19. Paper Bag Monster Face Door
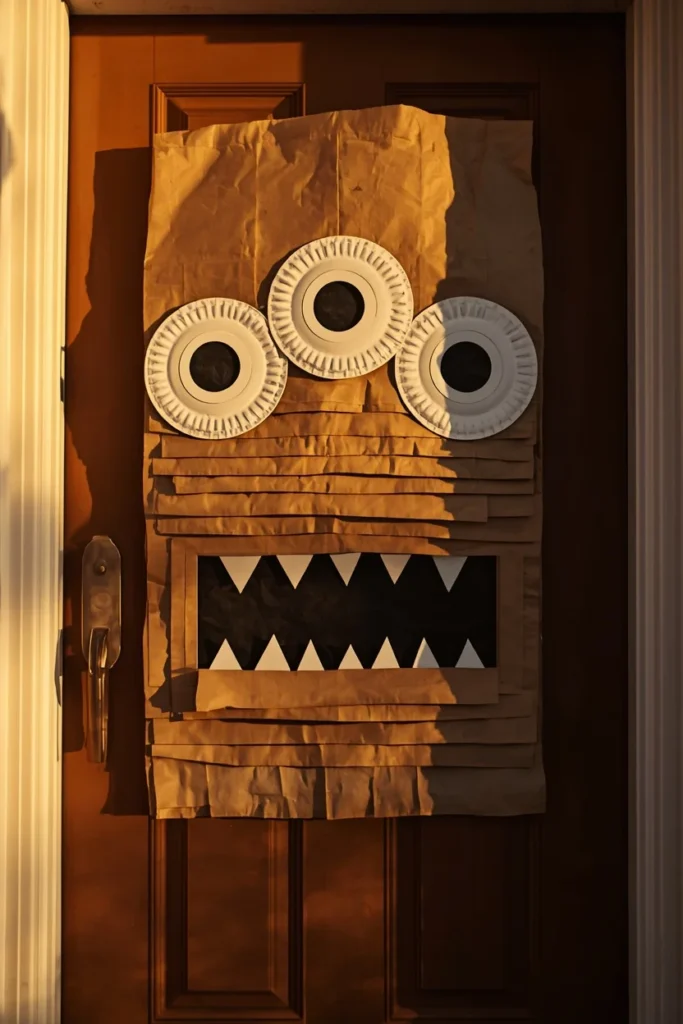
Built almost entirely from brown paper grocery bags and paper plates, this monster face design proves genuinely elaborate-looking Halloween decor can come from the most basic recycled materials. Flatten and layer several paper bags to build the bulk of a rounded monster face shape, then decorate paper plates with paint or marker to serve as oversized, uneven eyes, three or more for a genuinely strange, off-kilter expression. Cut a jagged mouth directly from the paper bag base itself, adding a few triangle teeth cut from white paper tucked just behind the opening. Let kids choose the final expression and eye placement themselves, since the appeal of this project is largely in its intentionally imperfect, handmade charm. This is one of the most accessible ideas on the entire list for a low-cost, high-involvement family crafting afternoon, using materials most households already have on hand.
20. Skeleton Ambush Door
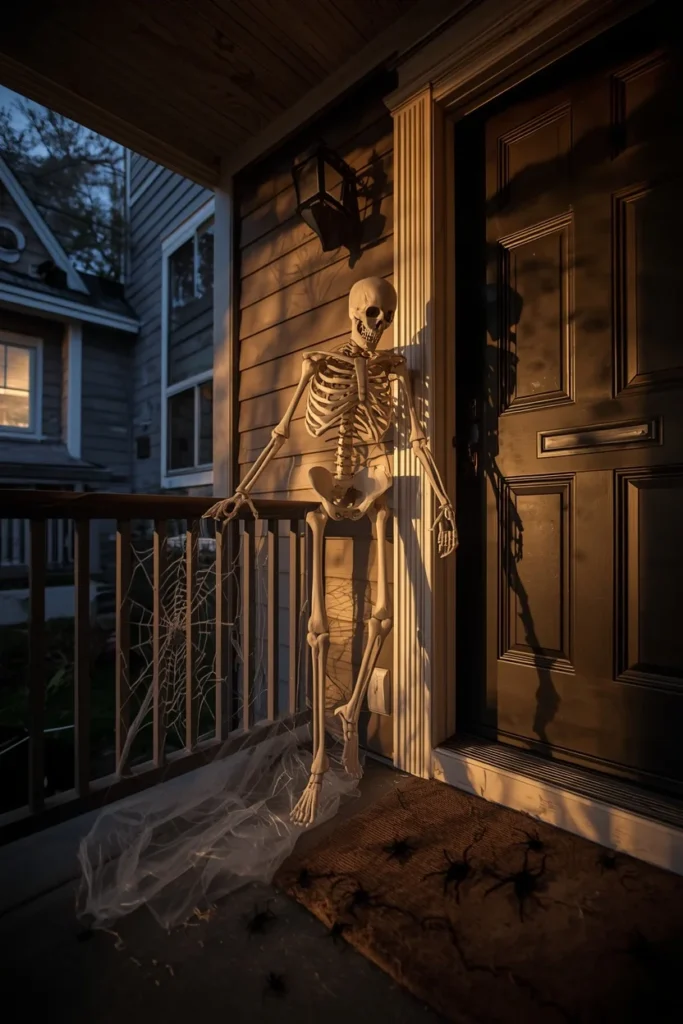
Positioning a full-size plastic skeleton mid-action, climbing out of a nearby bush, dangling from the porch overhang, or propped as though caught mid-escape, creates a genuinely startling, high-drama moment right at the entrance. Pose the skeleton in an exaggerated, dynamic position rather than standing it upright and static, bending joints at the elbows and knees to suggest real movement caught in a freeze-frame. Layer in a few smaller plastic spiders or a scattering of fake cobwebs around the skeleton’s base to help it feel integrated into the scene rather than simply placed there. Positioning it just slightly off to the side of the door, rather than directly blocking the entrance, keeps the surprise effective without becoming an obstacle for trick-or-treaters walking up. This idea delivers real scare value for very little cost, since a single reusable plastic skeleton can be reposed differently every year for an entirely new effect.
Styling Tips
Pick one dominant mood, spooky, cute, or elegant, and let every element on the door support that same tone rather than mixing googly-eyed monsters with gothic cheesecloth webs on the same entrance. Layer at least two levels of visual interest, something on the door itself and something on the ground or steps nearby, so the whole entrance feels considered rather than a single flat decoration. Use lighting deliberately, since most Halloween decorations are seen for the first time after dark on trick-or-treat night, and a design that looks great in daylight can disappear entirely without a porch light or string lights to support it. Keep proportions bold rather than dainty; oversized eyes, teeth, and cutouts read far more clearly from the sidewalk than smaller, more delicate details.
Practical Implementation Ideas
Test any adhesive, tape, or putty on a small, hidden section of your door first to make sure it won’t damage the paint or finish once removed. Build layered projects like the mummy wrap or bat swarm in stages over a few days rather than trying to finish a full door transformation in one sitting. Store reusable elements, like a ribbon wreath or plastic skeleton, in a labeled bin so next year’s decorating starts with a head start instead of from scratch. If involving kids in the project, choose ideas with soft materials and minimal cutting, like the googly-eyed monster or paper bag face, so they can genuinely participate in the process.
Common Mistakes to Avoid
Overcrowding the door with too many unrelated elements at once can make even good individual decorations look cluttered and undefined from a distance. Skipping a lighting plan is one of the most common misses, since a beautifully detailed daytime design can go completely unnoticed once trick-or-treaters actually arrive after dark. Using overly strong adhesive or tape directly on a painted door risks pulling up the finish when decorations come down, especially if left up for several weeks in direct sun. Making every element too small or too evenly spaced can flatten a design that’s meant to feel spontaneous, messy, or startling.
Small-Space Alternatives
For apartment doors, hallway entrances, or spaces where large props aren’t practical, a single strong focal piece, one bat swarm cutout or one black cat silhouette, delivers real impact without needing floor space for skeletons or full porch displays. Window clings are especially useful in small-space settings since they add glow and detail without touching the door itself or requiring any storage-heavy props. A compact ribbon or yarn-wrapped wreath can replace a full door transformation entirely while still clearly signaling the season to anyone walking by.
Budget-Friendly Alternatives
Paper bags, cardboard, and old bedsheets form the base of several ideas on this list and cost nothing beyond what most households already have on hand. Dollar store finds like plastic spiders, googly eyes, and felt sheets stretch a small budget across multiple projects at once. A single reusable prop, like a plastic skeleton or ribbon wreath, pays for itself across several years of reposing or restyling rather than needing to be replaced annually.
Pro Styling Recommendations
Choose one or two colors beyond black and orange, a deep purple or acid green works well, to help a design stand out from the standard palette most neighboring houses will be using. Add texture wherever possible, cheesecloth, yarn, ribbon, since flat paper-only designs tend to read as less dimensional in photos and in person. Position the most dramatic or startling element slightly to the side of the door rather than directly in the walking path, so it surprises without blocking access. Always view the finished design from the sidewalk or street distance before finalizing placement, since scale that looks right up close can disappear entirely from farther away.
FAQs
Conclusion
None of these ideas require professional prop-building skills or a haunted house budget to pull off. What they share is a willingness to commit to one clear idea, a floating ghost, a giant monster mouth, a single startling skeleton, and follow it all the way through instead of scattering a handful of unrelated pieces across the door. Pick whichever version matches the time you actually have this week, and let that one door do the talking for the whole house. The best Halloween entrances on any block aren’t the most expensive ones; they’re the ones that clearly took a little real imagination.