17 Curved Kitchen Peninsula Ideas for Better Small-Space Flow
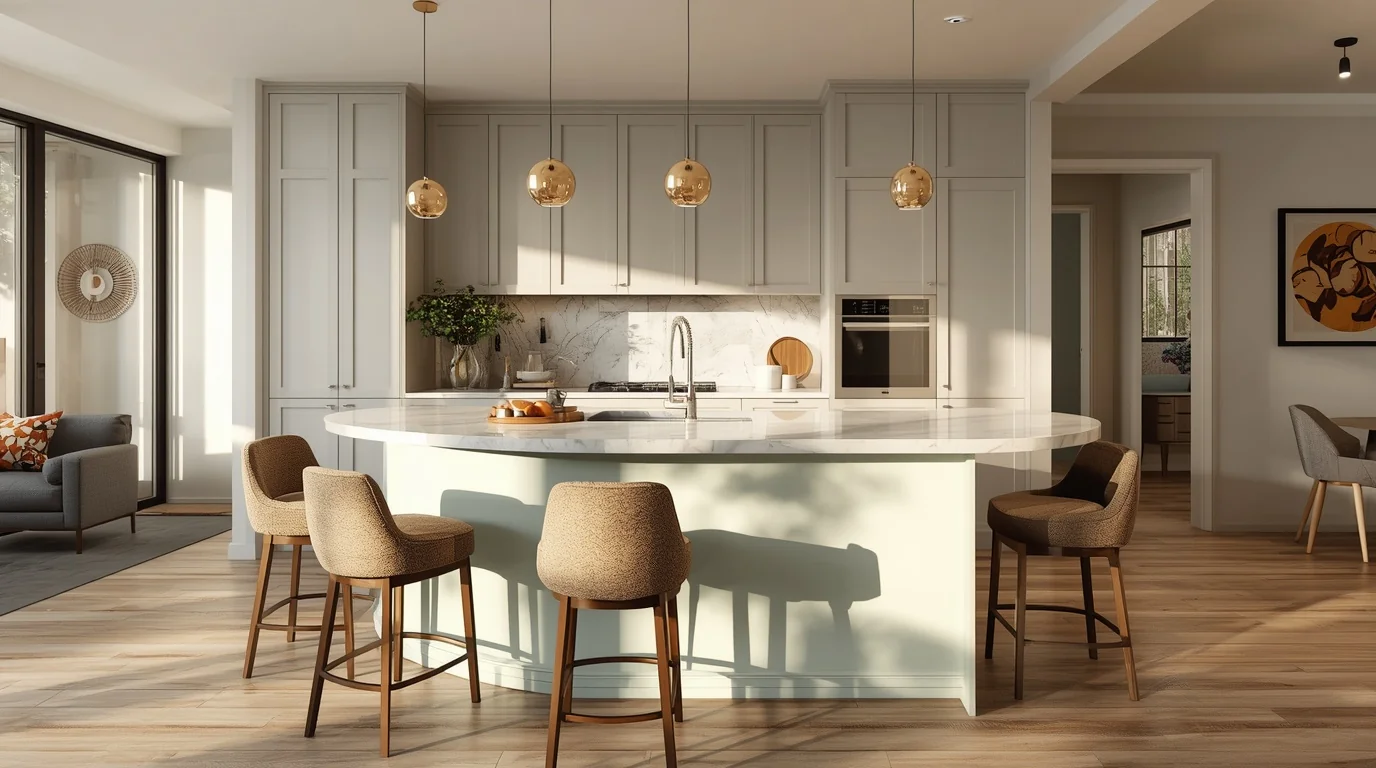
A peninsula already does a lot for a small kitchen. Give it a curve, and it does even more.
Straight peninsulas are efficient, but they also tend to create a hard corner exactly where people are most likely to clip it walking past. A curved peninsula solves that same layout problem while softening the whole room, opening up traffic flow, and giving a kitchen that boutique, custom-designed feeling that straight lines alone don’t quite achieve.
This list runs through 17 curved kitchen peninsula ideas, from a simple rounded end cap on a galley kitchen to full waterfall stone counters and two-tier designs, so you can find the version that fits your kitchen’s shape, your budget, and how much of a remodel you’re actually planning to take on.
Table of Contents
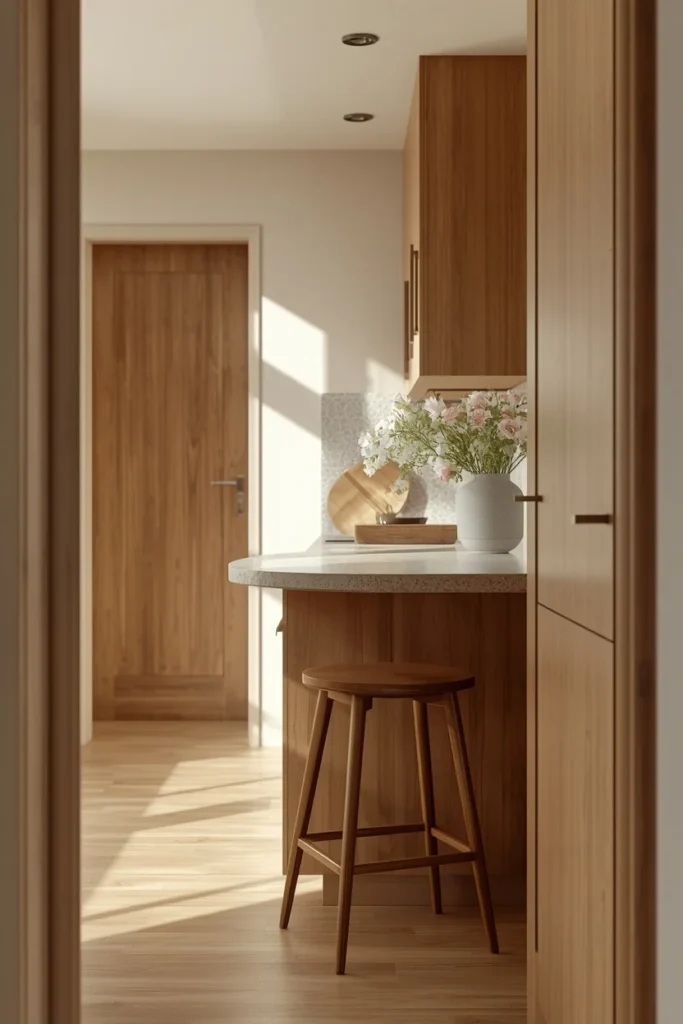
1. Rounded End Cap on a Galley Kitchen
Cap the open end of a galley kitchen’s cabinet run with a rounded peninsula instead of a squared-off corner, giving the corridor-style layout a defined stopping point without narrowing the walkway. Keep the peninsula shallow, around 24 inches deep, so it doesn’t block the main traffic path between the two parallel cabinet runs that define a galley kitchen. The rounded shape eliminates the sharp corner that’s easy to bump into in a tight layout, which is a genuine, practical comfort beyond just the visual softening. Two bar stools typically fit comfortably along the curve, leaving enough clearance behind them for people to keep moving through the space. This idea works particularly well for a galley kitchen that currently just runs out of cabinets at one end, since the rounded peninsula makes the whole layout feel finished rather than cut off.
2. Curved Waterfall Stone Peninsula
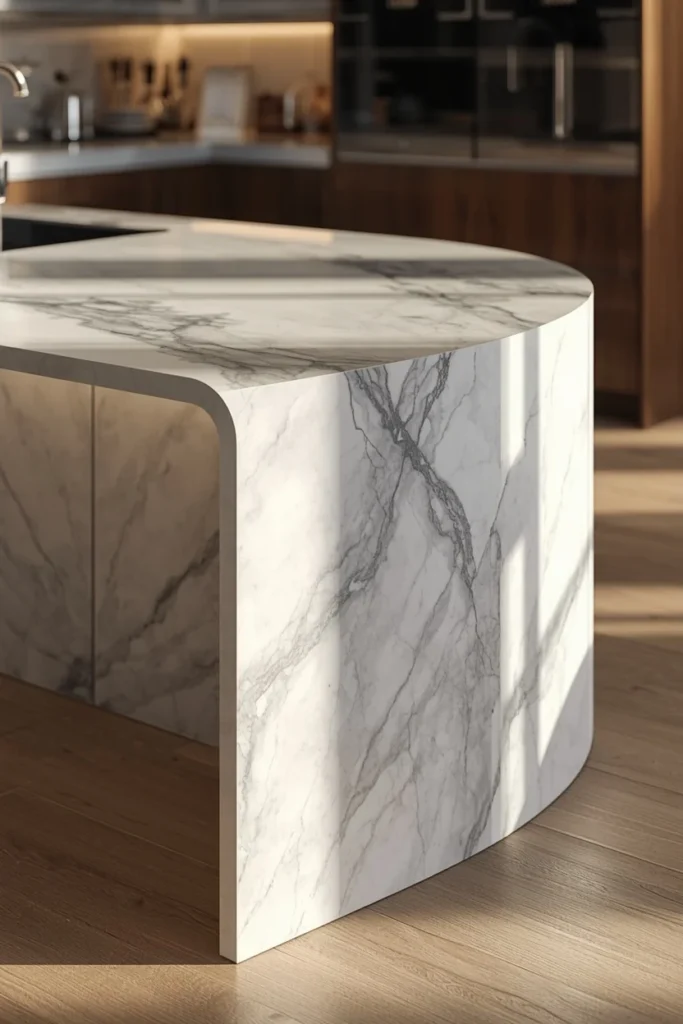
Extend a stone countertop, like quartz or engineered granite, in a continuous waterfall curve down the peninsula’s rounded end, letting the material wrap seamlessly from the countertop surface down to the floor. This detail elevates a curved peninsula significantly, since the waterfall edge treats the stone as a sculptural element rather than just a flat work surface. Choose a stone with subtle veining or a solid, calm color so the curved waterfall edge reads as clean and intentional rather than busy. This combination works especially well in an open-concept kitchen, since the curved stone edge is visible from multiple angles as people move through the connected living space. This idea does require more custom fabrication than a straight waterfall edge, but the payoff is a peninsula that feels genuinely bespoke rather than off-the-shelf.
3. Two-Tier Curved Peninsula
Build the peninsula with two distinct height levels along its curve, a lower prep-height surface for cooking tasks and a slightly raised bar-height section for dining, connected by the same continuous curved line. This layout works especially well for households that want to keep food prep visually separated from where guests are seated, since the height change creates a subtle boundary without any wall or divider. Choose a consistent material across both levels so the two-tier design reads as one cohesive piece rather than two separate counters awkwardly pushed together. The lower level typically works well for actual cooking and mess, while the raised bar section stays cleaner and more presentable for anyone sitting down to eat or chat. This idea works particularly well in an open-concept kitchen, since the height difference helps define the cooking zone from the adjoining living space even without a full wall.
4. Curved Peninsula on the Short Leg of an L-Shape
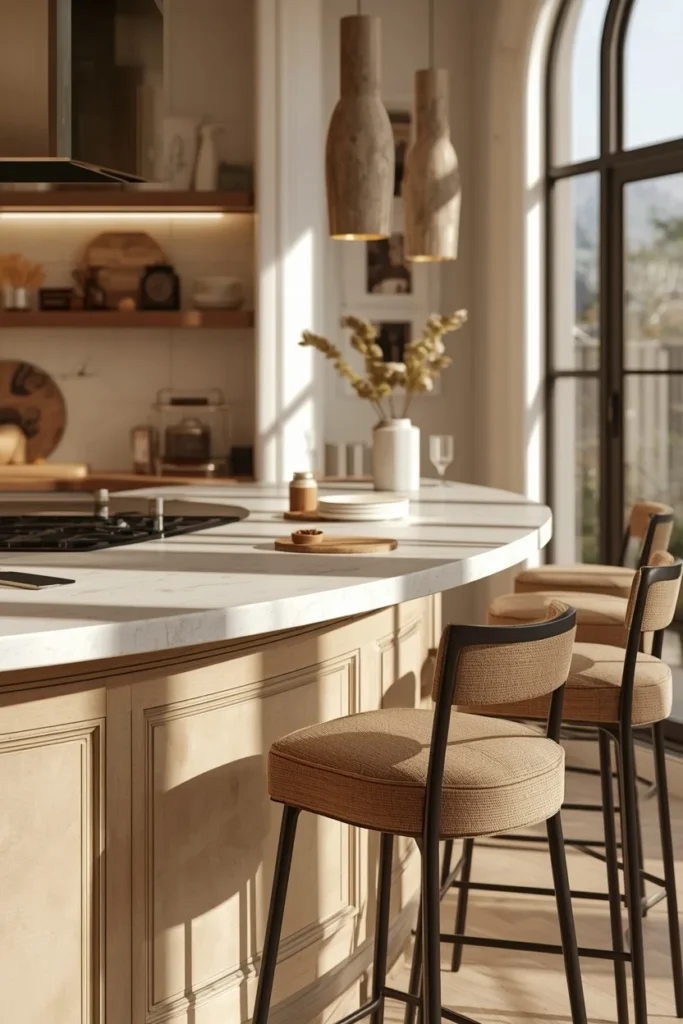
Extend a curved peninsula outward from the shorter leg of an L-shaped kitchen layout, using the curve to add both extra counter space and a natural gathering spot without disrupting the main cooking run. This placement works because it adds structure to an open floor plan, subtly defining the kitchen’s edge without fully closing the space off from an adjoining room. The curved end softens what would otherwise be a hard, right-angle corner jutting into the walkway, making the transition between the kitchen and the rest of the open floor plan feel more natural. This idea works particularly well for kitchens that open directly into a living or dining area, since the peninsula’s curve becomes the visual boundary between the two spaces. Adding a pendant light or two above the curved end reinforces that boundary further, marking the peninsula as its own defined zone within the larger room.
5. Sunshine Yellow Tambour Curved Cabinetry
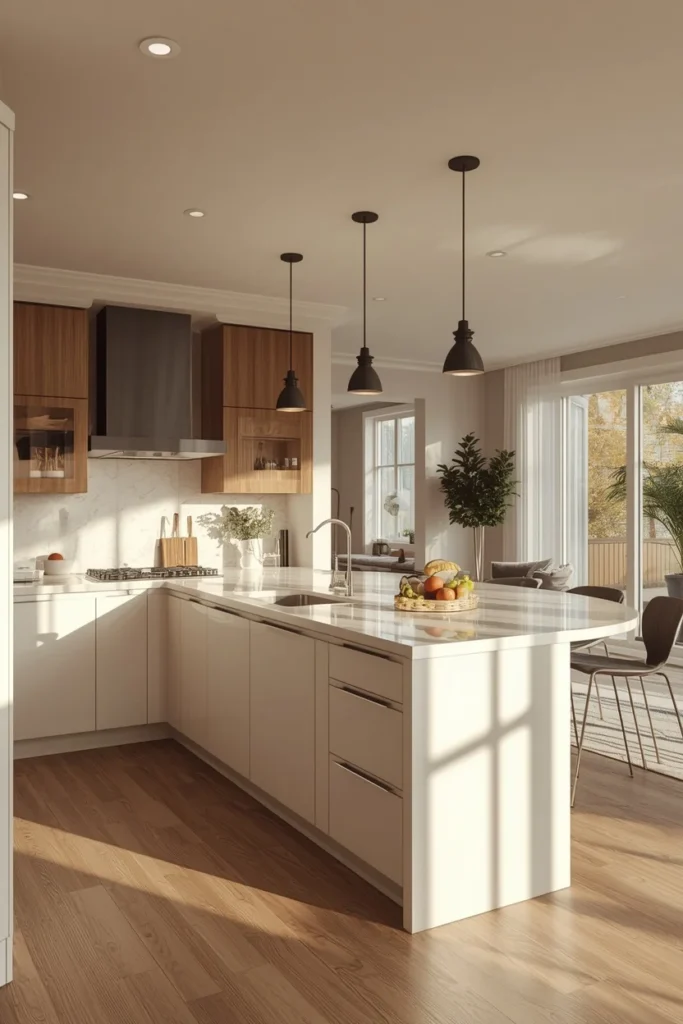
Build the curved peninsula’s face from tambour-style cabinetry, a series of thin wood slats that bend smoothly along the curve, finished in a bold color like sunshine yellow or warm honey-mustard. Tambour paneling is uniquely suited to curved cabinetry, since the individual slats naturally follow a rounded line in a way flat cabinet doors can’t replicate without custom bending. This combination brings real personality to a kitchen, turning the peninsula into a genuine centerpiece rather than just additional storage and counter space. Pair a bold tambour color with a complementary stone countertop, since the two materials working together, rather than competing, is what makes this look feel intentional rather than mismatched. This idea works particularly well for anyone drawn to a more maximalist or colorful kitchen style, since the curved tambour front does a lot of visual work on its own.
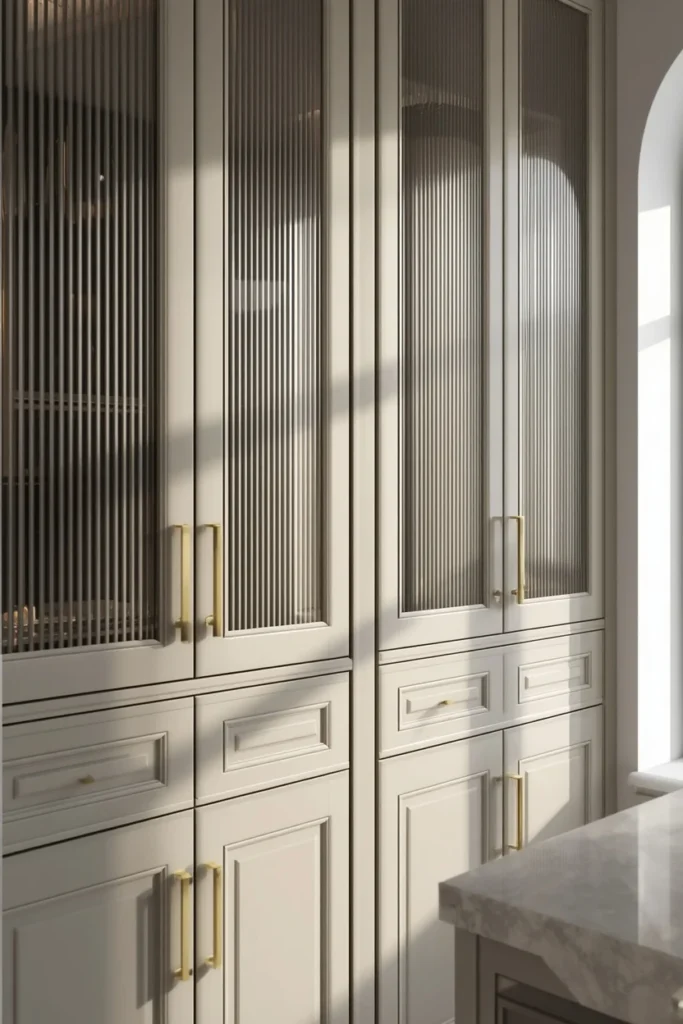
6. Reeded Glass Curved Peninsula Cabinets
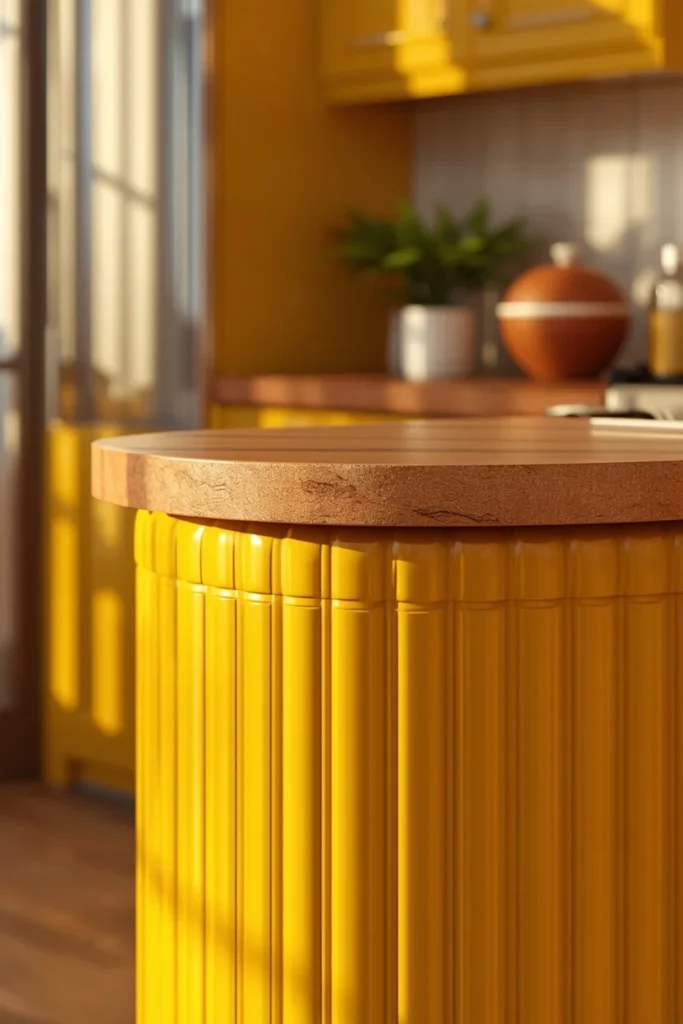
Install curved cabinet fronts with reeded or fluted glass panels along the peninsula, letting the ribbed texture catch light differently depending on the angle it’s viewed from. This detail adds subtle texture and visual interest to the peninsula without introducing a bold color, which makes it a good fit for a more neutral, understated kitchen palette. Reeded glass also softens what’s stored behind it, showing just enough shape and color to feel intentional without fully exposing the contents of the cabinet. Pair the glass-front cabinets with simple brass or matte black hardware to add a small metallic accent against the textured glass. This idea works particularly well combined with a curved waterfall countertop (Idea 2), since both details reinforce the same soft, rounded design language throughout the peninsula.
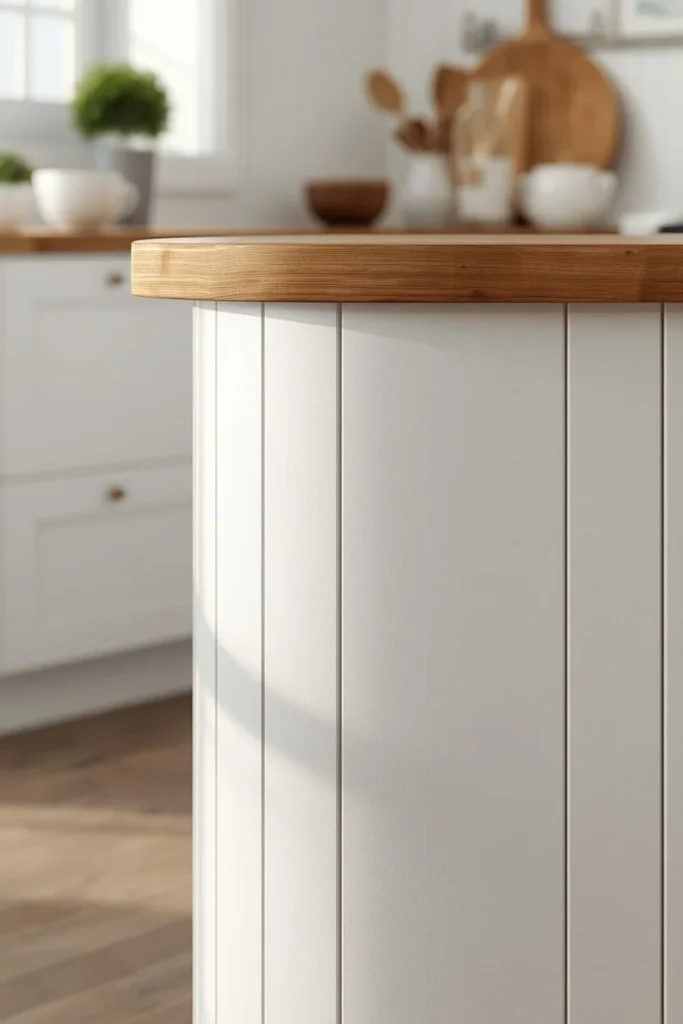
7. Shiplap or Tile-Textured Curved Face
Finish the curved face of the peninsula in shiplap paneling or a run of small-format tile, adding texture to the rounded surface rather than leaving it as a flat, smooth panel. This detail gives the peninsula more visual depth, especially when viewed from the adjoining living or dining space where the curved side is often the most visible part of the whole kitchen. Choose a tile or shiplap tone that complements, rather than exactly matches, the surrounding cabinetry, so the peninsula reads as a distinct, textured feature. This idea works especially well for a kitchen with an otherwise simple, streamlined cabinet style, since the textured curve becomes the one standout design detail in the room. Keep grout lines or shiplap seams following the natural curve of the peninsula rather than cutting straight, which requires more careful installation but delivers a noticeably more polished, custom result.
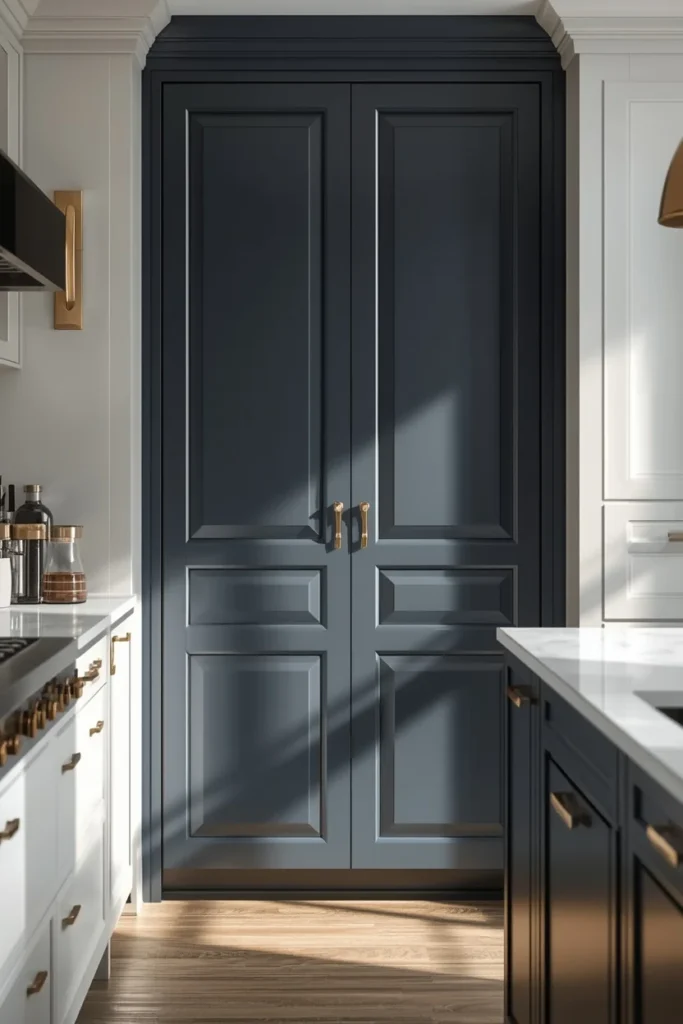
8. Bold Color Contrast Curved Peninsula
Paint the curved peninsula’s cabinetry in a bold contrasting color, like a deep gray-blue or forest green, against otherwise neutral or white main kitchen cabinets. This contrast helps the peninsula feel like a genuine design feature rather than simply an extension of the existing cabinetry, drawing the eye and giving the room a clear focal point. Choose brushed gold or brass hardware to warm up a cooler contrast color, or matte black for a more graphic, high-contrast look depending on the kitchen’s overall style. Compare paint or stain samples against the countertop and flooring finishes together before finalizing the color, since undertones can shift significantly once every material is viewed in the same space and lighting. This idea works particularly well as a moderate-effort update for an existing peninsula, since repainting the cabinetry doesn’t require changing the countertop or layout at all.
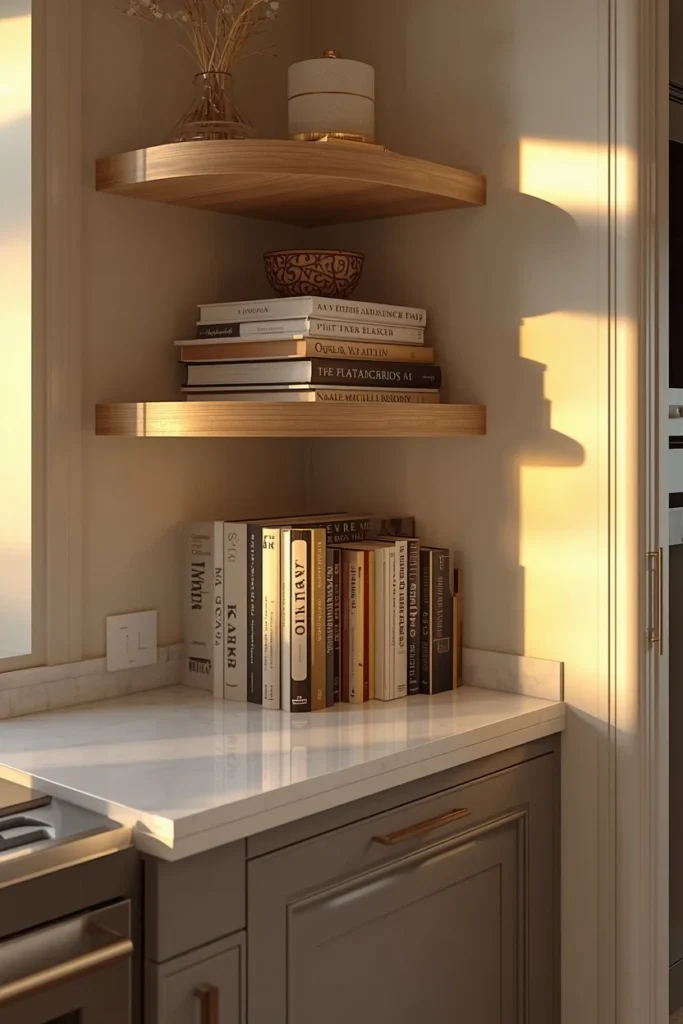
9. Open Shelving at the Curved End
Build open shelving into the rounded end of the peninsula, using the curved shape to display cookbooks, a small stack of bowls, or a few decorative pieces rather than closing the end off with a flat cabinet door. This detail works especially well because the curve naturally draws attention to that end of the peninsula, making it a good spot to show off a few personal or stylish touches rather than hiding storage. Keep the display relatively simple, three or four items at most, so the open shelving reads as curated rather than cluttered. Choose shelving depth that tapers slightly with the curve rather than a flat rectangular shelf awkwardly forced into a rounded space. This idea works particularly well at the end of a peninsula visible from an adjoining living or dining area, since it gives that side of the kitchen a decorative, finished look even from a distance.
10. Curved Peninsula With Tucked-Away Stools
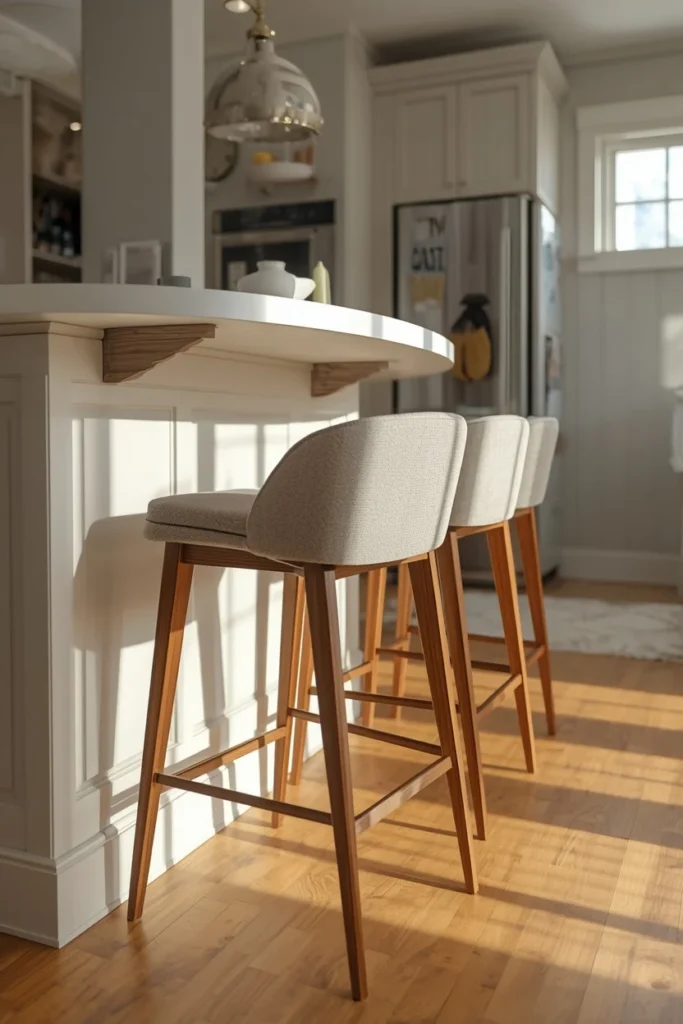
Choose bar stools designed to tuck fully beneath the curved counter’s overhang when not in use, keeping the walkway around the peninsula completely clear during meal prep or high-traffic moments. This detail matters especially in a small kitchen, where every inch of open floor space affects how easily people can move through the room. Plan for a minimum 12-inch overhang for comfortable knee clearance, with roughly 15 inches of knee space for counter-height seating or 12 inches for taller bar-height seating. Choose stools with a slim profile and no armrests, since bulkier seating can be harder to tuck fully beneath a curved edge compared to a straight one. This idea works particularly well for a peninsula that also serves as a walkway between two parts of an open floor plan, since fully tucked stools keep that path genuinely clear rather than just visually open.
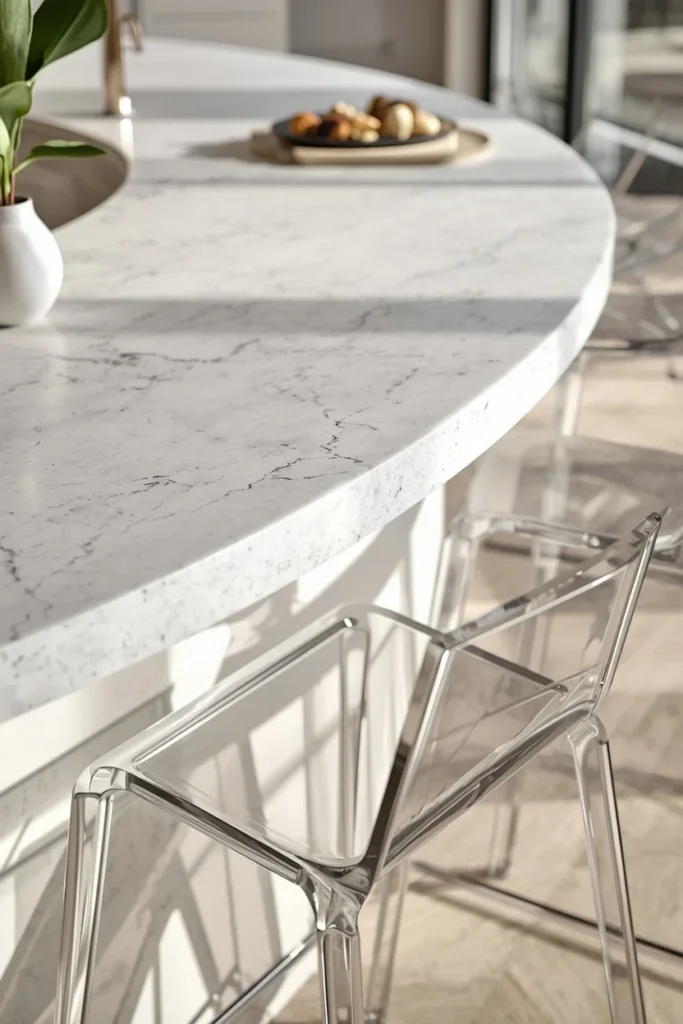
11. Acrylic Stools for Visual Lightness
Pair a curved peninsula with clear acrylic bar stools instead of solid wood or upholstered seating, letting the transparent material keep the overall footprint feeling lighter and less visually crowded. This detail works especially well in a small kitchen, since acrylic seating provides full seating functionality without adding visual bulk the way an opaque stool would. Choose acrylic stools with simple, clean lines so they complement the curved peninsula’s soft shape rather than introducing a competing, more angular silhouette. This pairing works particularly well in a modern or minimalist kitchen, where every piece of furniture is meant to support the clean lines of the space rather than stand out on its own. Acrylic stools also reflect light differently than solid materials, which can help a smaller kitchen feel brighter and more open overall.
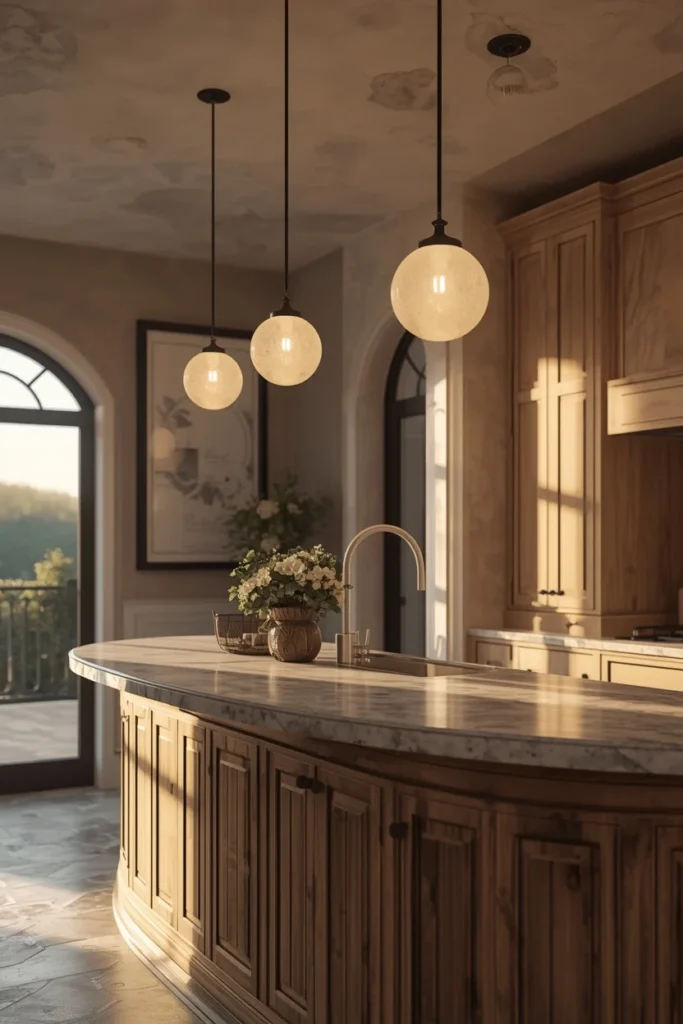
12. Arc of Pendant Lighting Along the Curve
Hang a series of small pendant lights along the length of the curved peninsula, spacing them to follow the same arc as the counter below rather than a straight line. This lighting detail reinforces the peninsula’s curved shape from above, illuminating the entire surface evenly while also visually anchoring the shape of the space beneath it. Choose pendants with a simple, rounded shade to echo the same soft geometry as the peninsula itself, rather than a strongly angular fixture that would work against the curve. Space the pendants evenly along the arc, typically three fixtures for a peninsula seating three to four people, so the light falls consistently across the whole counter. This idea works particularly well as a finishing touch after the peninsula’s structure and materials are already finalized, since the lighting placement depends directly on the exact curve of the counter below.
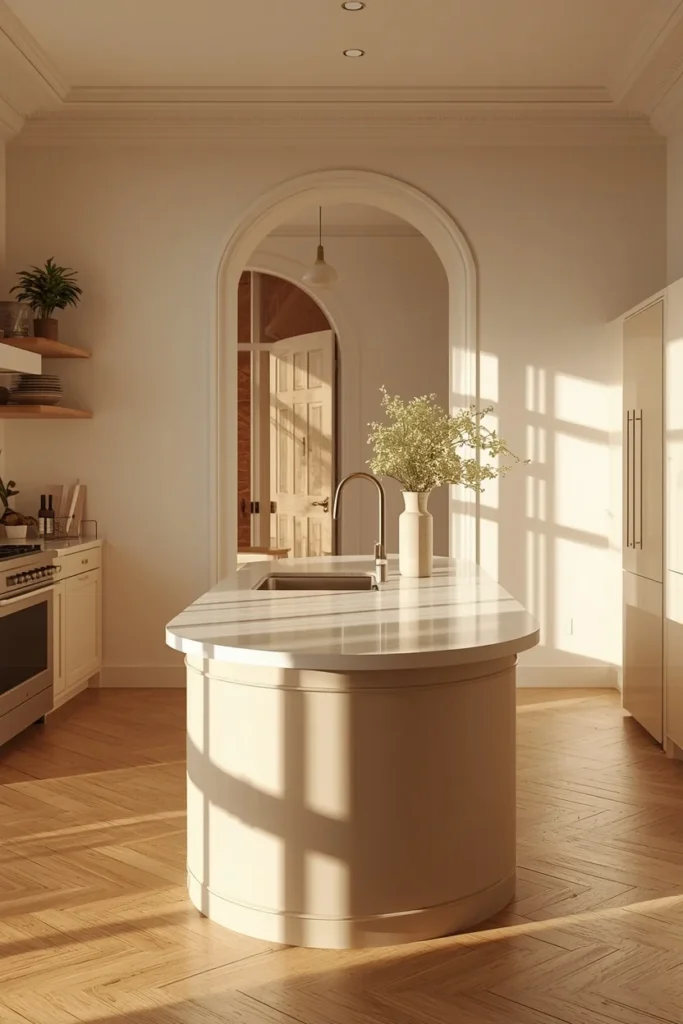
13. Curved Peninsula Echoing an Arched Doorway
Design the peninsula’s curve to visually echo an existing arched doorway or archway elsewhere in the kitchen, repeating the same rounded shape at two different points in the room for a more cohesive architectural feel. This idea works especially well when a kitchen already has an arched opening leading into another room, since the repeated curve ties the whole space together rather than treating the peninsula’s shape as an isolated design choice. Match the radius of the peninsula’s curve as closely as possible to the doorway’s arch, since a noticeably different curve can undercut the intended visual connection. This detail requires more careful planning during the design phase, but it delivers a genuinely custom, architecturally considered result rather than a curve chosen purely for its own sake. This idea works particularly well in a kitchen with other soft, rounded details nearby, like an arched window or a curved light fixture, reinforcing the theme throughout the space.
14. Round Table Extension at the Curve’s End
Attach a small round table directly to the end of the curved peninsula, extending the seating area beyond the counter itself for additional dining space without adding a fully separate table elsewhere in the room. This idea works especially well for a kitchen with only moderate space for dining, since the round table shape continues the peninsula’s curve rather than introducing an abrupt straight edge. Choose a table height that matches the peninsula’s counter or bar height so the two surfaces read as one continuous piece rather than two separate furniture items pushed together. This combination provides flexible seating, since the round table can accommodate a couple of extra guests during a gathering while the main peninsula handles everyday quick meals. This idea works particularly well in an open floor plan, since the round table naturally transitions the kitchen’s curved peninsula into a more traditional dining setup nearby.
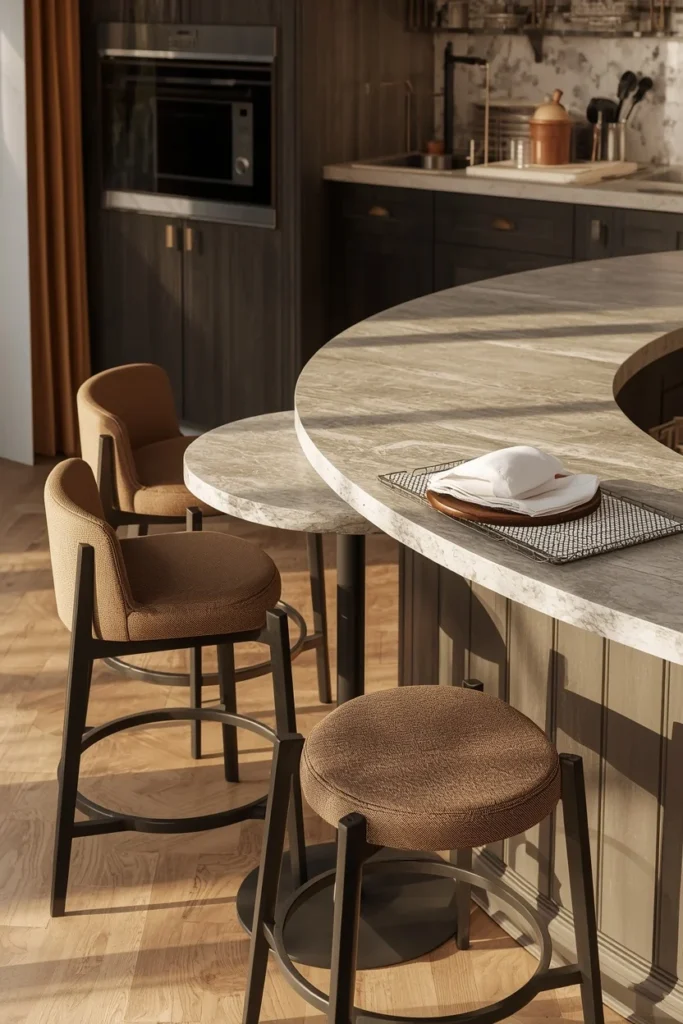
15. Curved Peninsula Dividing an Open-Concept Space
Use a curved peninsula as the primary boundary between the kitchen and an adjoining living area, letting its rounded shape mark the transition without a hard wall or a fully straight, rigid line. This layout works especially well in open-concept homes, since the curve creates a natural, welcoming gathering space where the kitchen flows into the living area rather than feeling abruptly cut off. Position the peninsula so its curved side faces into the living space, with the flatter, cabinet-heavy side facing the kitchen’s main work zone. This orientation keeps the kitchen’s functional storage and appliances out of view from the living area while presenting the peninsula’s most visually appealing curved edge to guests. This idea works particularly well as the central organizing feature of an open floor plan remodel, since the peninsula’s placement and shape affect the flow of the entire connected space.
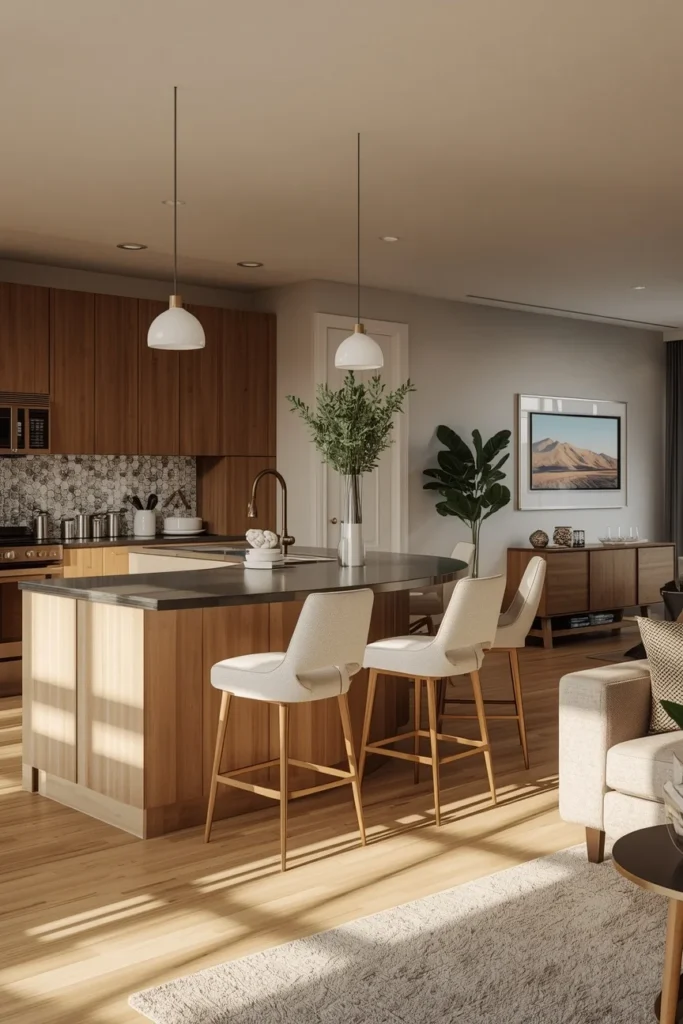
16. Curved Peninsula in a Small U-Shaped Kitchen
Add a curved peninsula as the fourth side of a U-shaped kitchen layout, rounding the corner where the peninsula meets the existing cabinet run rather than closing the U with a hard right angle. This layout works especially well for a small U-shaped kitchen, since the curve keeps the enclosed feeling of the U-shape from becoming too tight or boxy at the point where the peninsula connects to the rest of the cabinetry. Keep the peninsula’s depth consistent with the rest of the U-shaped counters so the curved transition feels seamless rather than like an awkward add-on. This idea works particularly well for households that want the efficiency of a fully enclosed U-shaped kitchen without sacrificing the softer, more open feeling a curve provides. A rounded U-shaped layout with a curved peninsula corner also tends to improve traffic flow for more than one person cooking at the same time, since there’s no sharp corner forcing an abrupt change in direction.
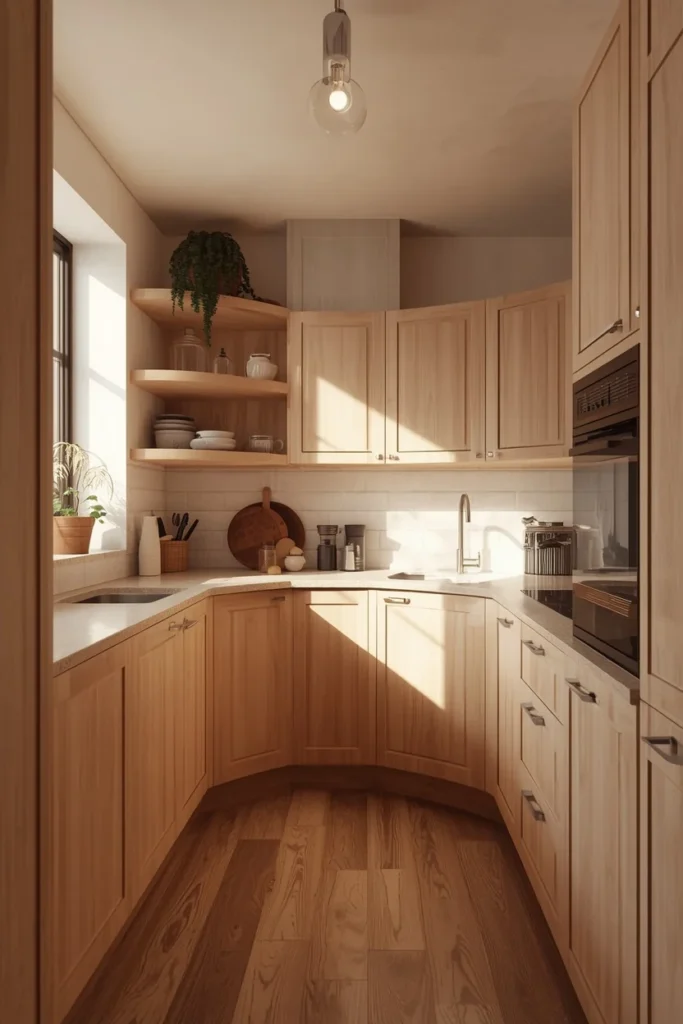
17. Soft Pastel Curved Peninsula
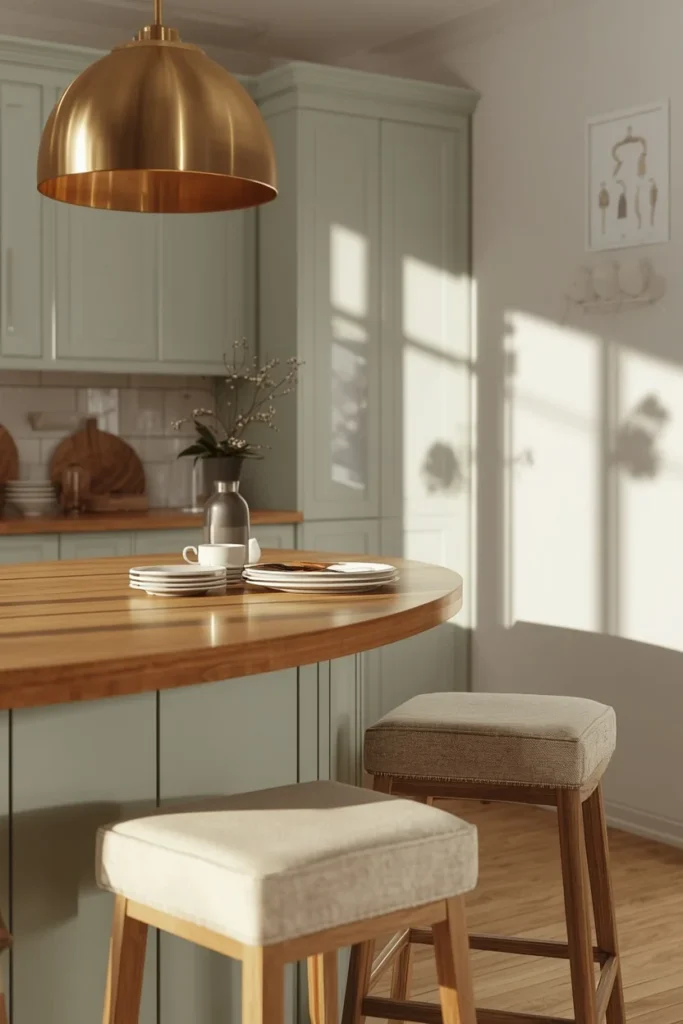
Paint or finish the curved peninsula in a soft pastel tone, like a muted blush or pale sage, pairing it with warm wood tones or brushed brass accents to keep the overall look gentle rather than overly saturated. Soft colors work particularly well with curved shapes, since the pastel tone reinforces the same calm, rounded feeling the peninsula’s shape is already creating in the room. Choose upholstered bar stools in a complementary neutral, like cream or oatmeal, so the seating supports the pastel color rather than competing with it. This idea works especially well for a kitchen designed to feel more intimate and cozy rather than sleek and high-contrast, since the softer palette suits the curved peninsula’s more organic, welcoming character. Consider a round pendant or two above the peninsula in a warm brass finish to tie the soft color palette together with a bit of shine.
Styling Tips
- Keep a curved peninsula relatively shallow, around 24 inches deep, in a small kitchen so it doesn’t cut into the main walkway or traffic path.
- Plan seating overhang and knee clearance early, since a minimum 12-inch overhang and 12 to 15 inches of knee space keeps seating comfortable without adding unnecessary length to the counter.
- Choose one material or color to carry the curve’s visual weight, whether that’s a waterfall stone edge, a bold cabinet color, or a textured tambour front, rather than combining several standout details at once.
- Let lighting follow the curve’s shape, spacing pendants along the arc rather than in a straight line, to reinforce the peninsula’s rounded geometry from above.
- Compare finish samples for the peninsula against surrounding cabinetry, countertops, and flooring in the kitchen’s actual lighting before finalizing any color or material choice.
Practical Implementation Ideas
- Consult with a kitchen designer or contractor before finalizing a curved peninsula’s structure, since custom curved cabinetry typically requires more precise fabrication than standard straight runs.
- Measure your kitchen’s existing walkway width carefully, since a peninsula that’s too deep can create a tighter path than the room can comfortably support.
- Request finish samples viewed in your kitchen’s actual daylight and evening lighting, since colors and stone veining can look noticeably different than they do in a showroom.
- Plan plumbing and electrical needs early if the curved peninsula will include a sink or additional outlets, since those elements are far more disruptive to add once construction is underway.
- Test stool placement with cardboard mockups or painter’s tape on the floor before finalizing your seating count, to confirm the tucked and pulled-out positions both work with your kitchen’s actual clearance.
Common Mistakes to Avoid
- Making the curved peninsula too deep for a small kitchen, which can eat into the walkway space it was meant to help open up.
- Choosing bulky, armed bar stools that can’t tuck fully beneath a curved overhang, leaving the walkway partially blocked even when the seats aren’t in use.
- Mixing too many bold material choices, like a patterned tile front, a boldly veined stone top, and a saturated cabinet color, all on the same curved peninsula.
- Skipping a design consultation for a fully custom curved shape, which can lead to fabrication issues or a mismatch between the plan and what’s actually buildable.
- Positioning lighting in a straight line above a curved counter, which can leave parts of the peninsula under-lit while others are overly bright.
Small-Space Alternatives
For a very small kitchen, a simple rounded end cap on an existing galley layout (Idea 1) delivers most of the flow benefits of a curved peninsula without requiring a full redesign. Acrylic stools (Idea 11) and fully tucked seating (Idea 10) both help a compact peninsula feel less visually crowded, since neither adds significant bulk to the surrounding floor space. Open shelving at the curved end (Idea 9) can replace additional cabinetry elsewhere in a small kitchen, giving the peninsula a dual purpose as both seating and storage display.
Budget-Friendly Alternatives
Repainting an existing straight peninsula’s cabinetry in a bold contrast color (Idea 8) delivers a real visual update without the cost of restructuring the peninsula’s actual shape. A soft pastel finish (Idea 17) is similarly achievable with paint alone, especially if the underlying cabinetry is already in good structural condition. Acrylic stools (Idea 11) also tend to cost less than fully upholstered custom seating, making them a practical choice for anyone updating a peninsula’s look without a full remodel budget.
Pro Styling Recommendations
Start any curved peninsula project with a professional layout consultation, since the structural fabrication for a true curve is more complex than most straight-line cabinetry work and benefits from expert planning. Choose one primary material or color to carry the design, and let supporting details, like hardware or lighting, stay simple enough to support that main choice rather than compete with it. Prioritize seating clearance and overhang measurements early in the planning process, since comfortable seating is what makes a peninsula function as real gathering space rather than just extra counter. Finally, view the peninsula’s proposed shape and materials in relation to the rest of the kitchen and any adjoining open-concept space, since a curved peninsula is often visible from multiple rooms and should feel intentional from every angle.
FAQs
Conclusion
A curved peninsula asks a small kitchen to do the same job a straight one does, just with softer edges and, usually, a little more thought put into the plan. Whether that curve shows up as a simple rounded end cap on a galley run or a full waterfall stone counter dividing an open-concept space, the underlying goal stays the same: more seating, better flow, and one less sharp corner to catch a hip on during a busy dinner prep. Pick the version that fits your kitchen’s actual shape and budget, bring in a designer for the structural planning, and let the curve do the rest of the work a straight peninsula never quite manages.