16 Easy DIY Christmas Candle Holders to Make Tonight
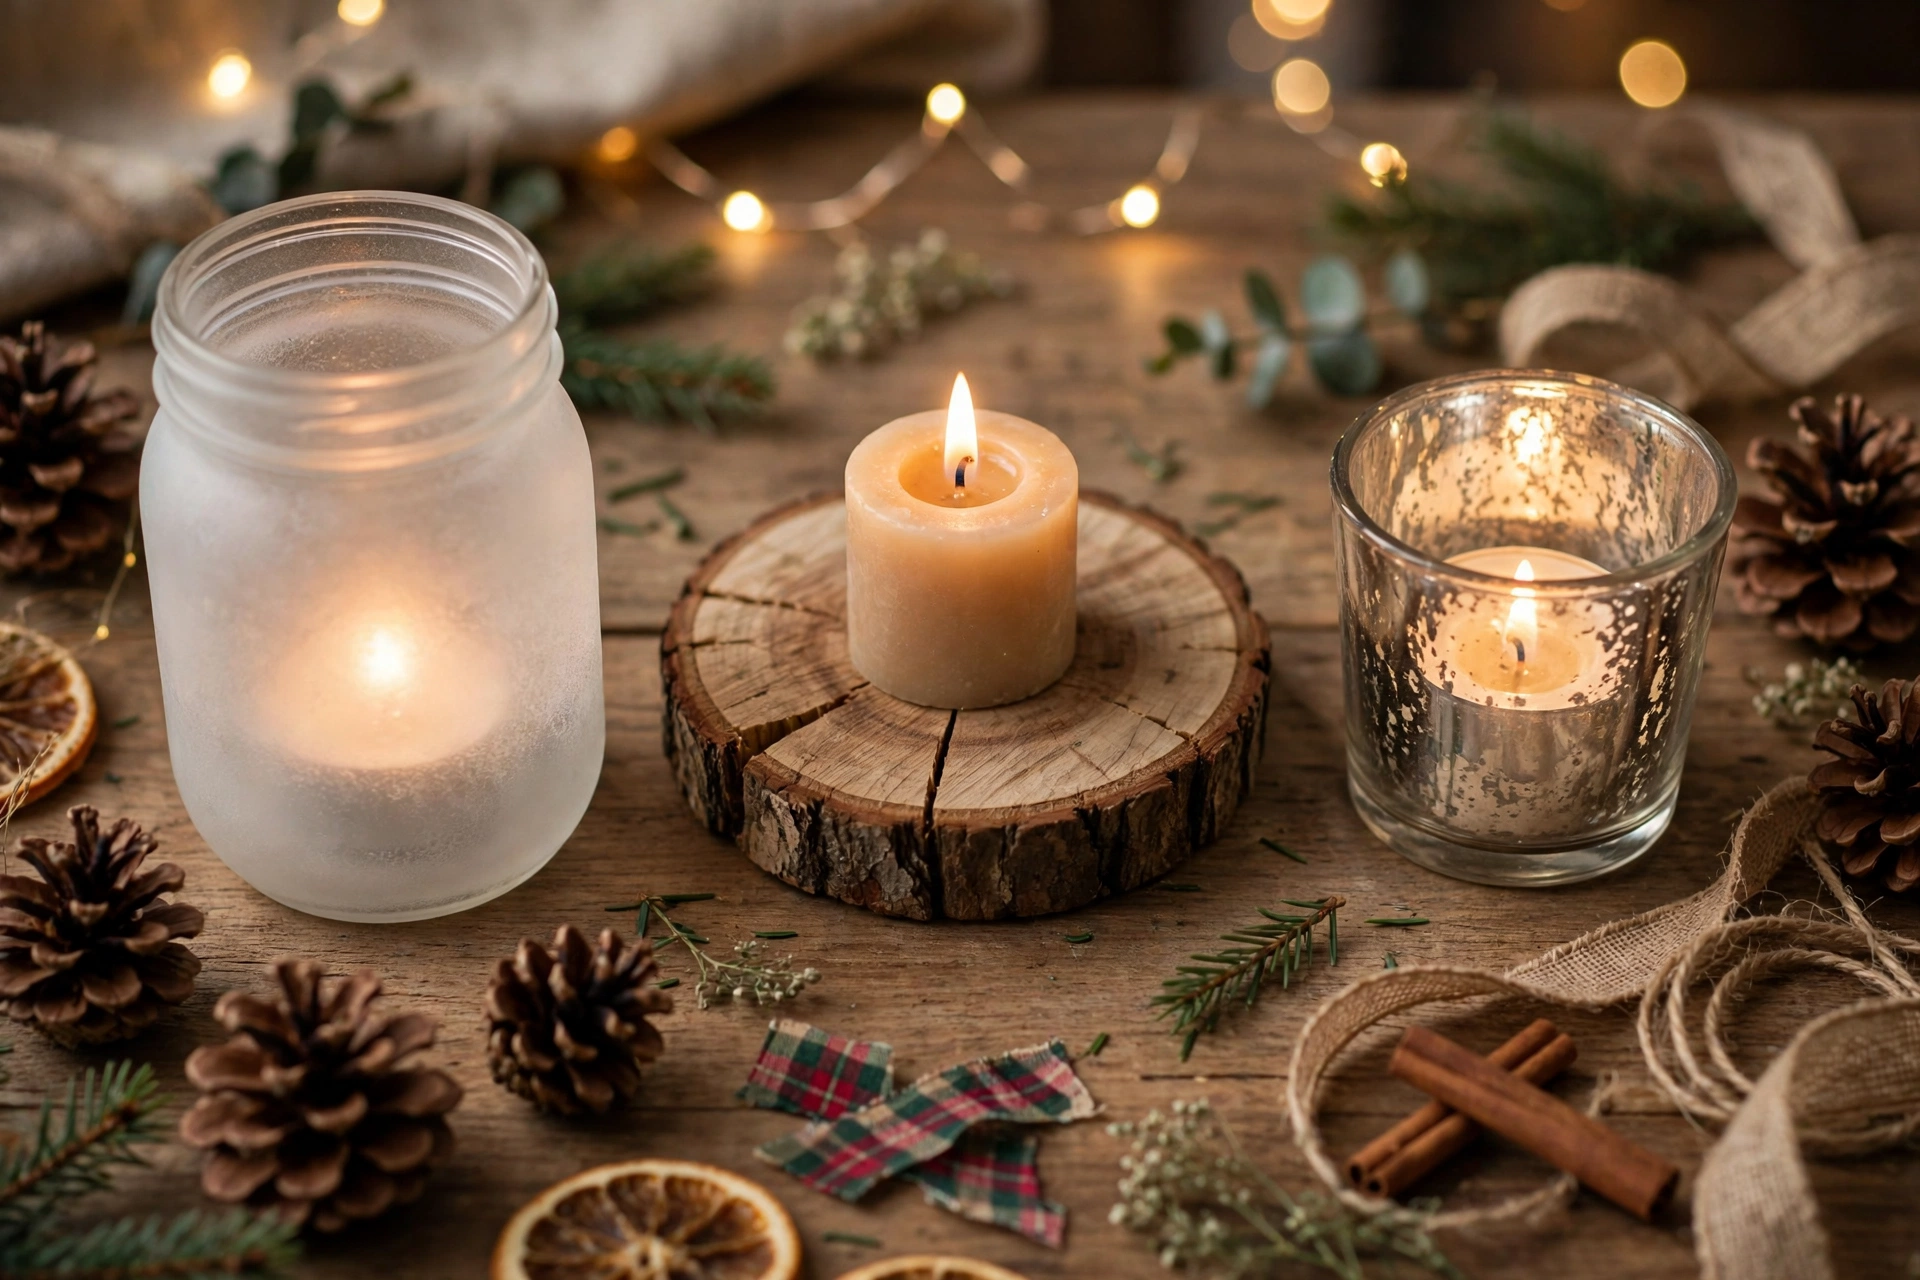
You don’t need a full craft room or a trip to three different stores to make your home glow this Christmas. Most of the prettiest candle holders — the ones that look like they came from a boutique holiday shop — start with a mason jar, a dollar store vase, or a leftover piece of wood already sitting in the garage.
This list of 16 easy DIY Christmas candle holders is built specifically around what you can realistically finish tonight. Each one comes with a real supply list, an honest time estimate, and the actual technique that makes it look finished rather than half-done. Some take five minutes with supplies you already have; a few need a quick trip to the craft aisle first. All of them are simple enough to knock out in one evening, whether you’re making them for your own mantel or as a handmade gift.
One quick safety note before you start: real flame and DIY materials don’t always mix well, so a section further down covers exactly what to watch for with each type of project.
Related: 15 Easy DIY Christmas Front Door Decor Ideas
Table of Contents
16 Easy DIY Christmas Candle Holders
Beginner-Friendly (15 Minutes or Less)
Frosted Mason Jar Luminaries
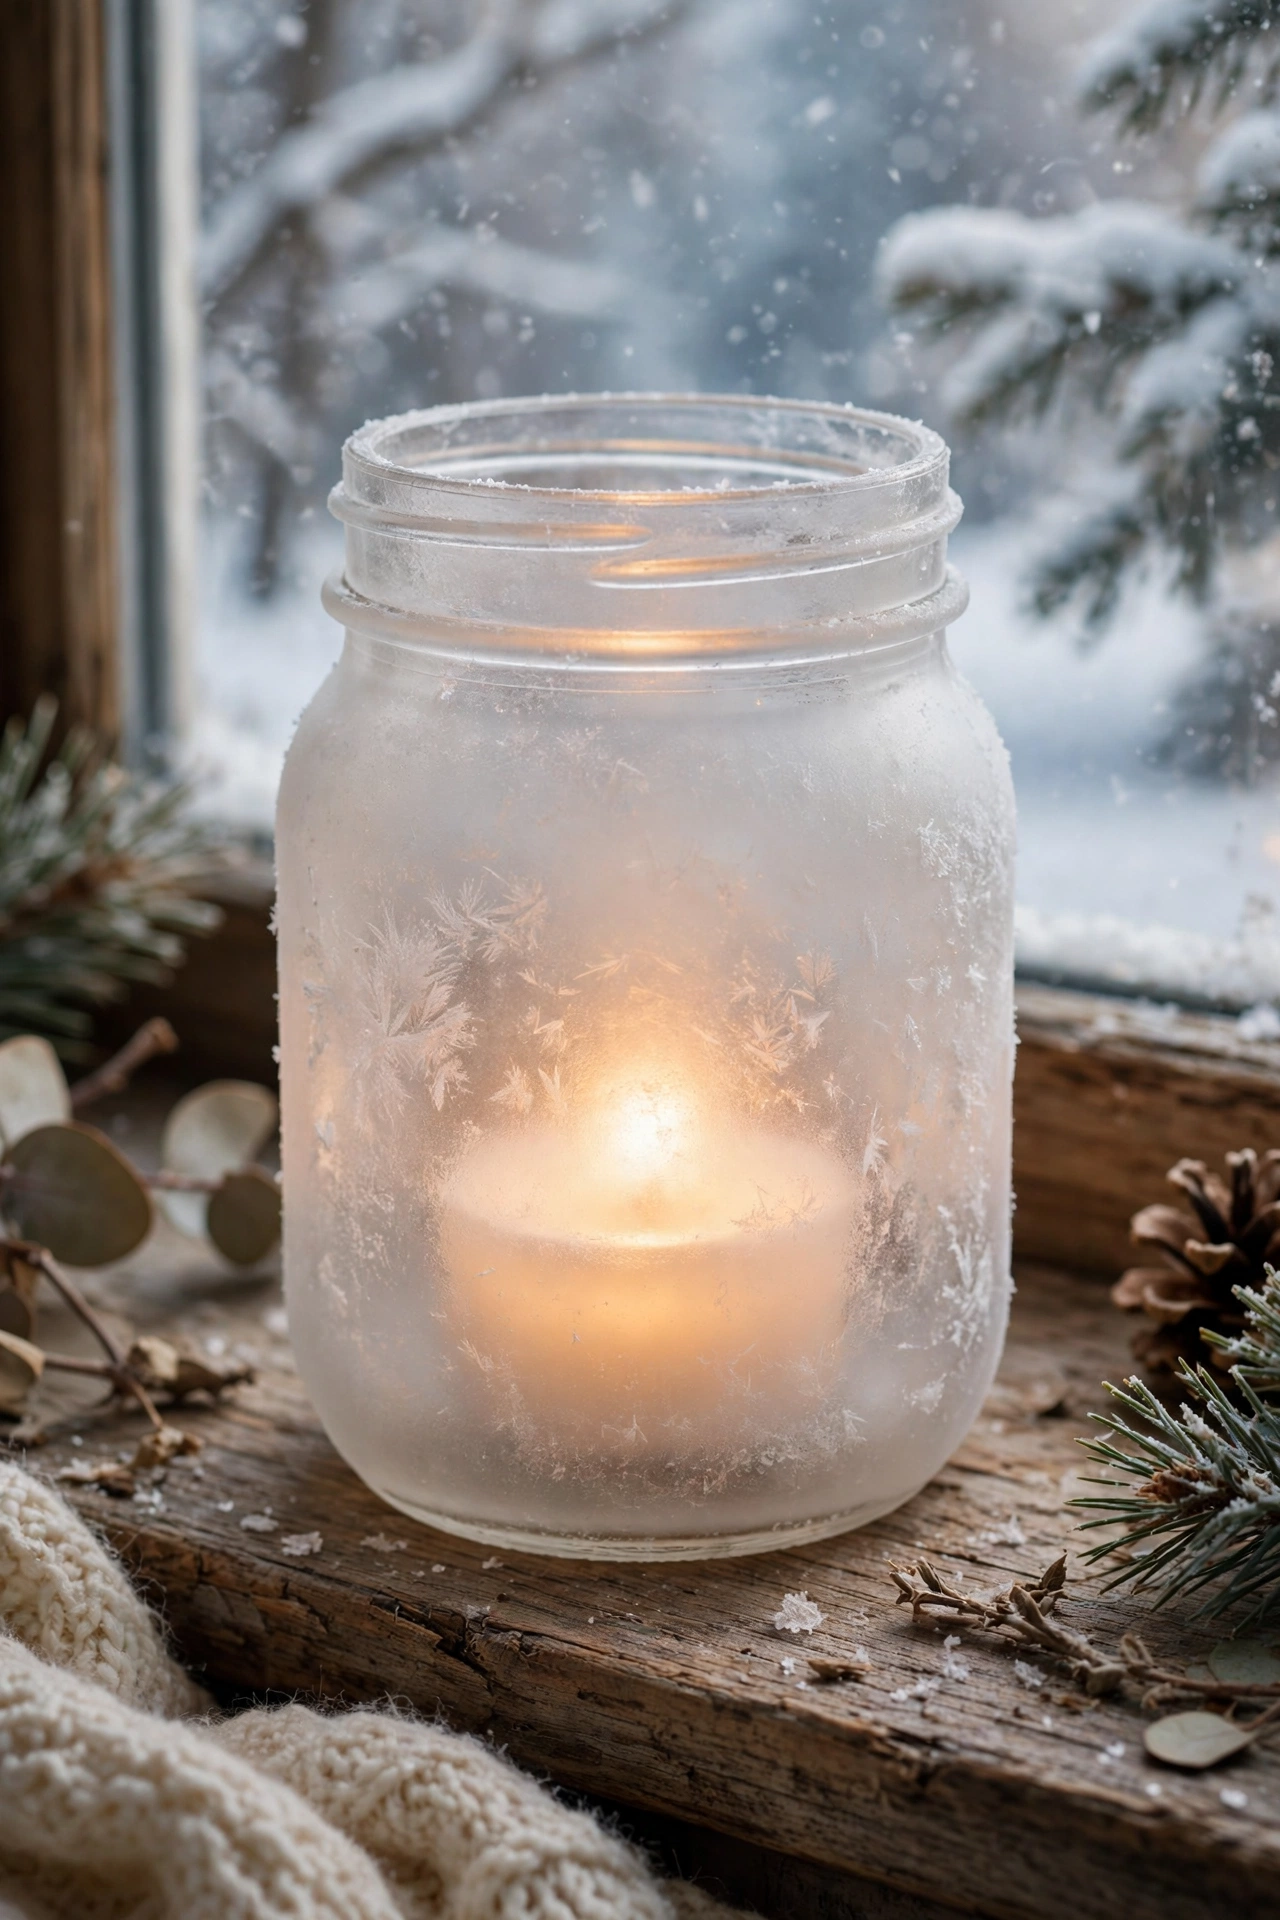
This is the fastest project on the entire list and still one of the prettiest, using nothing more than a mason jar, a light coat of frosted spray paint, and a battery tea light inside. The frosted finish diffuses the light into a soft, snowy glow rather than a harsh direct beam, which is what makes these read as elegant rather than like a plain painted jar. Working outside or in a well-ventilated space, spray a thin, even coat on the outside of the jar and let it dry for about ten minutes before handling. Using a flameless battery tea light instead of real flame here is both safer and easier, since you can reuse the jar without worrying about soot buildup on the frosted finish.
You’ll need: a mason jar, frosted spray paint, and a battery tea light.
Time: 15 minutes (plus drying time)
Epsom Salt “Snow” Jars
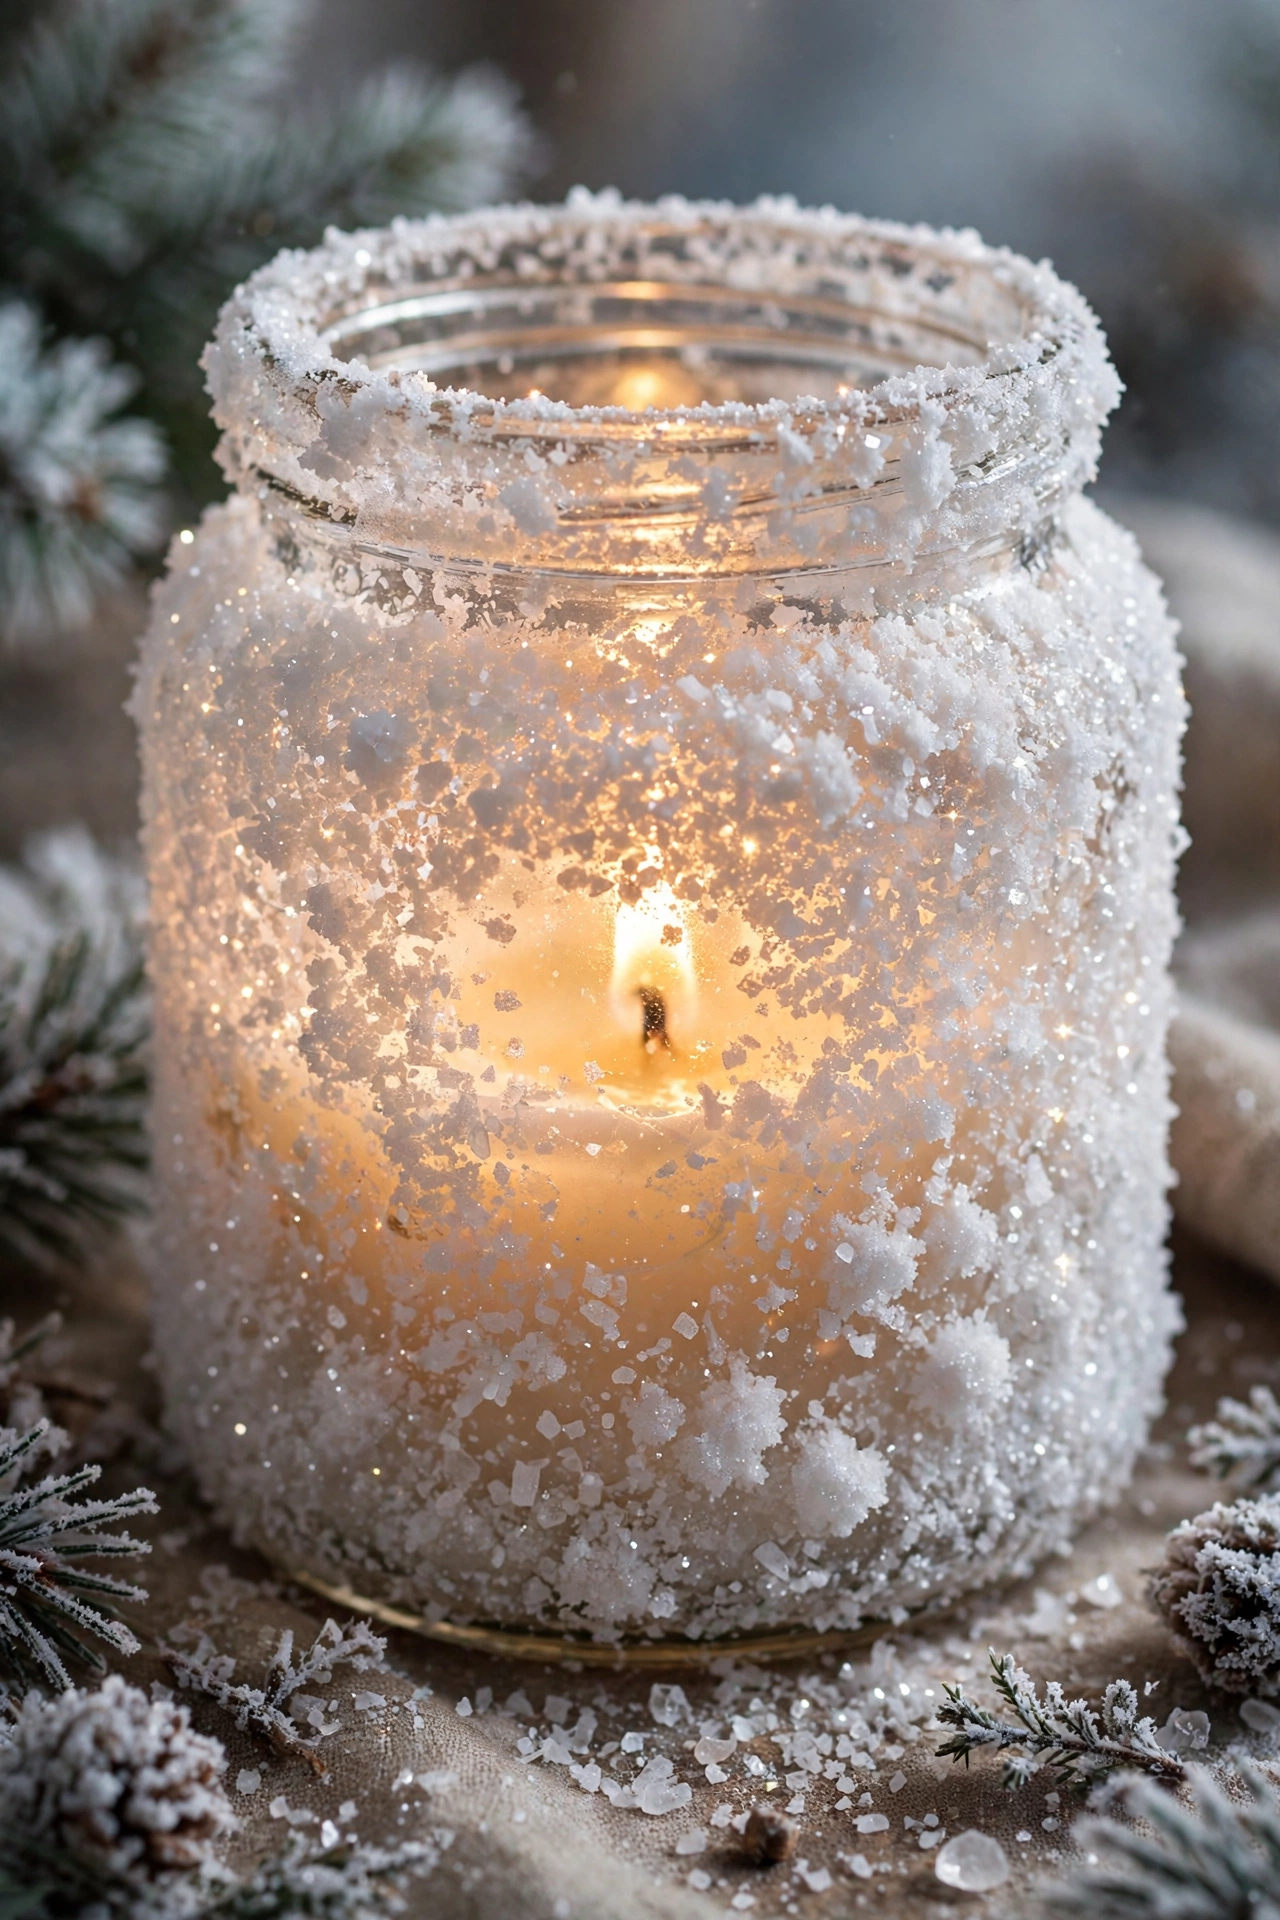
This project uses the texture of Epsom salt to create a realistic, sparkly snow effect on the outside of a plain glass jar, and it comes together almost as quickly as the frosted version above. Brush a layer of Mod Podge or craft glue around the outside of the jar, then roll it in a shallow dish of Epsom salt while the glue is still wet, pressing gently so the crystals stick evenly. Let it dry fully, about twenty minutes, before adding a battery tea light or a real votive candle inside a glass insert. The slightly uneven, textured coverage is what gives this jar its charm, so resist the urge to make the salt layer perfectly smooth.
You’ll need: a glass jar, Mod Podge or craft glue, Epsom salt, and a candle.
Time: 20 minutes (plus drying time)
Cinnamon Stick Wrapped Candle Holder
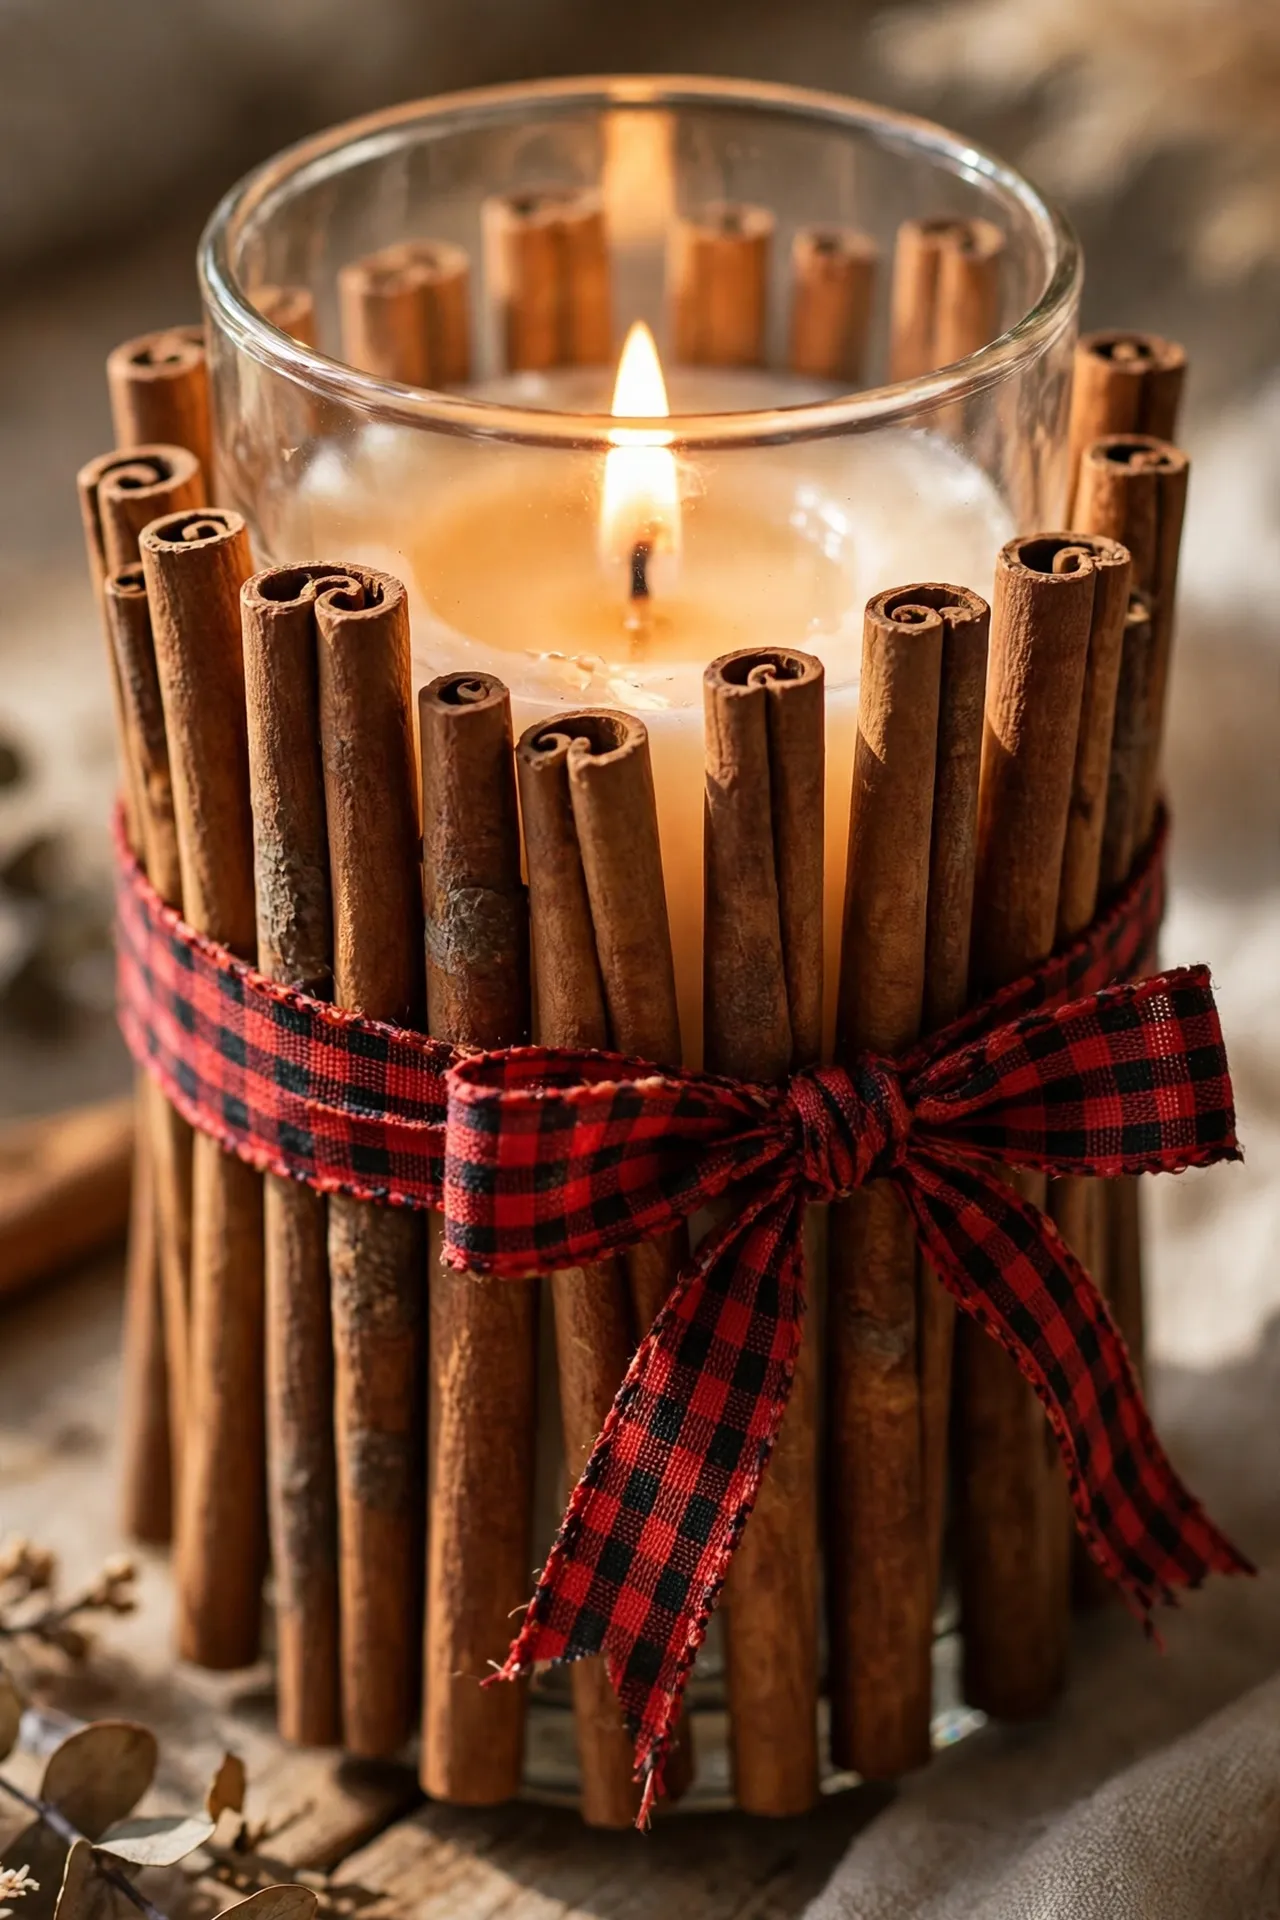
Wrapping a plain glass votive or pillar holder in cinnamon sticks instantly transforms it into a warm, rustic piece that also brings a genuine seasonal scent into the room once a candle is lit inside. Wrap a length of twine or thin jute around the outside of the jar near the top and bottom, then tuck cinnamon sticks vertically between the twine and the glass until the jar is fully wrapped. Tie a small bow of plaid or burlap ribbon around the center to hide the twine ends and finish the look. This project works especially well grouped in odd numbers — three of varying heights — down the center of a table.
You’ll need: a glass jar or votive holder, cinnamon sticks, twine, and ribbon.
Time: 15 minutes
Painted Mason Jar Word Set
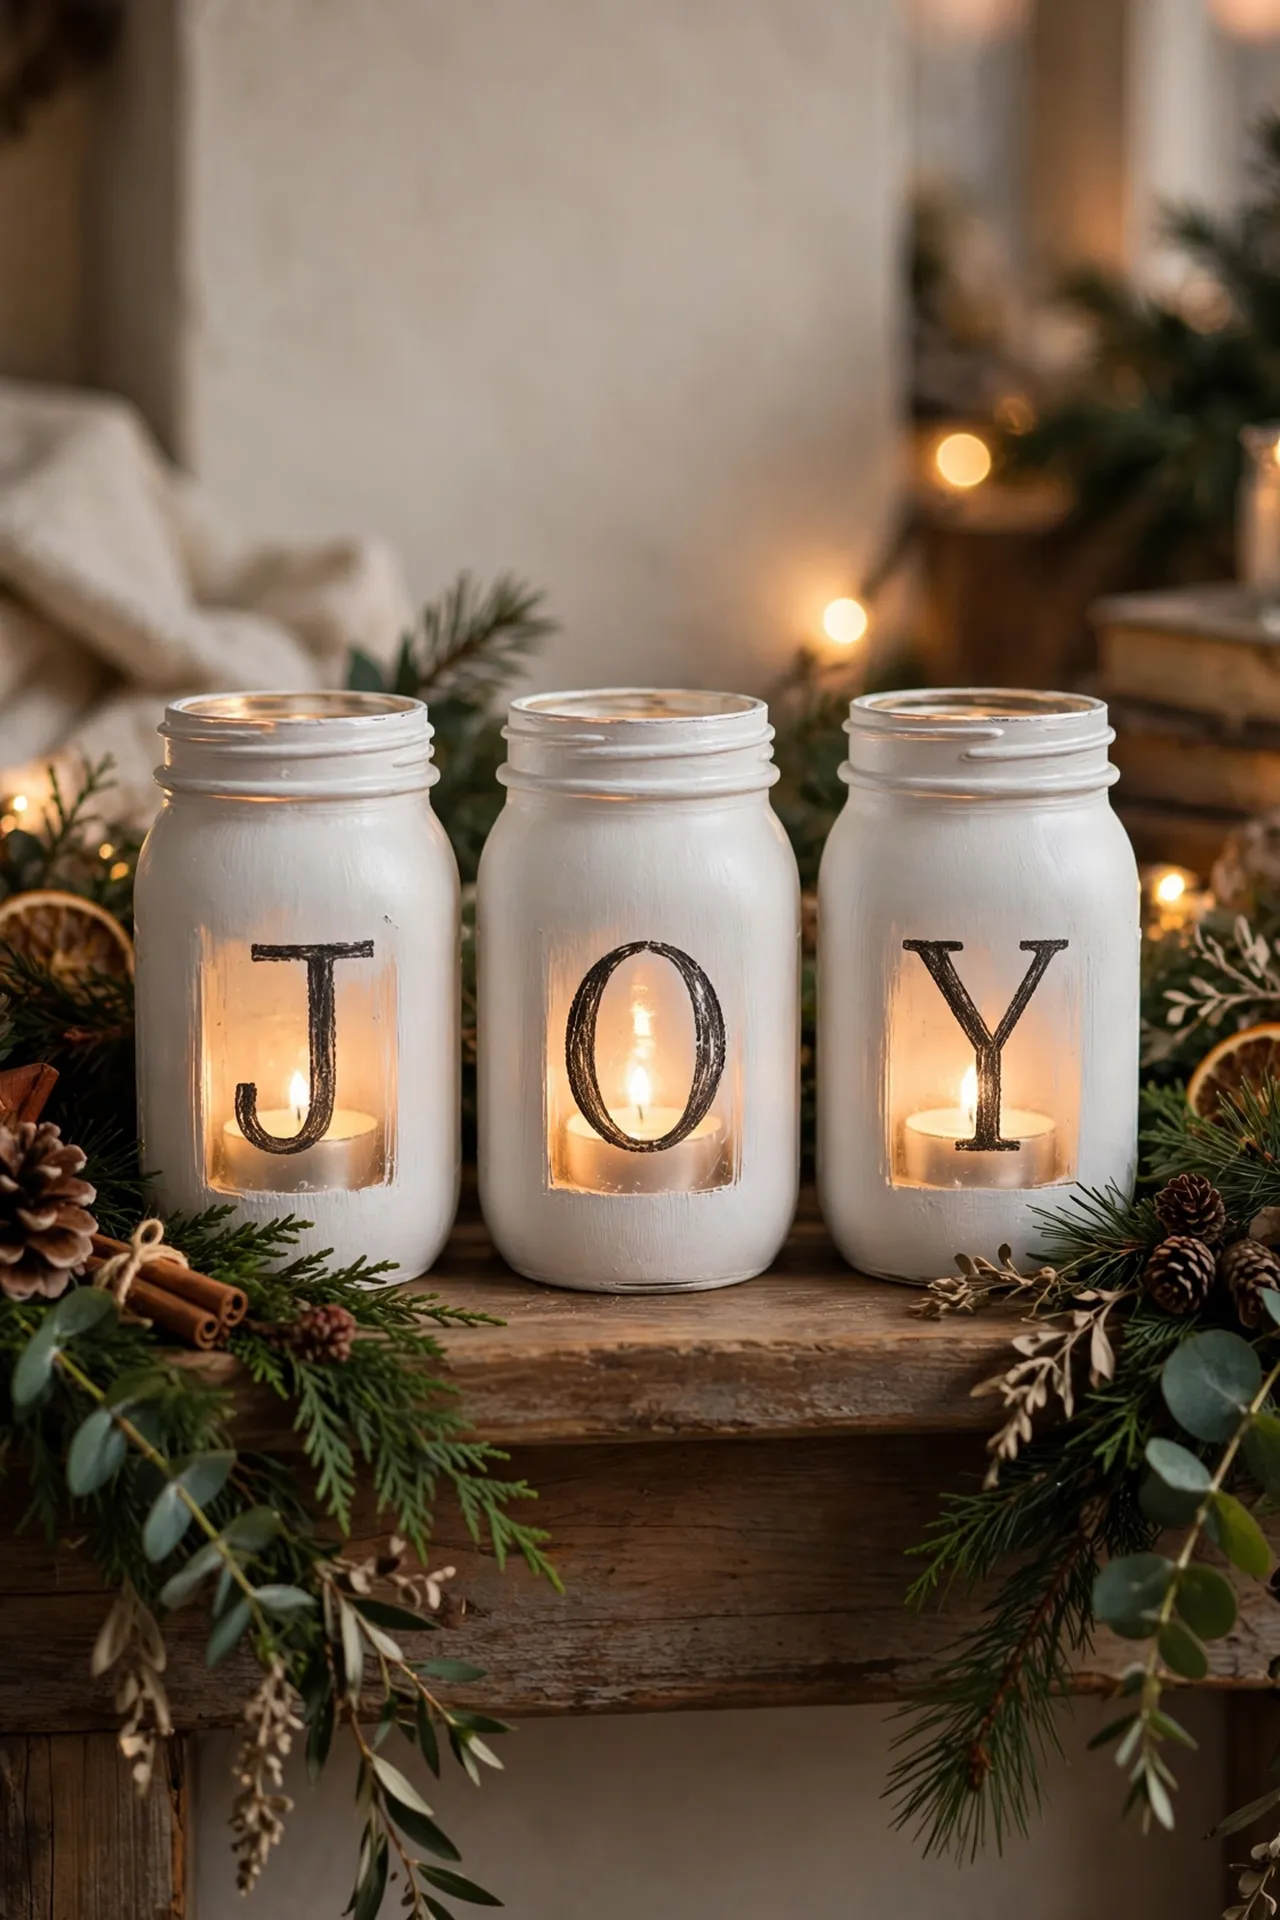
Using a cutting machine or simple stencil, paint or apply vinyl letters spelling out a word like “JOY,” “NOEL,” or “PEACE” across a set of matching mason jars, one letter per jar. Frost or lightly paint the jars first in a solid color like white or soft green, then apply the letters once that base coat is fully dry so the stencil edges stay crisp. Line the jars up in order on a mantel or table runner, each holding its own tea light, so the word reads clearly from across the room. This project scales easily — use as many jars as letters in whatever word you choose.
You’ll need: mason jars, spray paint, vinyl letters or a stencil, and tea lights.
Time: 30 minutes (plus drying time)
Beginner-Friendly (Dollar Store Materials)
Dollar Store Snow Globe Candle
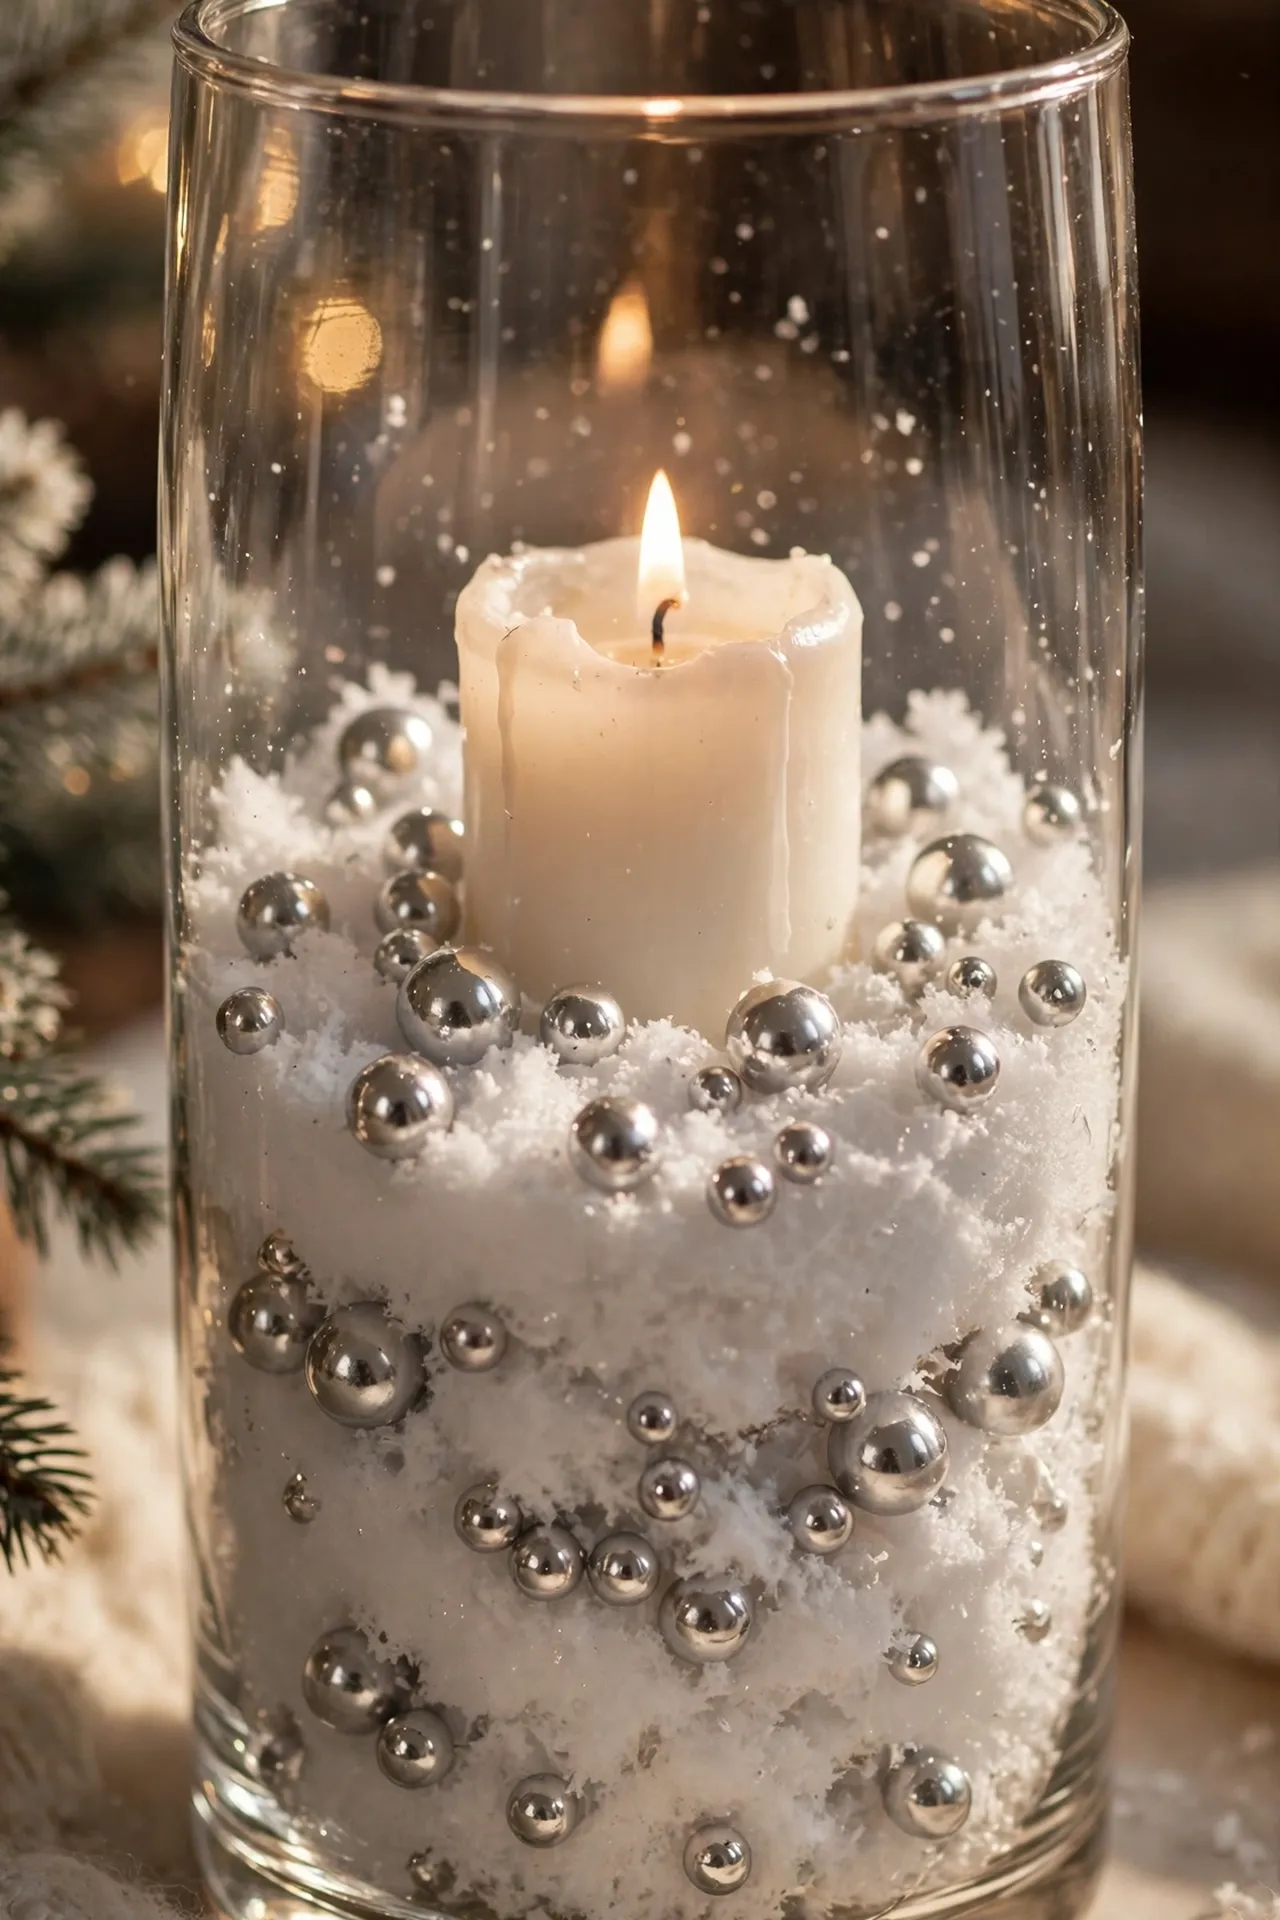
Fill a clear dollar store vase or hurricane glass partway with fake snow and small silver or white ornament balls, then nestle a real or flameless pillar candle in the center so it sits just above the snow line. The layered look mimics a snow globe without any of the water or glass-sealing steps a real snow globe requires. Add a few sprigs of faux greenery or a mini pinecone tucked into the snow around the base of the candle for extra texture. This project is genuinely one of the fastest and most photogenic on the entire list, and nearly every material can come from a single dollar store trip.
You’ll need: a clear glass vase, fake snow, mini ornament balls, and a pillar candle.
Time: 10 minutes
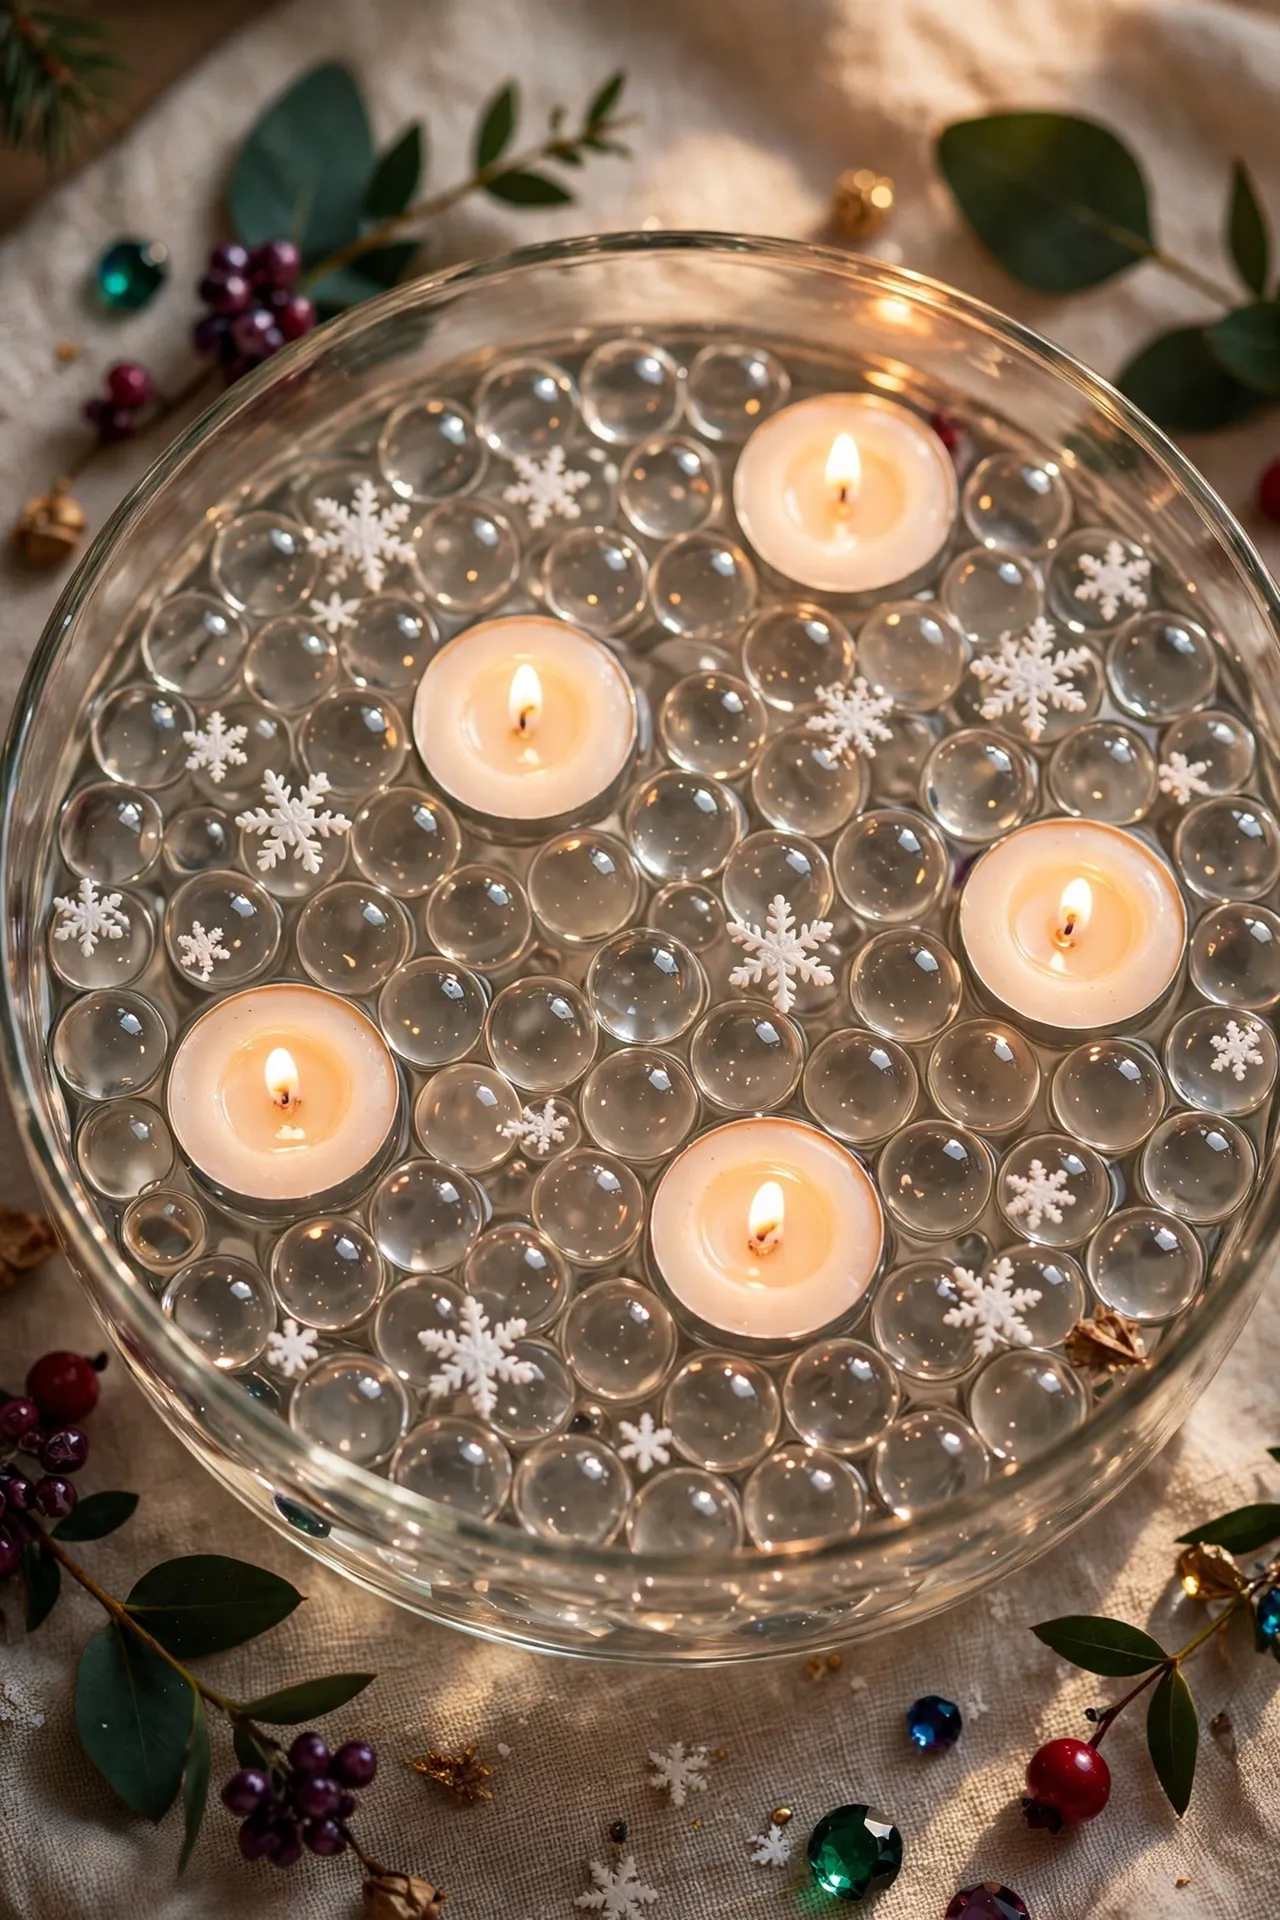
Floating Candle & Gel Bead Centerpiece
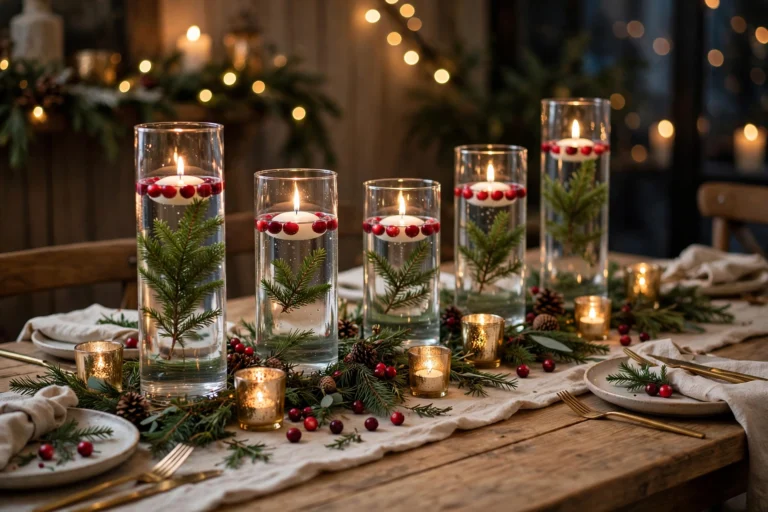
Fill a shallow dollar store vase or bowl with clear or colored gel water beads, then place a few floating candles or waterproof submersible tea lights on top for a striking, jewel-like centerpiece. The gel beads catch and refract the candlelight in a way plain water can’t, giving the whole thing a more elevated, glossy look than the simple materials suggest. Add a few faux snowflakes or mini reindeer figurines tucked among the beads for a playful seasonal touch. Because the beads take a few hours to fully hydrate, plan to prep this one a little earlier in the evening before assembling the final display.
You’ll need: a shallow glass vase, gel water beads, floating or waterproof tea lights, and small decorative accents.
Time: 15 minutes active (plus bead hydration time)
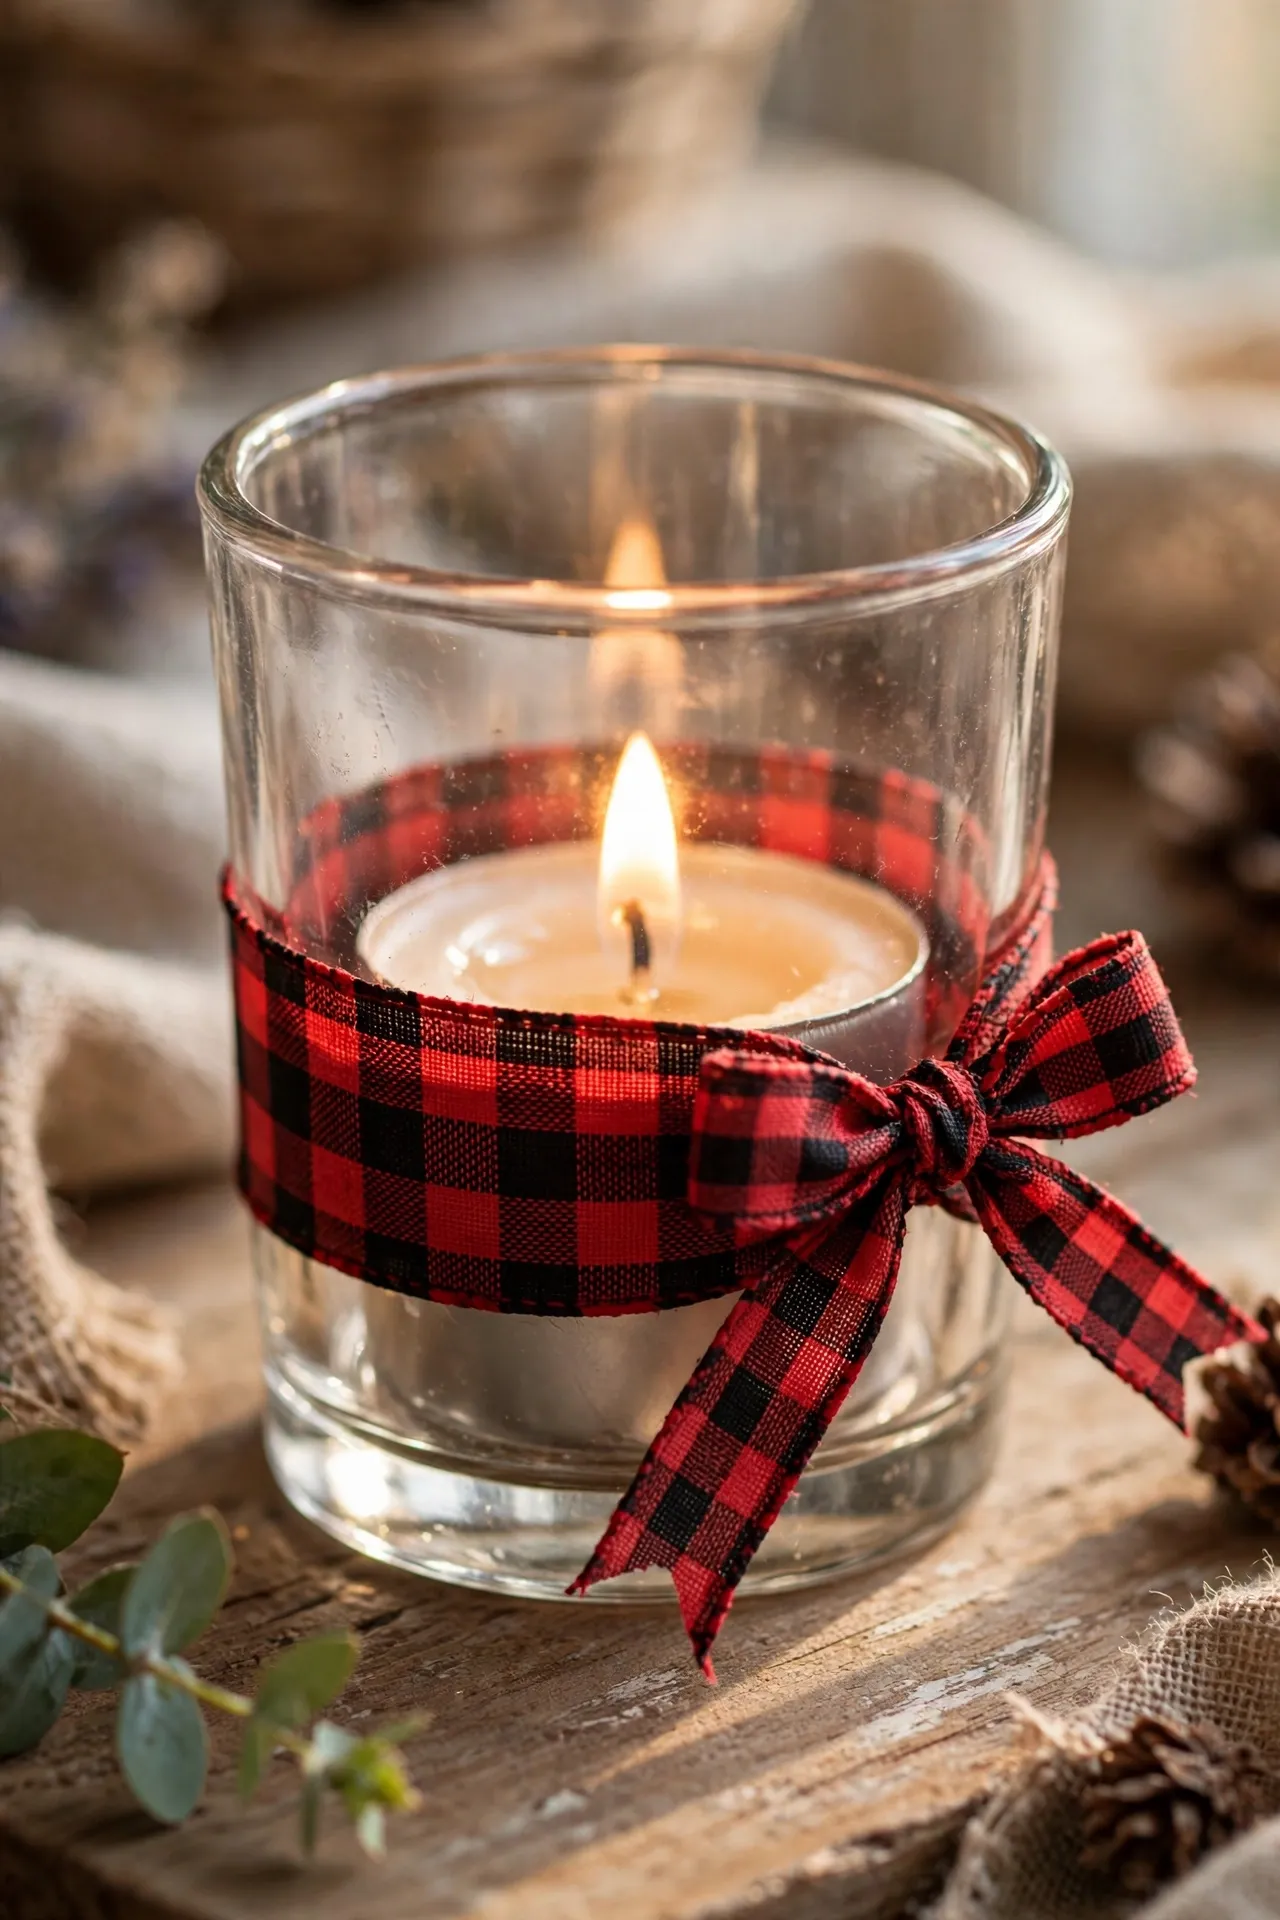
Ribbon-Wrapped Dollar Store Votive
One of the simplest projects on this list, this involves wrapping a plain dollar store glass votive holder in a length of wired ribbon, secured with a dot of hot glue at the back where it won’t show. Buffalo plaid, velvet, or metallic ribbon all work well here, and the wrap itself takes only a couple of minutes once the ribbon is cut to size. Tie a small bow at the top edge of the votive to hide the seam and add a bit of dimension. Because this uses almost no specialty materials, it’s an easy project to repeat multiple times for a matching set down a table runner.
You’ll need: a glass votive holder, wired ribbon, and hot glue.
Time: 10 minutes
Rustic & Natural
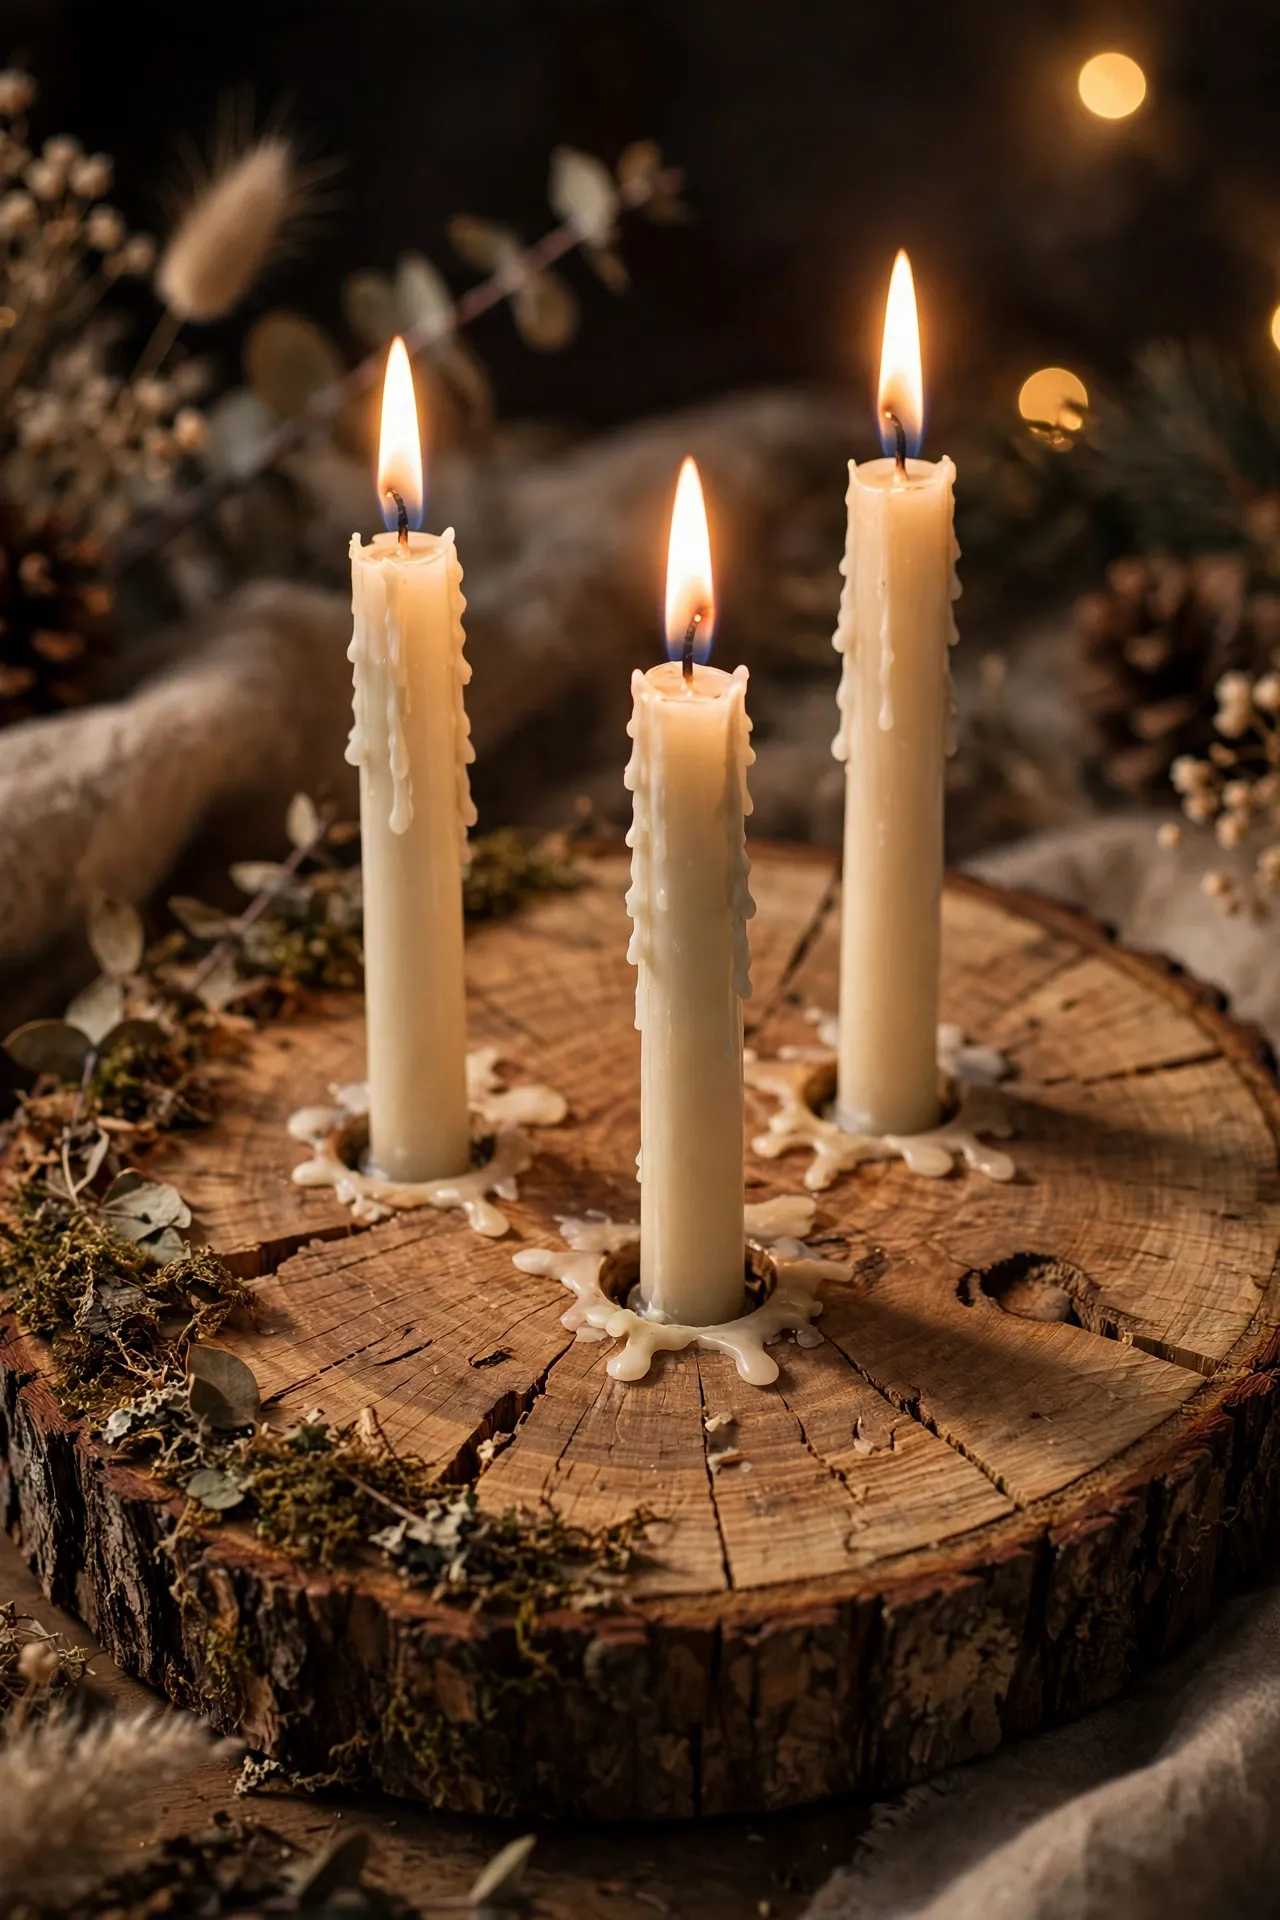
Wood Slice Taper Candle Holder
Using a wood slice at least an inch and a half thick, drill holes slightly narrower than your taper candles using a spade bit, spacing them evenly across the surface. Sand the top edges of each hole lightly so the tapers sit snugly and stand straight once inserted. This project works well with one, three, or five holes depending on how many tapers you want to display, and odd numbers tend to look more natural than even ones. Leave the wood unfinished for the most rustic look, or add a light coat of matte sealant if you want a bit more polish and protection.
You’ll need: a wood slice, a drill with a spade bit sized to your candles, and sandpaper.
Time: 25 minutes
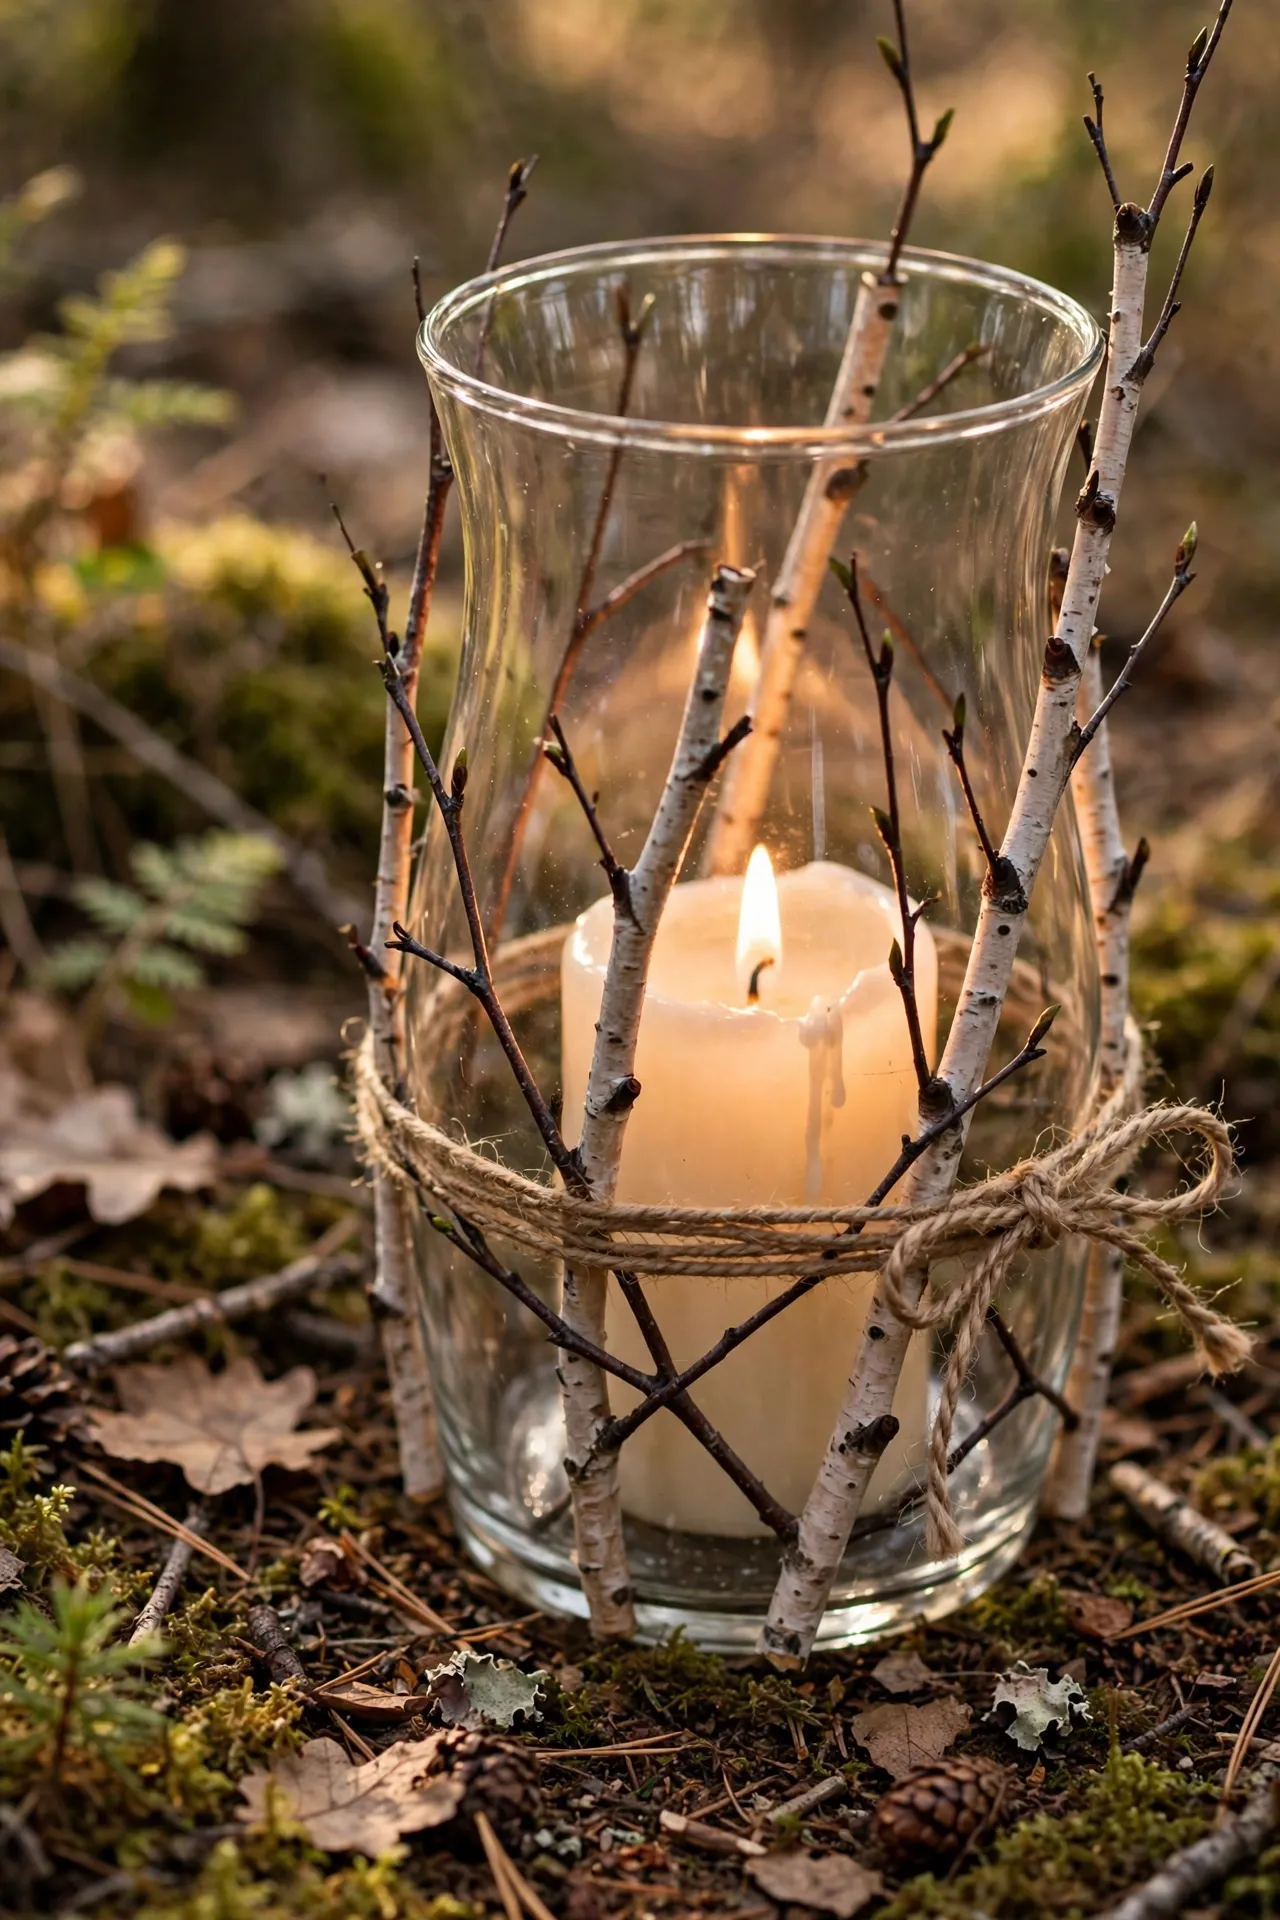
Birch Branch Wrapped Candle Holder
Wrap thin birch branches or twigs vertically around the outside of a glass hurricane or cylinder vase, securing them in place with a few wraps of twine near the top and bottom. Trim the branches so they sit slightly taller than the glass, which gives the finished piece a more natural, foraged silhouette rather than looking perfectly uniform. This works especially well with a pillar candle inside, since the flame glows softly through the gaps between the branches once it’s lit. It’s also an easy project to scale up or down depending on the size of vase you’re working with.
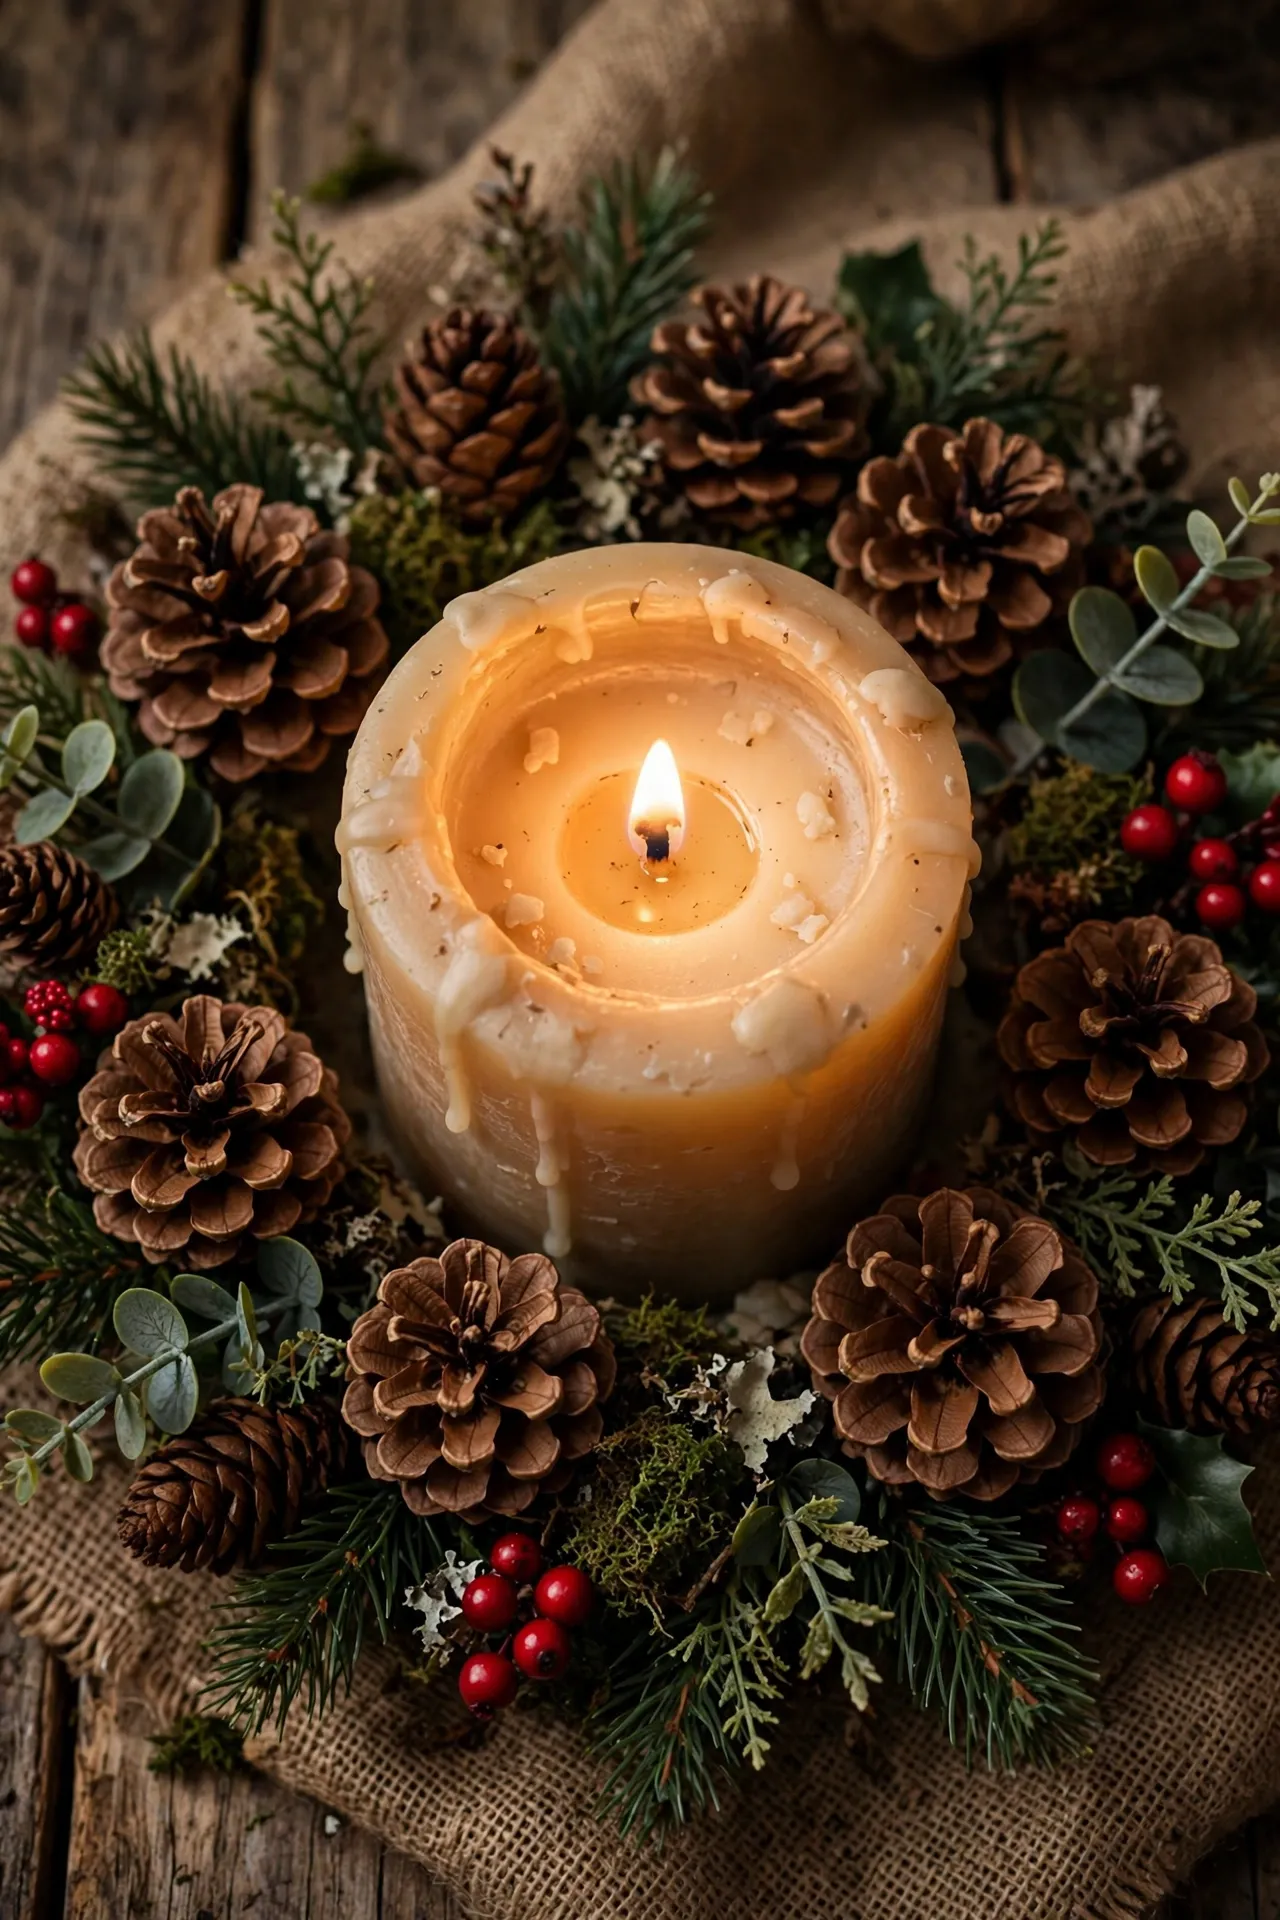
Pinecone & Greenery Candle Ring
Hot glue small pinecones and sprigs of faux greenery around the base of a pillar candle holder or directly onto a flat wooden base to create a ring effect around the candle. Vary the size and angle of the pinecones as you glue them so the ring doesn’t look too uniform or mechanical. Tuck in a few faux red berries between the pinecones for a small pop of color against the green and brown tones. This project pairs beautifully with the wood slice taper holder above, using leftover pinecones and greenery from the same craft supply run.
You’ll need: small pinecones, faux greenery sprigs, faux berries, hot glue, and a candle base.
Time: 20 minutes
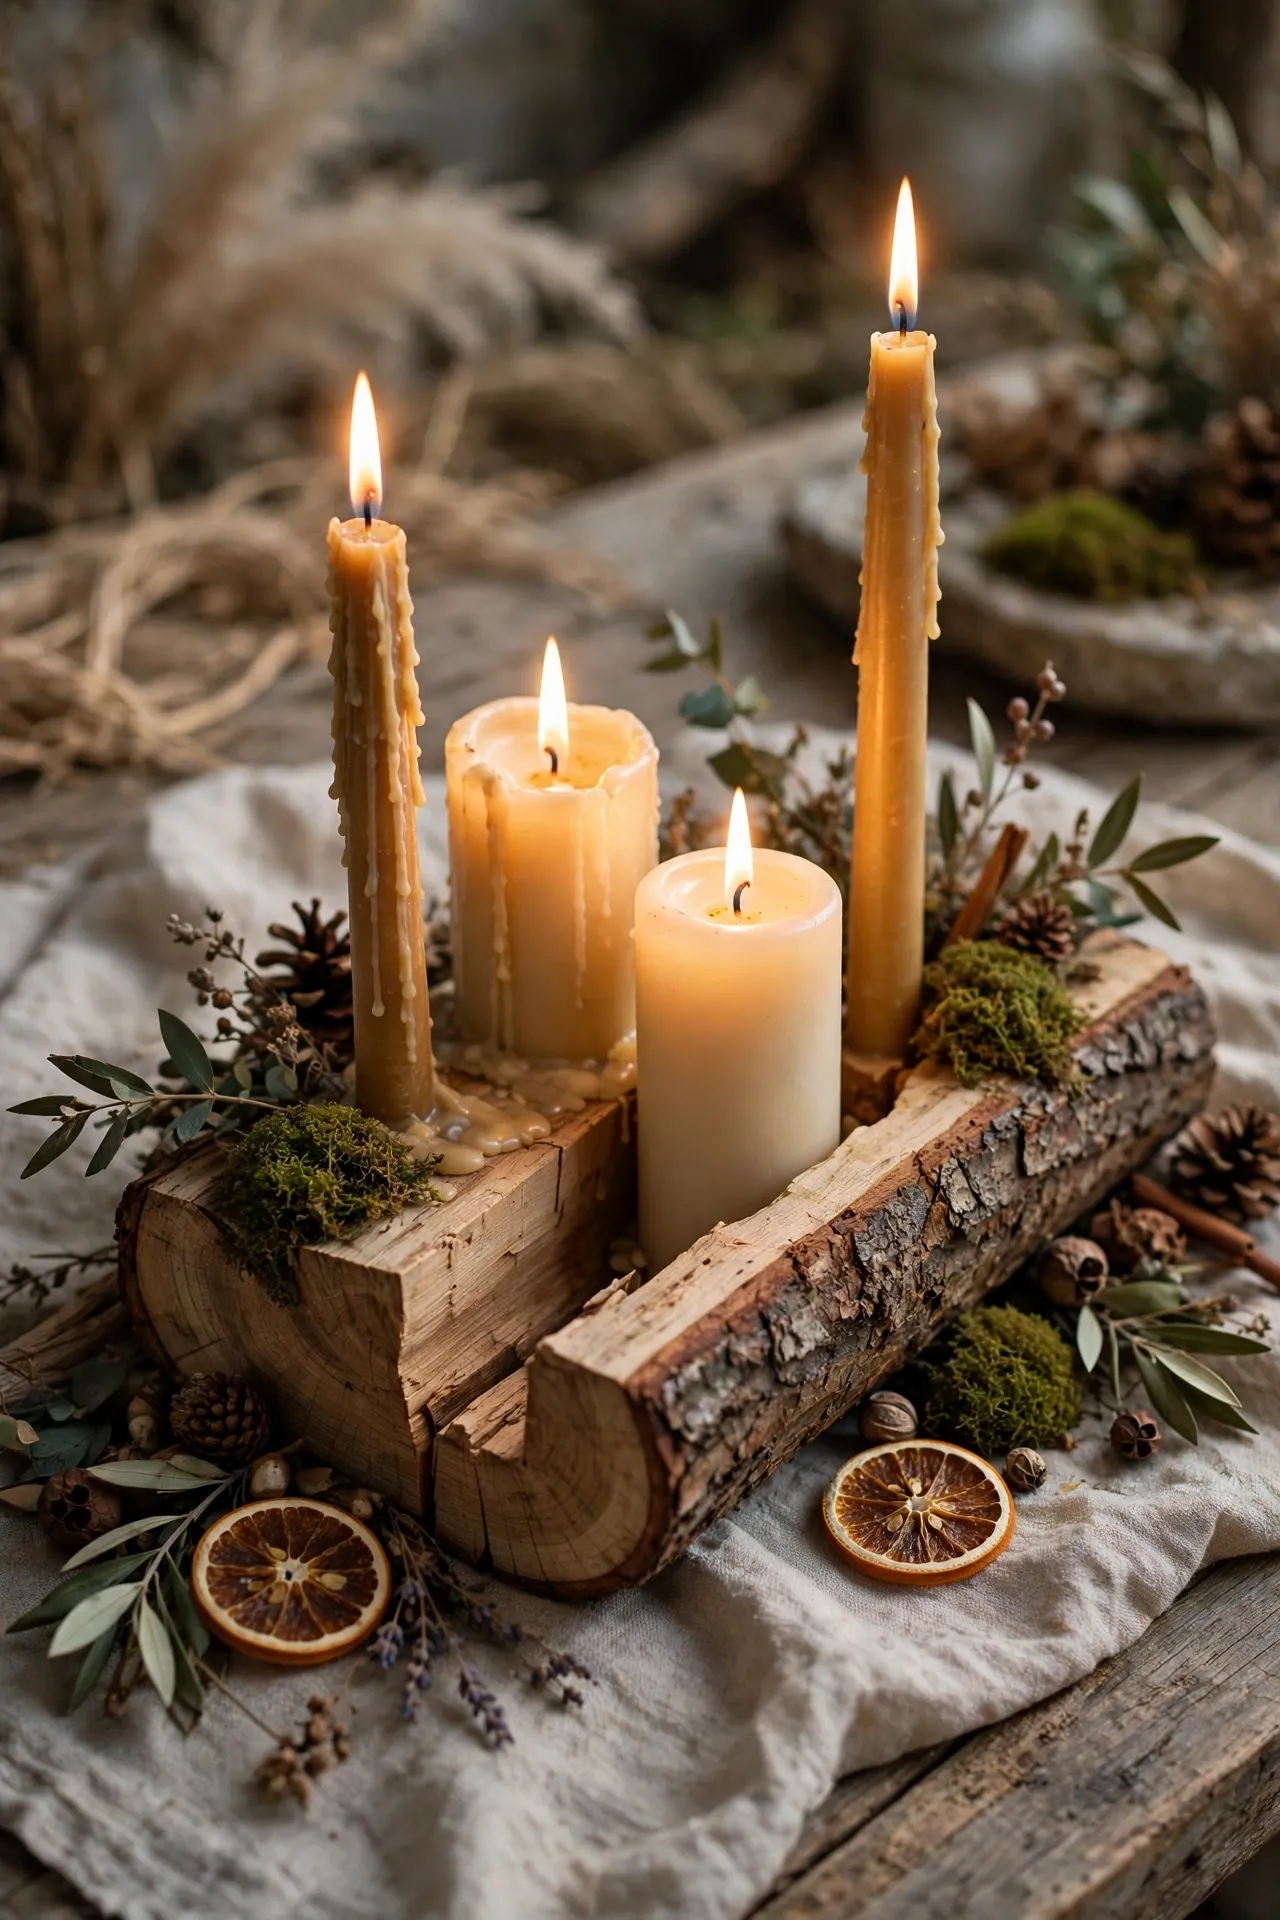
Log Slice Multi-Candle Base
For a more dramatic centerpiece, use a longer log or thick branch section, split flat on one side, and drill several holes of varying depths to hold a mix of taper and pillar candles at different heights. This creates a more layered, dimensional look than a single flat wood slice, since the varying candle heights add visual interest even before anything is lit. Sand the flat surface lightly so the log sits stable on the table, and consider a coat of clear sealant if the log will be reused across multiple seasons. This is a slightly more involved project than the others on this list, but it makes a genuinely striking centerpiece.
You’ll need: a split log section, a drill with a spade bit, and sandpaper.
Time: 35 minutes
Elegant & Refined
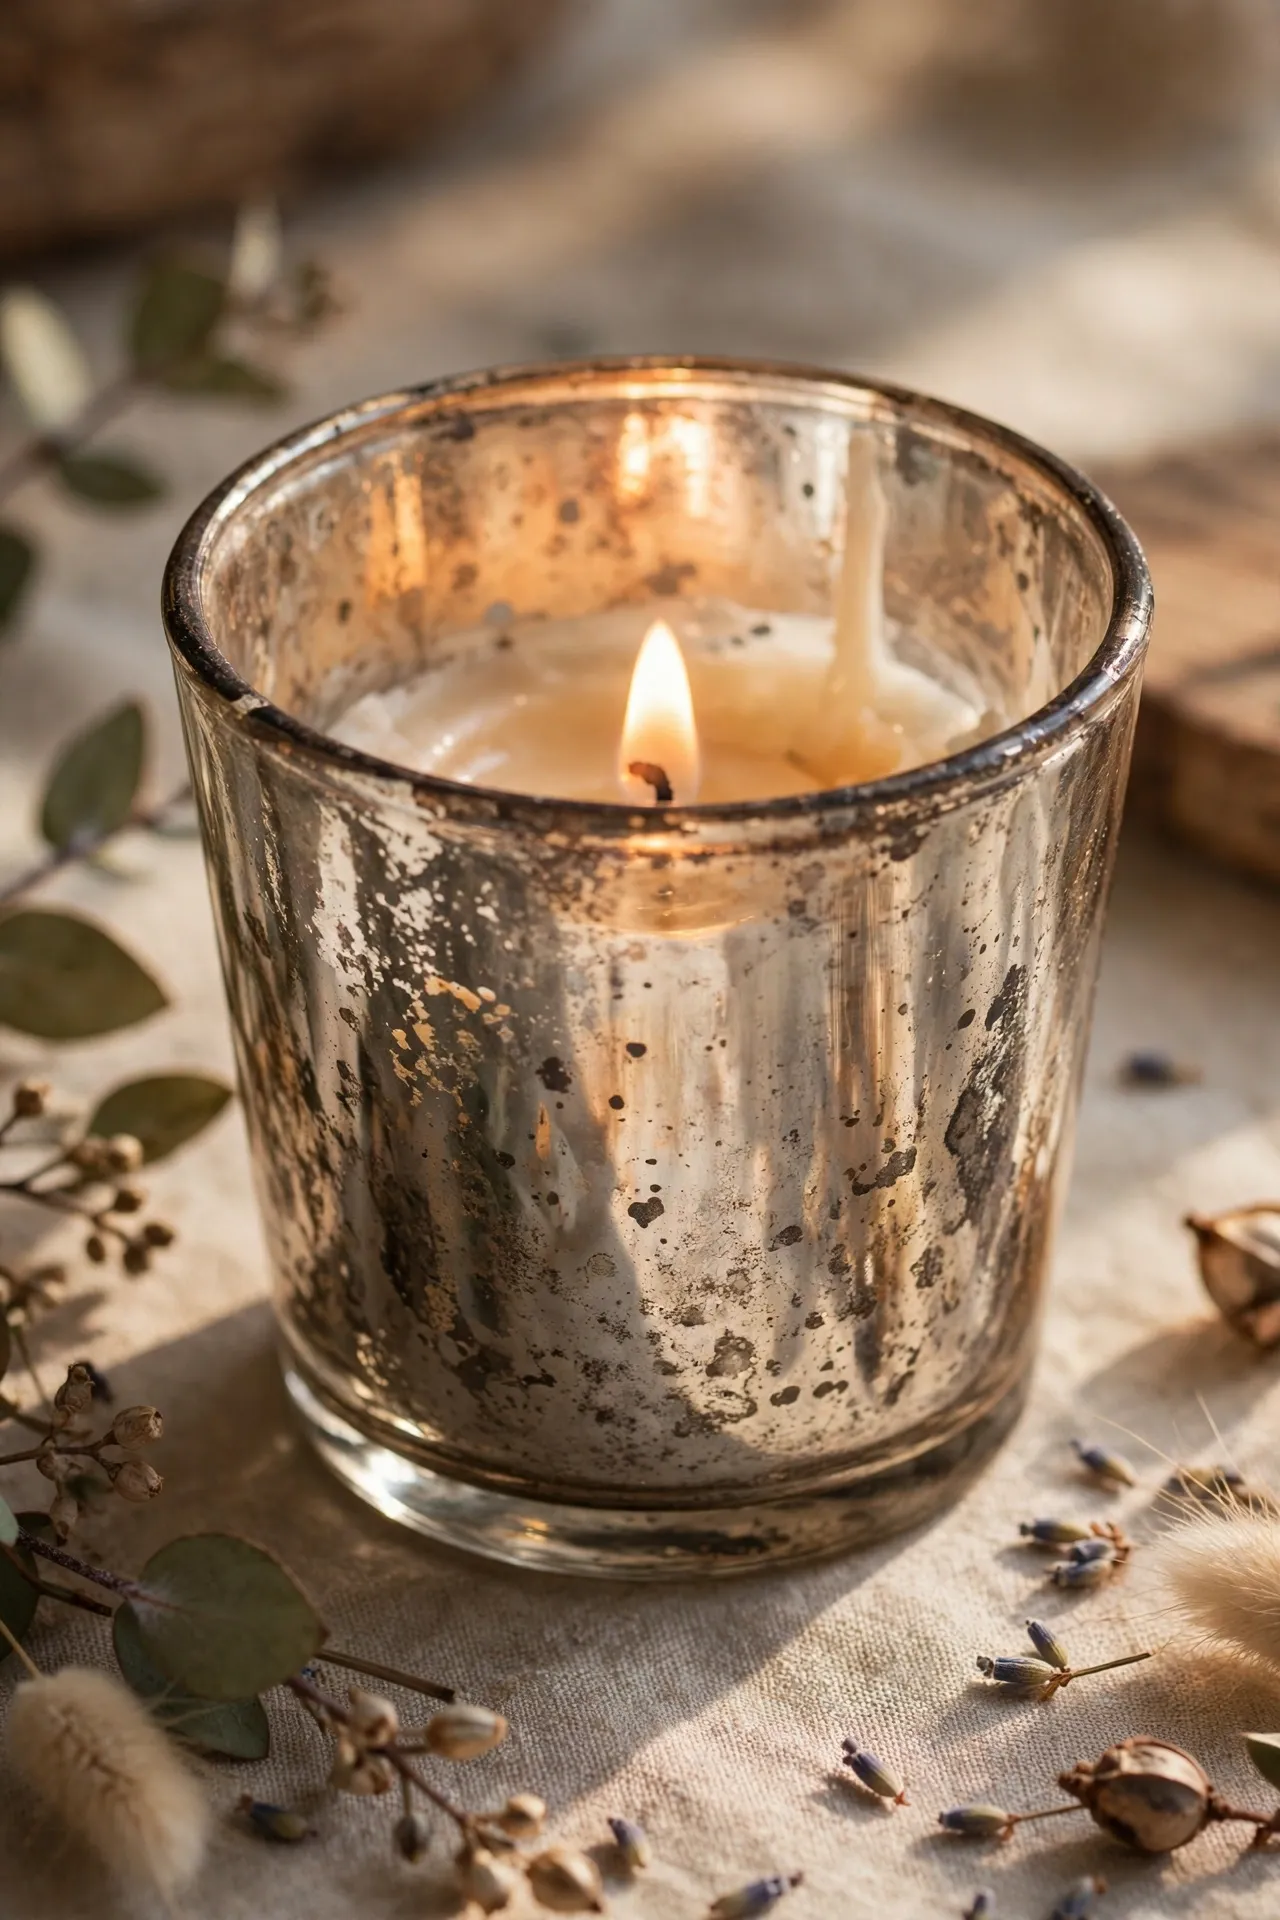
Mercury Glass Painted Votives
Using a mercury glass spray paint or a DIY vinegar-and-glass-paint mixture, coat the inside of a clear glass votive to create that antiqued, slightly imperfect silver finish associated with mercury glass. Spray or brush the mixture unevenly on purpose, letting some spots be more opaque than others, since the imperfection is exactly what makes mercury glass look authentic rather than uniformly painted. Let the votive dry fully, ideally overnight, before handling it or adding a candle, since the coating needs time to fully cure. This project takes a bit more patience than the others on this list but delivers one of the most elegant, boutique-looking results.
You’ll need: a glass votive, mercury glass spray paint or DIY glass paint mixture, and a well-ventilated space.
Related: 15 DIY Gingerbread Christmas Tree Ideas to Try This Year
Time: 15 minutes active (plus overnight drying)
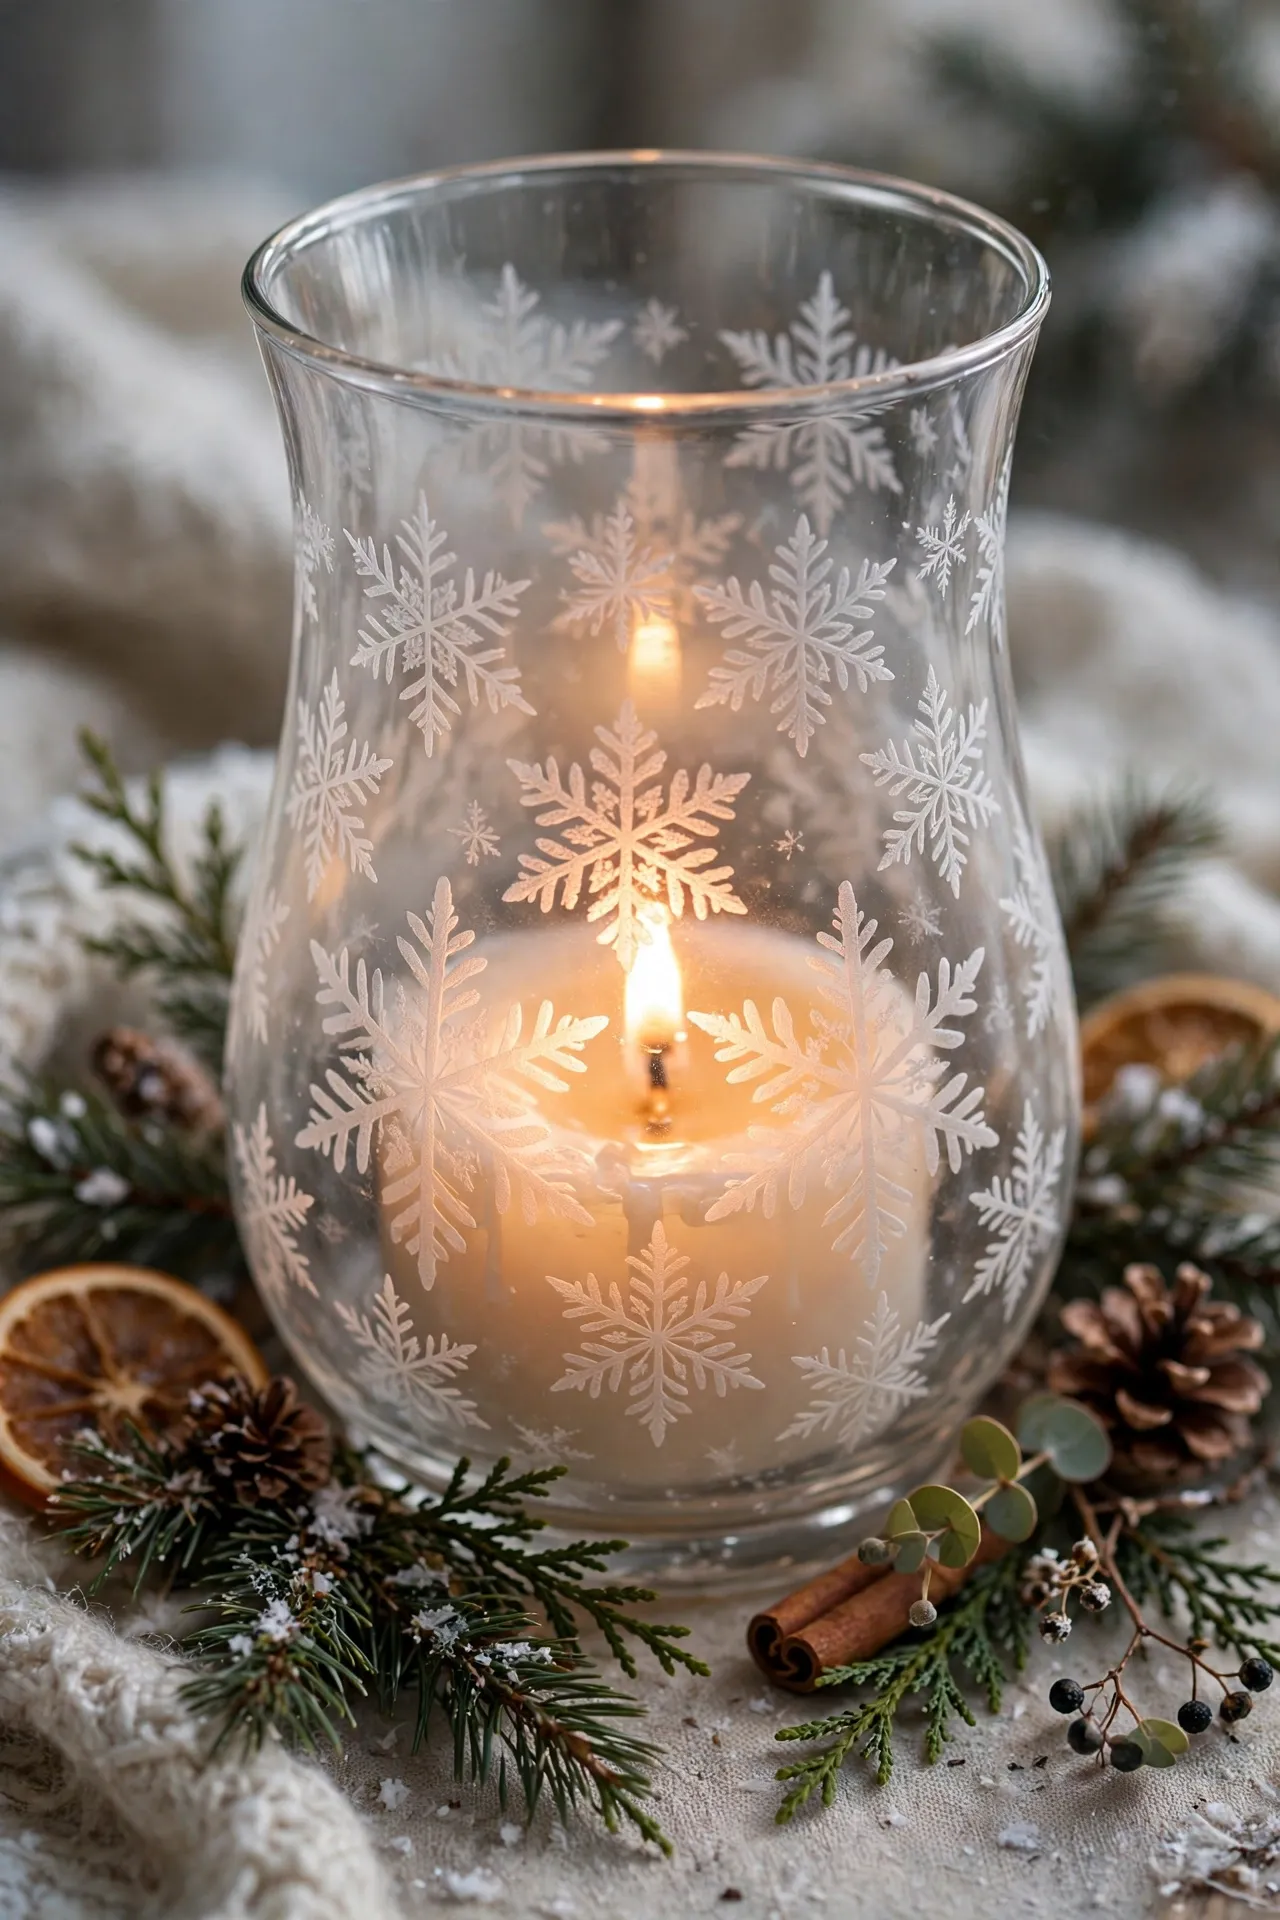
Etched Glass Snowflake Holder
Using an adhesive snowflake stencil and glass etching cream, create a permanently frosted snowflake pattern on the outside of a plain glass hurricane or votive. Apply the stencil carefully so the edges are sealed, brush on the etching cream according to the product’s instructions, then rinse it off after the recommended time to reveal the etched design. Unlike painted finishes, this etched effect is permanent and won’t chip or peel over time, making it a nice option if you want a candle holder to reuse every year without redoing it. The etched areas glow beautifully once a candle is lit inside.
You’ll need: a glass hurricane or votive, an adhesive snowflake stencil, and glass etching cream.
Time: 20 minutes active (plus cure time per product instructions)
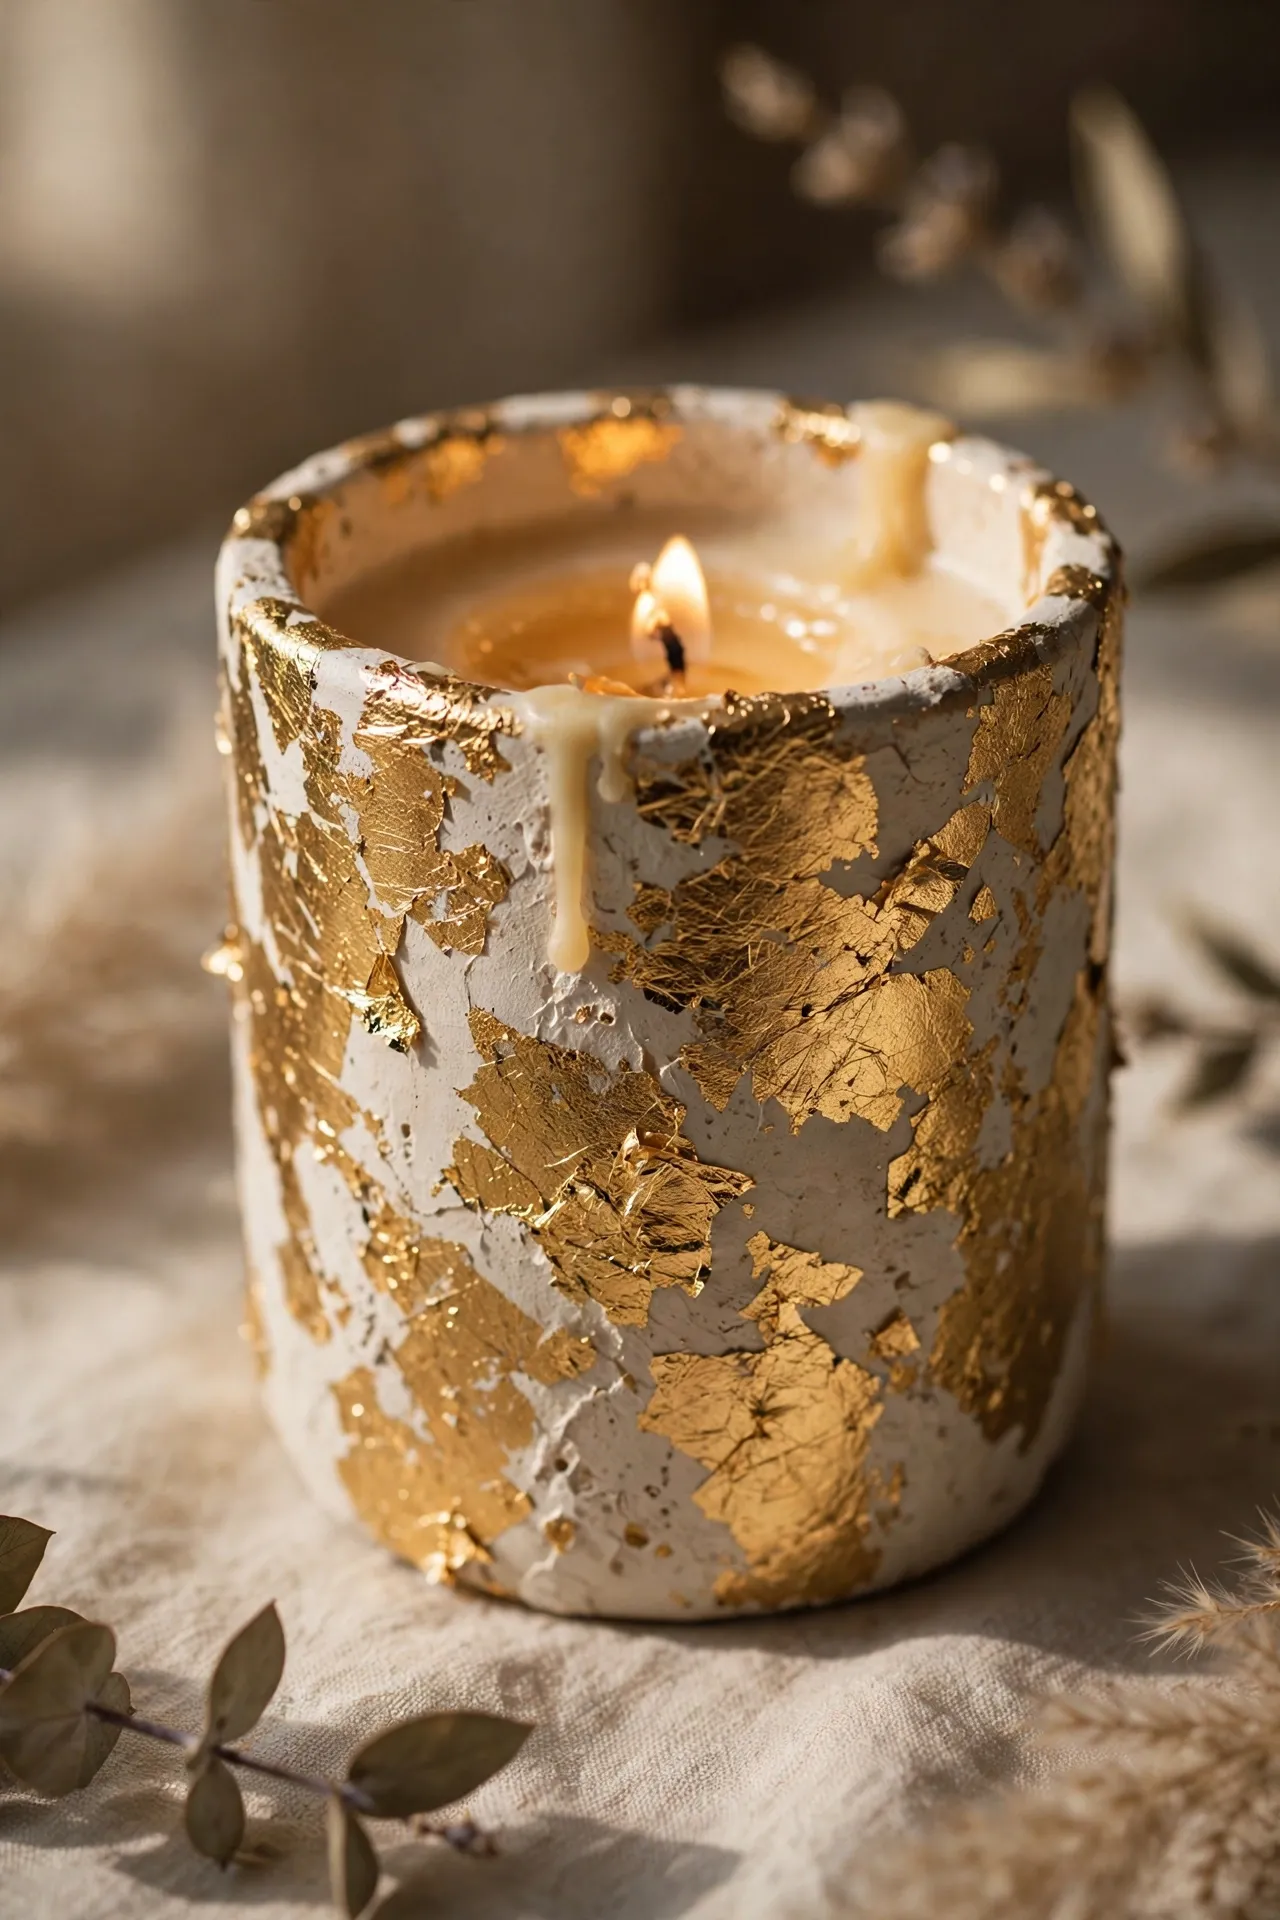
Gold Leaf Accent Candle Holder
Apply gold leaf sheets to select areas of a plain glass or ceramic candle holder using gold leaf adhesive, creating an irregular, gilded pattern rather than covering the entire surface. Brush the adhesive on in a loose pattern first, let it become tacky according to the product’s instructions, then press the gold leaf sheets on and gently brush away the excess with a soft brush. The unevenness of the gold leaf application is what gives this project its elegant, artisan feel, so resist trying to make it perfectly smooth or symmetrical. This is a strong option if you want an elevated, gift-worthy candle holder without needing to paint the entire piece.
You’ll need: a glass or ceramic candle holder, gold leaf sheets, gold leaf adhesive, and a soft brush.
Time: 30 minutes
Kid-Friendly & Playful
Salt Dough Star Candle Holders
Roll out a simple salt dough made from flour, salt, and water, then use a star-shaped cutter to create flat holders with a small indentation pressed in the center to hold a tea light. Bake according to your salt dough recipe’s instructions until fully hardened, then let them cool completely before handling or painting. Once cooled, kids can paint them in any color scheme, adding glitter or a light varnish for extra shine once the paint has dried. This project is a good one to do earlier in the day, since the dough needs baking and cooling time before it’s ready to decorate and use.
You’ll need: flour, salt, water, a star cutter, and paint.
Time: 20 minutes active (plus baking and cooling time)

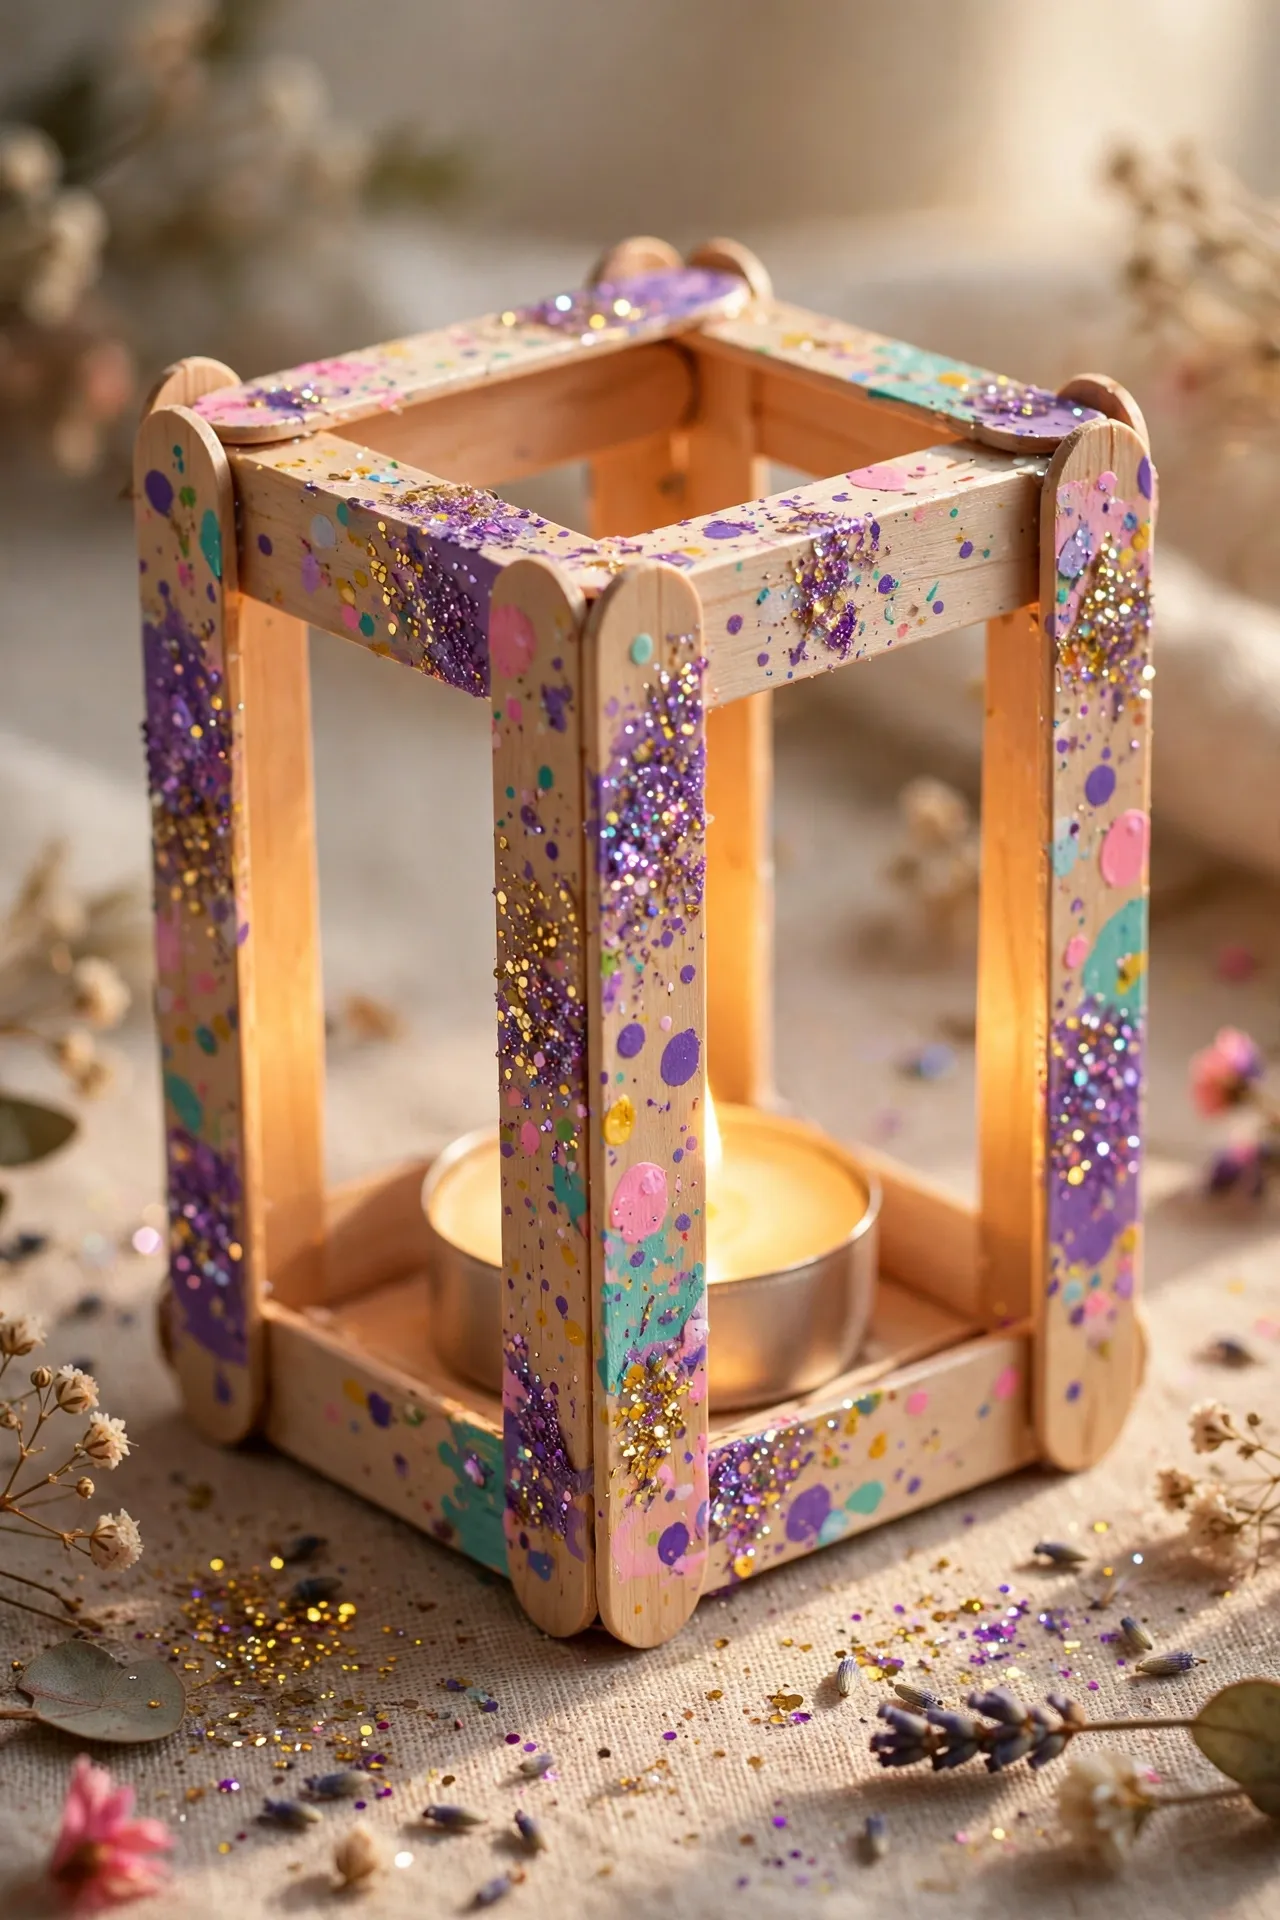
Popsicle Stick Lantern Holder
Glue popsicle sticks into a simple square or hexagonal frame around a small glass or jar, creating a rustic little lantern kids can decorate themselves. Once the frame is dry, let kids paint the sticks or add stickers, small pom poms, or glitter glue before slipping a battery tea light into the jar at the center. A loop of ribbon or twine glued to the top turns it into a small hanging lantern instead of just a tabletop piece. This is one of the safest projects on the list for younger kids to help with fully, since a battery tea light keeps real flame out of the equation entirely.
You’ll need: popsicle sticks, craft glue, a small glass or jar, paint or decorations, and a battery tea light.
Related: 23 Stylish Small Apartment Christmas Decor Ideas That Save Space That Make Every Inch Count
Time: 25 minutes (plus drying time)
Candle Safety Tips for DIY Holders
Always use a flameless battery tea light in any holder involving paper, dried florals, ribbon, or other flammable materials close to where the flame would sit, since real flame and craft materials are a genuinely risky combination. If you do use a real candle in glass or wood holders, make sure there’s at least an inch of clearance between the flame and any decorative material around it, and never leave a lit candle unattended. Let any painted, glued, or freshly finished holder cure fully — usually overnight — before placing a real candle inside, since fresh paint or adhesive can release fumes or ignite more easily while still curing. Keep all finished candle holders, lit or not, out of reach of small children and pets, especially the kid-friendly projects, which should stick to battery tea lights exclusively.
Practical Implementation Ideas
Do a quick supply check against the “you’ll need” list before starting, since running out mid-project — especially with drying or curing steps — can derail a one-evening timeline. Group projects with similar dry times together if you’re making several in one night, so you’re not waiting around between steps. Lay down newspaper or a drop cloth before starting any spray paint or glue-heavy project, since cleanup speed matters when you’re working on a weeknight. If you’re making a set of matching holders, prep and paint all the bases first before adding any individual decorative details, so the whole batch stays consistent.
Common Mistakes to Avoid
Don’t skip drying or curing time to speed things along — a candle holder used before paint or glue has fully set can smoke, smell, or fail structurally once a flame is introduced. Avoid using spray paint or glass etching cream in a room without good ventilation, since both release fumes that need to dissipate. Don’t overcrowd a single candle holder with too many embellishments, since a cluttered design tends to look busy rather than intentional once it’s actually holding a lit candle. And always test-fit your candle in the holder before finishing the final decorative details, since some projects, like the wood slice holder, need the exact right hole size to hold a taper securely.
Small-Space & No-Tools Alternatives
If you don’t have access to a drill or woodworking tools, skip the wood slice and log projects and lean into the jar-based ideas instead, since almost all of them require nothing more than a glue gun or spray paint. The ribbon-wrapped votive and frosted mason jar are both genuinely no-tool projects that still look intentional and finished. For a very small space, a single etched or mercury glass votive makes just as much visual impact as a larger arrangement, without needing extra table or counter space to display multiple pieces.
Budget-Friendly Alternatives
Nearly every project on this list can be made almost entirely from dollar store supplies — jars, spray paint, ribbon, and fake snow are all typically available there for a fraction of craft store prices. Reusing jars you already have at home, like empty pasta sauce or jam jars, works just as well as buying new mason jars specifically for the project. Skip the mercury glass spray paint and etching cream projects if budget is the main concern, since those specialty products cost more than the simpler paint or ribbon-based ideas.
Pro Styling Recommendations
Group finished candle holders in odd numbers and varying heights when displaying them, since uneven groupings tend to look more intentional and visually interesting than a single row of matching pieces. Stick to one or two finishes across a whole tablescape — all frosted glass, or all rustic wood — rather than mixing every style on this list together, so the final display feels cohesive. And light everything just before guests arrive rather than hours ahead, since even flameless tea lights look more special when they’re switched on right as the evening begins.
FAQs
Mason jars, empty glass jars from food products, wood slices, and even dollar store vases all work well as a base for a DIY Christmas candle holder.
Many are, as long as there’s enough clearance between the flame and any decorative material and everything has fully dried or cured, though flameless battery tea lights are the safer choice for holders involving paper, ribbon, or dried florals.
A frosted mason jar with a battery tea light inside is one of the fastest and easiest options, typically taking about fifteen minutes including drying time.
Yes — projects using battery tea lights instead of real flame, like salt dough stars or popsicle stick lanterns, are safe and fun for kids to help decorate.
Most of these projects take between ten and thirty minutes of active work, though some involve additional drying, curing, or baking time before they’re ready to use.
Basic supplies like glass jars, spray paint, ribbon, hot glue, and tea lights cover most projects, with a few specialty items like etching cream or gold leaf needed for the more elevated designs.
Yes — mercury glass votives, ribbon-wrapped jars, and etched glass holders in particular look polished enough to give as thoughtful, handmade gifts.
If you don’t have a drill, look for wood slices with a natural indentation, or use hot glue to secure a glass votive insert directly onto the wood surface instead of drilling a hole.
Final Thoughts
You don’t need a big craft budget or a whole weekend to make your home glow this Christmas. A mason jar, a little paint, and twenty quiet minutes tonight are genuinely enough to create something that looks like it came from a boutique shelf. Pick whichever of these 16 ideas matches the supplies you already have on hand, follow the drying and safety notes, and you’ll have a beautiful, handmade candle holder ready before you go to bed.