18 Halloween Walkway Ideas That Set the Spooky Mood Early
By the time trick-or-treaters reach your front door, the mood’s already been set — or it hasn’t. The walkway is where that first impression happens: the flicker of a jack-o-lantern, the glow of a pumpkin arch, the crunch of gravel past a row of tombstones. It’s the part of Halloween decorating that gets skipped most often, usually in favor of a big porch display, even though it’s the space every single guest actually walks through.
These 18 ideas focus on that stretch between the sidewalk and the door — lighting tricks, structural builds, and simple prop placement that make the walk feel like part of the Halloween experience instead of just the way to get there.
Table of Contents
1. Carved Jack-o-Lantern Luminary Trail
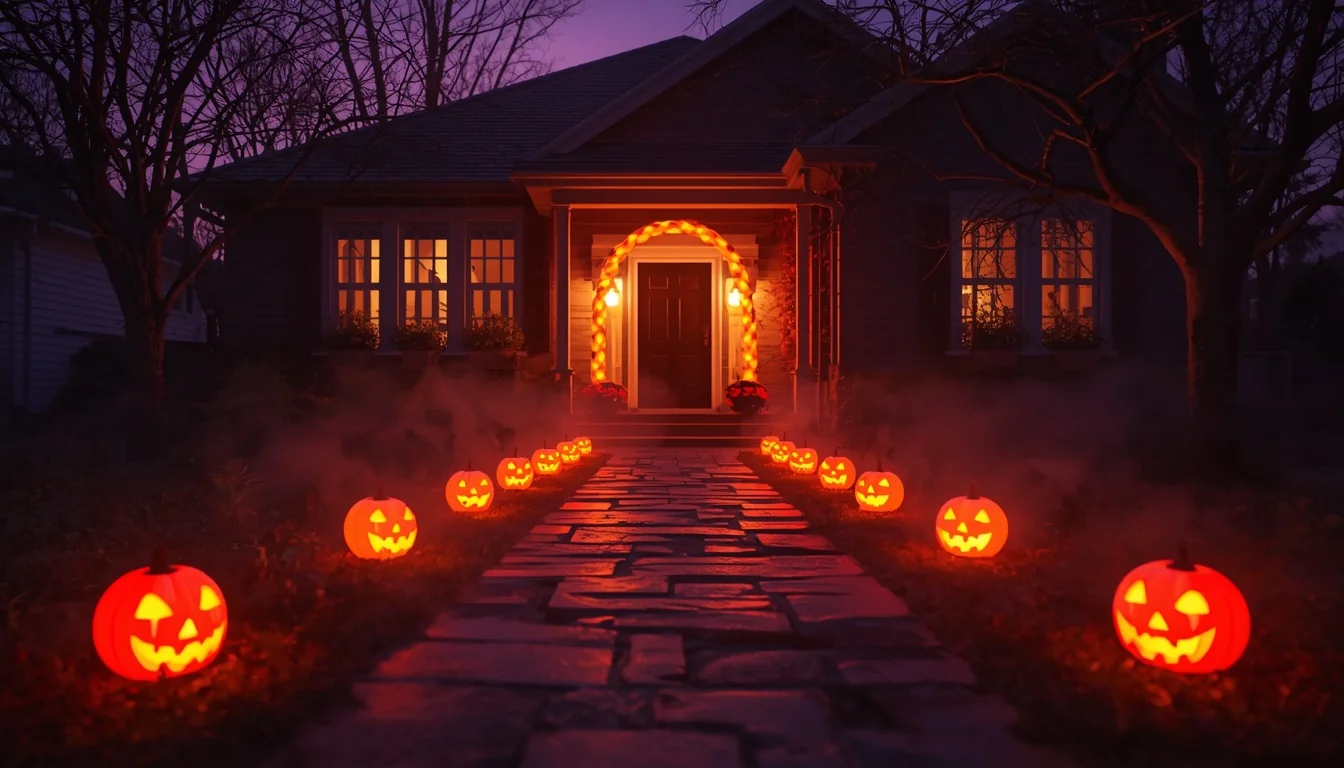
Line both sides of the walkway with real or faux carved pumpkins, each holding a flameless LED candle, spaced about two to three feet apart so the glow reads as a continuous trail rather than scattered dots. This idea works because it’s the most recognizable Halloween lighting cue there is — nobody needs an explanation for what a row of glowing jack-o-lanterns means. Vary the pumpkin sizes along the path instead of using identical ones, since the slight irregularity looks more organic and less like a store display. Use battery-operated flameless candles with a flicker setting rather than real flames, both for safety near foot traffic and so the display runs unattended all evening. Stagger a few pumpkins slightly off the path’s edge instead of a perfectly straight line, which reads as more natural in photos and in person.

2. DIY Tin Can Luminaries
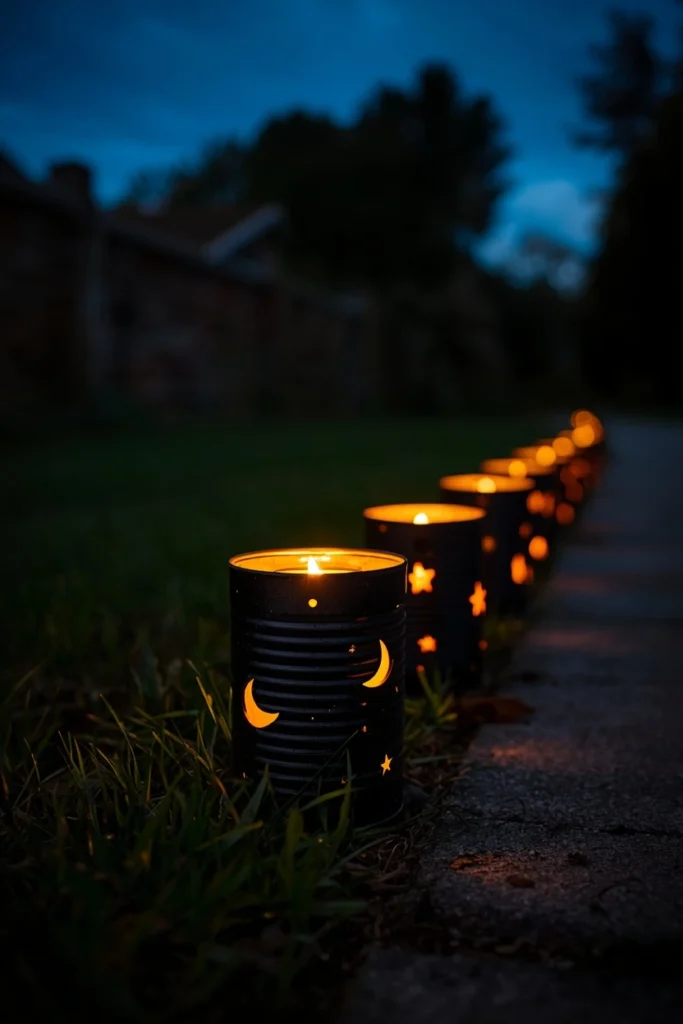
Hammer simple face or star patterns into empty tin cans, then place a tea light or small LED inside to cast dotted light patterns onto the path at night. This idea consistently shows up on budget decor lists because it uses materials most households already have, and it turns leftover cans into something genuinely decorative instead of just recycling them. Sand down any sharp edges after hammering the holes so the cans are safe to handle and place along a path kids will walk near. Spray-paint the cans matte black or dark orange before hammering so the light pattern stands out more sharply against the can’s surface. Group two or three cans at slightly different heights on small stands or overturned buckets for a more layered lighting effect than a single flat row.
3. Floating Ghost Lanterns in Overhanging Trees
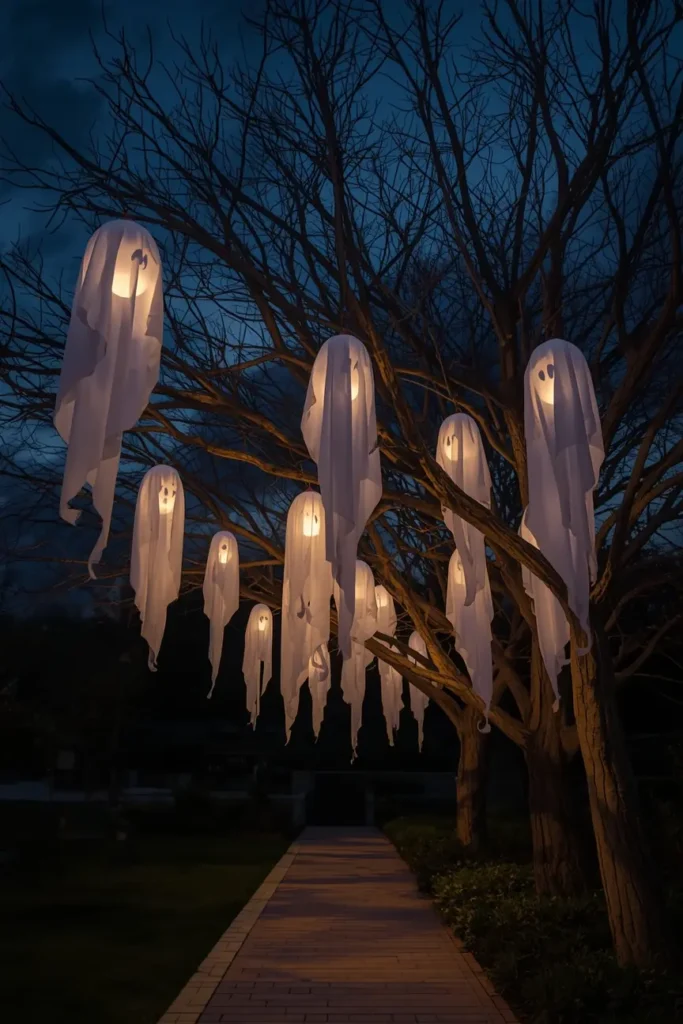
Hang white paper lanterns or fabric-draped spheres from tree branches over the walkway, tucking a small LED light inside each one so they glow softly like floating ghosts after dark. This idea earns strong engagement because it uses vertical space most walkway decor ignores, adding a layer of atmosphere above eye level instead of only along the ground. Drape sheer white fabric loosely over each lantern rather than pulling it taut, since the looser folds catch even light night breeze and create subtle movement. Keep the lanterns at varying heights along the branch line so they don’t read as a uniform row, which makes the effect feel more like something drifting than something installed. Battery-powered LED tea lights work best here since running cords up into tree branches is both impractical and a tripping hazard below.
4. Witch Hat & Pumpkin Path Lights
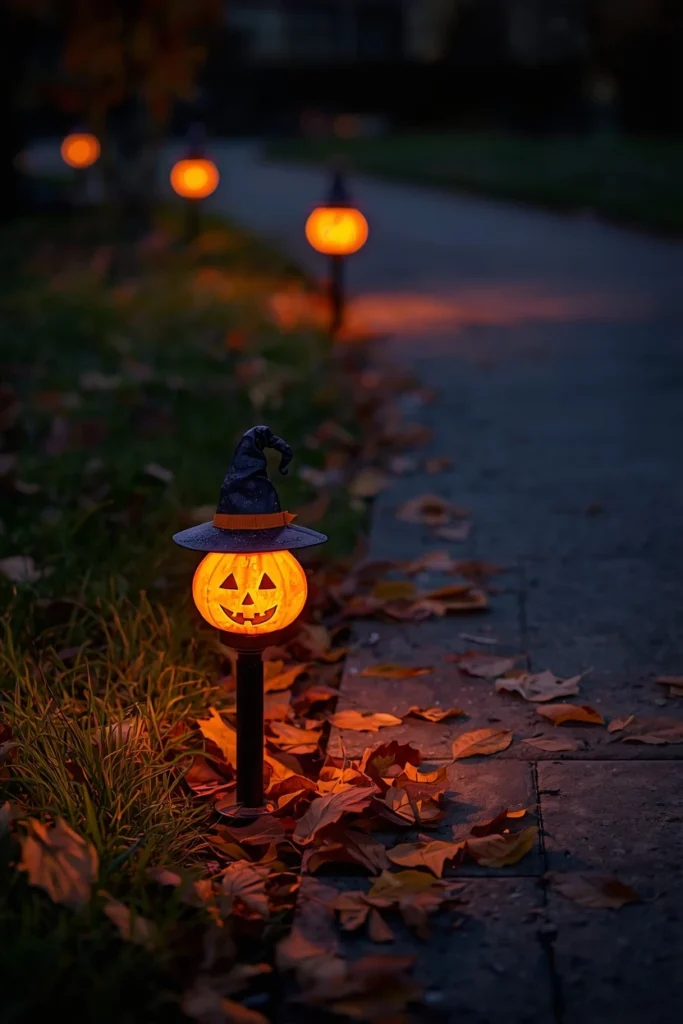
Swap standard solar path lights for ones topped with mini witch hats or pumpkin covers, spaced evenly along the walkway edge for a display that’s festive even before it gets dark. This idea works particularly well for renters or anyone who wants a Halloween look without permanent changes, since most solar path lights are simply staked into the ground and removed after the season. Choose warm amber or orange-toned LEDs over stark white ones, since warm light reads as cozy-spooky while white light can feel more like standard landscape lighting. Space the lights close enough together that the path reads as clearly lit for safety, not just decorated, especially if young trick-or-treaters will be walking it after dark. These also transition easily into general fall or harvest décor once October ends, just by swapping the hat covers off.
5. Color-Changing Spotlight Uplighting
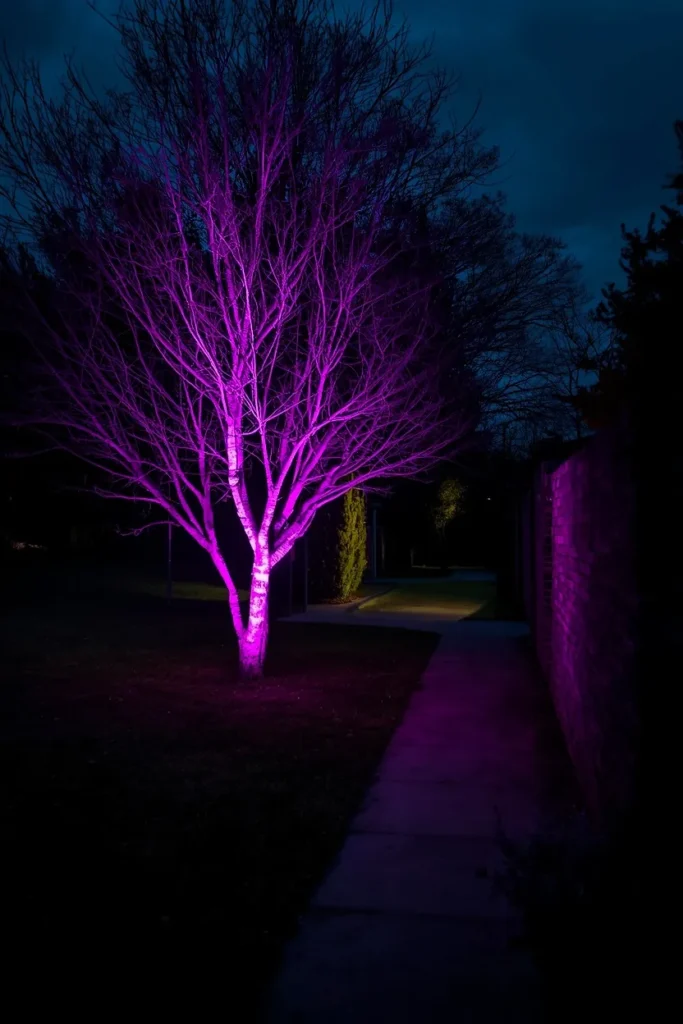
Position one or two colored spotlights — purple, green, or deep orange — at the base of trees or shrubs along the walkway, aiming upward to cast eerie shadows and colored light across the path. This idea creates dramatic impact with minimal setup, since a single well-placed spotlight can transform an entire section of yard without needing dozens of individual decorations. Choose smart or color-changing bulbs if you want to shift the mood throughout the evening, from a warm welcome glow early on to a deeper purple as the night goes on. Aim the light through any bare branches or thin foliage near the path, since the shadow patterns this creates on the ground are often more effective than the light source itself. Keep spotlights low and angled carefully so they illuminate features rather than shining directly into anyone’s eyes as they walk past.
6. Orange & Purple String Lights Along the Border
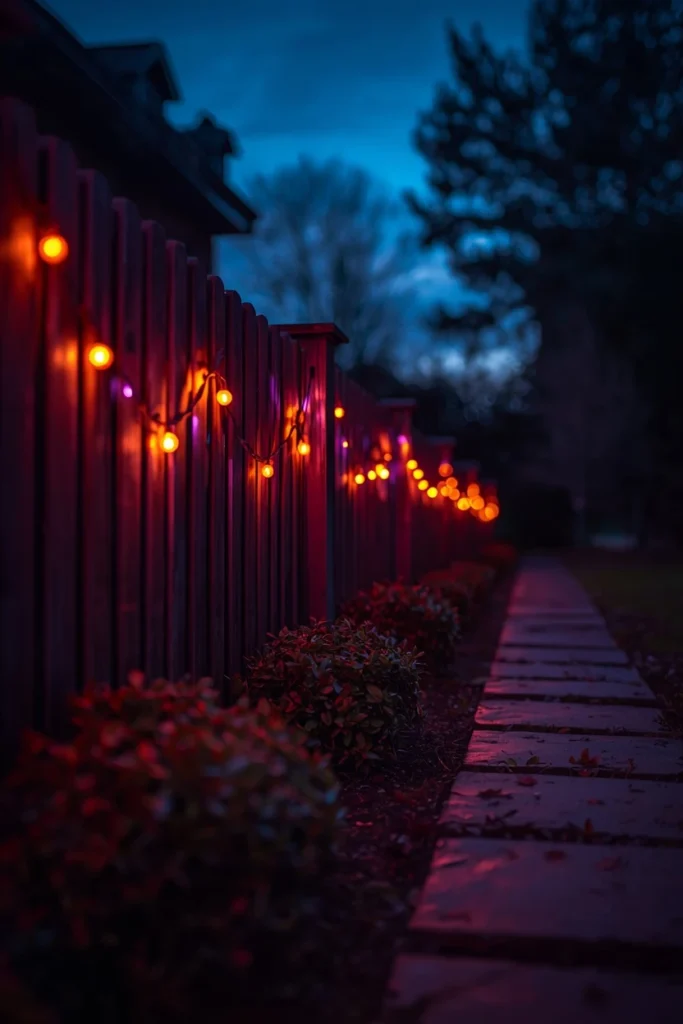
Drape warm orange and cool purple string lights along the fence, railing, or low shrubs bordering the walkway, alternating colors every few feet for a layered glow without needing any structural build. This is one of the simplest ideas on the list to execute, and it consistently performs well because string lights double as both decoration and functional path lighting, which matters for safety after dark. Use outdoor-rated LED string lights rather than indoor ones, since walkway borders are exposed to weather for the full month leading up to Halloween. Layer the lights at two different heights — along a railing and lower along ground-level shrubs — for more visual depth than a single flat line of light. This idea also requires the least teardown effort, since most string lights can simply be unplugged and stored rather than dismantled.
7. Low Ground Fog with Path Lighting
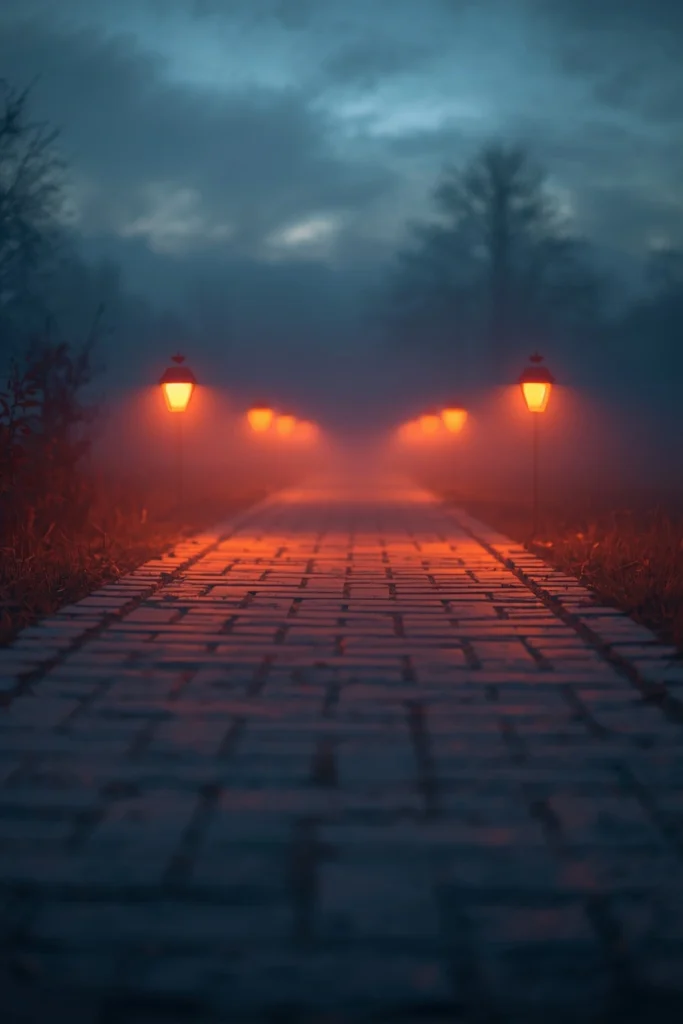
Position a small fog machine near the base of the walkway, paired with low-angled lighting so the fog catches the glow and rolls gently across the ground as guests approach. This idea reads as more dramatic than almost anything else on this list, and it’s a favorite among competitor content because the effect looks far more elaborate than the setup actually requires. Keep the fog low and thin rather than thick, since a light rolling layer across the ground looks eerie while a dense cloud just obscures the path and becomes a safety concern. Run the fog machine on a timer or only during peak trick-or-treat hours, since most machines need periodic refilling and aren’t meant to run continuously for hours. Combine this with warm jack-o-lantern lighting rather than cold spotlights, since the contrast between warm glow and cool fog is what makes the effect feel atmospheric instead of just hazy.
8. PVC Pumpkin Bucket Archway
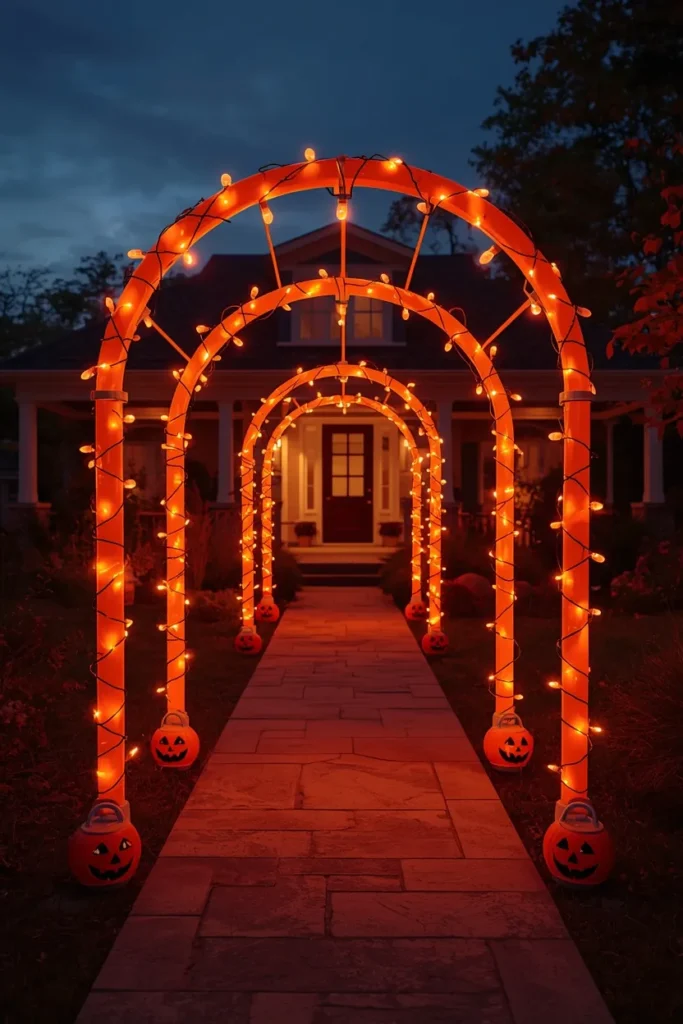
Build a simple arch from ¾-inch PVC pipe secured with rebar stakes, then slide plastic pumpkin buckets onto the frame or line them along the base for a glowing entrance guests walk directly through. This build has become one of the most repeated DIY projects across Halloween decor content because it’s genuinely inexpensive, reusable year after year, and delivers a dramatic entrance effect that few other budget projects can match. Wrap the PVC frame in string lights and zip-tie them in place before attaching any pumpkin buckets, since it’s much easier to secure lighting to a bare frame than to work around decorations already in place. If a previous year’s attempt collapsed under the weight of buckets mounted at the top, place the buckets along the base of each arch post instead — it keeps the glow and color without the structural strain. Anchor the rebar at least a foot into the ground on both sides, especially in windy climates, since a top-heavy arch is the most common failure point.
9. Carved Pumpkin Archway
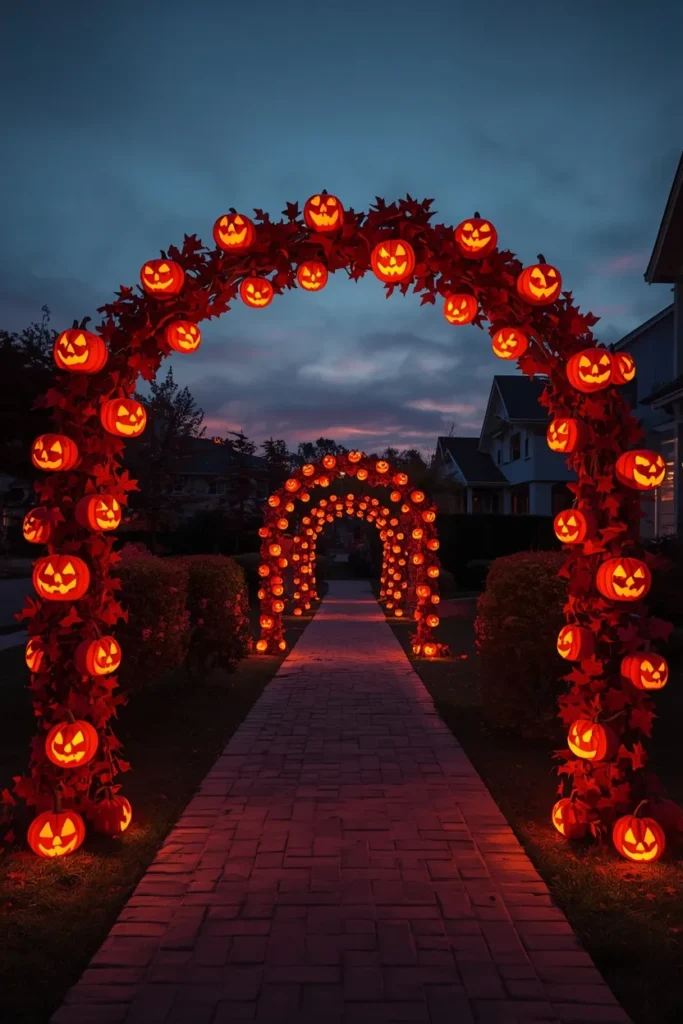
For a more elaborate build, slide real or faux carved pumpkins directly onto a PVC frame, using drilled holes and zip ties to secure each one along the arch, then wrap the structure with fall foliage or vines for a fuller finished look. This version takes more time than the bucket arch but creates a genuinely showstopping entrance, since dozens of glowing carved faces lining one continuous arch reads as a major statement piece rather than a simple accent. Use hollow craft pumpkins instead of real ones if the arch needs to stay up for several weeks, since real pumpkins will soften and sag well before Halloween arrives. Add battery-powered LED string lights inside the arch structure itself, not just inside individual pumpkins, so the whole shape glows evenly rather than in scattered points. Reinforce the top center of the arch with wire anchored to a nearby post or the house itself, since the combined weight of that many pumpkins puts real strain on a freestanding frame.
10. Inflatable Archway for Instant Impact
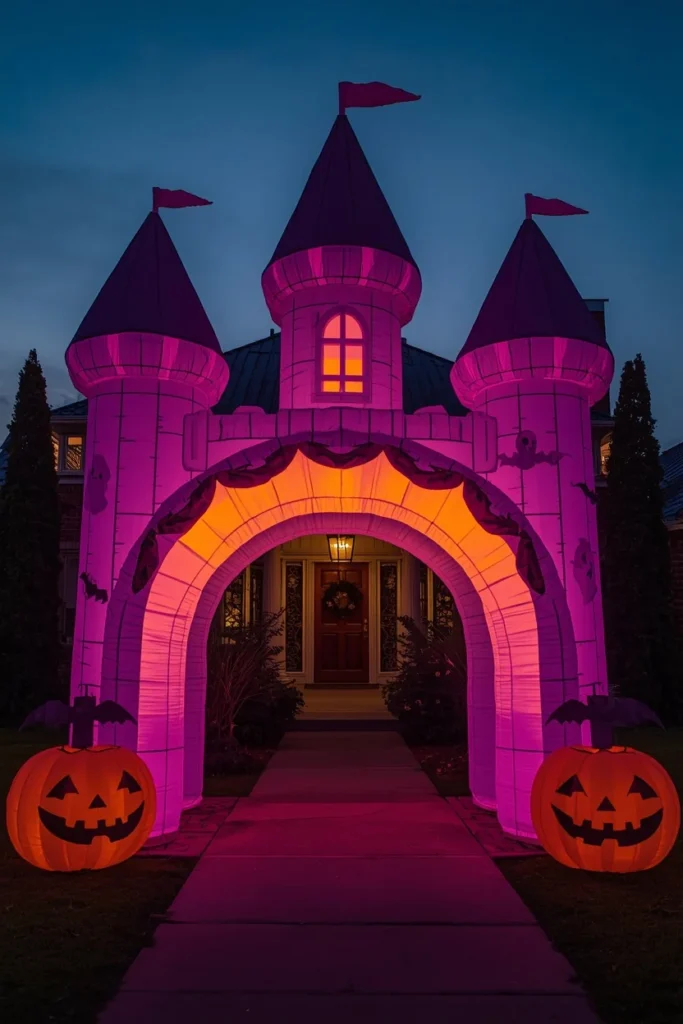
For a no-build option, use a self-inflating Halloween archway featuring characters like ghosts, pumpkins, or a spooky castle silhouette, positioned at the start of the walkway for an instant, high-impact entrance. This idea consistently appears in budget and time-saving roundups because it requires zero construction — just an outlet and a few minutes to inflate — while still delivering the same “walk-through” effect as a built arch. Stake the inflatable down securely on all sides, since even a well-anchored inflatable can shift or deflate awkwardly in strong wind if it isn’t pinned properly. Position it far enough from the actual door that it doesn’t block porch decor sightlines, treating it purely as the walkway’s opening statement rather than competing with the main display. Store it in its original bag after the season, since inflatables reused year after year are one of the more cost-effective investments in a Halloween display.
11. Skeletal Hand Archway or Grasping Border
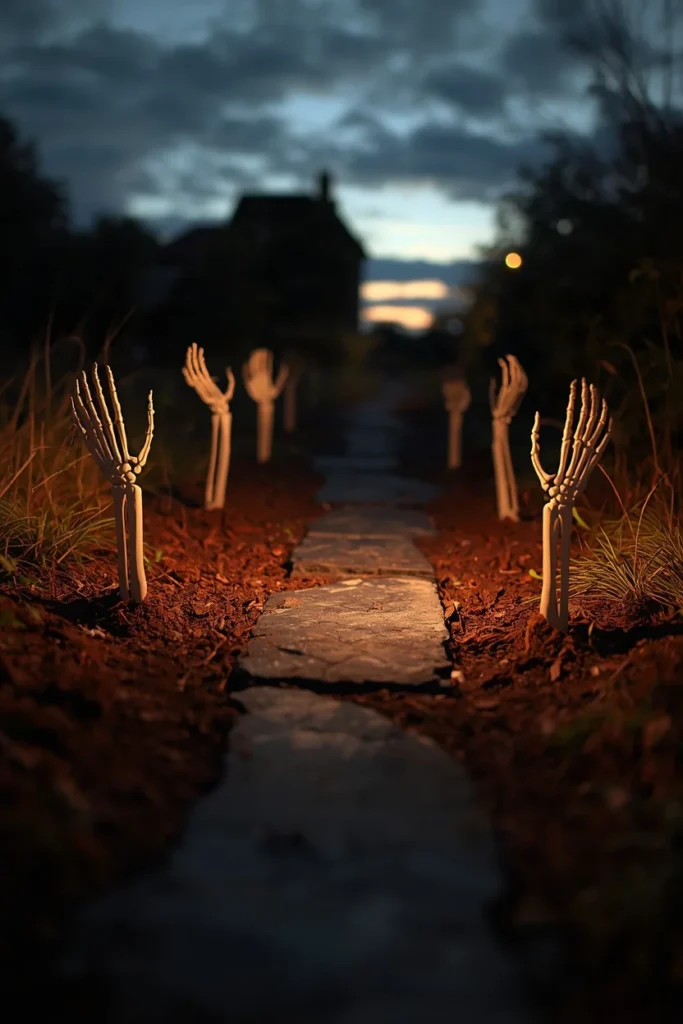
Line the walkway edges with skeleton hands appearing to reach up from the ground, either as a standalone border or combined with an arch frame for hands that seem to grasp at guests walking through. This idea has become a signature Halloween image because it does more storytelling than static decor — it implies motion and threat with figures that aren’t actually moving at all. Stagger the hands at slightly different heights and angles along the border rather than a uniform row, since the irregularity reads as more unsettling than a perfectly even line. Add a few patches of “disturbed” mulch or dark soil around the base of each hand for a more finished, intentional look rather than props simply stuck into the lawn. Pair this idea with low ground lighting angled upward through the hands to cast long shadows across the path after dark.
12. Tombstone-Lined Graveyard Path
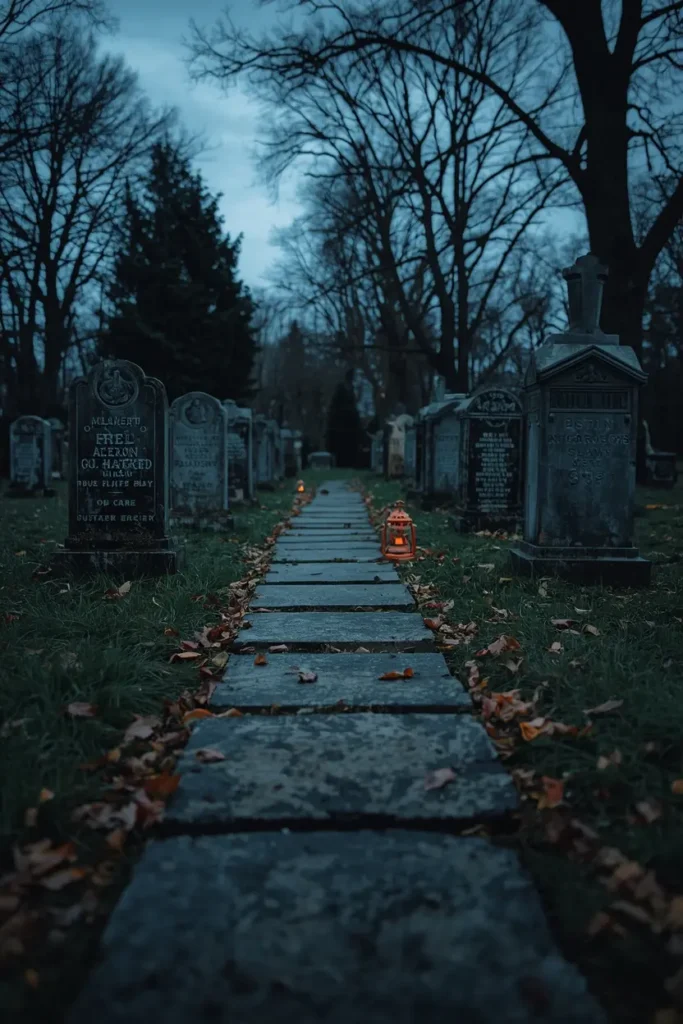
Flank both sides of the walkway with a handful of DIY or store-bought tombstones, angled slightly off-vertical as if settled over time, to turn the ordinary path into a cemetery approach. This remains one of the most popular Halloween yard themes because it transforms a walkway from “decorated” into “a scene,” giving trick-or-treaters something to actually walk through rather than just past. Make simple tombstones from foam board or plywood cut into a rounded-top shape, painted grey with a darker wash rubbed into the carved lettering for an aged look. Space them unevenly rather than in a straight matching row, since real cemeteries never look perfectly ordered, and that imperfection is what sells the effect. Add a few props between the stones — a lantern, a fallen branch, a patch of fake spider web — so the space between tombstones doesn’t read as empty.
13. Stretched Spiderweb Canopy Over the Path
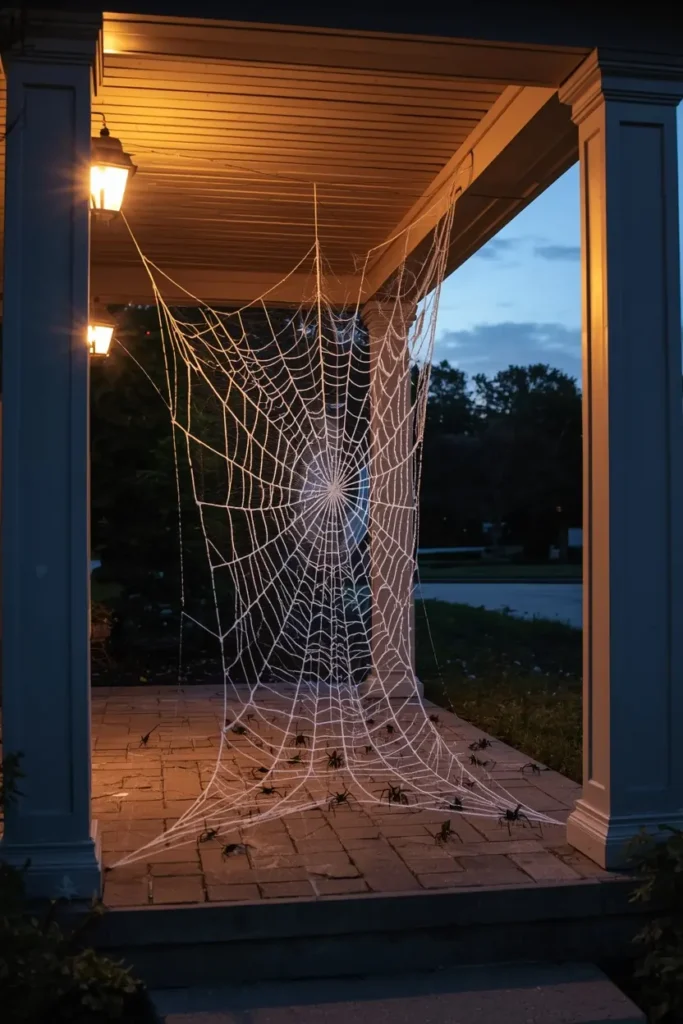
Stretch synthetic spiderweb material across the walkway between two anchor points — porch posts, small stakes, or nearby shrubs — so guests pass beneath or brush past a web canopy as they approach. This idea works because it adds a tactile, immersive layer that most walkway decor skips entirely, since guests don’t just see the web, they walk through the edge of it. Pull the material taut and anchor it in several places rather than draping it loosely, since a properly stretched web holds its shape far better in wind and looks more deliberate. Add a few plastic spiders at varying sizes across the web rather than clustering them in one spot, for a more naturally distributed look. Combine this with a single spotlight aimed at an angle across the web’s surface, since side lighting makes the web’s texture visible in a way that direct front lighting doesn’t.
14. Chain-Link Stanchion Border
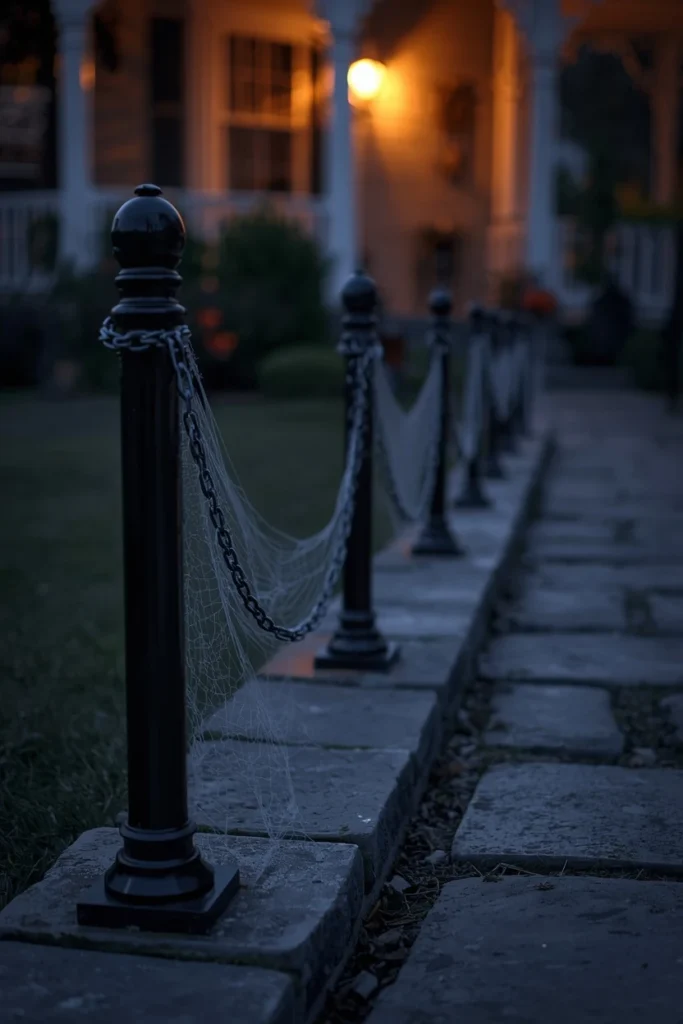
Set black-painted PVC posts along the walkway’s edge and drape a length of plastic or metal-look chain between them, creating a simple boundary line that reads as an old cemetery gate rather than a functional fence. This idea is a favorite among Halloween decor communities because it solves two problems at once — it defines the walkway visually and keeps foot traffic contained to the intended path, which matters when a large group of trick-or-treaters is moving through at once. Space the stanchion posts about three to four feet apart so the chain sags gently between them instead of pulling taut, since a slight sag looks more like weathered ironwork than a fresh installation. Weave a bit of fake spider web or a few dried vines around the base of each post for a more finished, aged appearance. Paint the posts matte black rather than leaving them glossy, since matte finishes read as older, wrought-iron-style materials under both daylight and porch light.
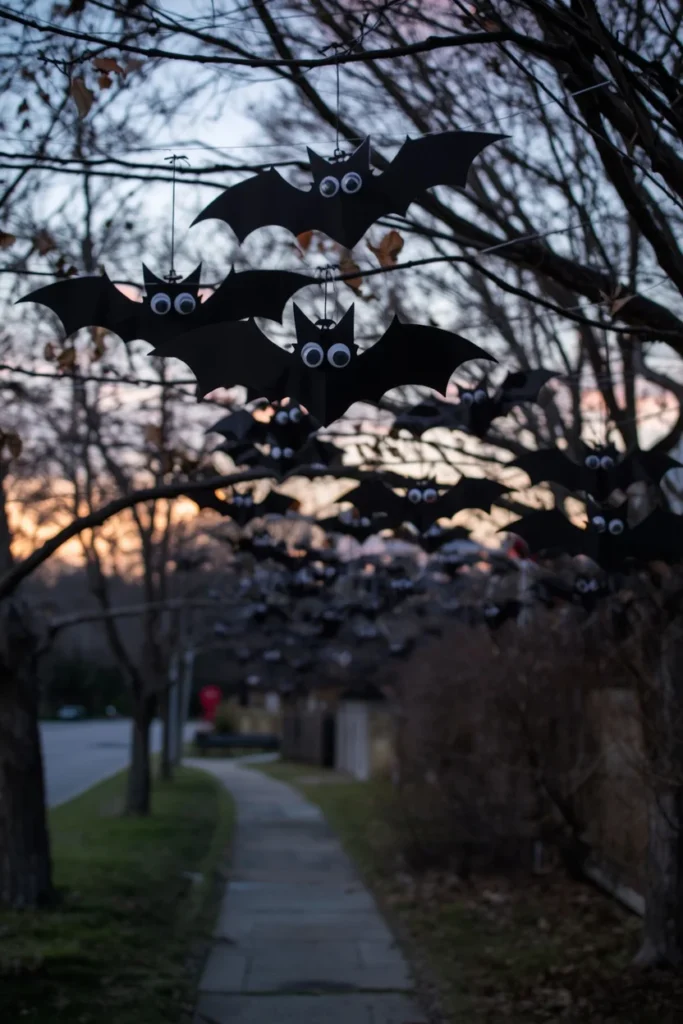
15. Hanging Googly-Eye Bats from Overhead Branches
Cut simple bat silhouettes from black cardstock or felt, glue on oversized googly eyes, and hang them at varying heights from any tree branches overhanging the walkway. This idea has spread widely because it’s genuinely kid-friendly — the googly eyes turn a classic spooky bat into something silly rather than frightening, which matters for families with younger trick-or-treaters walking the path. Cut bats in two or three different sizes so the cluster reads as a colony rather than identical repeated shapes. Hang them on clear fishing line rather than visible string, so the bats appear to float freely in the branches rather than obviously suspended. Cluster several bats together in one section of branches rather than spreading them evenly across the whole yard, since a dense cluster reads more intentional and photographs better than scattered individual bats.
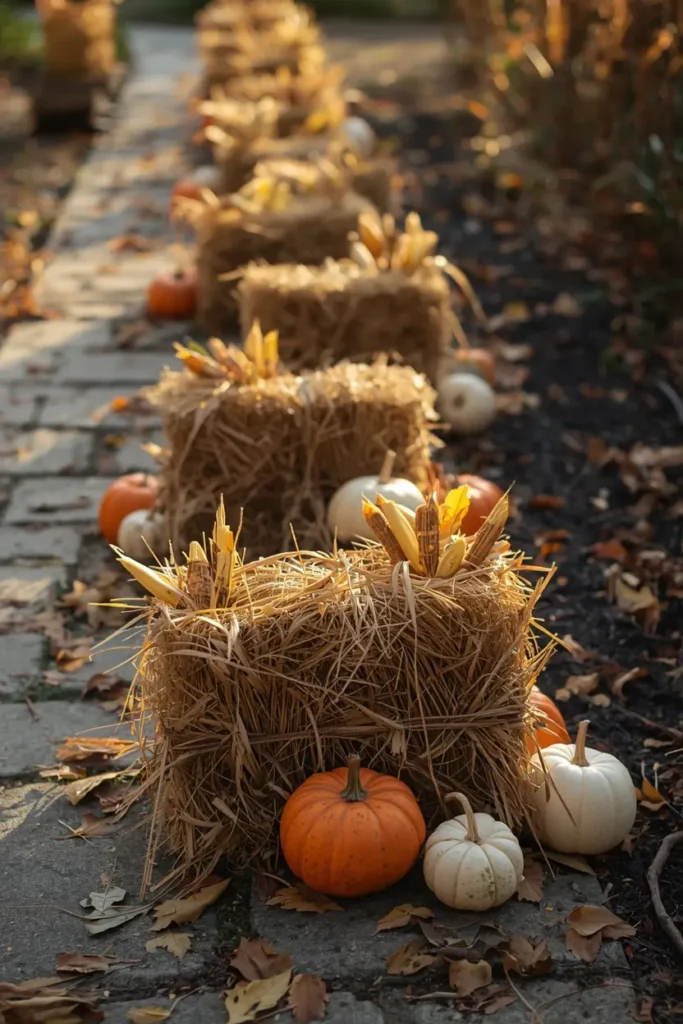
16. Hay Bale & Cornstalk Path Markers
Stack small hay bales and lean bundled cornstalks at intervals along the walkway, tucking a few mini pumpkins into the hay for a harvest-meets-Halloween look that works well even for households that prefer a lighter theme. This idea consistently performs well because it bridges general fall decor with Halloween specifically, giving the walkway a seasonal feel that doesn’t rely entirely on spooky props. Secure cornstalks with garden twine bundled around a stake so they stay upright through wind rather than leaning loosely against a bale. Tuck a couple of white or heirloom-variety pumpkins into each hay bale grouping for color variation instead of using only orange ones. This idea also transitions the display naturally from Halloween into Thanksgiving décor, since none of the materials are Halloween-specific on their own.
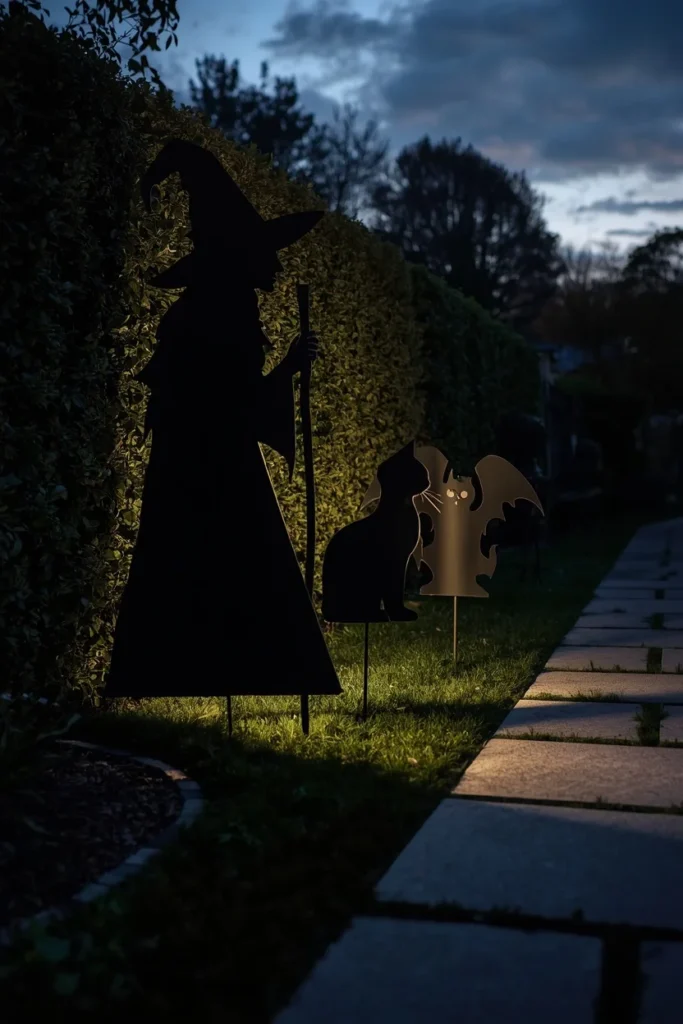
17. Silhouette Cutouts Lining the Path
Cut witch, black cat, and bat silhouettes from plywood or heavy cardboard, paint them matte black, and stake them along the walkway edges so their flat shapes catch the eye without needing any lighting or movement. This idea is one of the most budget-efficient on the list, since a single sheet of plywood can produce several silhouettes, and the flat design means no assembly beyond cutting and staking. Vary the silhouette poses — a witch mid-stride, a cat arched and hissing, a bat with wings spread — instead of repeating the same shape, since variety along the path reads as a curated scene rather than mass-produced decor. Backlight one or two silhouettes with a spotlight positioned behind them for a striking outline effect after dark, while leaving the rest unlit for daytime visual interest. Stake them firmly enough to withstand wind, since a flat cutout catches more wind resistance than a rounder decoration like a pumpkin.
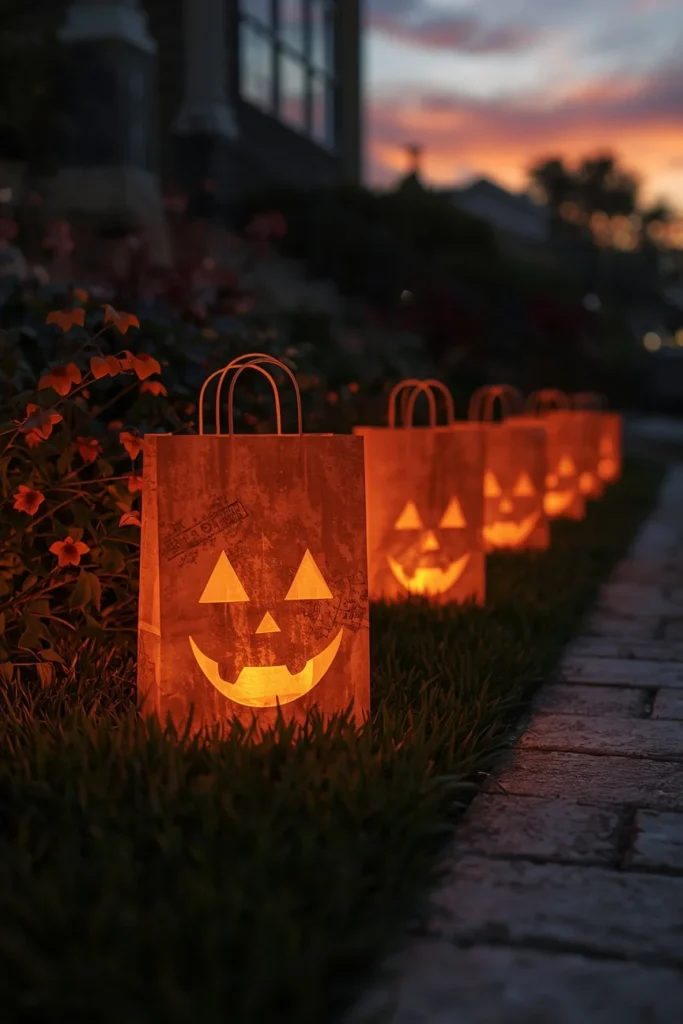
18. Paper Bag Luminaries Along the Border
Fill plain paper lunch bags with sand and a flameless candle, then line them along the walkway’s edge for a soft, glowing border that costs almost nothing to put together. This idea remains a classic because it’s genuinely simple enough for kids to help assemble, and the soft, diffused glow through paper reads as warm and welcoming rather than harsh, which suits families who want Halloween charm without an intense haunted-house effect. Weigh each bag down with a few inches of sand or dried beans before adding the light, since an empty bag will blow over or shift out of line easily. Cut simple jack-o-lantern faces or stars into the bags before assembling for extra light detail, or leave them plain for a softer, more ambient glow. Space the bags evenly along both sides of the path, roughly matching the spacing used for any other path lighting so the overall walkway reads as one cohesive lit border rather than mismatched sections.
Styling Tips
Treat the walkway as its own design zone with a beginning, middle, and end — an entrance moment (arch, spotlight, or silhouette pair), a sustained rhythm along the path (consistent lighting spacing), and a closing moment near the door that connects to the porch display. Stick to two or three light colors maximum across the whole path — warm orange as the base with one accent color like purple or green — since too many competing tones reads as cluttered rather than atmospheric. Repeat at least one element (a color, a prop type, or a spacing pattern) consistently down the full length of the path, since repetition is what makes a walkway read as designed instead of just decorated in patches.
Practical Implementation Ideas
Measure the actual walkway length before buying lights, arches, or path markers, since most spacing mistakes come from guessing rather than measuring. Install structural pieces like arches and stanchions first, then layer lighting, then add smaller props like pumpkins or silhouettes last, since building in that order avoids having to work around finished elements. Test all lighting after dark before the display needs to be “final,” since colors and brightness read very differently at night than they do in daylight test runs.
Common Mistakes to Avoid
Overlighting the path so brightly that it kills the eerie effect is one of the most common walkway mistakes — a few well-placed warm lights create more mood than a fully floodlit path. Placing decorations so close together that they crowd the actual walking space creates both a safety issue and a cluttered look; leave clear width for foot traffic, especially for families with strollers or younger kids. Forgetting to anchor tall or wind-catching pieces (arches, silhouettes, inflatable displays) securely is the top cause of Halloween decor failing mid-season, especially in exposed front-yard locations.
Small-Space Alternatives
No room for a full archway? A pair of tall silhouette cutouts or two stanchion posts at the entry point creates the same “threshold” effect in a fraction of the space. Short walkways can skip a full luminary trail and instead use just three to four grouped jack-o-lanterns at the halfway point and the door, which still marks the path without needing dozens of pieces. Apartment or townhouse entries with no yard at all can recreate the mood with a single small arch or spiderweb stretched across a doorway, paired with two luminaries flanking the mat.
Budget-Friendly Alternatives
Tin can luminaries, paper bag luminaries, and cardboard silhouette cutouts are the three cheapest ideas on this list and consistently deliver the most visual impact per dollar spent. Dollar-store plastic pumpkin buckets work for both the PVC bucket arch and as simple luminary covers over existing outdoor lights. Reusable investments like solar witch hat path lights and a basic PVC arch frame pay off over multiple seasons, since only small accessories (bulbs, pumpkin covers) need replacing year to year.
Pro Recommendations
Anchor the “wow” moment — whether that’s the archway, the fog effect, or the tombstone cluster — near the start of the walkway rather than the end, since first impressions set expectations for everything that follows. Use warm light as the dominant tone and cooler colors (purple, green) only as accents, since an entire path lit in cold color tends to feel harsh rather than atmospheric. Walk the path yourself after dark once everything is set up, since experiencing it as a guest would reveals spacing or lighting issues that are easy to miss while installing during daylight.
FAQs
Conclusion
The walkway is the part of a Halloween display that every single guest actually experiences up close, yet it’s usually the last thing decorated, if it gets decorated at all. Pick two or three ideas from this list that fit your space and budget — a lighting layer, one structural piece, and a few smaller details — and the mood is set before anyone even reaches your porch.